
Gamble With Your Friends is a co-op casino-crawler for up to 6 players where everyone shares one bank, climbs randomized casino floors, and races a 5-minute timer to hit daily quota. Steam lists 17 games of chance and 15+ items, and the difference between a clean run and a wipeout usually comes down to one thing: whether your team used those items with a plan or just activated them and hoped for the best. This guide breaks down every item combo worth knowing, ranked by how reliably they work under real run pressure.
What are items in Gamble With Your Friends?
Items are special tools purchased with Tickets, the between-day currency you earn by hitting quota, completing challenges, or selling body parts. There are 15 items in the game, ranging from 3-ticket cheap tools like Angel's Reel up to 8-ticket investments like Bonus Draw.
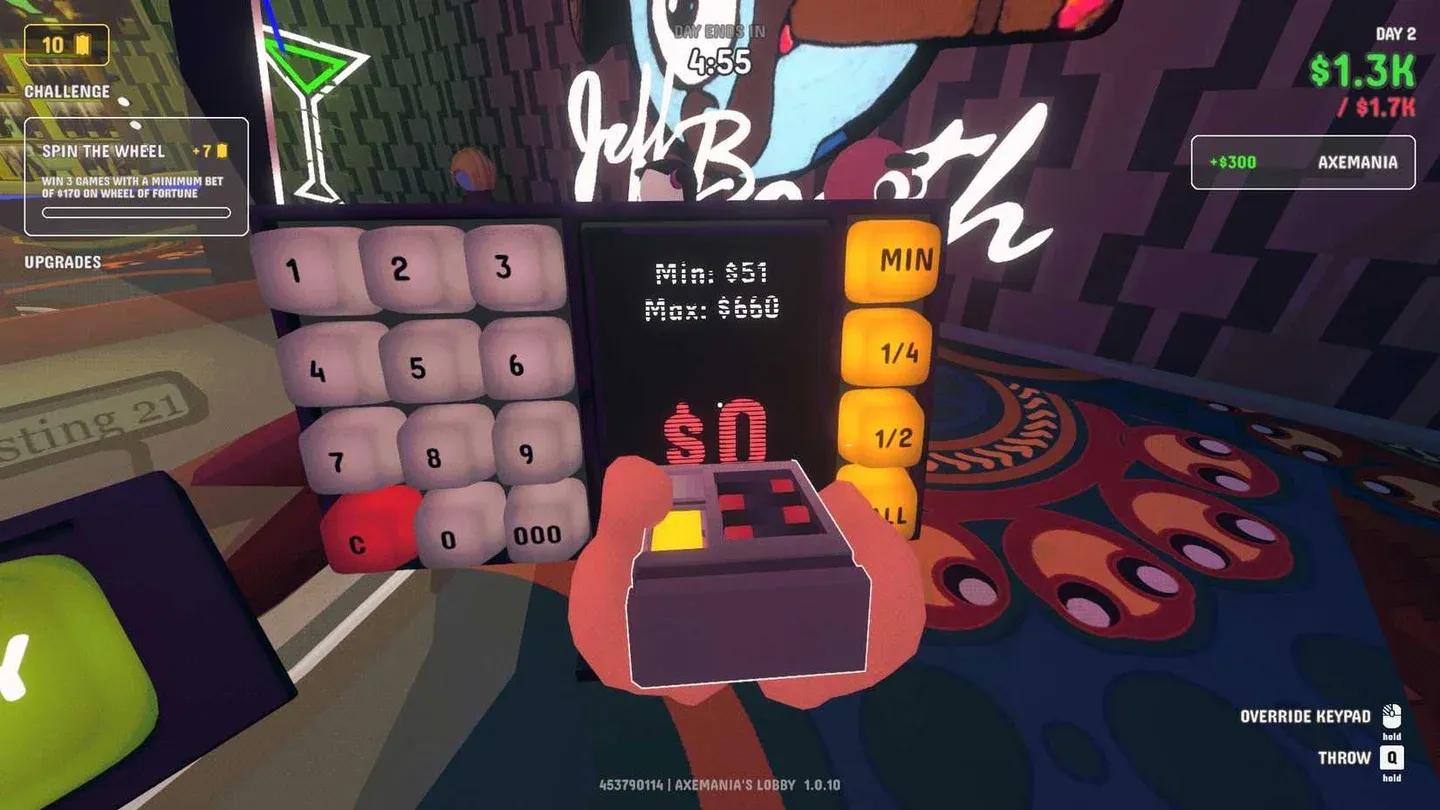
The key thing to understand is that items are not passive bonuses. They are planning tools. A Golden Chip sitting in your pocket while someone blind-bets a table they just discovered is a wasted 4 tickets. The same chip, used after Taser raises the max bet on a table your team has already chosen, is a run-defining swing.
Golden Chip shop purchase screen


Full item list with ticket costs and best uses
The table below covers all 15 items, their costs as shown in the launch-version shop, and the situations where they actually earn their ticket price.
| Item | Cost | Effect | Best use |
|---|---|---|---|
| Angel's Reel | 3 Tickets | Chance to recover last loss | After a meaningful failed bet |
| Devil's Reel | 3 Tickets | Triple or zero your last win | After a win the team agrees to risk |
| Mystery Box | 4 Tickets | Random item | Only when adapting on the fly |
| Golden Chip | 4 Tickets | One free all-in | Planned high-value bet after Taser |
| Taser | 4 Tickets | Raises maximum bet | Before Golden Chip or a team push |
| Quota Gun | 5 Tickets | 33% quota per body part shot | Emergency quota when gambling is too slow |
| Drink | 5 Tickets | Increases winnings while drunk | Before a planned profit push |
| Time Machine | 6 Tickets | Rolls back your most recent bet result | After a major failed play |
| Camera | 6 Tickets | Extra profit from photographing a winner | After a confirmed strong win |
| Stake Holder | 6 Tickets | Amplifies all other items | Item-heavy days only |
| Microphone | 6 Tickets | Increases nearby profit while singing | When players are grouped close together |
| Insurance | 7 Tickets | Reduces loss amount | Before repeated risky bets |
| Holy Statue | 7 Tickets | Prevents nearby losses while active | During grouped fast-repeat betting |
| Gambler's Confidence | 7 Tickets | Raises profit amount | Passive profit on any stable run |
| Bonus Draw | 8 Tickets | Awards a Ticket on profit | Stable runs with repeated wins |
What is the best item combo?
Taser + Golden Chip is the cleanest high-value setup in the game. The logic is straightforward: Taser raises the maximum bet on a keypad, then Golden Chip converts that raised ceiling into a single free all-in. The order is non-negotiable.
Here is the exact execution sequence:
- Pick the table before touching either item.
- Move the Taser holder to the target keypad.
- Use Taser to raise the maximum bet.
- Use Golden Chip for the free all-in at the new ceiling.
- Stop betting after the combo resolves. Do not let the team give the winnings back immediately.
This combo works on Roulette, Blackjack, Street Craps, and any wheel game where a higher max bet makes the free all-in meaningfully larger.
Item strategy rankings
The table below ranks all viable strategies by how reliably they work under the 5-minute casino timer, with a shared bank, and with teams that may not have perfect coordination.
| Rank | Strategy | Difficulty | Best for |
|---|---|---|---|
| 1 | Taser + Golden Chip | Easy to Medium | Planned high-value all-in |
| 2 | Holy Statue + fast-repeat betting | Medium | Protected group quota push |
| 3 | Drink / Microphone / Camera + planned win | Medium | Profit-boosted table plays |
| 4 | Drink + Insurance + Street Craps | Medium to Hard | High-upside Craps push |
| 5 | Time Machine + big mistake recovery | Medium, conditional | Recovering a failed major play |
| 6 | Quota Gun + emergency quota | Easy mechanically | Short-on-quota emergencies |
| 7 | Angel's Reel / Devil's Reel + recent result | Medium | Cheap 3-ticket result tools |
| 8 | Stake Holder + item-heavy day | Hard | Amplifying an existing item plan |
How does Holy Statue work in practice?
Holy Statue costs 7 Tickets and prevents nearby losses while active. The item description specifies it can only be activated a limited number of times, so treating it like a permanent safety net is the fastest way to waste it.
The correct use is simple: group the team near one betting area, activate the statue, bet heavily during the protection window, and stop when the window ends. Fast-repeat tables like Slot Machines, Roulette, and wheel games are the strongest targets because the team can place multiple bets before the protection expires.
The most common Holy Statue mistake is continuing to bet after the protection window closes. Treat it as a timed event with a hard stop, not a reason to keep gambling indefinitely.

Holy Statue protecting grouped bettors
How should you use profit tools like Drink, Camera, and Microphone?
These three items all increase profit, but each requires a different setup condition.
Drink increases winnings while the player is drunk. The drink only lasts a short duration, so you should activate it right before the result of your first planned bet to maximize the window. It also blurs vision, so give it to the player who already understands the table and can still control the play.
Camera costs 6 Tickets and earns extra profit by photographing a winning player. The critical detail is that you cash it in by throwing the Camera hard after taking the photo. Do not take the picture and forget to cash it in.
Microphone increases nearby profit while the holder sings, but only for players close enough to benefit. It works best on roulette-style group plays where the team is already bunched together.
The Drink + Camera pairing is a clean two-item combo: use Drink before a strong profit attempt, then photograph the winning player after the result lands.
When should you use Time Machine?
Time Machine rolls back your most recent bet result. In practice, it appears more often as a randomly obtained item than a standard shop purchase, so do not build a ticket-spending route around acquiring one.
If you do get one, save it for a real mistake:
- A failed all-in that cost serious money.
- A bad cash-out decision on a high-floor table.
- A late-day quota disaster where the run is genuinely at risk.
The item only has value if the team changes the decision after the rollback. Rolling back and making the same bet again gives you nothing. Before using it, identify what went wrong and what the team will do differently.
What does Quota Gun actually do?
Quota Gun costs 5 Tickets and pays 33% of the day's quota for each body part it shoots off, as shown in the item tooltip. That makes it a pure emergency tool, not a combo item.
Use it when the timer is short, gambling is too slow, and the team is still meaningfully behind on quota. Do not use it when the run is stable, when the target player is holding an important item, or when the body-part penalty would hurt the next casino day more than the quota gain helps today.
Any body part a player loses can be bought back at the shredder machine, which softens the penalty but does not eliminate it.
How do Angel's Reel and Devil's Reel work?
Both cost 3 Tickets, making them the cheapest result-based tools in the game.
Angel's Reel gives a chance to recover your last loss. Use it after a meaningful failed bet, not after a tiny loss when the run is still healthy. The recovery is not guaranteed, which keeps it from being a top-tier item despite its low cost.
Devil's Reel either triples your last win or reduces it to zero. Use it only after a win large enough to matter and only when the team has agreed to risk it. Do not use both reels the same way: Angel's Reel is a recovery tool, Devil's Reel is an escalation tool.
Common item mistakes and quick fixes
| Mistake | Fix |
|---|---|
| Golden Chip before Taser | Use Taser first, then spend Golden Chip on the raised max bet |
| Holy Statue while players are spread out | Group up before activating |
| Time Machine after a tiny loss | Save it for a real failed play |
| Drink given to the wrong player | Give it to the player who understands the table and can still control the play |
| Quota Gun used on the item holder | Target someone who can afford the body-part penalty |
| Stake Holder with no other items | Only buy Stake Holder on item-heavy days |
| Camera used before the bet resolves | Wait for a confirmed winning result, then photograph and throw hard |
In-casino item execution order
Once the casino day starts, run through this sequence before touching any item:
- Call the target table. No item activations while players are still wandering.
- Move the item holder into position before the play starts.
- Confirm the main bettor. One player places the serious bet, not three.
- Use setup items before payoff items: Taser before Golden Chip, grouping before Holy Statue.
- Execute the planned play cleanly.
- Stop when the item window ends. A successful combo is not a reason to keep gambling.
- Hold emergency tools for real emergencies. Time Machine and Quota Gun fix genuine problems, not minor setbacks.
For deeper coverage of every system in the game, the Gamble With Your Friends guides collection covers quota strategy, beginner routes, save scumming, Street Craps, achievements, and all three endings. If you enjoy co-op adventure games with shared stakes and chaotic decision-making, Gamble With Your Friends sits in a niche of its own. The full game page at Gamble With Your Friends has everything you need to get started.