
Search games, articles, guides...CtrlK
Sign InGet Started

Everything you need to know about Sandrone's Cryo kit, ascension materials, talent costs, and all six constellations for version 6.7.
See more GAMES.GG stories on Google
Enjoyed this guide?
Add GAMES.GG as a preferred source and Google will show you more of our guides and news when you search.
updated
June 18th 2026
posted
June 18th 2026
Sandrone is finally playable. The Fatui Harbinger who was presumed dead after the fight with Il Dottore is making her return in Genshin Impact version 6.7 (Luna VIII), launching on July 1, 2026. She's a 5-Star Cryo claymore user who introduces an entirely new reaction to the game called Stellar-Conduct, and early testing of her kit suggests she's built to anchor the Snezhnaya meta for versions to come.
Sandrone functions as a Cryo DPS and reaction enabler built around her companion Fagio (the Facilitatrice Automatisee Generaliste Interactive et Omnitache). Her kit converts Superconduct into the new Stellar-Conduct reaction, which she then amplifies through her passives and Elemental Burst. Think of her as a character whose damage ceiling scales with how well you manage Fagio's Decoding Power meter.
Her base stats at max level include 13,226 HP, 342 ATK, 752 DEF, and a 19.2% Crit Rate bonus, making her a solid stat foundation for a primary DPS slot.

Genshin Impact Guide: Sandrone Kit, Materials, and Constellations
Sandrone performs up to 3 consecutive strikes on tap. Holding the normal attack button summons Fagio and switches it into Decoding Mode, which is where most of her damage comes from.
In Decoding Mode, Fagio unleashes a sweeping fire attack and fires condensed beams dealing AoE Cryo damage. Each beam increases Fagio's Decoding Power. When that meter hits 100, Fagio enters Power Overdrive Mode, attacking at longer intervals with Cryo damage but losing the ability to return to Decoding Mode until Decoding Power drops back below 50.
When Sandrone is off-field, Decoding Power decreases at 300% the normal rate, so keeping her on-field during Decoding Mode is a priority.
Sandrone boards the Tea Party Tactical Assault Hovermech and hovers forward for 6 seconds. You control the direction. Pressing Sprint burns 10 Stamina for a speed boost, then drains 15 Stamina per second in high-speed mode.
On activation, if enemies are nearby, Sandrone fires 2 Prism Shots at opponents who haven't cooled down yet, dealing Cryo damage. In Radiance: Stellar-Conduct state, the second Prism Shot deals Cryo damage counted as Stellar-Conduct damage.
The Skill also repairs Fagio mid-flight, but this comes at a cost: Decoding Power drops 40 points at the start of the ride, then continues falling by 10 points every 0.1 seconds while hovering.
Sandrone summons a volley of Prismatic Resonance Cannons and fires a Convective Inhibition Ray dealing AoE Cryo damage. In Radiance: Stellar-Conduct state, the ray's damage is considered Stellar-Conduct damage, which unlocks the stacking bonus from her second passive.
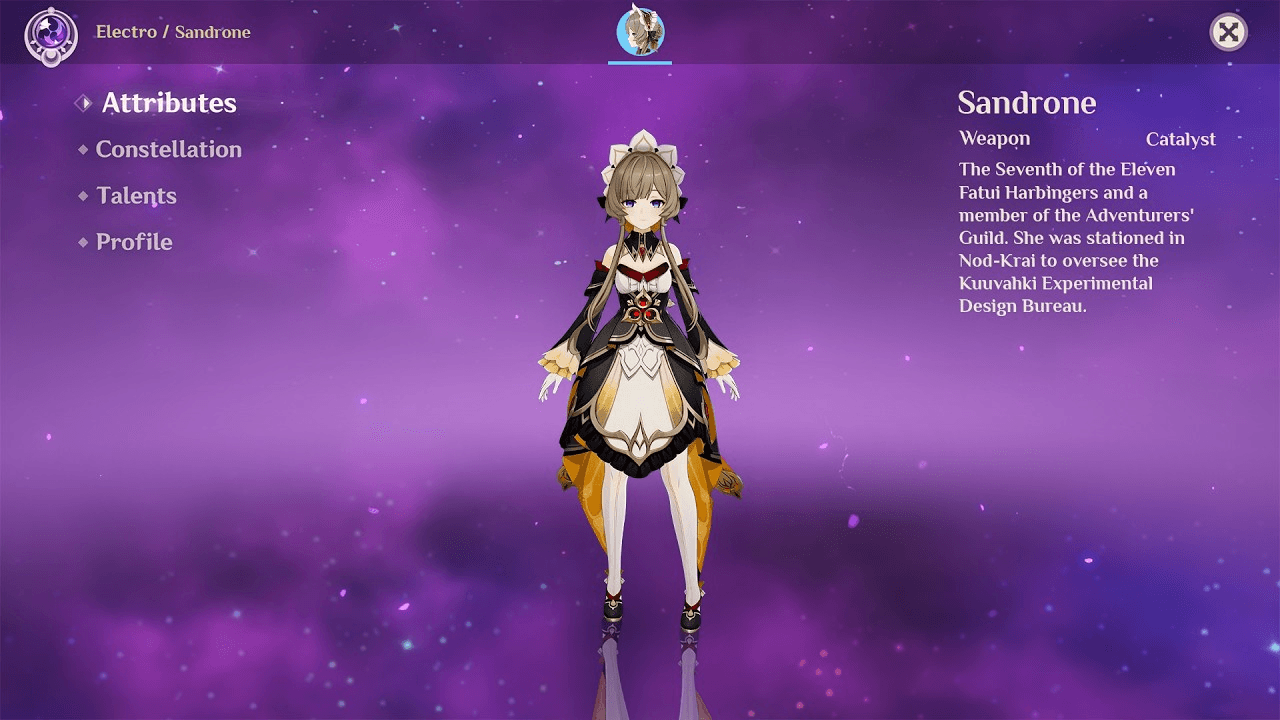
Genshin Impact Guide: Sandrone Kit, Materials, and Constellations
| Constellation | Name | Effect |
|---|---|---|
| C1 | Morrow After the Golden Dusk | Decoding Power increases 50% slower in Decoding Mode; party deals 30% more Stellar-Conduct damage |
| C2 | An Heiress Gazed Into the Looking-Glass | Charged Attack condensed beams gain 100% ATK as CRIT DMG; each beam adds 40% ATK to all beams (max 3 stacks) |
| C3 | Refuse the Wake of Dusk, the Moonlit Yoke | Normal Attack level +3 (max level 15) |
| C4 | In Knowledge Lies the World's True Ground | Stellar-Conduct hits summon an extra Prismatic Resonance Cannon dealing Cryo at 125% ATK; 4-second cooldown |
| C5 | Of All Beside, She Takes No Part | Elemental Burst level +3 (max level 15) |
| C6 | Narcissus Wakes, Her Eyes Upon the Dawn | Third condensed beam in Decoding Mode becomes a Condensed Cluster Beam dealing 4 extra AoE Cryo hits at 75% ATK; Stellar-Conduct version deals 4 hits at 50% ATK; all Stellar-Conduct damage +20% |
C1 is the standout early constellation. Slowing Decoding Power growth gives you more control over when Fagio enters Power Overdrive Mode, and the 30% party-wide Stellar-Conduct damage buff is significant for any team built around this reaction.
C2 diverges between sources slightly in exact percentages, so treat those numbers as close approximations until the official release confirms final values.
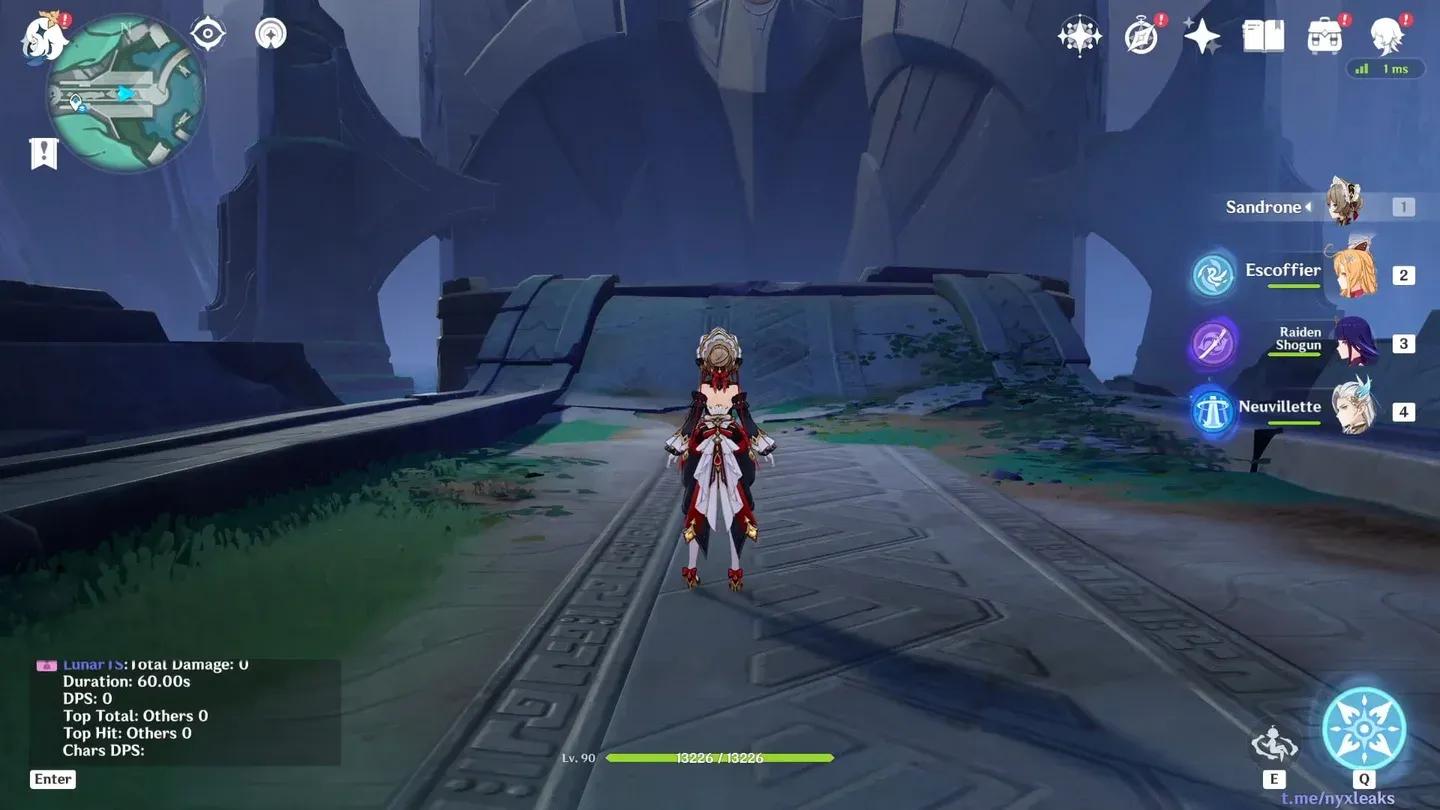
Sandrone constellation overview
Sandrone's ascension requires Shivada Jade gems, Subdetection Unit as her specialty material, Plume of the Fallen Watcher as her boss drop, and Drive Shaft items across three tiers.
| Ascension Level | Key Materials | Mora |
|---|---|---|
| Level 20 | x1 Jade Sliver, x3 Subdetection Unit, x3 Broken Drive Shaft | 20,000 |
| Level 40 | x3 Jade Fragment, x2 Plume of Fallen Watcher, x10 Subdetection Unit, x15 Broken Drive Shaft | 40,000 |
| Level 50 | x6 Jade Fragment, x4 Plume, x20 Subdetection Unit, x12 Reinforced Drive Shaft | 60,000 |
| Level 60 | x3 Jade Chunk, x8 Plume, x30 Subdetection Unit, x18 Reinforced Drive Shaft | 80,000 |
| Level 70 | x6 Jade Chunk, x12 Plume, x45 Subdetection Unit, x12 Precision Drive Shaft | 100,000 |
| Level 80 | x6 Jade Gemstone, x20 Plume, x60 Subdetection Unit, x24 Precision Drive Shaft | 120,000 |
Full ascension totals:
Sandrone's talents use Vagrancy books and Drive Shaft materials, with Madman's Restraint as the weekly boss material and a Crown of Insight at max level.
| Talent Level | Materials | Mora |
|---|---|---|
| Level 2 | x3 Teachings of Vagrancy, x6 Broken Drive Shaft | 12,500 |
| Level 3 | x2 Guide to Vagrancy, x3 Reinforced Drive Shaft | 17,500 |
| Level 4 | x4 Guide to Vagrancy, x4 Reinforced Drive Shaft | 25,000 |
| Level 5 | x6 Guide to Vagrancy, x6 Reinforced Drive Shaft | 30,000 |
| Level 6 | x9 Guide to Vagrancy, x9 Reinforced Drive Shaft | 37,500 |
| Level 7 | x4 Philosophies of Vagrancy, x4 Precision Drive Shaft, x1 Madman's Restraint | 120,000 |
| Level 8 | x6 Philosophies of Vagrancy, x6 Precision Drive Shaft, x1 Madman's Restraint | 260,000 |
| Level 9 | x12 Philosophies of Vagrancy, x9 Precision Drive Shaft, x2 Madman's Restraint | 450,000 |
| Level 10 | x16 Philosophies of Vagrancy, x12 Precision Drive Shaft, x2 Madman's Restraint, x1 Crown of Insight | 700,000 |
To max all three talents, you'll need:
That Mora cost is steep. If you're resource-limited, prioritize her Elemental Burst first, then the Normal Attack (which governs Fagio's Decoding Mode), and leave the Elemental Skill for last.
Sandrone's kit is built around a brand-new reaction type, which means her value is tied directly to how much content HoYoverse designs around Stellar-Conduct going forward. Given that she's explicitly positioned as the Snezhnaya arc's anchor character (the same role Ineffa played for Nod-Krai), the long-term investment case is strong.
For more character guides, builds, and farming resources across this open world game, the full Genshin Impact guide collection has everything you need to stay ahead of each new version.
