
Marathon's Dire Marsh at night is already one of the most punishing zones in the game. Hostile squads, hazard zones, and a map that seems designed to drain your resources before you even reach an objective. But buried inside this map is the Upper Complex, a multi-room gauntlet locked behind a keycard and a series of puzzles that pays out in Purple and Gold tier loot. If you are running Marathon in Standard or Sponsored Survival mode, this is the run that makes the stress worth it.
How do you get the Observation Labs Keycard?
The keycard is the gate to everything in this guide, and it does not drop from a vendor or a crafting bench. It is a random drop tied to specific map events, which means preparation matters more than luck here.
The most reliable method involves the Network Towers sitting atop each point of interest across the map. Activating one costs 3 UESC CERTs, and doing so triggers a drop sequence that points your squad toward a nearby Supply, Weapons, or Gear Cache. Each Cache contains three chests, and the Observation Labs Keycard can appear inside any of them. Hit the Cache closest to your current position and work outward if the first one comes up empty.
The keycard also has a chance to drop from HVT Elimination events and Convoy objectives, so keep those on your radar as secondary options. Hunting random Warden spawns for a keycard drop is technically possible, but picking fights with elite enemies for a low-probability reward is a good way to end your run before the real content even begins.
While you are looting Caches, crack open at least one Weapon Cache specifically. The boss fight ahead burns through ammunition faster than most players expect, and arriving under-stocked is the most common reason squads wipe before the final room.
How do you enter the Upper Complex?
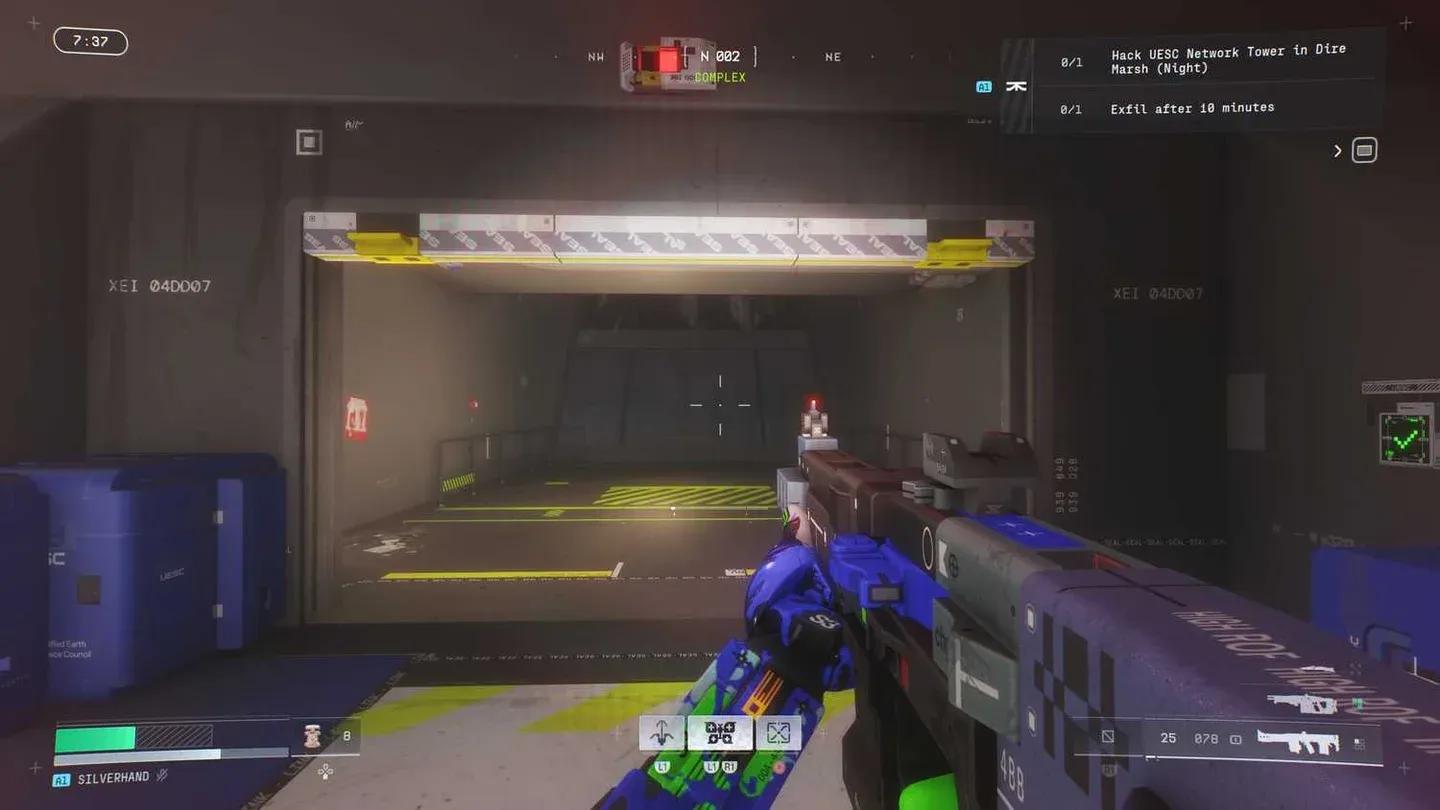
Once the keycard is in your inventory, you have two ways into the facility. The choice comes down to how many UESC CERTs you have left and how much noise you want to make.
The loud route costs less currency but forces a fight immediately on entry, which burns ammo before the main gauntlet. The quiet route costs more CERTs but preserves your loadout for the rooms ahead. If you are running low on CERTs, take the garage. If you have the budget, the corner staircases are the smarter play.
Solving the three-room button gauntlet
Inside the Upper Complex, your first task is finding the Activate Door Controls terminal. Look for a well-lit room that overlooks the surrounding area. These terminals tend to be elevated and easy to spot once you know what you are looking for.
Activating the terminal reveals blue buttons with green targets scattered around the room. Shooting the exposed green target on each button progresses the encounter. The structure repeats across three consecutive rooms:
- Room 1: 3 green buttons
- Room 2: 4 green buttons
- Room 3: 5 green buttons
Before firing a single shot, equip a weapon fitted with Darksight Optics. Looking through this scope reveals hidden numbers displayed next to each green button. Shooting the buttons in ascending numerical order, lowest to highest, unlocks a bonus loot room after the boss fight. If you shoot them out of order at any point, that bonus room is gone for the rest of the run. No second chances.
There are also red buttons hidden throughout the entire Complex, 14 in total, tucked inside vents, on exterior walls, and in spots that require serious searching. Unless your extraction timer has a comfortable amount of time remaining, skip them entirely. The red button hunt takes far longer than most runs allow, and missing your extraction window erases everything you earned.
For a deeper look at the broader secrets and contracts tied to this zone, the Dire Marsh Night Observation Labs guide covers the Warden encounter in additional detail.
Defeating the Warden and claiming your loot
At the end of the third room, you will find the final terminal. Insert the Observation Labs Keycard here to trigger the boss encounter.
Gold shield Warden fight
The encounter runs in three phases. Each phase spawns a hostile wave that you must fight off while simultaneously shooting another set of green buttons to advance. The button order still matters here. There are 9 buttons in the boss room numbered 1 through 9. Phase 1 presents 3 numbers, phase 2 presents 5, and phase 3 presents 7. Use the Darksight Optic to read the numbers and shoot ascending. A single mistake locks the bonus loot room permanently.
After surviving all three waves, the gold shield Warden drops. This boss hits hard and has significant health, so use cover aggressively and control the distance. Burning through your remaining ammo in a panic sprint is exactly what the encounter is designed to provoke.
Once the Warden goes down, a security door opens into a room stocked with Purple and Gold loot. If you shot the buttons in the correct ascending order throughout the gauntlet, a second bonus room opens with additional high-tier rewards. The red button room, if you managed to find all 14, contains a third loot space with locked boxes that each cost 5 UESC CERTs to open.
What are the hidden caches in Dire Marsh Night?
Separate from the Upper Complex entirely, the Dire Marsh Night map contains hidden caches that only become visible through a Darksight Optic. Aim down sights with the scope equipped while inside any point of interest, and arrows may appear directing you toward a cache location. Moving close to the indicated spot causes the cache to physically spawn and become lootable.
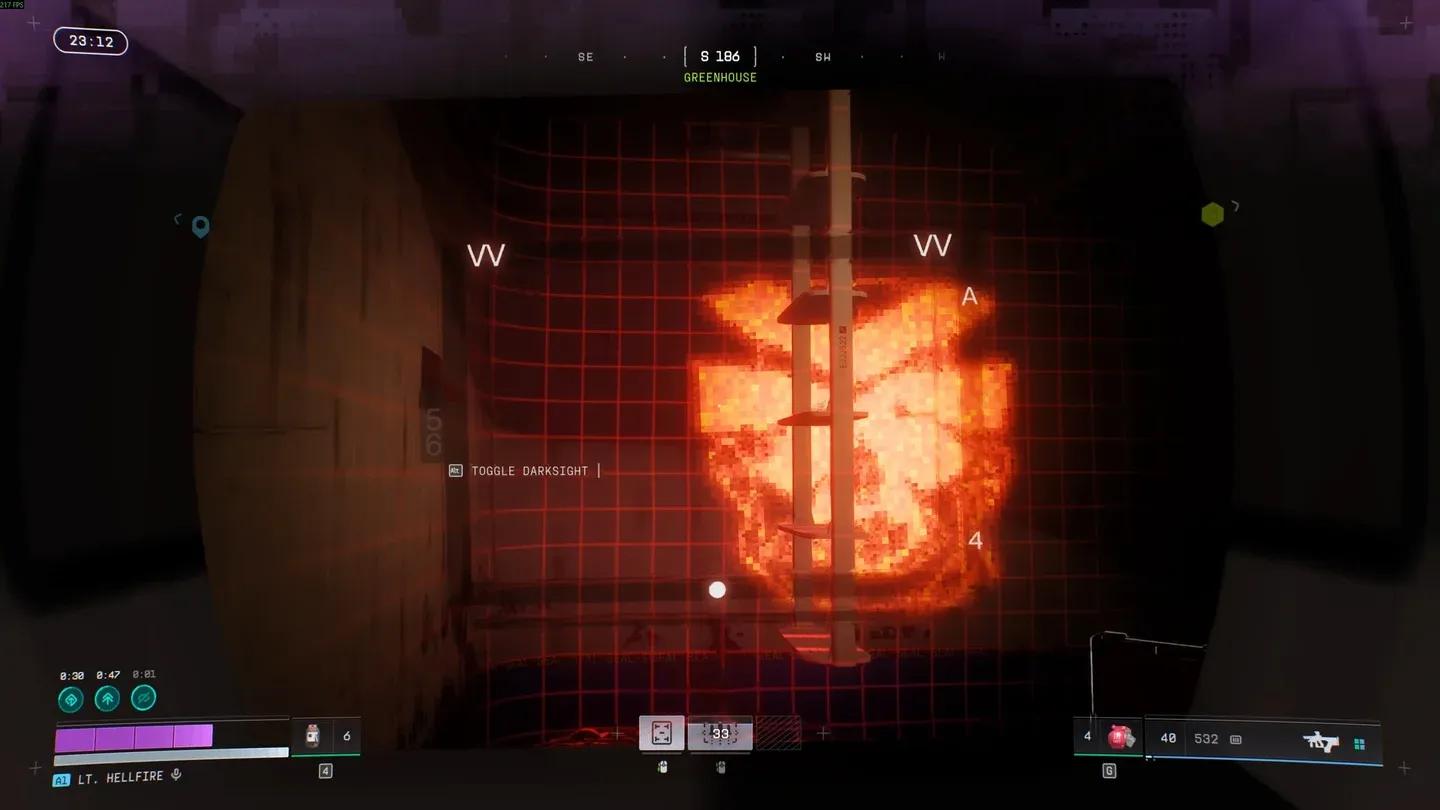
Darksight cache arrow overlay
These caches are not guaranteed to appear at every POI, so treat them as opportunistic finds rather than a planned route. If you are already running Darksight Optics for the button puzzles, scanning for cache arrows costs nothing extra.
For players still building their seasonal progression, the Marathon Cradle system guide explains how to spend your energy efficiently so the gear you extract from runs like this actually translates into permanent stat gains. Check the full Marathon guides collection for walkthroughs on every other contract and zone in the game.