
Season 2 of Marathon replaced the old faction grind with something that actually respects your time: the Cradle. Instead of farming faction contracts to unlock stat boosts tied to a specific Runner Shell, you now allocate Energy across six stat categories in a dedicated progression screen. Every Runner Shell you play benefits from the same Cradle, and you can redistribute points freely at any time with zero cost. The catch? Hitting level 84 to max every category is a long road, so knowing where to put your first points separates runners who extract clean from runners who keep dying in the same firefight.

Cradle stat allocation screen
How does the Cradle system work in Marathon Season 2?
Access the Cradle through your Shells menu by selecting Access Cradle. Every point of Energy you spend on a node is refundable, so there is no permanent mistake here. Nodes apply across all your Runner Shells simultaneously, meaning a Dexterity investment you make on one Shell carries over when you swap to another.
The Cradle resets at the start of each season alongside your vault, credits, and faction levels. What persists is your faction unlock status and any completed priority contracts. That reset is actually the best argument for experimenting early: nothing you do in week one is locked in forever.
Energy comes from leveling up your Cradle, and every 1,000 XP earns you one Cradle level. Two methods feed that XP pool reliably.
How to farm Cradle XP fast
The Matter Converter is your primary tool. Open your vault, select any gear you extracted that you do not need, and convert it. Gold-tier weapons you will never run, duplicate implants, Gold Triage cores sitting unused: all of it becomes permanent Cradle progress instead of clutter. Season 2 added batch selection, so you can convert an entire stack of purple items in one action rather than clicking through each piece individually.
The second method is completing Contracts. The game no longer cares which faction issued the contract: every completed objective feeds XP directly into your Cradle pool. Running contracts for map coverage also happens to be the fastest way to gear up, so you are earning XP and building your stash at the same time.
The six Cradle stats explained
Spreading points evenly across all six categories produces a runner who is mediocre at everything. Each category governs a distinct part of your behavior, and the perks unlocked at higher investment levels are where the real value lives.
Several upgrades that previously required committing to a specific faction tree are now inside the Cradle. Primed (start each run with a partial prime charge), Finisher Protection, and faster self-repair are all accessible without locking into one faction's path.

Endurance tree node layout
What is the best Cradle upgrade order?
After testing this across multiple run types, the answer is consistent: Endurance first, every time.
Heat capacity is Marathon's stamina system. More of it means more sprinting, faster repositioning between contract objectives, and more room to push a fight rather than retreat. The Quick Vent perk costs only 3 Energy and cuts the time you spend waiting for heat to recover after pushing your movement hard. Heat Dissipation at 9 Energy accelerates passive heat recovery. These two nodes alone change how aggressively you can play in the early season.
Once Endurance is solid, move to Recharge. Faster prime and tactical recovery means your abilities are available more often in contested zones. Head Start (4 Energy) gives you a partial tactical charge at run start. Primed at 10 Energy extends that to your prime ability. Both are significant quality-of-life upgrades that compound across every run.
Dexterity comes third. The base agility bump helps immediately, but the WEAVEworms perk at the higher investment level adds +55 to both agility and loot speed simultaneously. Faster looting means less time standing still in open rooms waiting to get shot.
Resistance follows once you are surviving encounters regularly. Scab Factory at 3 Energy makes you bleed out slower when downed, which matters in solo runs where no revive is coming. TCIV Resist at 8 Energy reduces damage from Ticks, lightning, and Heat Cascades, making hazard zones meaningfully less punishing.
Support and Strength are playstyle-dependent. Support pays off in trio squads, particularly the Factory Reset perk that restores your health when you revive a teammate. Strength rewards close-range aggressive builds, but its perks are the last thing you need when survivability and mobility are still being built out.
Faction priority order for Season 2
With stat upgrades moved to the Cradle, faction levels now unlock armory options: gear to barter, weapons to purchase, and faction-specific consumables. The grind shifted shape, but the stakes remain. Season 2 also removed faction reputation gates on priority contracts: finish one contract and the next unlocks immediately, which cuts early-game progression drag significantly.
Why NuCaloric is your second faction milestone
The gap between a blue shield and a purple shield is not cosmetic. Purple shields provide a substantial health advantage in every firefight, and NuCaloric is the faction that unlocks the purple shield barter. Save all Materialist Plus gear in your vault rather than equipping it, then burn through purple materials with Materialist Plus active once the barter unlocks.
NuCaloric's armory also provides free daily Patch Kits and Shield Charges after certain capstone unlocks. New runners burn through these consumables immediately. Veterans stockpile them. Getting NuCaloric to capstone before Cryo Archive opens means you are extracting with better survivability and spending less per run on recovery items.
For a deeper breakdown of how to spend Energy efficiently and avoid wasted nodes, the Marathon Cradle system guide covers the stat tree in full detail. If you want a broader picture of what Season 2 changed beyond the Cradle, the Season 2 overview covers the new Runner Shell, Night Dire Marsh, and both new weapons.
What else is new in Season 2 Nightfall?
The Cradle is the headline change, but Season 2 added several other systems worth knowing before you drop in.
Sentinel Runner Shell is the new defensive class built around squad anchor roles. It gives squads a clear defensive identity for players who want to hold positions rather than push aggressively.
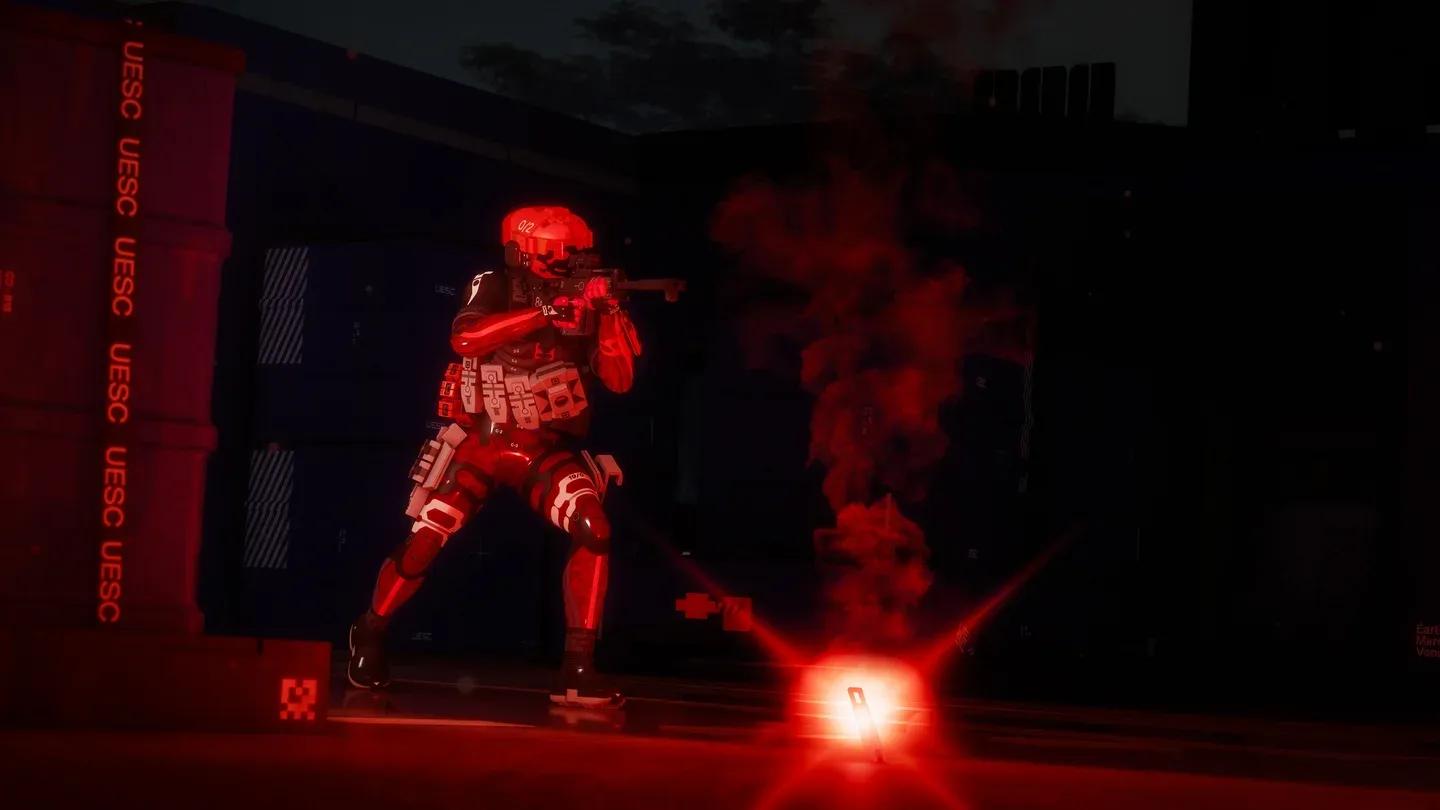
Night Dire Marsh runs on the same map layout as standard Dire Marsh but plays entirely differently. Limited visibility, flashlights that broadcast your position, and new enemy types that are not UESC make it lean toward survival horror pacing. If you need to unlock the Observation Labs there, the Dire Marsh Night guide walks through the Warden encounter and the loot available in the Upper Complex.
New weapons include the KKV-9SD, a suppressed SMG built for close engagements without audio giveaway, and the D54 Battle Pistol, a precision sidearm with a built-in retinal optic that functions as a secondary weapon with primary-tier utility.
Sponsored Survival Mode is an experimental PvE playlist: one squad, Night Marsh, no mid-run exfils, and an 18-minute timer with a single final extraction. The pressure is the point.
Sentinel Shell class overview
For the full picture on every system Season 2 changed, plus a ranked breakdown of which Runner Shell fits your playstyle, check out the complete Marathon guides collection.