
Mina the Hollower saves its hardest fight for last. Baron Lionel, the man who sent you across Tenebrous Isle to repair the Spark Generators, turns out to be the final obstacle standing between Mina and the truth. The confrontation plays out inside the Radiant Manor Study, which immediately transforms into a boss arena, and what follows is a multi-phase gauntlet that punishes impatience harder than any previous encounter in the game. This guide breaks down every attack, every tell, and every phase so you can close out the story without burning through your healing supplies.
What you need to know before the fight
Before you even step into the Radiant Manor Study, get your stats to level 10 attack and defense. That is the maximum level, and Lionel is tuned to be a genuine challenge even at the cap. If you are still sitting at level 7 or 8, you will feel it. Spend the time grinding, pick up any Health Roses you have missed, and settle on a sidearm loadout you are comfortable with. There is no shame in over-preparing for a final boss.
If you are still working through the game's other major fights, the Mina the Hollower beginner's guide covers weapon choices, bone management, and trinket fundamentals that will carry you into this fight in much better shape.

Radiant Manor Study arena
How to beat Baron Lionel: phase one attack breakdown
The first phase teaches you Lionel's core moveset. Every attack has a readable tell, but the window to react is tight. Rushing in for free hits is how most attempts end early.
Punch chain
Lionel winds up by pulling one fist back before throwing a punch. He can chain this up to three times, with each hit pushing him forward several tiles. These punches also flip arena tiles, which removes your ability to burrow into them. Burrow to the side when you see the windup, not backward, or you risk running out of safe ground.
Grab attacks
Lionel has two separate grab moves, and both are fight-enders if they connect.
- Soaring grab: Lionel stands completely still, makes a roaring expression, then launches across the arena toward you. Burrow as he closes the distance to pass through him entirely.
- Charging grab: Lionel drops to all fours and sprints around the arena. If he catches you, he bites down before releasing you. This one also restores his health, so avoiding it is not optional.
Blue energy wave
Many of Lionel's moves generate a bright blue energy wave across the arena floor. This wave flips tiles on contact, so your burrowing options shrink as the fight goes on. Track which tiles are still safe and plan your movement accordingly.
Tile electrification
Lionel can electrify the metallic tiles scattered around the arena. He usually lifts a leg before doing this, giving you a moment to step off. He can also trigger it without the tell, so staying off metallic tiles entirely is the safer habit.
Energy ball waves
Lionel roars before releasing a spread of energy balls that travel toward you. Burrow or jump over them when you hear the roar. He also has a variation where the energy balls float stationary around the arena instead of tracking you. These detonate in a grid pattern after a few seconds, so locate them, identify the safe zones, and move there before they go off.
What happens after the first health bar?
Once Lionel's health hits zero, he collapses. You approach the Prime Generator, but the fight is not over. What follows is the game's most demanding sequence.
Instead of a standard generator repair race against an electrical ring, you are climbing a tower while fighting Radiant Lionel, a transformed version of Lionel with a genuinely massive health bar. The climb itself is the arena.
How to beat Radiant Lionel: tower phase
Radiant Lionel's arms resemble the sea beast claws from the game's opening shipwreck sequence, which is not a coincidence. The attack logic is familiar: watch the position of the claw arms, wait for the strike animation, then rush in and hit the claw.
He also swipes with his own claws independently of the sea beast arms. Watch for him to pull a hand back and burrow to avoid the strike, same as the punch chain in phase one.
Lionel can extend a regular hand that produces small yellow, red, and blue orbs. These fly around the tower and fire lasers on contact. Keep moving and stay aware of where each orb is positioned as you climb.
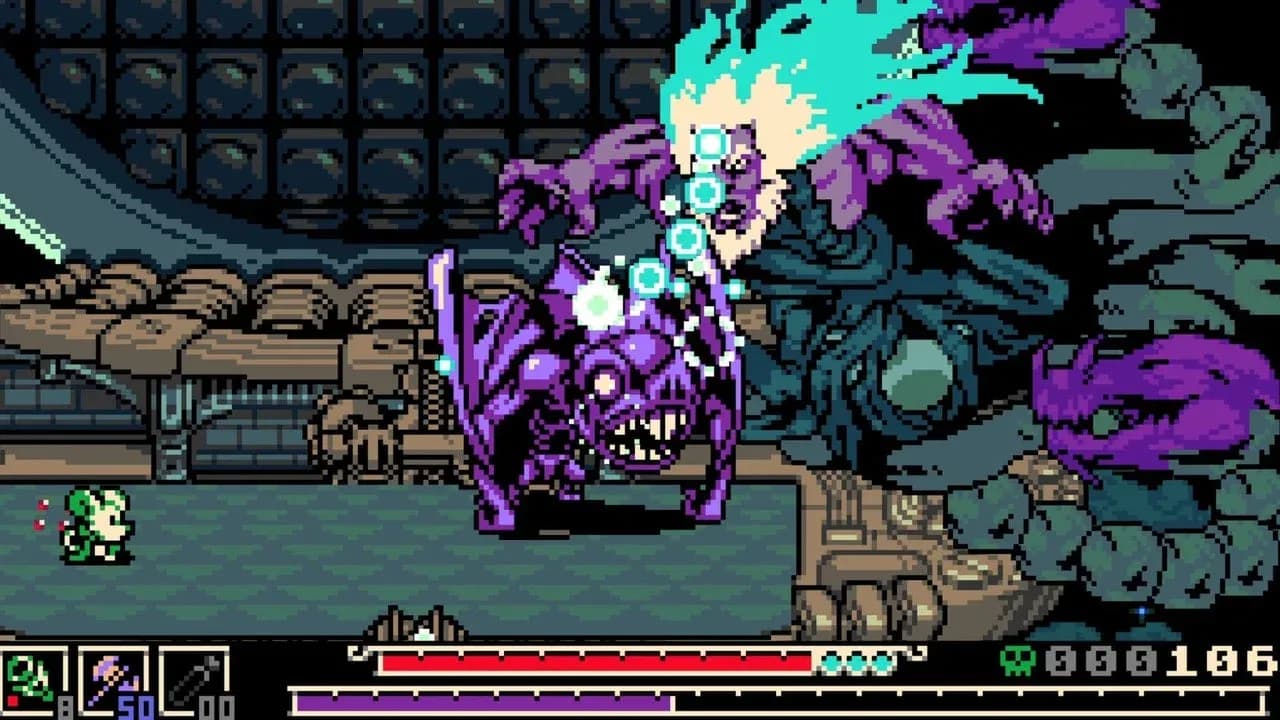
Radiant Lionel tower climb
Phase two at the top of the tower
When you reach the top, Radiant Lionel follows and continues the fight using largely the same moveset. The one new addition is a blue energy ball attack: Lionel rises up, his forehead glows, his hair turns blue, and a stream of blue energy balls pours out.
You do not have to survive this alone. Thorne arrives at this point and steps in to absorb the attack. Get behind Thorne until the barrage ends, then step back out and resume dealing damage. Once his health bar empties for the final time, the fight is over.
Repairing the last Generator triggers the ending cutscene and rolls the credits. The conclusion carries a bittersweet tone rather than a clean victory. Tenebrous Isle survives, but the cost of Spark technology and the truth behind Lionel's role in the island's corruption make for a more layered ending than a simple triumph.
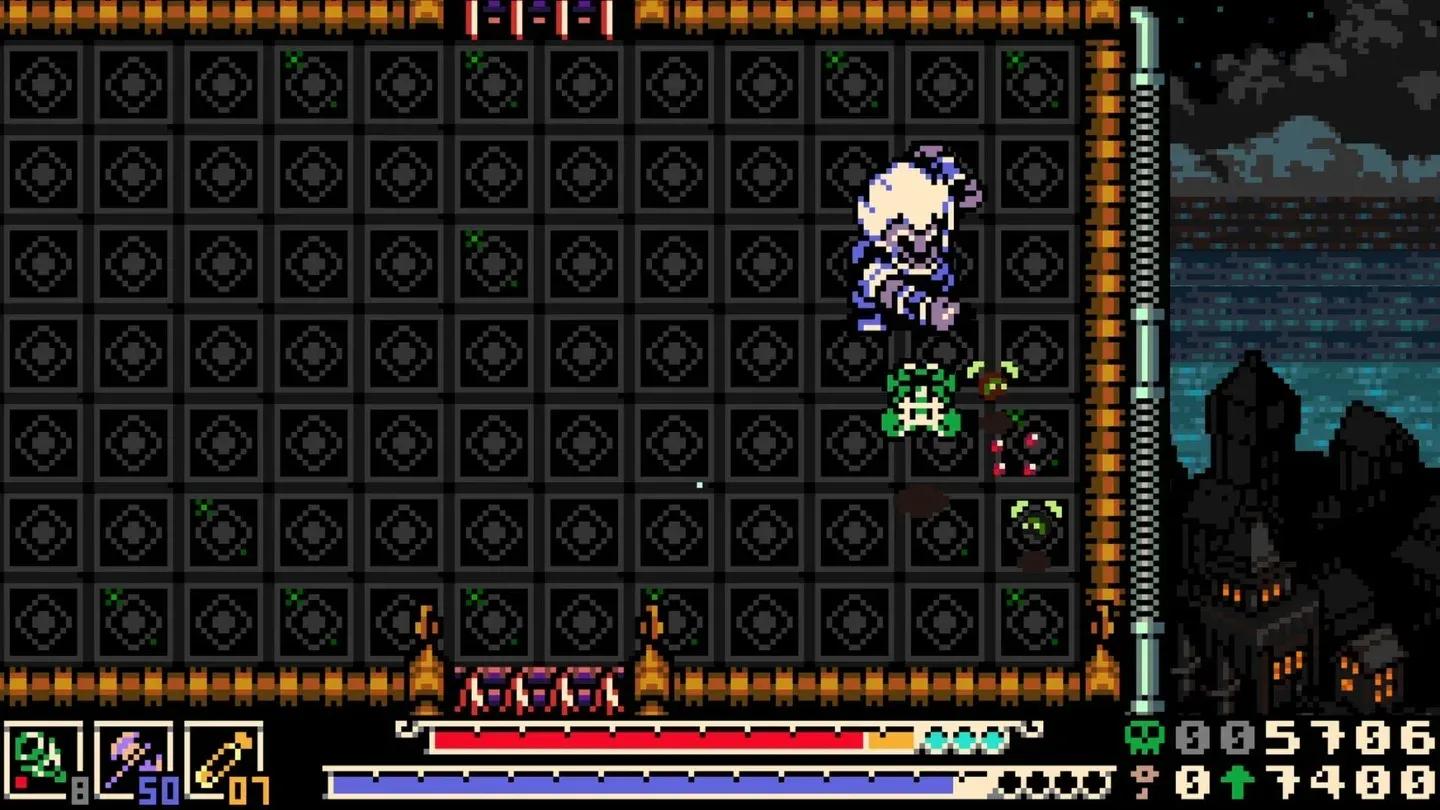
Thorne saves you from the barrage
Is there a true ending?
Defeating Lionel and watching the credits is the standard ending. Players pursuing full completion can find additional secrets, optional bosses, and post-game content across Tenebrous Isle that expands on the lore and leads to what the community calls the true ending. This requires going well beyond the main story, including optional objectives and hidden content.
Quick reference: Baron Lionel attack summary
Preparation checklist before entering Radiant Manor
- Reach level 10 attack and defense if possible
- Stock up on healing items and confirm your sidearm loadout
- Clear optional bosses for extra practice with burrow timing
- Review trinket options to find combinations that support survivability
For the best passive bonuses heading into this fight, the Mina the Hollower best trinkets guide covers which equips hold up in the game's hardest encounters. If you want to see how the earlier bosses compare in difficulty, the full Mina the Hollower guide collection has phase breakdowns for every major fight, including the Duchess of Queensbury boss guide for players who want to revisit earlier encounters before taking on Lionel.