
Bone Beach is one of the most content-dense areas in Mina the Hollower, and getting there takes real work. You have to push through Sandfalls, solve a multi-stage bomb puzzle, defeat a boss just to enter the region, and then navigate what amounts to a full dungeon inside a giant creature's body. This guide covers every step, from leaving Ossex to restarting the Shoreline Generator.
How do you get to Sandfalls?
Before Bone Beach is even on the table, you need to reach Sandfalls. Leave Ossex through the south exit and head one screen south. About halfway down that screen, turn east and go into the caves. Use the Puff Plants to leap across the gaps and work toward the central area, then use your Burrow ability to shunt a Puff Plant east so you can hop across.
From there, leap on the Puff Plants heading east and north until you reach the stairs back outside. Head south, defeat the nearby enemies, then burrow underground to launch a Puff Plant to the southwest. Jump onto it to reach the southern ledge, lower the rope as a backup, then head east past the large mouse guard and into the next cave.
This next section is the Mining Passage, a short parkour mini-dungeon with invisible platforms. The gold specks on the floor and dripping liquid from the ceiling tell you where to step. Work through three rooms, hitting buttons and timing your movement around a sliding rope in the second room. Once you clear the last button room and head back up the stairs, use the Underlab to save before continuing south into the main Sandfalls area.
Sandfalls bomb puzzle setup
How do you open the entrance to Bone Beach?
The central platform in Sandfalls is sealed behind a lock requiring three Plasma Vials, but you cannot even reach it until you destroy a series of TNT-laden mine carts using bombs scattered around the area. Each bomb has a short fuse, so you need to move quickly once you pick one up.
Here is the sequence:
- On the southern end, lift the bomb and throw it onto a moving platform so it detonates next to the first TNT cart rather than falling into the pit. This opens a tunnel below leading to a Pig Soldier enemy.
- Defeat the Pig Soldier, head south, kill the red frog in the spiked area, and attack the grass to open the north exit. Use the bomb here to blow up the first of three mine cart groups.
- Head northwest and jump across to the area with two red snakes. Burrow through the tunnel on the left, hop over the gap and spikes to reach a ladder and another bomb. Hop off the cliff to the right and circle around to detonate the four TNT carts to the south.
- Return to the bomb in the southeastern corner, but this time carry it east across the moving quicksand platforms and throw it at the two carts there. This clears the path to the Bone Beach Train Station.
- Pick up the last bomb to the north, leap off the ledge to the left, and run northwest to find the final TNT group. Jump partway there before throwing to save time on the fuse.
Once all carts are cleared, head to the central platform and spend your three Plasma Vials to enter the boss arena.
Beating Major Miner
Major Miner attacks with pickaxe fault lines, ground smashes that scatter rocks, and spinning charges across the arena. His subordinates throw pickaxes and can also hurl themselves at you. The key mechanic is using Burrow to grab those subordinates and throw them at Major Miner for damage, which also stops him from healing. Once he falls, you arrive in Bone Beach.
Bone Rush Trail and Mining Camp
Your first stop inside Bone Beach is the Bone Rush Trail. You will find Lionel and Mr. Fergus here. Mr. Fergus is hurt, so give him a Plasma Vial before moving on. He is standing in front of a breakable wall you cannot access with him blocking it, so note this location for a return visit.
Head north using the grabby hooks to cross the cavern. These hooks release you after a few seconds, so move without hesitation. Collect Bonestone Flakes as you go, then work south into an archeology site full of purple bumpers that launch you on contact. Burrow underneath bumpers to remove them and clear your path.
The next stretch combines moving platforms, grabby hooks, bumpers, and enemies simultaneously. Prioritize killing the bird enemy early so you can focus on the platforming below. Hit the breakable bone tile at the bottom, drop down to a conveyor belt, dodge the Miner's axes, destroy a bush in the bottom-left corner, and defeat the Miner to claim the Bones from his chest.
Keep moving south through more conveyor belts until you reach a tent near the dark water. Inside you will find a pipeline back to Sandfalls and a vendor named Brac who sells several items, including a Kear. Stock up, then return to Bone Rush Trail and head right into the Mining Camp.
The Mining Camp introduces big red eyeball enemies that roll toward you. Hit them to disable them temporarily, then move past and climb the stairs to reach the Calcified Caves through a breakable wall on the left.
New to the game and want foundational tips before tackling this region? The Mina the Hollower beginner's guide covers weapons, bones, trinkets, and survival basics that apply here.
Calcified Caves enemy patrol
How do you get through the Breached Creature?
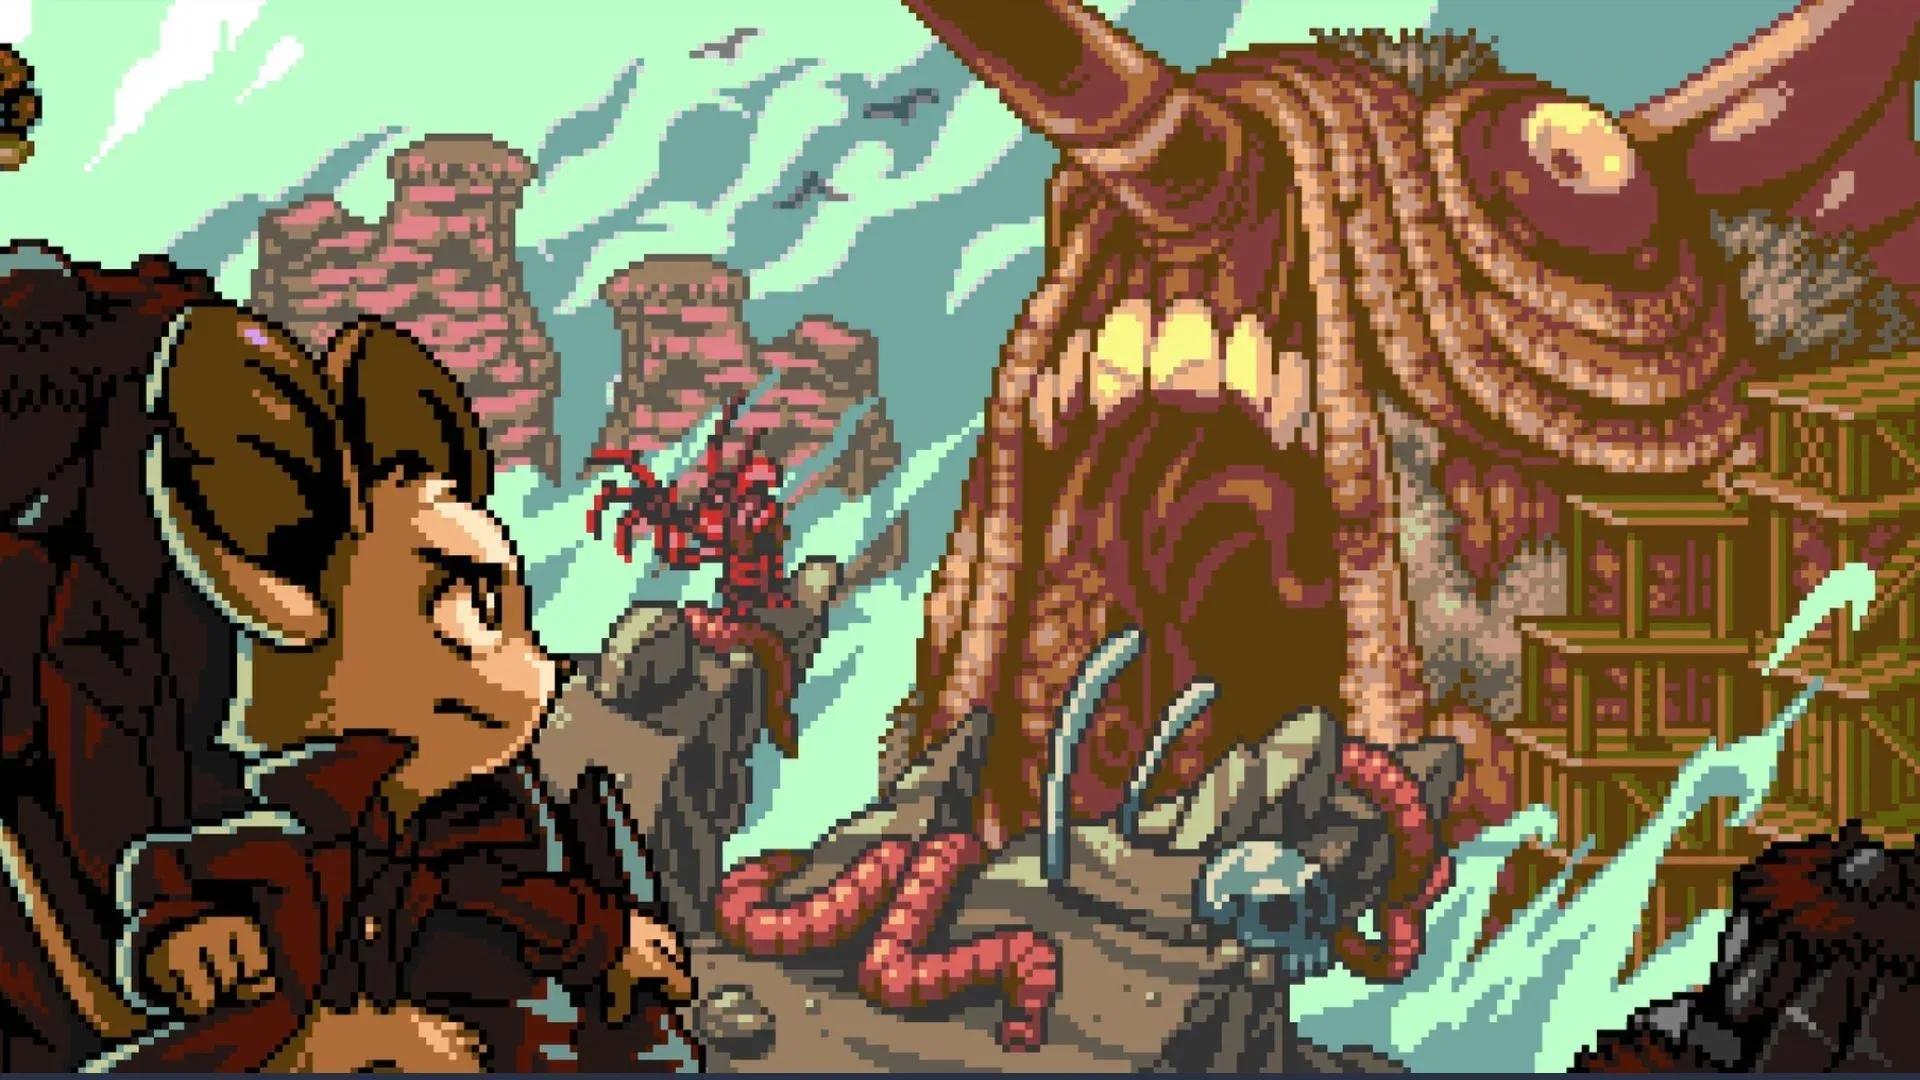
The Breached Creature is the dungeon centerpiece of Bone Beach. You are literally traveling through the body of a massive dead organism, and the game commits to that premise with egg sacs, pulsing organic walls, and bone-based architecture throughout.
Hit the breakable wall tile to the left of the entrance to create a shortcut, then head into the creature's mouth.
Dreadworm's Maw
Hit the teeth for Bones and to clear a path, defeat the tethered enemy near the mouth, then burrow through the shallow tunnel to reach the Pulsing Tract.
Pulsing Tract
Egg sacs here release spiders when you approach. Destroy the eggs before they hatch rather than fighting the spiders afterward. There is a small northern room with a solid Bones haul worth grabbing.
A large moving platform dominates the next section. Watch its full cycle before committing to a move, then head left, north, and right to exit through the top-right corner. Burrow through the next tunnel, defeat the skull enemy, and smash the breakable wall tile opposite the top-left stairs to find a narrow passageway with a Bone at the end.
Use the hook in the middle section to launch left, defeat the large enemy, then use the top-left hook to reach the bottom-left corner. Drop into the hole to reach the Worm's Back.
Worm's Back and the two buttons
Head right and drop into the pit with the tent. Inside you will find chests and this region's mirror. Walk into the mirror for at least three seconds and hit the switch inside if you still need it.
Back outside, head right and use Burrow to move bumpers out of your way. Go up the stairs and navigate the conveyor belts heading right until you reach an L-shaped pit. Drop in at the corner specifically, because landing on the corner puts you directly on top of the first button you need.
Button 1: Burrow into the central hole to launch upward, ride the grabby hooks to the bottom-right corner, and get dropped to the lower level. Destroy the Bone tile on your left. Then use the purple launchers to reach the button on the right-side platform, which places one purple launcher on the conveyor belt above. Jump back to where you destroyed the Bone tile, use the launchers to reach the middle platform left of the button, then use the newly placed launcher to reach the platform above and press the button that lowers one spike barrier.
Button 2: Use the central hole again to reach the upper level and head left. Two formations sit along the left side of the room, one rectangular and one square. Ride the hooks up toward the left corner and drop into the center of the square formation to land on the second button. Then go back to the hole and walk straight off the edge behind it.
For a more detailed breakdown of this specific puzzle section, the Stomach Mines navigation guide covers the button sequence in full.
Gut Depths
Slow-moving platforms carry you down through this area. Use conveyor belts to hold your position while waiting for platforms to reappear. Some stopping points give you only one tile of space, so this section demands your best platforming.
Near what looks like a dead end, jump south over the ledge to find a metal platform with three large green organic enemies. They can knock you off the moving platform, so keep track of both the enemies and the platform's position simultaneously. Defeat the last one and catch the hooks to the right to reach the halfway point.
Travel left and down, destroy a tooth to create a safe spot, defeat the Miner blocking the staircase, and follow the platform down to another conveyor belt. Ride it to the next hook, use the hook to reach the left side of the room, and keep heading south. At the bottom of the room, drop into the hole on the right, then into the hole inside that to reach the boss room.
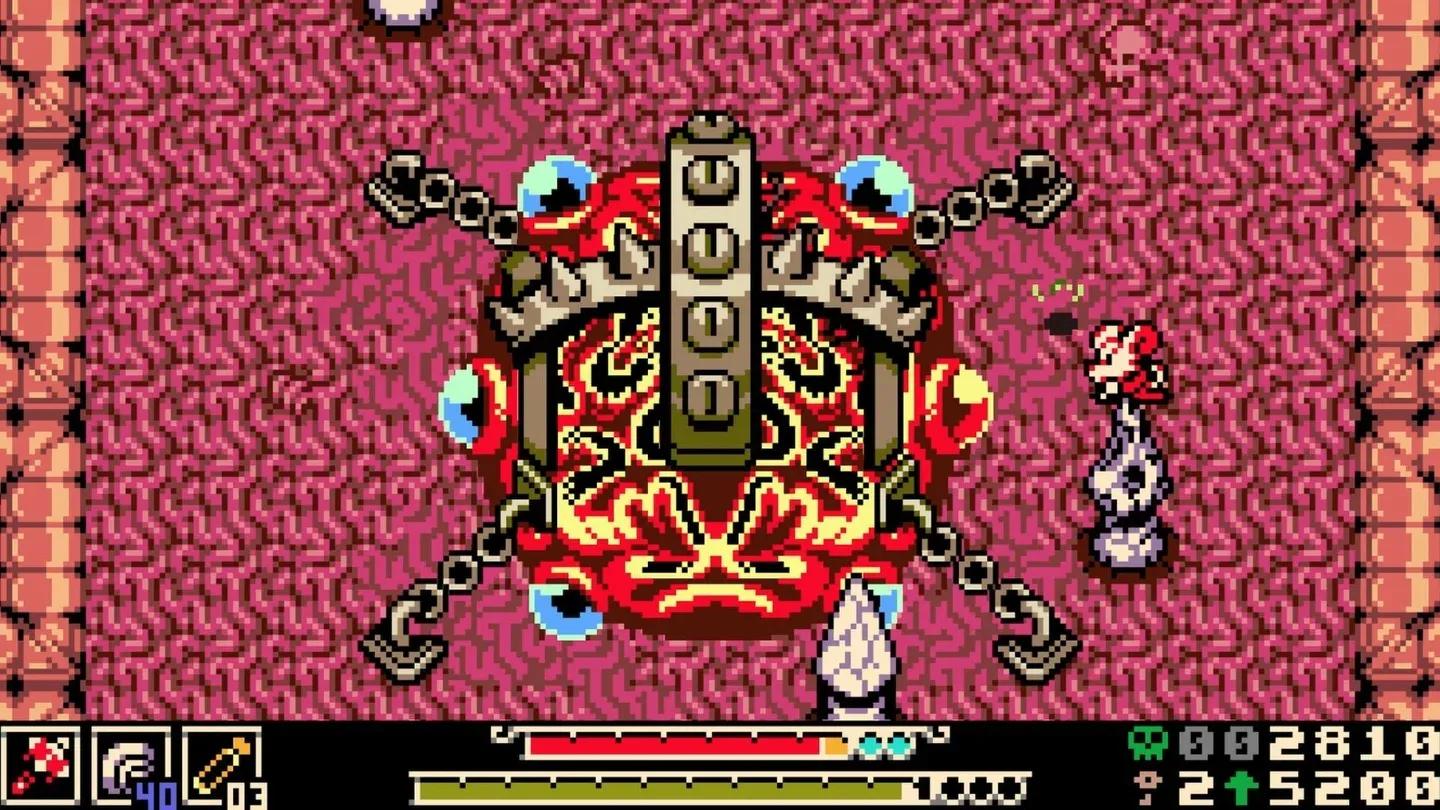
How do you beat Mined Mind?
The Mined Mind is the brain of the Breached Creature, and it has six eyes that are the core of the fight. Destroying all six eyes is your only win condition, but the boss makes this progressively harder as the fight goes on.
Reaching around level 8 before this fight makes it manageable. Level 9 is more comfortable, and level 10 makes the fight significantly easier.
The four wall eyes (two at the top, two at the bottom) shoot lasers at you. Close them by hitting each one, and they will stay dormant for a window of time. Use those windows to land hits on the main brain. In the later stages, the brain breaks free and starts bouncing around the arena. Each impact triggers laser strikes, so Burrow to escape the firing line and hit the brain before it rises again. Once the final eye goes down, the fight ends.
Mined Mind six-eye boss fight
Shoreline Generator
After the Mined Mind falls, exit through one of the two doors at the back of the arena and burrow into the hole to return to the Worm's Back. Head forward then left, working back toward Ossex until you reach the Shoreline Generator.
The Generator race here uses Bone Beach's own obstacles as its challenge set:
- White lightbulb blockages must be hit with your weapon to break. These are unique to this tower.
- Grabby hooks appear throughout the climb. Jump up to grab them and launch over barriers.
- Some hooks sit in front of purple bumpers. Grab the hook, jump onto the bumper, and soar over whatever is blocking you.
- The large green organic enemies from inside the Breached Creature appear near the top. Hit one once to move it out of the gap and slip through. No need to fully defeat it.
Burrow into the hole at the top of the Shoreline Tower to restart the Generator. Coltrane Peak is your next destination, but the Train Station requires $10,000 to unlock unless you have already done so. Bone Beach is the most Bones-rich area in the game up to this point, so spending time farming here before heading to the station is a smart move.
For everything else Bone Beach connects to, including weapon upgrades hidden across Tenebrous Isle, the Mina the Hollower guides collection has you covered.