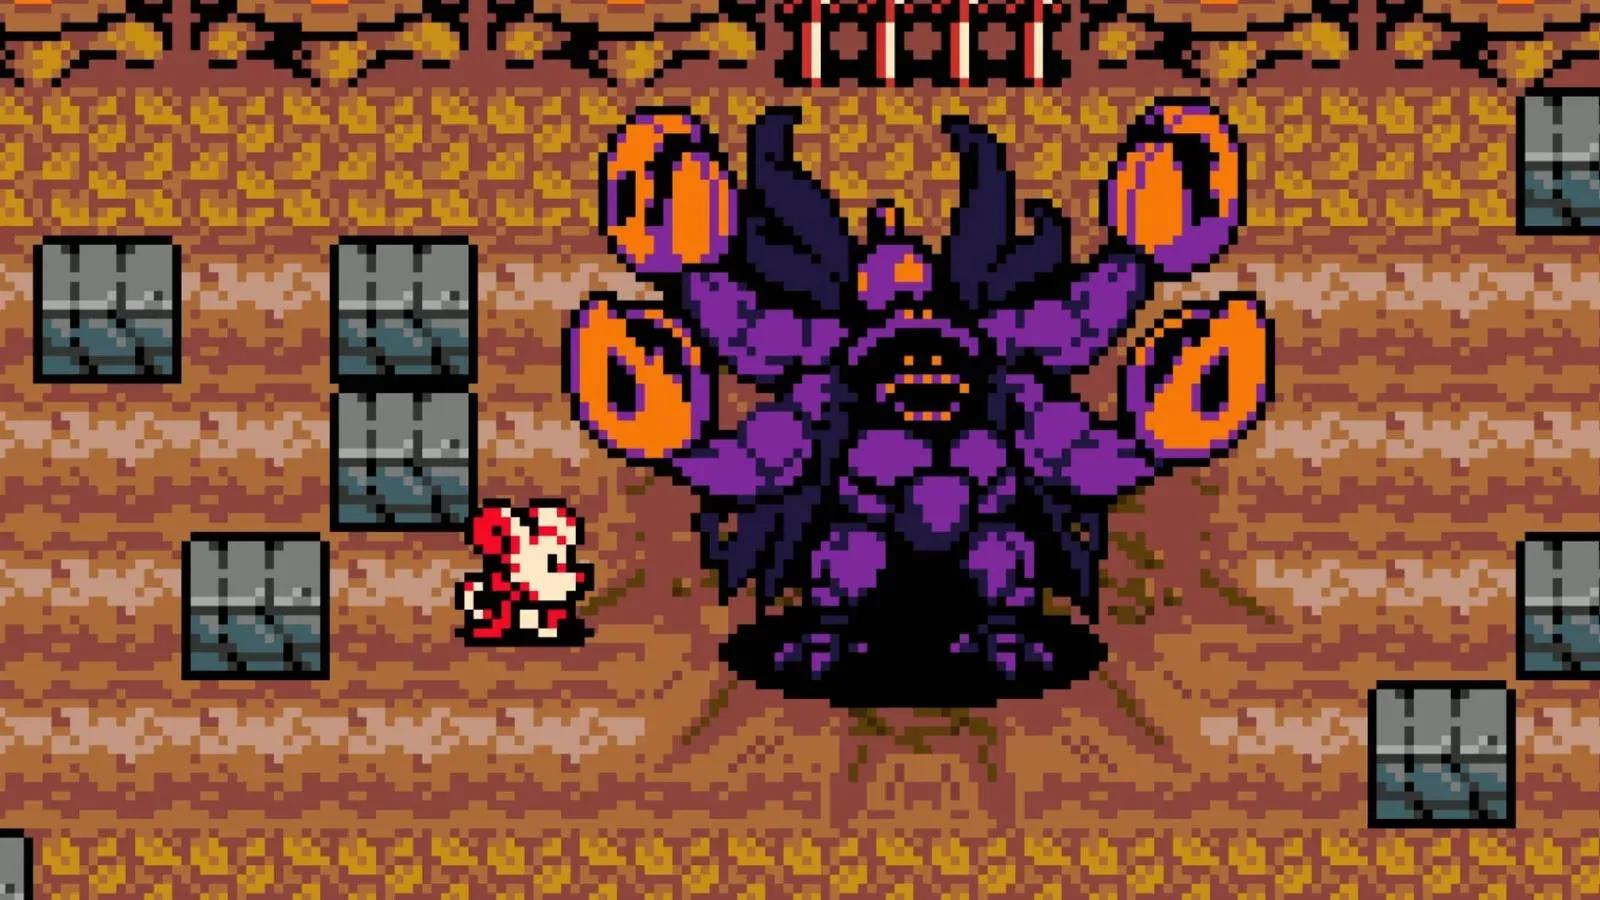

Mina the Hollower has no shortage of tough bosses, but the Carving Man earns a special kind of frustration by stalking you through an entire level before you ever get to fight him properly. By the time you reach the arena, you already hate him. The good news: the fight is winnable with the right setup and a clear read on his attack patterns. Here's everything you need to know.
How should you prepare before the fight?
Getting your trinket loadout right before entering the arena makes a bigger difference here than in most other encounters. The Carving Man is a large target, which works in your favor with certain trinkets that reward sustained contact.

Trinket setup for the Carving Man
The three trinkets worth having equipped going into this fight are:
- Oozing Organ: Leaves a puddle of acid at every burrow point, dealing passive damage and regenerating Plasma. Against a boss this size, those puddles land constantly.
- Chain Capacitor: Increases your damage output with every successive hit on the same target, resetting only when you miss. The Carving Man's large hitbox means you can stack this reliably.
- Proto Spark: Essentially gives you an extra life. You unlock it after clearing Queensbury Crypt, and there are very few situations in the game where it shouldn't be in your loadout.
The Proto Spark is arguably the best trinket in the game. If you haven't picked it up yet, clear Queensbury Crypt before attempting this fight.
For a full breakdown of where to find every trinket in the game, the complete trinket locations guide covers all 60 and what each one does to your build.
What are the Carving Man's attack patterns?
The fight runs in a single phase, but it escalates significantly as his health drops. Understanding what he does at each stage tells you exactly where to stand and when to hit.
Early phase: lunges and falling debris
The Carving Man opens with short lunges and occasional long-range grab attempts. The key positioning rule here mirrors what works against the Duchess in Queensbury Crypt: he cannot attack directly above or below himself. Staying on his vertical axis keeps you out of range of both lunge types.
Every time either you or the boss collides with a wall, concrete blocks fall from the ceiling. They're slow enough to dodge individually, but enough of them accumulate to complicate your movement paths. Keep an eye on the floor space you need to work with.
Stay above or below to dodge lunges
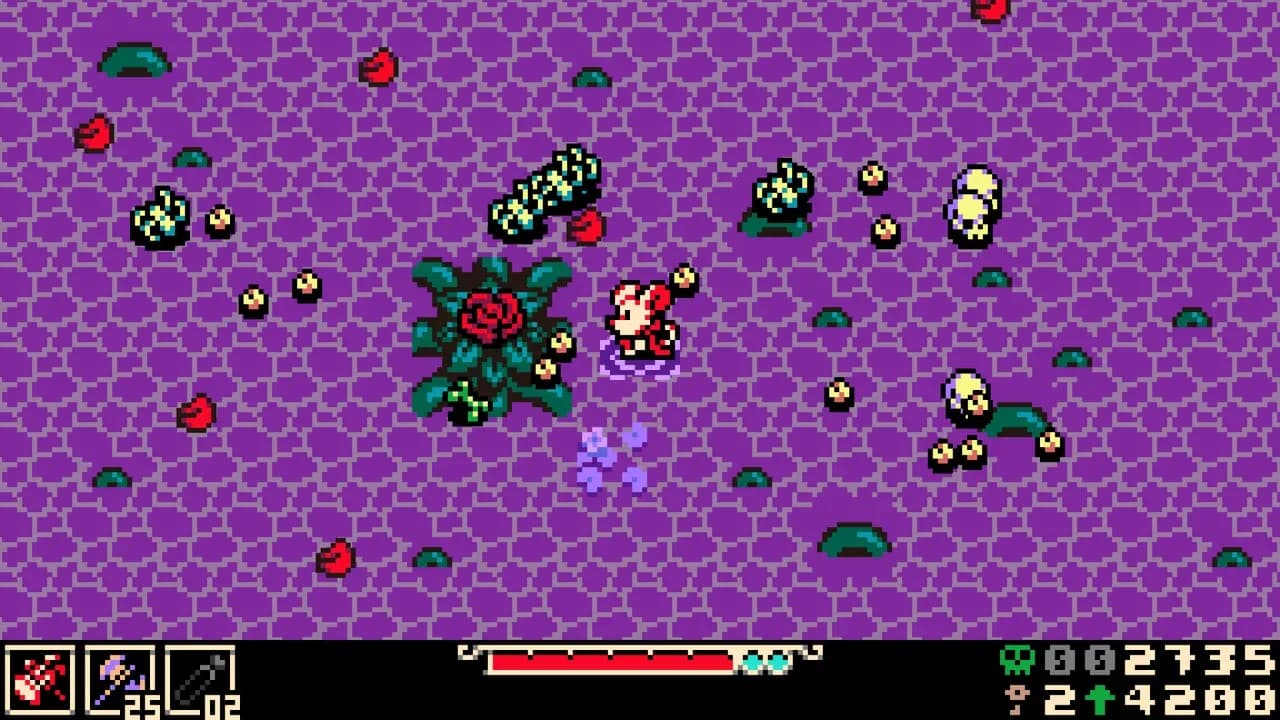
Mid phase: spawned heads
After taking enough damage, the Carving Man releases 4 detached heads that actively chase you around the arena. These need to be your immediate priority the moment they appear. Letting them pile up while you try to keep attacking the boss is how runs fall apart here.
Don't ignore the spawned heads to squeeze in extra hits on the boss. A single head catch while you're mid-combo can chain into a second hit before you recover.
Late phase: rain and lightning waves
Rain filling the arena is your signal that the fight is about to get significantly harder. The Carving Man gains two new lightning-based attacks at this point:
- Circular waves: Lightning pulses outward from his body in expanding rings.
- Spinning waves: Lightning rotates around him in a sweeping arc.
Both can be jumped over. More than that, the gap between each wave is wide enough to land at least one hit if your timing is clean. This phase feels dangerous but is actually one of your best damage windows if you stay calm and read the pattern.
The arena itself also charges with ambient lightning during this phase. The Carving Man acts as a conductor for it, so if you see the environment lighting up around you, close the distance to the boss rather than running away.
What's the best strategy to finish the fight?
The fight repeats its mechanics after the late phase, just faster. A few rules that hold throughout:
- Vertical positioning is your default. Above or below the Carving Man cuts off most of his offensive options.
- Hit him during lightning waves. The gap between pulses is a genuine damage opportunity, not just a survival moment.
- Don't get greedy with the Chain Capacitor. The trinket rewards consecutive hits, but chasing a combo into a bad position resets the stack anyway and costs you health.
- Close in when lightning charges the arena. Running from the ambient charge puts you in more danger than staying near the boss.
The fight accelerates in its final stretch. The same patterns you've been reading will come faster, so tighten your reaction window and resist the urge to overstay your damage windows.
After testing the fight across multiple runs, the combination of Oozing Organ, Chain Capacitor, and Proto Spark consistently outperforms other setups. The acid puddles from burrowing deal meaningful passive damage during repositioning phases, and the Chain Capacitor scales well once you learn the safe windows.
For more boss strategies and everything else Tenebrous Isle throws at you, the full Mina the Hollower strategy guides collection has you covered from start to finish. If the Duchess in Queensbury Crypt gave you trouble before this fight, the Duchess boss guide breaks down her phase-by-phase patterns in the same format.