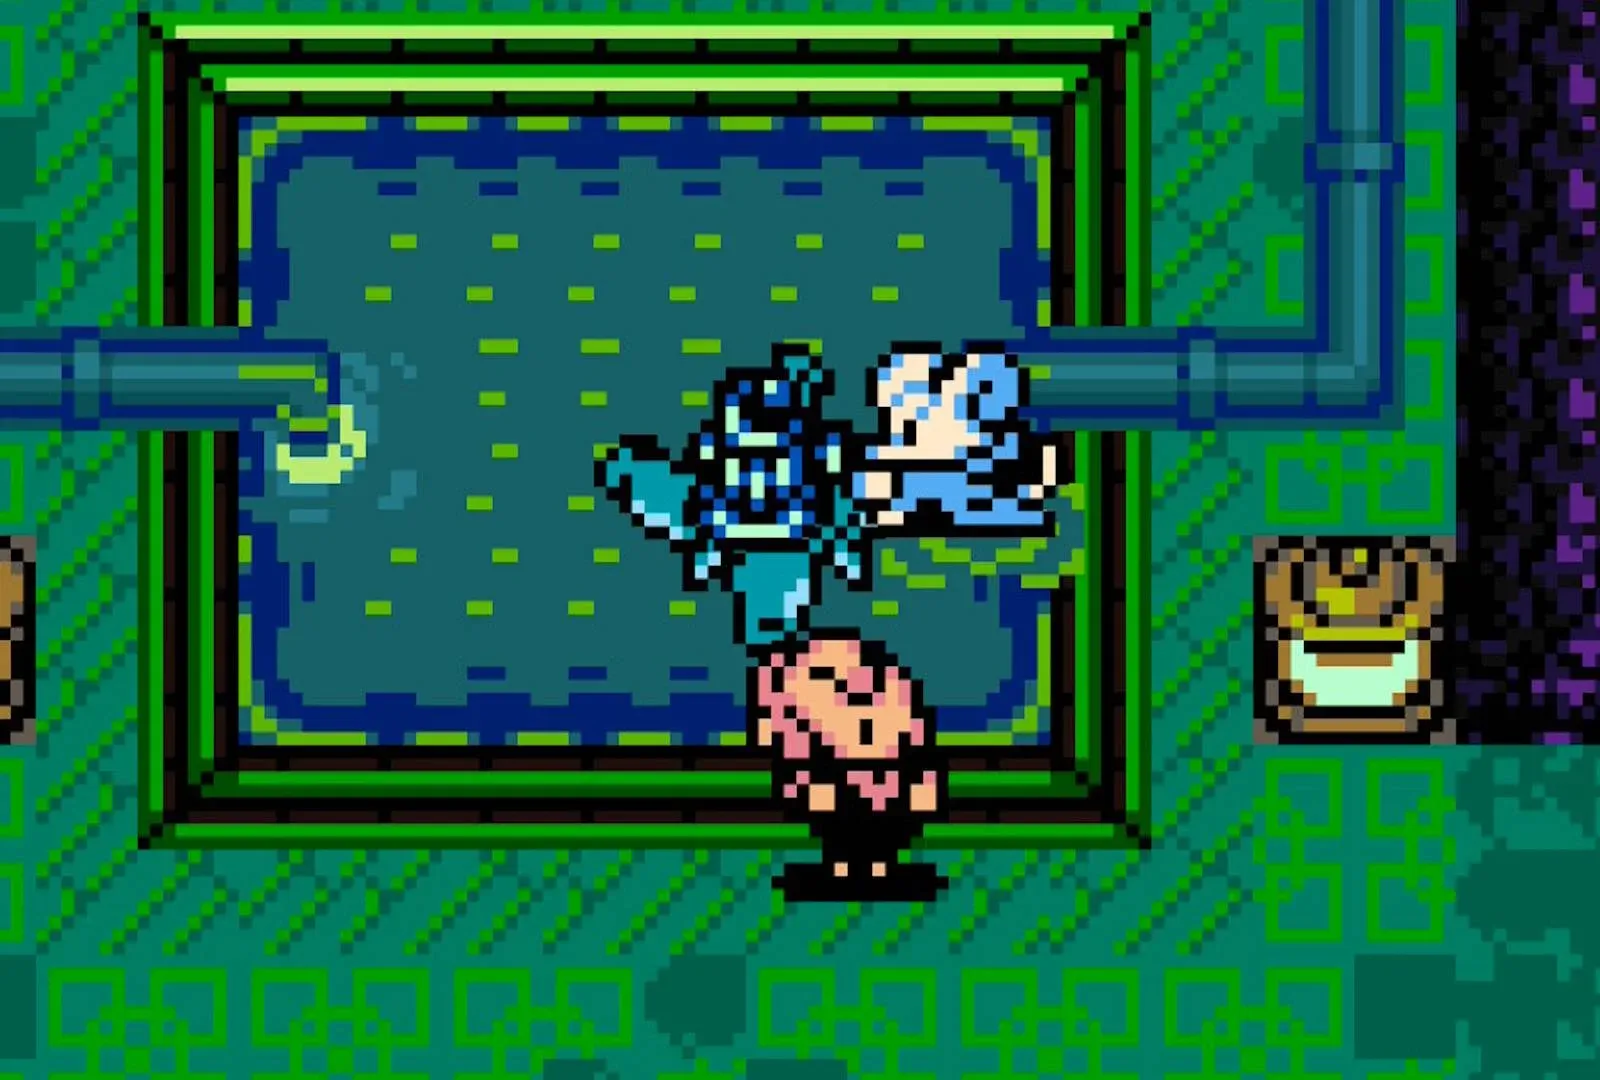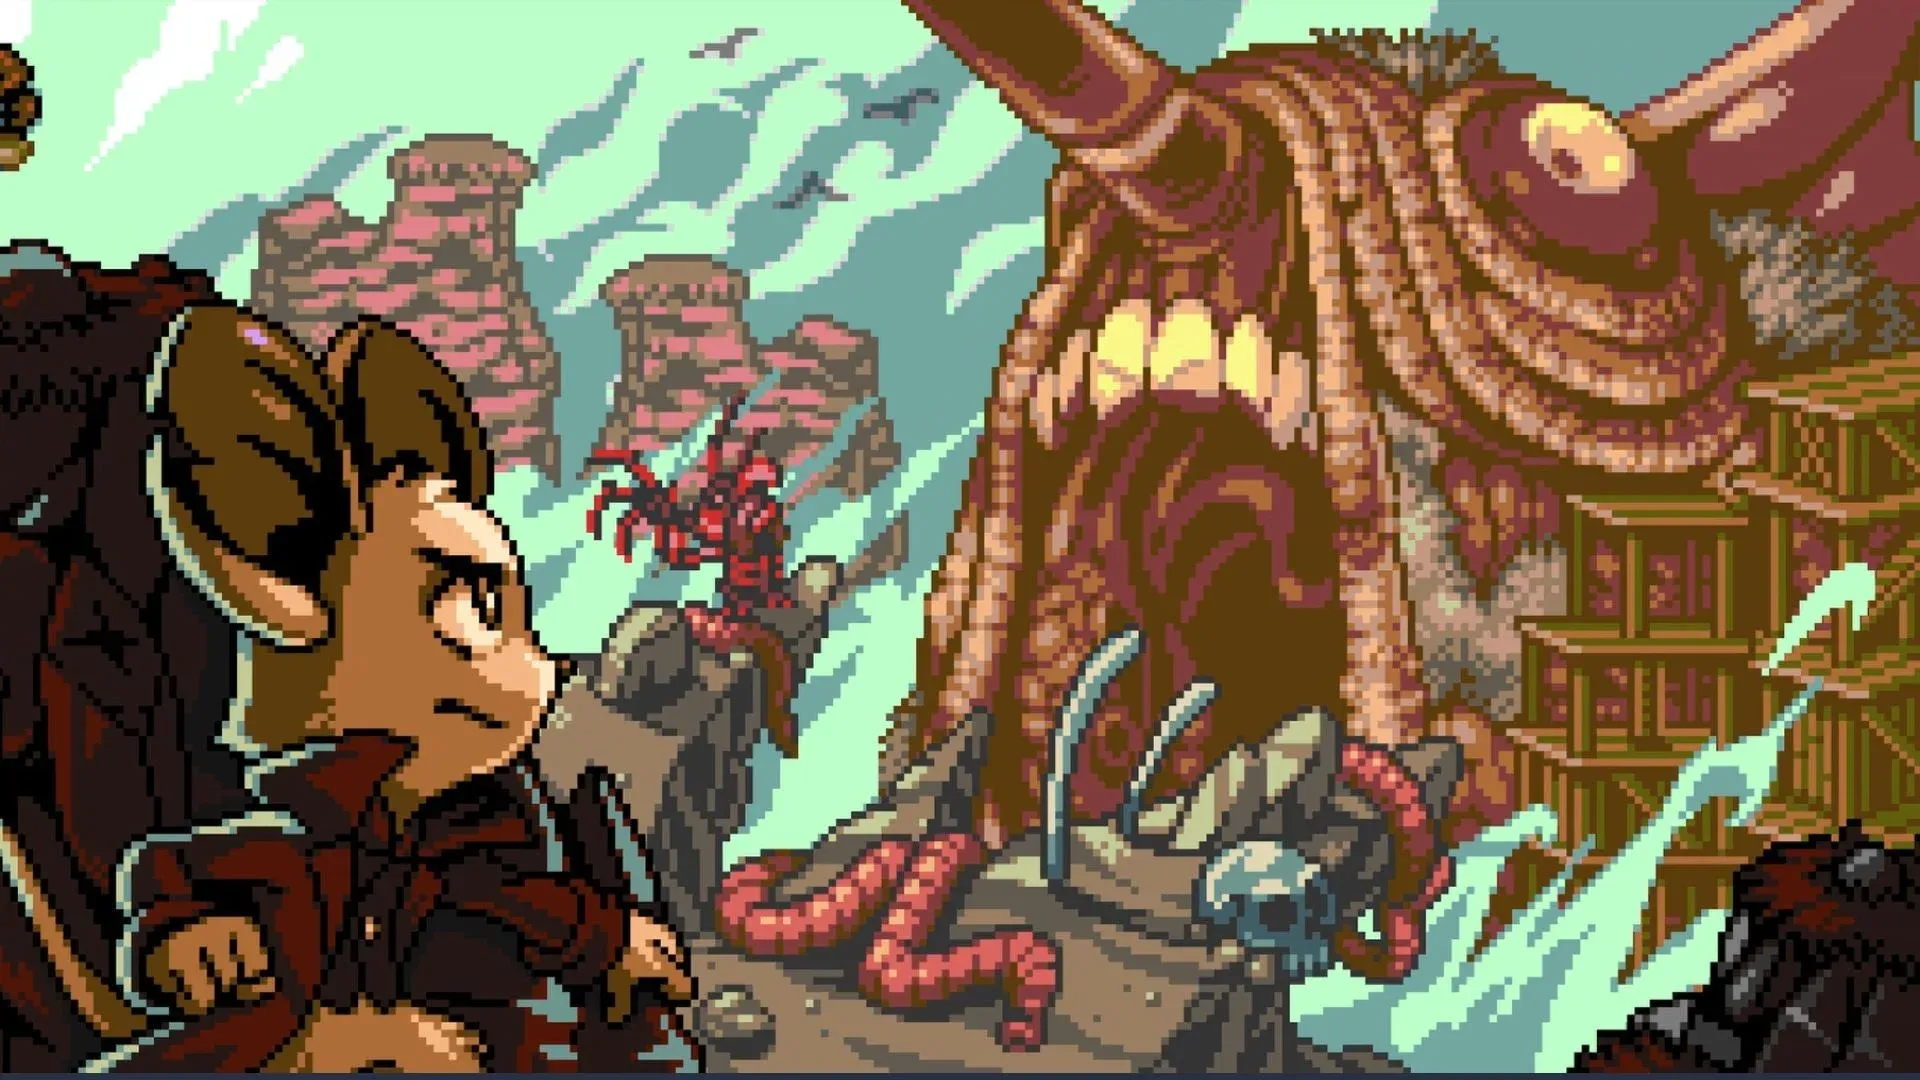

Mina the Hollower hides 60 trinkets across its sprawling Tenebrous Isle, and missing even a handful will leave your build feeling incomplete. Some you buy for a few hundred Bones at the Trinket Bazaar in Ossex. Others require you to crush a leaf NPC, attend its funeral, and pocket the corpse. Yacht Club Games clearly had fun designing these, and hunting them all down is half the pleasure of the game. This guide covers every trinket, what it does, and exactly where to get it.
What are trinkets and how do they work?
Trinkets are equippable collectibles that modify how Mina plays. They cover everything from raw stat bumps (raising Attack, Defense, or Sidearm level by one) to full mechanical overhauls like Wallower's Gauntlets, which lets you burrow directly into walls. You can find them in chests, buy them from merchants, earn them as NPC rewards, or unlock them by completing minigames and sidequests. Many are time-gated behind story progression, so some trinkets that appear in Ossex won't show up in Lady Susan's shop until after specific bosses are defeated.
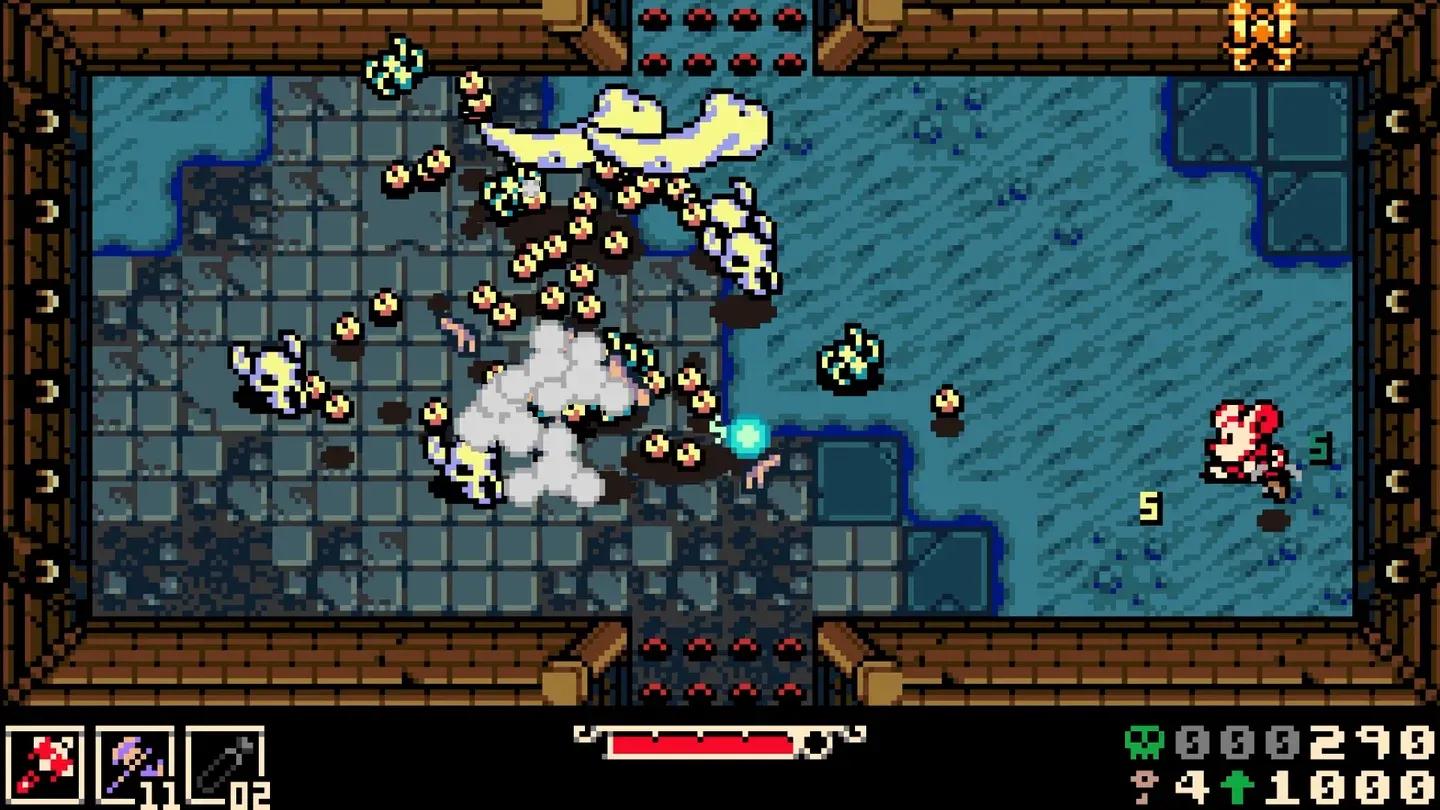
Trinket equip screen


All 60 Trinket Locations
The sections below are organized by region in rough progression order. Bone costs are included where confirmed.
Ossex (15 trinkets)
Ossex is the game's central hub and holds the largest single concentration of trinkets. Lady Susan's Trinket Bazaar is the primary shop, but several trinkets here require sidequests or specific NPC interactions.
| Trinket | Effect | How to Get |
|---|---|---|
| Plasma Funnel | Drink Plasma Vials twice as fast; don't lose Vials when hit | Buy from Trinket Bazaar (700 Bones) |
| Seismic Belt | Press Attack while burrowing to emit a damaging pulse | Buy from Trinket Bazaar (700 Bones) |
| Brisk Brew | Walk faster; gain a speed burst after hitting a foe | Buy from Trinket Bazaar (700 Bones) |
| Intravenous Vial | Auto-use a Vial when you have enough Plasma | Buy from Trinket Bazaar (1250 Bones) |
| Shock Flint | At full Plasma or health, fire a shock ball that grows over distance | Buy from Trinket Bazaar (1250 Bones) |
| Bubble Ring | Strike foes quickly to form a shield absorbing one hit | Buy from Trinket Bazaar (1500 Bones) |
| Counter Vial | Dodge and launch a burst at an attacker who hits you while healing | Buy from Trinket Bazaar (2000 Bones) |
| Uranium Bracelet | Deal and receive significantly more damage | Trinket Bazaar after expansion, or defeat the Nether Kraken |
| Steady Soles | Move normally on water, grass, stairs, and ice; resist knockback | Ossex City Center: head north on High Street to the telescope, turn left to a dead end, burrow south into the attic, take the upper-left stairs to the balcony |
| Deboning Wand | Enemies drop far more Bones, but they bounce around | Ossex Courtyard: borrow bones from Elizabeth, return 1000 Bones to her |
| Valor Medallion | Move slightly while healing; no Plasma lost when struck | Find Furl on High Street near the Strategy Center, hit his nose to extend it, walk across to grab the bouquet, bring it back, then nudge him toward his love interest |
| Bell of Grace | Chance to keep Spark on death; on sparkless death, save half your Bones | Attack the aggressive bone thief wandering Ossex, then return 1000 Bones to Frayd at the homeless camp |
| Pneumatic Armlet | Supercharge throws — faster, farther, more damage | Beat Willis in the Ossex Music Hall (burrow under a passerby to get past the guard) |
| Warding Beastium | Take less damage, but healing is much less effective | Ossex Courtyard: exit east and cross the large gap (Wallower's Gauntlets, Keri the Wisp, and Bellows Bustle help here) |
| Thermal Pack | Boosts damage after death or exiting Underlab; fades, then returns stronger | Ossex Couples Quarters (door behind Trinket Bazaar), only appears after saving the Fiance from Bone Beach |
Southern Outskirts (2 trinkets)
| Trinket | Effect | How to Get |
|---|---|---|
| Keri the Wisp | Press Jump while airborne to float and extend your fall | Buy from Poppit's secret cave near Bone Beach Trail (500 Bones) |
| Primed Vial Pouch | Carry 2 extra Plasma Vials; Vials always restore some health | Southern Outskirts Commons: enter the Residence from the roof, head down to the basement chest |
Eastern Heath (4 trinkets)
One trinket here, Smelling Salts, is locked behind the Frozen Pass, which requires getting the train running from Ossex first.
| Trinket | Effect | How to Get |
|---|---|---|
| Smelling Salts | Raises Sidearm level by one | Eastern Heath: Frozen Pass, frozen inside a block of ice |
| Willow the Wisp | After taking damage, summon a wisp that boosts attack and speed | Buy from Poppit's secret cave in Eastern Heath Grassland (400 Bones) |
| Windfall Charm | Picking up Joules restores Plasma; foes hit by Sidearms can drop Joules | Find the boy flying the green kite in Eastern Heath Grassland and hit the kite with a weapon |
| Chain Capacitor | Hit enemies without missing to build damage; missing resets the combo | Eastern Heath Grassland: use a Kear on the Choppe Shoppe building and clear the destruction test in 30 seconds |
Nox's Bayou (6 trinkets)
| Trinket | Effect | How to Get |
|---|---|---|
| Twill Weave | Raises Defense level by one | Nox's Bayou: Boat Bog, on a cliff reached by rope near the watery Nox patrol section |
| Vascular Syrup | Health drops very slowly on hit; you can't die until it runs out | Nox's Bayou: Big Lagoon |
| Pit Preserver | Bounce when falling into pits; reduced pit damage | Nox's Bayou: Big Lagoon Swamp Shack merchant (1000 Bones) |
| Iron Lung | Increases maximum burrow time, even underwater | Nox's Bayou: Moonlit Path — defeat the Mock Moon mini-boss |
| Tumbling Tutu | Press Jump while airborne for a spin attack that bounces off enemies | Bring Cliff the frog back to the Bayou Band in Shanty Swamp; Cliff is near the Bayou dungeon boss exit |
| Volatile Beastium | Foes sometimes drop a bomb on death | Buy from a merchant on the train traveling from Bone Beach to Nox's Bayou |
Western Wilds (5 trinkets)
| Trinket | Effect | How to Get |
|---|---|---|
| Helio the Wisp | After taking damage, summon a wisp that restores health | Buy from Poppit's secret cave in Western Wilds: Molten Foundry (400 Bones) |
| Flame Guard | Blocks one fire or explosion hit, then recharges in a few seconds | Complete the lava puzzle in Western Wilds: Molten Foundry |
| Dummy Cache | Press Heal to place a Joule-filled decoy that distracts enemies | Fulfill the dying old man's wish in Western Wilds (requires visiting Coltrane Peak via train first) |
| Dead Leaf | Hold still to become a silent statue; breaks if you move | Step on the leaf NPC in Kindlewood, then return to Western Wilds: Occupied Bridge to attend its funeral |
| Lace Glove | Raises Attack level by one | Help Ack and Dak catch the bunny (second encounter, found in Western Wilds after leaving Backwaters) |
Knight's Rest and Mourner's Mile (2 trinkets)
| Trinket | Effect | How to Get |
|---|---|---|
| Spike Spurs | Take less damage on spikes; no knockback from them | Mourner's Mile: Knight's Rest — Shallow Tomb chest behind a destructible wall leading to a spike pit |
| Desperation Bonnet | Deal more damage at low health; Sidearms cost less at low health | Queensbury Crypt: Old Graveyard — find the hidden path north of the sleeping keeper, locate the coffin, burrow under it |
Queensbury Crypt (4 trinkets)
| Trinket | Effect | How to Get |
|---|---|---|
| Stolenoid | Pull nearby pickups toward you magnetically | Buy from Belvedere in Queensbury Crypt: Statue Head Hall (600 Bones) |
| Fly Bait | Defeat enemies to attract friendly flies that attack foes | Beat Midden three times across the dungeon in Queensbury Crypt: Ancestral Chamber |
| Proto Spark | Save yourself from death once; resets after dying | Seal the Duke in his coffin after the Queensbury Crypt boss fight |
| Starving Beastium | Vials refill Joules on use but restore less health | Mourner's Mile: Knight's Rest — enter the three-Spark door, lie in the grave, navigate the alternate world back to the grave |
Backwaters (3 trinkets)
| Trinket | Effect | How to Get |
|---|---|---|
| Spark Catcher | Grants 1 extra Spark Container; hit foes to recover lost Sparks | Buy from Pinky's Parlor in Backwaters (500 Bones) |
| Evasion Powder | Stay invulnerable longer after damage and briefly after exiting burrow | Backwaters: Shanty Swamp — steal Pinky's ladder and use it to reach the elevated chest |
| Glutton's Jug / Plasma Jug | Equip and defeat 50 enemies; returns as Plasma Jug (gain bonus Plasma, fill beyond maximum) | Talk to Buffo in Backwaters: Shanty Swamp, return the filled jug |
Mirror's End and Astral Orrery (3 trinkets)
| Trinket | Effect | How to Get |
|---|---|---|
| Reckless Beastium | After healing, next few hits are powered up but you're more vulnerable | Give Dr. Naught his brain in Astral Orrery: Mirror's End (smack the chipped northwest wall, toss brain on moving platform, burrow around to retrieve it) |
| Bridge Weaver | Step off a ledge to summon a web-weaving spider and cross gaps | Astral Orrery: Mutant Lab chest (accessible via purple tiles), or buy from Panino's in Ossex Station Underside (3000 Bones) |
| Vial Salvo | Launch missiles when using a Vial; bonus Plasma if foes are hit | Buy from Tubert in Astral Orrery: Stellarium, or Panino's in Ossex (2500 Bones) |
Kindlewood and Septemburg (6 trinkets)
Beating the Madd House in Kindlewood: Overgrowth unlocks Papa Madd's Shop, which sells three trinkets at 2000 Bones each.
| Trinket | Effect | How to Get |
|---|---|---|
| Draining Beastium | Sidearms deal more damage but consume more Joules | Papa Madd's Shop after defeating Madd House (2000 Bones) |
| Oozing Organ | Leave a damaging ooze trail whenever you burrow | Papa Madd's Shop after defeating Madd House (2000 Bones) |
| Voltaic Guard | Blocks one lightning hit, then recharges in a few seconds | Papa Madd's Shop after defeating Madd House (2000 Bones) |
| Wallower's Gauntlets | Lets you burrow into walls | Kindlewood: Wallower's Path — use a Kear on the locked chest |
| Repulsing Root | When hit, drop a shrieking Mourndrake that pushes and damages foes | Buy from Corvidden (a crow you must cut down) in Septemburg: Crow Town (1250 Bones) |
| Lightning Grip | Call down a bolt when attacking after healing; occasionally triggers on hit | Save all four school kids in the Septemburg dungeon, return to Kindlewood: Schoolhouse. Miss any and Lady Susan sells it later |
Coltrane Peak (3 trinkets)
| Trinket | Effect | How to Get |
|---|---|---|
| Burning Beastium | Create damaging fireballs when hit; jump or burrow to dodge them | Coltrane Peak: Dead Man's Gorge — chest at the end of a large gap-filled cavern |
| Blinking Glass | Occasionally avoid damage and become briefly invulnerable | Defeat Mirren in Coltrane Peak: Frostbite Woods, or buy from Panino's in Ossex (3000 Bones) |
| Watchful Eye | Earn extra Bones for defeating foes unharmed | Buy from Rupert in Coltrane Peak: Rail Yard (use a Kear in the upper-left corner), or Panino's in Ossex (2500 Bones) |
Radiant Manor (2 trinkets)
The final area of the game. Only two trinkets, but both are genuinely useful.
| Trinket | Effect | How to Get |
|---|---|---|
| Dodging Pendulum | Press Jump just before taking damage to dodge and become invulnerable | Overcome the Mimic encounter in Radiant Manor, or buy from Panino's in Ossex (3000 Bones) |
| Spring Heels | Jump after landing for a longer, higher jump | Buy from Trooper in Radiant Manor, or Panino's in Ossex (2500 Bones) |
Sandfalls and Bone Beach (5 trinkets)
| Trinket | Effect | How to Get |
|---|---|---|
| Niter Belt | Creates a radial explosion when emerging from burrow | Sandfalls: Shifted Sands — blow up the explosive cart blocking a locked door |
| Bellows Bustle | Press Jump while airborne to air dash | Beat Blaise in all three races (Sandfalls, Ossex, Western Wilds); the final race is in Sandfalls: Sandy Station |
| Tunneling Codex | Hold Jump to burrow repeatedly without landing | Sandfalls: Shifted Sands — score 5000 points in the Ring Dive Parlor minigame |
| Polyp Lamp | Glows faintly; reduces damage in dark places | Buy from Brac in the Bone Beach Hide Tent on Bone Rush Trail (1250 Bones) |
| Joule Syringe | Gain Plasma from Sidearms unless at 1 HP; at 0 Joules, spend health to fire | Bone Beach: Mining Camp — find the hidden south path to Secret Shoals, jump the barrels to Bertram, dig next to the tree behind him |
Which trinkets are worth prioritizing?
With 60 options, you won't equip everything at once. A few stand out as near-universal pickups regardless of playstyle.
Bellows Bustle air dash
Proto Spark is the closest thing to a free pass in the game. It saves you from one death and resets every time you die, which sounds redundant but isn't. Get it from the Duke questline in Queensbury Crypt as early as possible.
Evasion Powder extends your post-hit invulnerability window. Pair it with Vascular Syrup from Nox's Bayou and damage stops feeling punishing. Both are available before the mid-game.
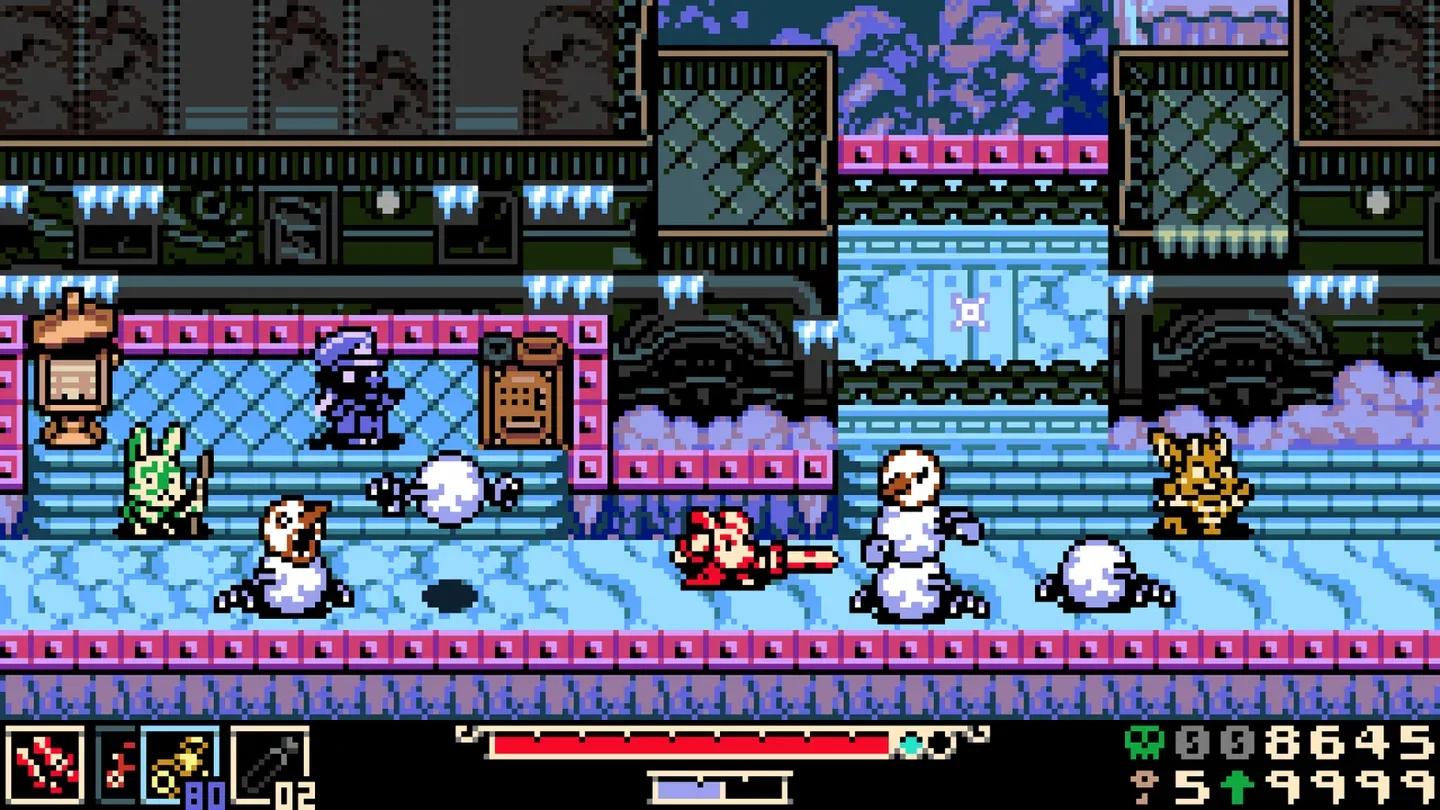
Bellows Bustle is a movement trinket that doubles as a combat tool. The air dash covers gaps, repositions you out of danger, and makes traversal faster across every area you revisit. The three-race requirement to unlock it is worth the detour.
Uranium Bracelet is the high-risk pick. Significantly more damage output, but you take significantly more in return. It rewards aggressive players who dodge consistently and punishes everyone else. Test it on a boss you know well before committing.
For Sidearm-heavy builds, Draining Beastium and Joule Syringe form a functional loop: Sidearms deal more damage, and Sidearms also generate Plasma to keep the loop running. Windfall Charm adds Joule drops to the mix and keeps resources flowing.
Panino's shop and the Ossex fallback system
Several trinkets that appear in specific field locations also show up for sale at Panino's shop in Ossex Station Underside. This includes Dodging Pendulum, Spring Heels, Blinking Glass, Watchful Eye, Vial Salvo, Bridge Weaver, Dummy Cache, Volatile Beastium, and Burning Beastium. Prices range from 1250 to 3000 Bones.
Panino's stock is time-gated, meaning items appear as you progress through the story. If you missed a trinket in the field, this is your safety net. The shop in Ossex Station Underside is easy to overlook since it sits off the main path, so check back there regularly.
For more on what's waiting in Mina the Hollower at launch, including exact regional start times, see the Mina the Hollower release date and start times guide. For the full collection of tips, walkthroughs, and strategy content, browse the complete Mina the Hollower strategy guides on GAMES.GG. Fans of the genre will also find plenty more to explore across our adventure games coverage.