
Thorne is the first real boss you face in Mina the Hollower, and Yacht Club Games wastes no time making it clear this isn't a gentle introduction. Right as you leave the Ossex Orphanage after the opening ceremony, this trident-wielding bat cuts you off and throws everything at you. The fight tests your grasp of Burrowing, Sidearm usage, and spacing all at once, and if you haven't locked those down yet, Thorne will punish you for it. Here's everything you need to know to take him down cleanly.
Thorne overview and rewards
Thorne is a mandatory encounter in the Ossex region, blocking your path forward after the orphanage. Defeating him rewards 75 Skulls, which is a decent early haul. He's not optional, and the fight doesn't ease you in slowly. Thorne hits hard, moves fast, and has two distinct phases that change how his attacks behave.
Before the fight even starts, grab the Volt Hatchet Sidearm. It's sitting just outside the orphanage's front door. Break the lantern on the right side to pick it up. The Volt Hatchet's area-of-effect makes it significantly easier to land hits on Thorne compared to other Sidearms, and it deals solid damage throughout the entire encounter.
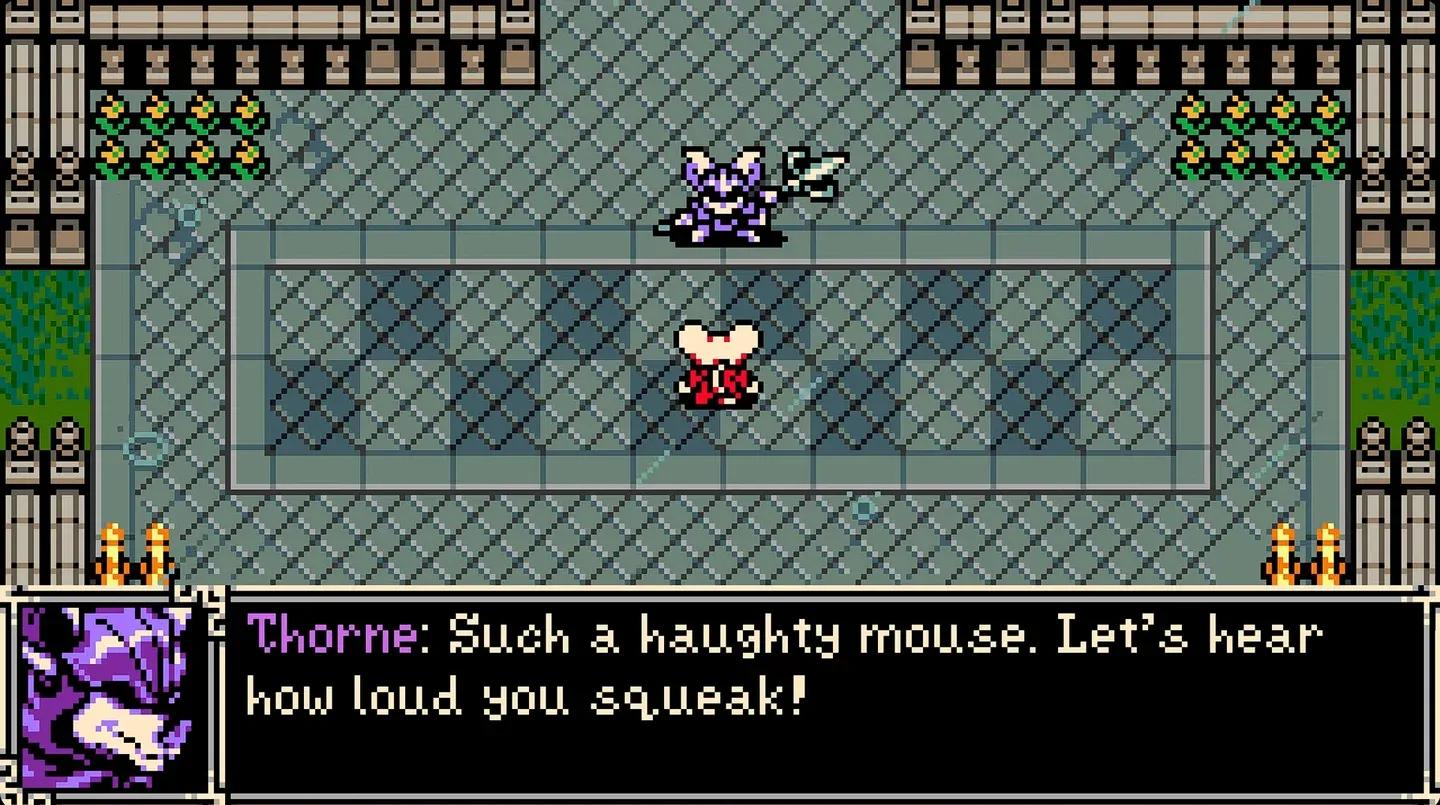
Thorne's arena outside Ossex
What weapon should you use against Thorne?
The Volt Hatchet is the clear pick for this fight. Its AoE spread means you don't need pinpoint accuracy to connect, which matters a lot when Thorne is moving constantly. The Mace is a solid backup if you prefer ranged hits from your main weapon, since it lets you deal damage while keeping distance as you learn Thorne's timings. Whichever you choose, commit to hit-and-run bursts rather than sustained pressure. Getting greedy will get you cornered.
If you're still getting comfortable with the game's core systems, our Mina the Hollower beginner's guide covers Burrowing mechanics, weapon types, and trinket basics before you dive into boss territory.
Phase one: All of Thorne's attacks
Thorne rotates through a set of attacks in phase one. All of them are telegraphed clearly, so once you know what to look for, you can react before the damage lands.
Advancing slashes
This is almost always Thorne's opening move. He swings his trident in a forward series of strikes, each one pushing him slightly toward you. The momentum makes these tricky to sidestep by running alone. The moment you see him start swinging, Burrow underground immediately and move away. Once you've created enough distance, throw a Volt Hatchet at him. You can often land two or three throws here, then follow up with standard attacks once he finishes the sequence.
Jumping
Thorne performs three to four short hops directly toward you. He doesn't swing his weapon during this, but contact still deals damage. Keep moving away and Burrow to widen the gap. He pauses briefly after the hops finish, giving you a clean window to throw Volt Hatchets and land several standard hits.
Super jump
Thorne crouches before launching himself high above the arena. The moment he leaves the ground, Burrow and move in the opposite direction. Watch his shadow on the ground as it tracks toward you. Keep Burrowing to build speed and stay ahead of it. When he lands, he creates a small AoE around himself but stays stationary for a moment. That's your window to unload Volt Hatchets and close in for standard attacks.
Twisters
Thorne spins his trident rapidly before firing roughly five to six Twisters across the arena. They travel fast but follow predictable lines. Burrow under them to avoid damage entirely, but time your resurface carefully so you don't pop up directly in the path of another one. After the last Twister clears, throw Volt Hatchets and reposition.
Dashing mines
This is the trickiest attack in phase one. Thorne extends his trident forward and dashes, leaving a line of explosive mines behind him. He performs two dashes total, creating an angled spread of bombs across the arena. After placing them, he launches directly into Advancing Slashes.
The best response is to put maximum distance between yourself and his starting position the moment he dashes. From the far side of the arena, you're clear of the mines and can throw Volt Hatchets at him as he closes in with his slashes. Use Burrow to keep the distance up.
Phase two: What changes at half health?
Once Thorne drops to roughly half his health bar, three of his attacks get modified. The core dodge logic stays the same, but the damage windows get tighter.
Super jump (phase two)
The landing now releases six Twisters that fan out across the arena instead of just the small AoE. If you Burrowed far enough away, you can find a gap between Twisters and push through it to throw Volt Hatchets. If you're too close, just Burrow under the Twisters and attack once they pass.
Dashing mines (phase two)
Thorne now dashes four times total, forming a full rectangle of mines around the arena. The earlier bombs start detonating before he finishes his fourth dash, so move toward the side where the first mines went off. That area clears first, giving you room to stand without taking damage. He still follows up with Advancing Slashes, so stay ready to Burrow and create distance.
Twisters (phase two)
The Twister count goes up and the pattern becomes more sporadic. You'll likely be low on or completely out of Joules at this point, so you won't be able to rely on Volt Hatchets. The upside is that Thorne stays stationary for a long time during this attack, making him easy to hit with standard melee attacks. Run up to him and land as many hits as you can while he's locked into the animation.
How to handle the fight end
Thorne doesn't go down in a traditional sense. Drain his health bar to near zero and the fight ends abruptly. He flees rather than falling, which means you haven't seen the last of him. The 75 Skulls reward drops regardless, and you're free to continue into Tenebrous Isle.
After clearing Thorne, the game opens up considerably. If you're looking for what comes next, our guide to beating the Duchess covers the next major boss encounter with the same phase-by-phase breakdown.
For everything else Tenebrous Isle throws at you, the full Mina the Hollower strategy guides collection has boss breakdowns, trinket locations, and navigation tips to keep you moving forward.