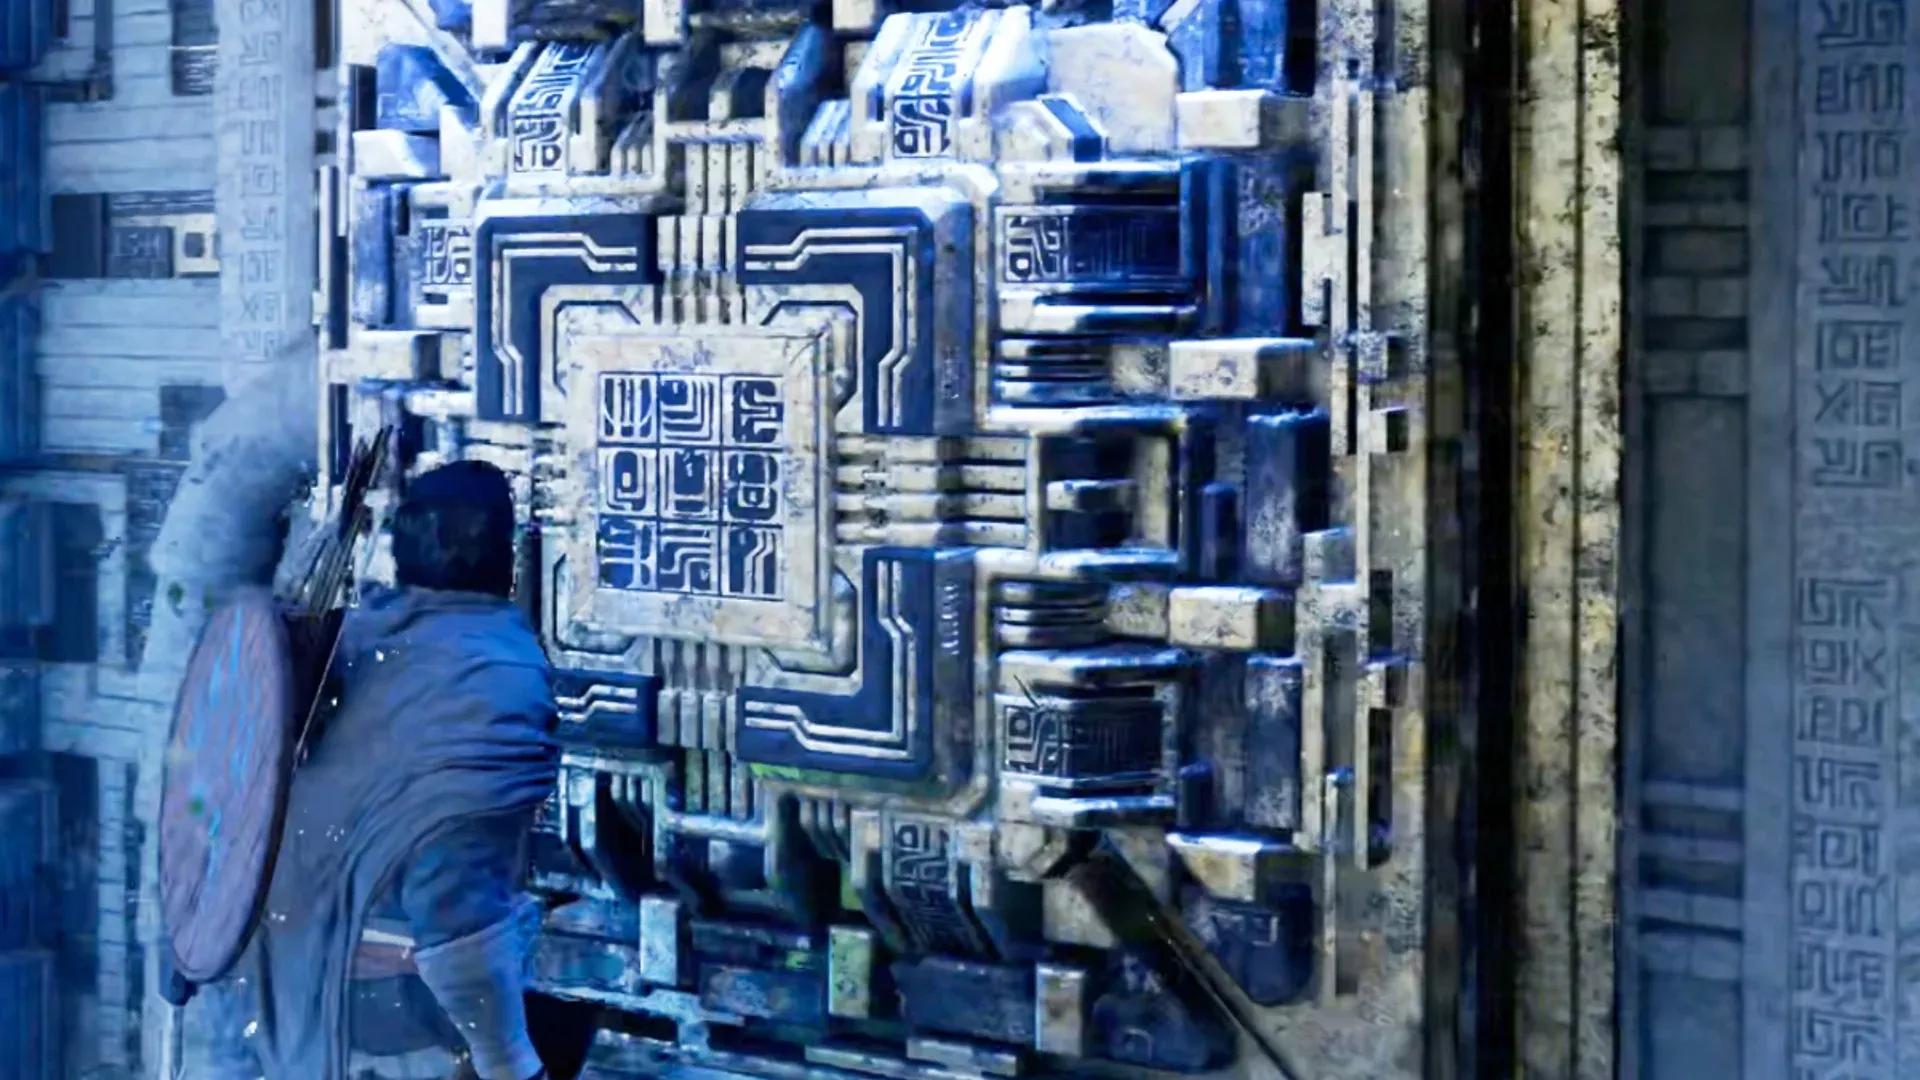

The Reed Devil is wall-checking players across Crimson Desert, and the community has been loud about it. This Chapter 3 boss, encountered during "The Face Behind the Mask" quest in the Howling Hill storyline, hits fast, teleports constantly, and runs a three-phase fight that punishes under-prepared players hard.
The key here is understanding that this isn't a skill-check you brute-force. It's a preparation check.
Stocking up before the fight
Food is the single biggest factor separating players who beat the Reed Devil on the first attempt from those who spend an hour respawning. The recommended supply is at least 10 times your maximum HP worth of food. With a max HP of 420, that means roughly 30 pieces of grilled meat, each restoring 140 HP. Buying ready-made dishes from the inn works, but cooking your own is significantly cheaper.
Palmar pills are just as important. These consumables revive you at 30% HP when you go down, and bringing around 4 is the baseline. The recipe sits in the Witch's house inside Shadow's Whisper Cave, north of Hernand Castle. Craft them at a cauldron using 15 medicinal herbs (lavender, peony, marigold, or similar) and 2 water.
Armor matters too. If you've built up enough reputation for the Hernand Contribution Shop, grab the best pieces available. The canta plate armor set, sold at the equipment shop near Hernand Castle after defeating Knight Matthias, is worth picking up. Refining each piece once or twice at the smithy using iron and copper provides a meaningful defensive boost without requiring gold.
For weapons, a sword and shield is the right call here. Blocking the Reed Devil's attacks is far more reliable than dodging them, and the Sword of the Lord, dropped by the previous boss Hornsplitter, is already one of the better options available at this point.
Upgrade your stamina to at least level 6 before entering this fight. Without it, you won't have enough stamina to outlast the Reed Devil's attack flurries while keeping your shield up.
Skills worth having in your kit
The skill loadout going into this fight can make a real difference. Forward Slash and Stab are both useful because they let you move forward while attacking, which helps you land hits in the brief window after the Reed Devil sheathes his weapon. Unlocking the Swift Stab variation is actually possible mid-fight by observing the boss during phase one.
Evasive Roll handles the situations where blocking isn't an option, particularly against unblockable attacks. Keen Senses at level 2 or 3 enables counters and parries, but the timing window is tight enough that it's only worth leaning on if you're already comfortable with parry mechanics.

Stamina upgrades for Reed Devil prep
Running the gauntlet before the arena
During the "Seed of Unease" quest, the path to the boss arena is flooded with Reed Devil minions. The correct move is to ignore every single one of them. Fighting through them drains food and stamina that you need for the actual boss. Sprint directly toward the reed field at the mountain's peak , the minions stop following you there.
There's a small encampment just before the boss arena with a grindstone. Use it. Sharpening your weapon at this point maximizes damage output for the entire fight, and it costs nothing.
Three phases, one consistent principle
Crimson Desert's Reed Devil fight runs across three distinct phases, but the core discipline stays the same throughout: stay close, keep your shield up during his attack flurry, and strike the moment he sheathes his weapon.
Phase one is about reading his rhythm. The Reed Devil jumps back, vanishes, dashes in, and unleashes a rapid series of slashes. Block through all of it. When the stagger bar beneath his HP fills up, he'll be briefly incapacitated , that's the window to go all-in. Watch for his Swift Stab, signaled by a reddish glint and a charge stance. That attack is unblockable, so dodge sideways.
Phase two completely changes the objective. Four totems appear around the arena, and the Reed Devil spawns clones. Trying to fight through the clones is a trap. Sprint to each totem and break it with a single heavy attack, then immediately move to the next. Eat food to recover HP while running , you will take hits.
Phase three returns to the phase one formula with one addition: a ranged attack that fires five bursts of fiery blades. Staying close to the Reed Devil reduces how often he uses it, and dodge-rolling sideways is the only way to avoid it when he does. He may also summon a clone late in this phase, but staying aggressive enough can end the fight before it appears.
Pearl Abyss has already acknowledged player feedback on Crimson Desert's difficulty and controls, committing to make improvements quickly after the game sold 2 million copies in its first day. Whether boss tuning gets adjusted in future patches remains to be seen, but right now the Reed Devil is very much working as intended , a punishing but readable fight once the preparation is right.
For players working through the rest of Crimson Desert's systems, browse more guides covering everything from skill builds to quest walkthroughs. Make sure to check out more: