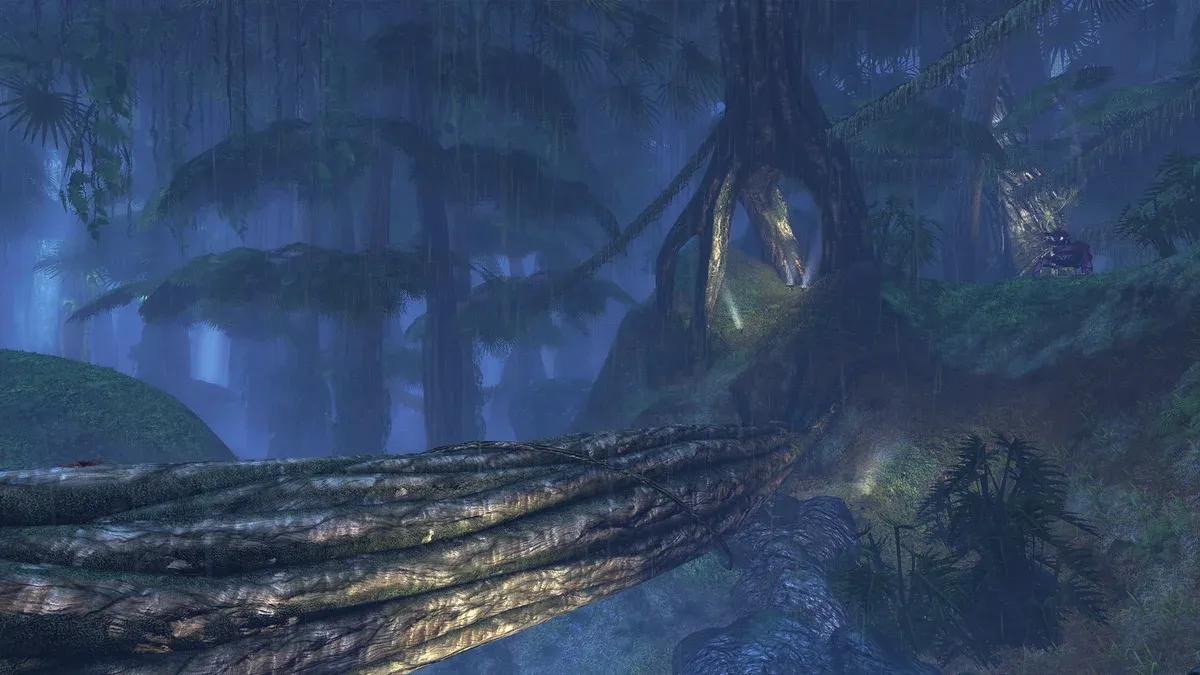


The 343 Guilty Spark mission in Halo: Campaign Evolved sits right at the campaign's turning point, and it packs three collectible Skulls plus one Terminal across its three rally points. Collecting all of them earns you the Proto Gravemind trophy and achievement, and a couple of these are easy to blow past on your first run.

Use code TRYHARD33 at checkout to redeem this offer before code expires again.
Get 33% Off GAMES+ Subscription
The Fog Skull is hiding right at the start
Skull 16, the Fog Skull, appears almost immediately after the mission begins. You will round the first corner, clear out a group of Grunts, and spot a crashed Covenant dropship lodged in the trees above you. Here's the thing: most players keep moving forward at this point and never look back.
Turn around while standing beneath the dropship and you will see a small hill path heading upward. Climb it, turn right at the top, and scramble up the bank of mud and tree roots. The Fog Skull sits right there at the crest of that bank.
A Skull that asks something uncomfortable of you
Skull 17, That's Just... Wrong, is found in Rally Point Bravo and has one of the more memorable unlock conditions in the whole game. Follow the objective markers until you encounter a Marine who has clearly lost his grip on the situation and starts shooting at you regardless of what you do.
The only way to get this Skull is to kill him. He drops it when he goes down. The name says it all.
The Terminal you can easily miss while evacuating
Terminal 6, Tangent II, also sits in Rally Point Bravo but appears during the evacuation sequence. After the cutscene flips your objective to 'Escape!', you will be retracing your steps back through the facility. At one point you will reach a room with a new light bridge available for crossing.
Do not cross it immediately. Look right instead and you will see enemies spawning from a newly opened dark room. Step inside and circle around the perimeter of that room to find the Tangent II Terminal. Players who sprint straight for the exit will miss it entirely.
The final Skull rewards anyone who ignores the objective
Skull 18, They Come Back, closes out the mission at Rally Point Charlie. Your objective at this stage reads 'Eliminate the alien threat until evac arrives,' which naturally pulls attention toward the large tower in front of you. Ignore it for a moment.
The key here is to veer right of the tower and push through the woods rather than engaging the waves of enemies head-on. Keep moving until you find a felled tree lying across the path. Cross it like a bridge, and the They Come Back Skull is sitting on a rock on the other side.
What all three Skulls actually do
For players tracking down every collectible in the campaign, the full picture across all missions is worth keeping in mind. The complete skulls and terminals guide for Halo: Campaign Evolved maps every Skull and Terminal from the Pillar of Autumn through to the final mission, including the unlock conditions for the harder modifier Skulls.
Missions like Two Betrayals and The Maw carry their own sets of hidden items too. The Two Betrayals skull locations guide covers that mission's 3 Skulls including the brutal Mythic Skull unlock, which is worth reading before you get there.
With 343 Guilty Spark cleared and the Proto Gravemind achievement locked in, the next stretch of the campaign opens up. The Library follows immediately after, and it brings its own set of collectibles to track down across some of the most repetitive corridors in Halo history.