
The Monkey Paw has been turning Phasmophobia investigations sideways since it was added as a cursed possession, and the wish system is more layered than most players expect. Phasmophobia treats the Monkey Paw as a high-risk, high-reward tool: every wish you make does something genuinely useful, then immediately punishes you for asking.
Here's the lowdown on what every wish actually does, what it costs, and how many you get before those fingers stop curling.
What makes the Monkey Paw different from other cursed objects
Most cursed possessions in Phasmophobia drain your sanity or trigger a hunt when misused. The Monkey Paw does both of those things and adds a layer of permanent debuffs that can follow you through the rest of the contract. Some side effects last only seconds. Others, like muffled hearing and obscured vision, stick around until you die or the job ends. That asymmetry is what makes it genuinely dangerous rather than just risky.
The number of wishes you can make also scales with difficulty. On lower difficulties (0x to 1x multiplier), you get 5 wishes. Intermediate difficulty (1x to 2x) drops that to 4. Anything above 2x and you're working with just 3. Each wish can only be used once, and once all five fingers have curled closed, the paw goes silent.
Every ghost wish and what it actually does
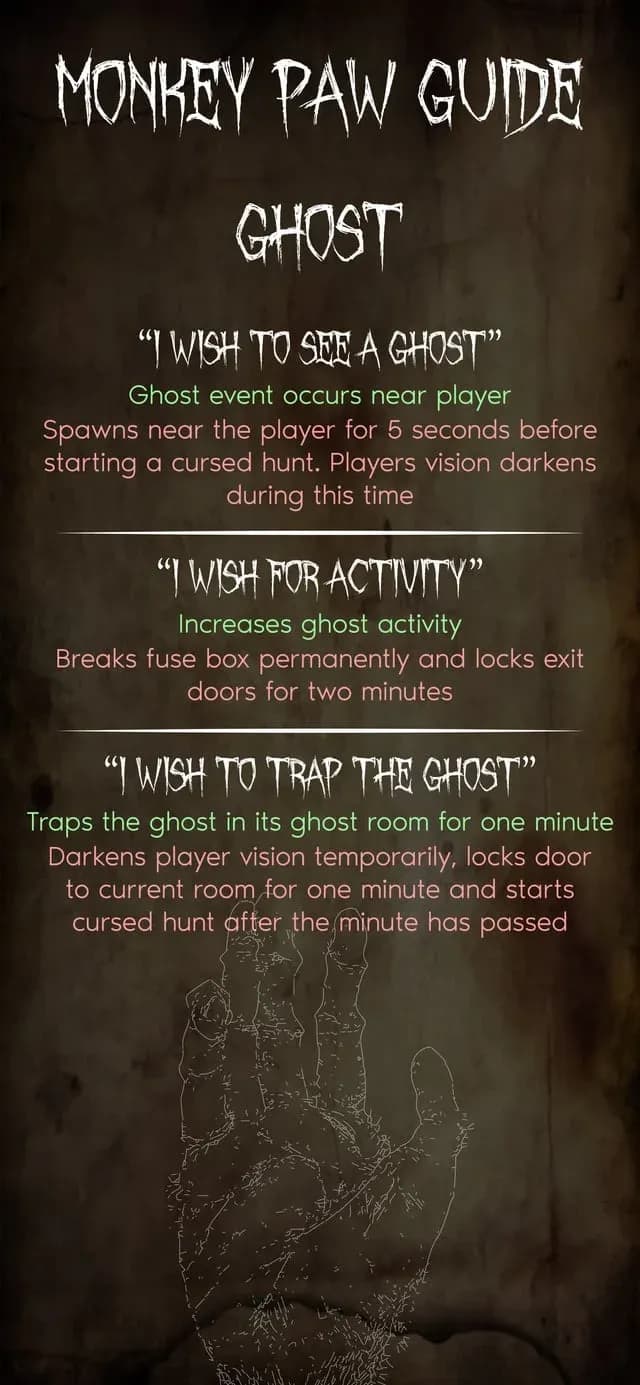
These three wishes directly manipulate the ghost, which makes them powerful and immediately dangerous.
"I wish to see the ghost" forces a full summoning event in the ghost's current room, similar to the Summoning Circle. The exit doors lock, and five seconds after the ghost appears, a cursed hunt begins with your vision obscured. Useful for evidence gathering under pressure, brutal if your team isn't ready to hide.
"I wish for activity" doubles ghost activity for two minutes. The catch: exit doors lock for those two minutes and the fuse box breaks permanently. If your team is already low on sanity and relying on the breaker to manage lights, this wish can spiral a run fast.
"I wish to trap the ghost" teleports the ghost to its favorite room and locks it there for one minute, preventing hunts, abilities, and roaming. The problem is it simultaneously locks all doors to your current room. You're trading the ghost's freedom for your own.
Player wishes, ranked by desperation level
These three wishes are built for survival situations, and each one has a sting in the tail.
"I wish to be sane" resets every player's sanity to 50%. Sounds great until passive sanity drain kicks in at 1.5 times the normal rate for the rest of the contract, and the ghost's favorite room shifts. A mid-investigation sanity reset that makes the back half of the contract harder.
"I wish to be safe" opens the nearest locked hiding spot. The lights in your current room shatter, and from that point forward the ghost can detect active electronic equipment from anywhere on the map. Every EMF reader, camera, and flashlight becomes a beacon.
"I wish to leave" unlocks all exit doors, even during an active hunt. You'll move slower for five seconds and your vision blurs. In a hunt, five seconds of reduced speed is a long time, but getting out alive beats the alternative.
The three wishes that can genuinely end you
The remaining wishes sit in a different category. These aren't inconvenient, they're potentially run-ending.
"I wish to revive my friend" (also accepted as "I wish for life") brings back the first dead player in lobby order. There's a 50% chance it kills you instead. No way to know which outcome you'll get until it happens.
"I wish for knowledge" removes one piece of evidence from your journal, which can be useful when you're stuck on identification. But the ghost immediately teleports to your location, triggering a cursed hunt. Muffled hearing and obscured vision then stay with you for the rest of the contract. That's a permanent sensory penalty for one journal entry.
"I wish for [weather]" lets you call for clear sky, fog, rain, snow, or sunrise. Every weather wish drops your sanity by 25% and temporarily blinds all players. You need at least 25% sanity to make this wish. On the text UI, weather options are split across two sub-menus: Weather #1 covers sun, rain, and clear sky; Weather #2 has fog and snow.
What this means for how you play
The Monkey Paw rewards teams that plan their wishes before picking it up. Burning a wish reactively, like grabbing "I wish to leave" the moment a hunt starts, is fine, but teams that coordinate which wishes to hold in reserve for specific situations get significantly more value out of the item.
For a full breakdown of wish locations across maps and deeper strategy on managing side effects, the Phasmophobia Monkey Paw guide covers everything you need. If you're still building your knowledge of how each ghost type behaves before a hunt, the ghost behaviors and secret abilities guide is worth reading alongside it.