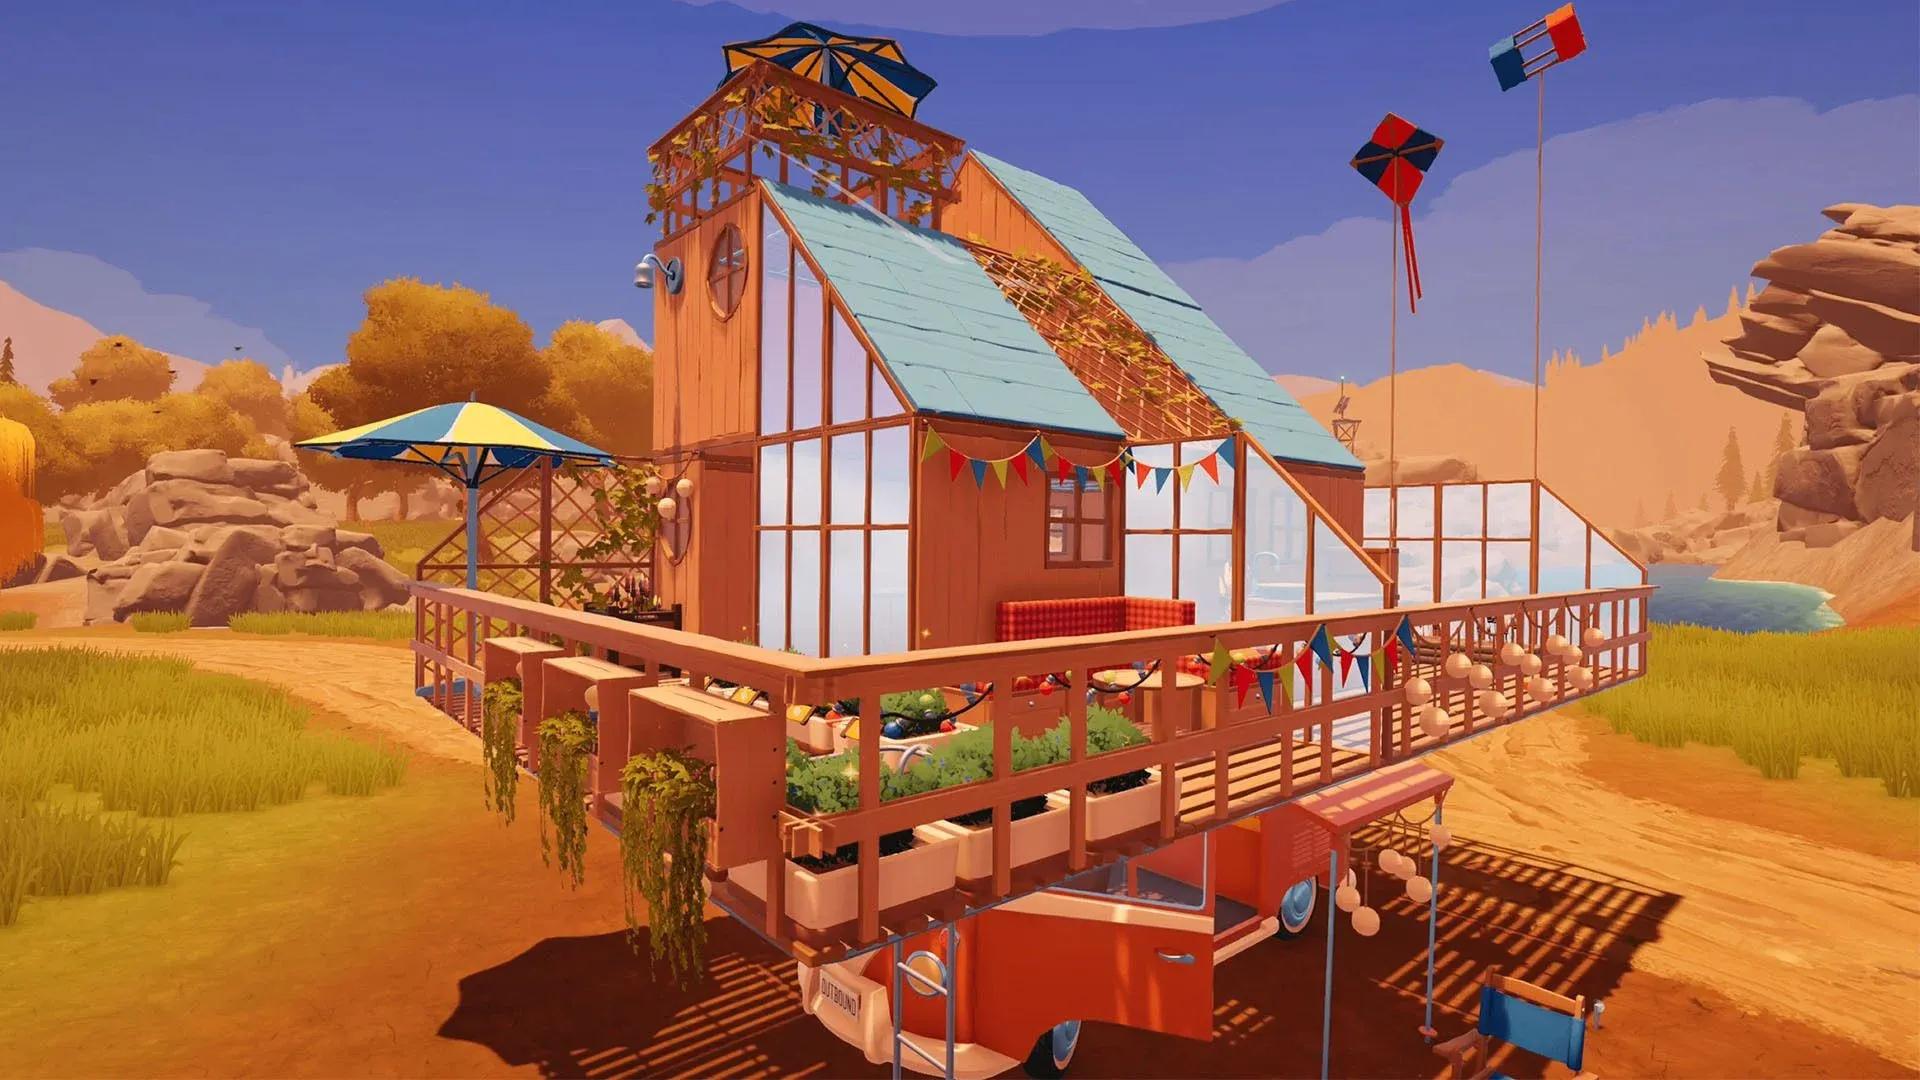

The starter van in Outbound gives you barely enough room to breathe. There is a bed, a tiny patch of floor, and the constant pressure of deciding which workstation actually fits. The good news is that you do not have to live like that for long. The Building blueprint that unlocks vertical expansion is accessible surprisingly early, and once you have it, the whole shape of your mobile base changes.
How do you get the Building blueprint in Outbound?
The blueprint lives inside the Treehut, a landmark sitting in the far north of the first map section. To find it, locate the Fire Lookout tower on your map and head straight north. Two landmarks sit up there: the Windmill to the east (visible from a distance) and the Treehut to the west. You want the Treehut.
The terminal inside is locked down when you arrive. Three items scattered around the building will unlock it, and none of them are hidden behind anything difficult.

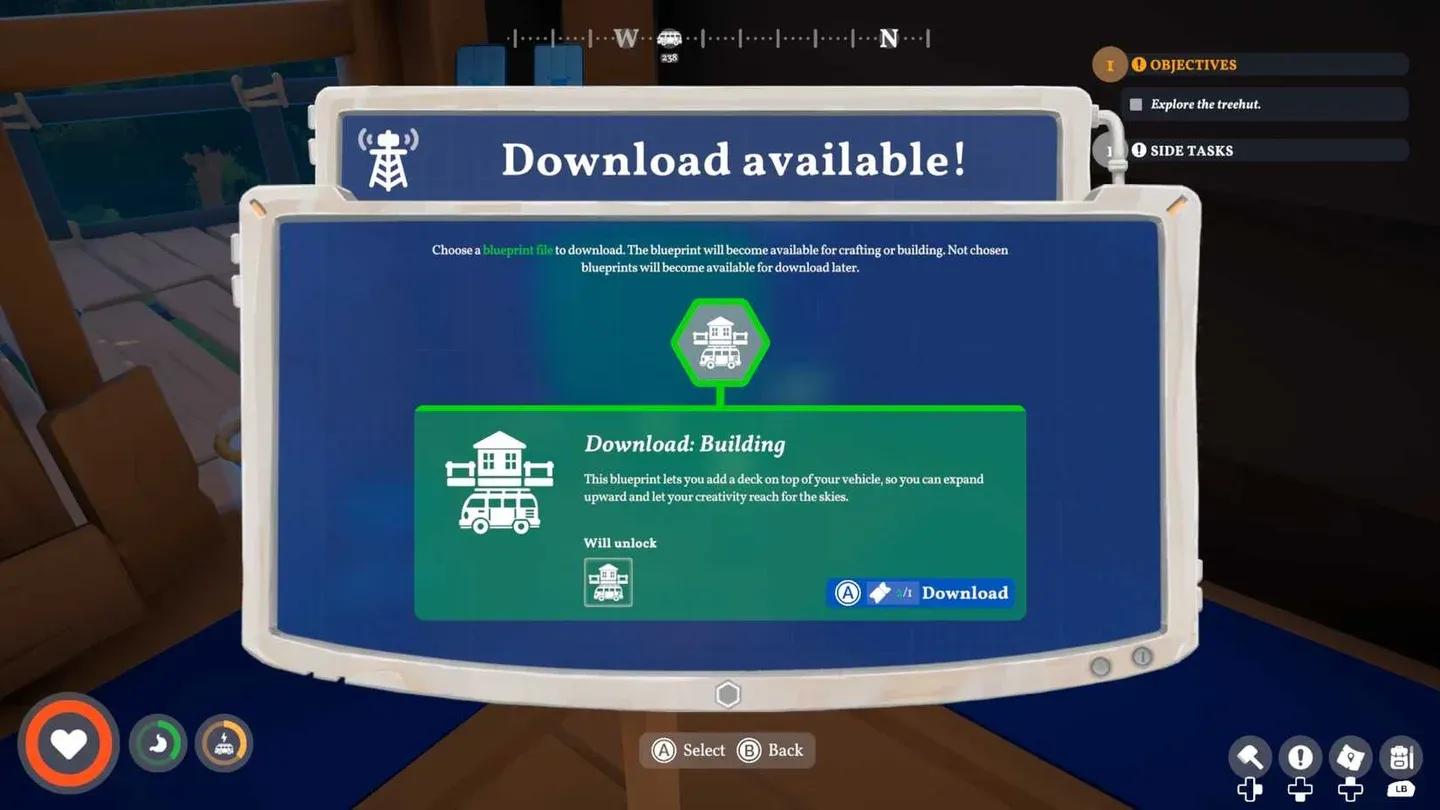
Treehut terminal unlock screen
Where to find the three Treehut items
Once all three are in your inventory, interact with the terminal to download the Building blueprint.
If you are still getting your bearings in the opening area, the Outbound Ultimate Beginner's Guide covers the first-hour loop and Signal Tower progression that puts you in range of the Treehut faster.
How do you build the upper deck on your camper van?
With the blueprint secured, head back to your van and open the rear window section to access the Vehicle Workbench. The Base Building Deck upgrade will now appear as a craftable option.
Materials required
- 10 Everwood
- 3 Scrap Metal
Craft it, and a hatch physically appears in the roof of your van along with a permanent ladder leading up to a flat wooden deck. That platform is the foundation for everything that comes next.
Base Building Deck craft menu
Finishing the new floor
The deck itself is just an open platform exposed to the elements. To turn it into a proper room, open your build menu and place Floors, Walls, and a Roof manually. Each section costs wood and processed materials, so stockpile before you start. Having at least 40 to 50 units of wood on hand before beginning the enclosure phase saves a lot of unnecessary back-and-forth.
Parking on flat ground before building is worth the extra minute. On a steep incline, placement holograms can snap at odd angles and make wall alignment frustrating.
Can you add more than one extra floor?
Yes. Once you have enclosed the second floor with a roof, you can place another ladder on top of it and repeat the entire process. Sources confirm that third and even fourth levels are possible this way. The only practical limits are your material supply and the height clearance of whatever terrain you plan to drive through. A four-story van will absolutely get snagged on low rock formations and dense tree cover.
For players who want to maximize utility before fully enclosing the upper deck, the open platform works as a placement spot for machines that do not require shelter. This keeps the lower interior free for your bed and kitchen setup while the build-out continues.
If you run into material shortages while stocking up, the guide on how to deposit materials into your van covers the storage panel and fast-dump workflow that keeps your inventory from bottlenecking the whole operation.
For the full collection of tips covering every system in the game, the Outbound guides hub has everything organized in one place.