
Outbound looks like a relaxing road trip simulator until you flip your van on a hillside, run out of battery in the dark, and realize your backpack is so overloaded you can barely walk. The game has a lot going on under the surface, and the first few hours can punish players who skip the fundamentals. These tips cover everything from your first van choice to advanced farming loops, so you can spend less time recovering from mistakes and more time actually building something worth driving.
What settings should you change before starting?
Before you touch the gas, spend two minutes in the settings menu. The defaults are not great.
Switch the Driving Camera to "Behind the Vehicle." The dashboard view blocks your sightlines and makes resource spotting nearly impossible. Set Day Length to maximum, because nights in Outbound are genuinely useless: you can't sprint far from your van, visibility is terrible, and nothing productive happens. Turn Mini-Games off if you find them tedious. Bump Field of View to 75 so you can actually see materials on the ground around you. Set Sprint Mode to "Tap to Toggle" so you're always sprinting without holding a button.
Sprinting is not optional. Walking speed is painfully slow, and you'll be covering a lot of ground on foot.
Which van should you pick?
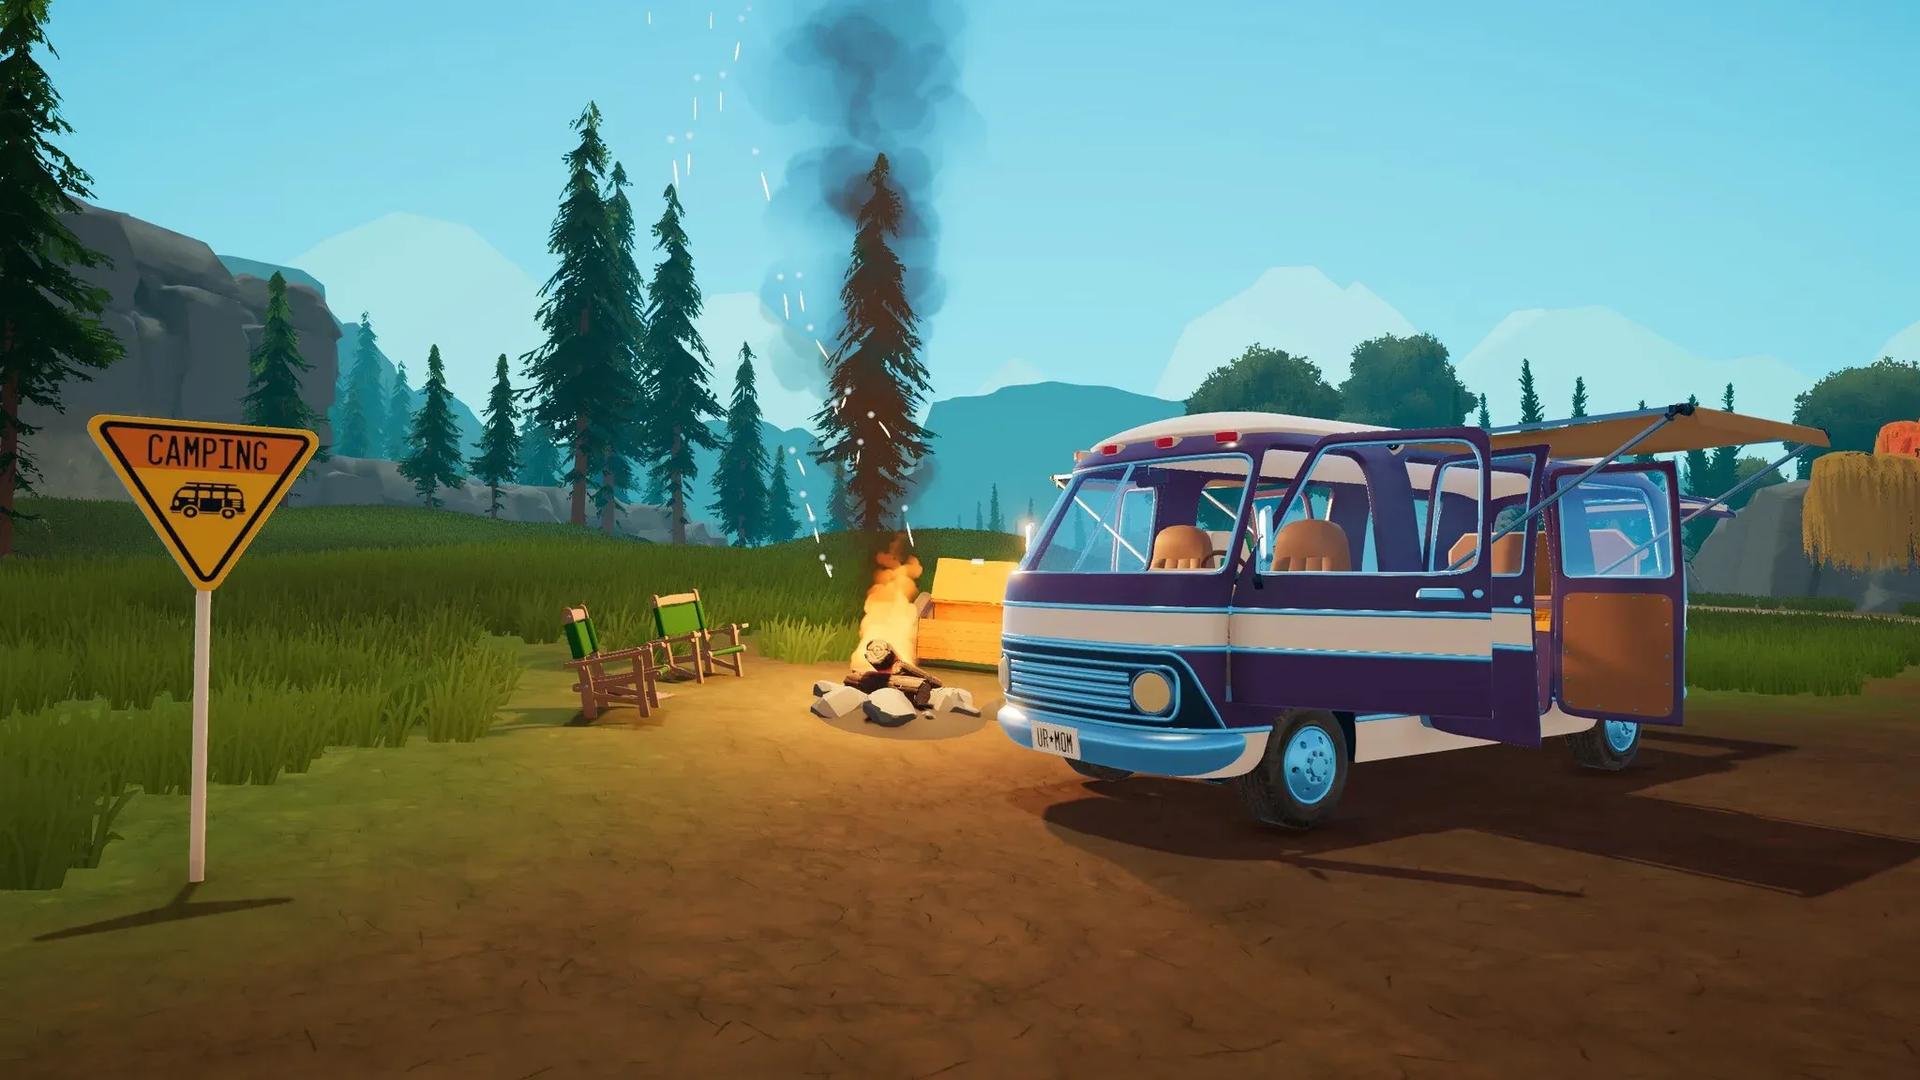
Three vans are available at the start: Classic, Pathmaker, and Big One. A fourth, the School Bus, comes with DLC.
The Big One is the right call for most players. Handling barely matters here since you're stopping constantly to collect resources anyway. More building space means more workstations, more storage, and more flexibility as the game expands. Poor handling is a minor annoyance compared to running out of room to place a Metal Smelter.
What should you craft first?
Blueprints unlock through signal towers and terminals. Your first tower download is free, so spend it wisely. The Fire Lookout near the start lets you choose between the Axe, Pickaxe, or Sickle. Take the Axe. Big logs yield 5 wood each instead of picking up scattered pieces one at a time, and Everwood logs double as vehicle fuel.
Here's the priority order for early tools and workstations:
- Wrench (3 Scrap Metal): Opens gates and unlocks multiplayer access
- Build Hammer (Wood + Scrap): Required to place workstations and expand your van
- Axe: Chops large fallen logs for bulk wood
- Recycler: Converts Litter into Download Vouchers, which unlock more blueprints
- Sawmill: Turns Wood into Planks for bridge repairs and construction
- Metal Smelter: Smelts ore into usable metals
- Food Processor: Processes Roadberries into Jam (22 nutrition vs. 10 raw)
- Sewing Table: Upgrades your backpack from 20 to 40 inventory slots
The Recycler is easy to overlook but pays off fast. Litter is everywhere, and each batch of 2 pieces produces a Download Voucher. Those vouchers are how you unlock every meaningful blueprint in the game.
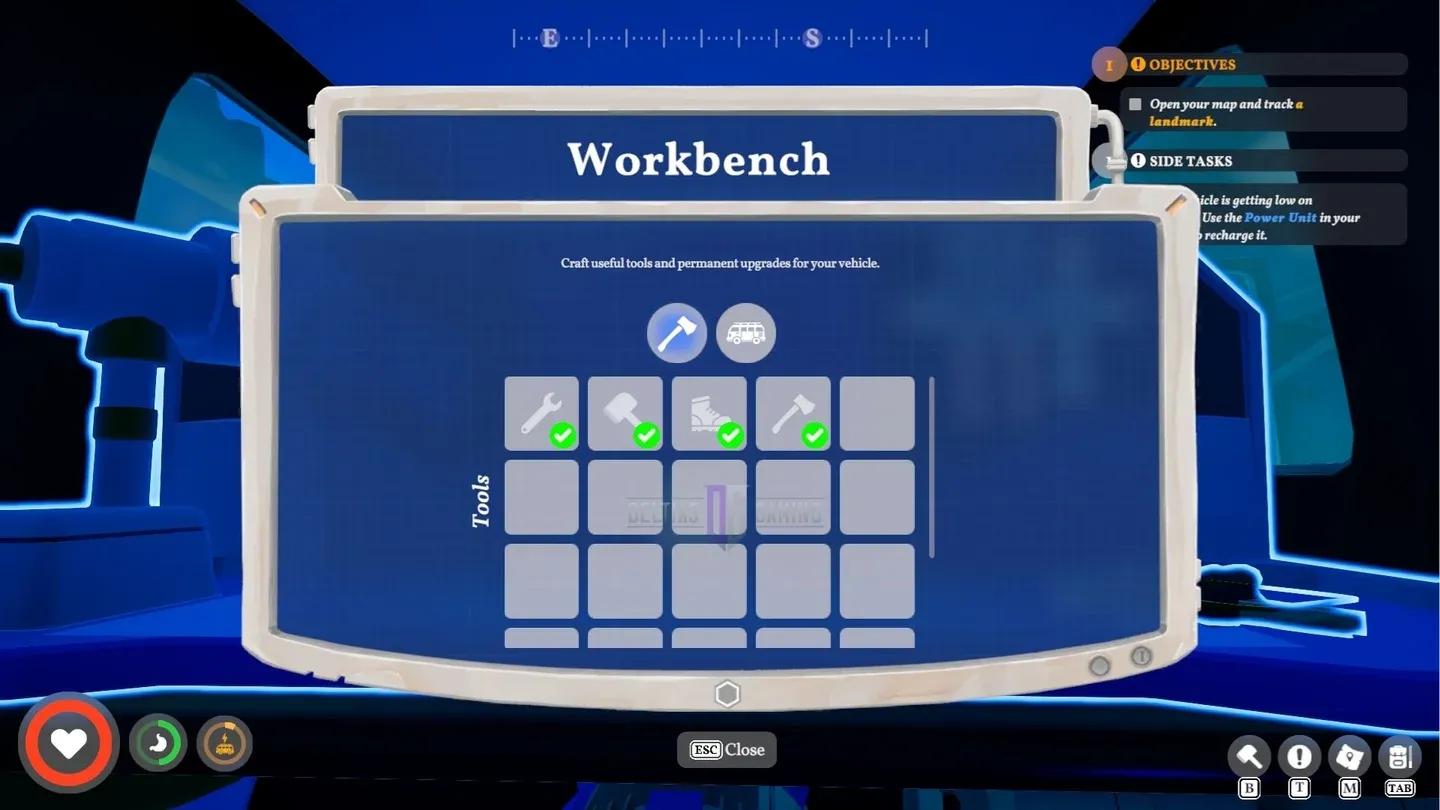
Workbench tool crafting menu
How does inventory management actually work?
Your personal backpack holds 20 slots. That's the hard limit before things go wrong.
The van has unlimited storage across multiple inventory pages, so treat it as your primary storage unit. The loop that works: park nearby, sprint out to collect everything in range, sprint back, dump your backpack via the deposit panel, repeat. Once you unlock the Sewing Table and craft the backpack upgrade, your carry capacity doubles to 40 slots, which changes the rhythm significantly.
For the deposit mechanic specifically, check out our guide on how to deposit materials into your van if the storage panel is giving you trouble.
Where do you find key resources?
Most materials have specific spawn patterns once you know what to look for.
All materials respawn every 3 in-game days. Scrap Metal specifically respawns around signal towers every 1-2 days, making tower routes the most efficient farming loop in the early game. Mark every tower you discover on the map and run a circuit between them.
For specific material farming routes, the guides on how to get Fiber and how to get Rough Stuffing cover the best lake and reed farming spots in detail.
Towers respawn scrap every 1-2 days
How do you handle power and charging?
Your van runs on battery power, and running dry in the middle of nowhere is a genuinely bad time. Three charging methods are available:
- Power Unit: Burns Wood or Fiber directly. Works at camp when stationary.
- Solar Panel: Generates power during daylight hours passively.
- Wind Turbine: Generates power at night, covering the gap solar leaves.
- Charging Stations: Free full charges at fixed locations between biomes.
The long-term goal is combining Solar Panels and Wind Turbines for constant passive charging. Stop burning logs for power as soon as you can research the passive options. Wood is more valuable as Planks and fuel for other purposes.
One thing players miss early: you cannot charge and drive at the same time. Charge while stationary at camp. Also, always release the parking brake (the "unset camper" prompt) before trying to drive away, or you'll sit there wondering why the van won't move.
What are the four main points-of-interest in the first zone?
Each point-of-interest requires three key items to unlock its terminal: a Terminal Executable (diskette), Signal Decryptor (USB stick), and Password Databank (encrypted drive). Here's where to find them:
Fire Lookout
- Terminal Executable: On the counter near the computer
- Signal Decryptor and Password Databank: On the rooftop patio
- Reward: Axe, Pickaxe, or Sickle (choose Axe)
Large Treehut
- Signal Decryptor: On a shelf in the main room
- Password Databank: Up the left ladder, near glass mushroom containers
- Terminal Executable: Up the right ladder, on a small wooden table
- Reward: Metal Smelter or Nailing Station
Windmill
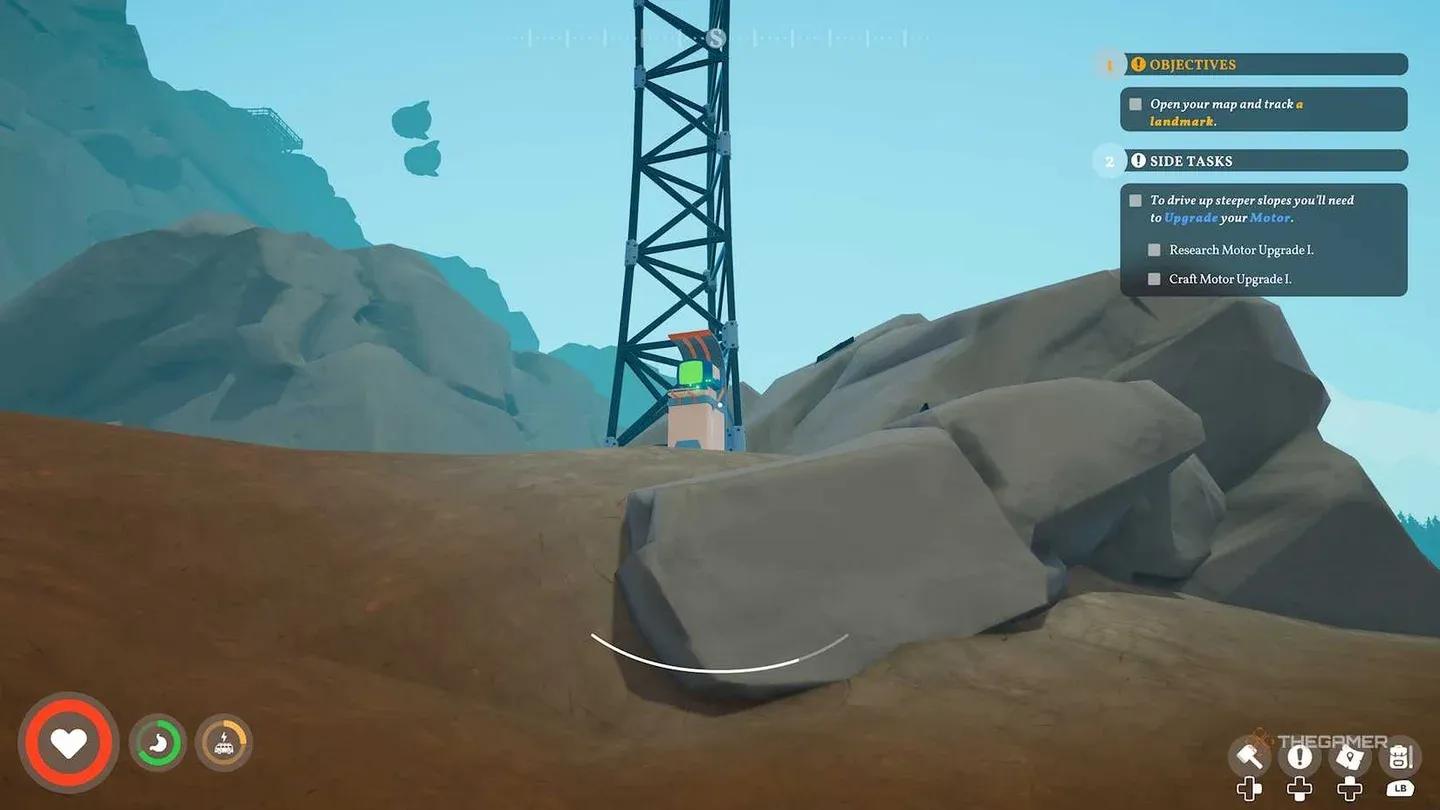
- Requires Motor Upgrade I to drive up the steep approach road
- Repair the cogwheel with 20x Scrap Metal, then pull the lever to activate
- Signal Decryptor: In the greenhouse at the back
- Terminal Executable: On a box near the cogwheel
- Password Databank: On a shelf in the terminal room
- Reward: Mortar and Pestle
Sunbeam Acres Farm
- Password Databank: Inside the small shed
- Terminal Executable: On a table in the large barn
- Signal Decryptor: Inside the farmhouse
- Reward: Spinning Wheel
- Optional: Repair the Cloudseeders with 4x Scrap Metal to harvest 12x Wheat the next day

Fire Lookout key item locations
Advanced tips for when you have hours in
Once the basics click, these strategies separate efficient players from ones who are constantly running out of resources or space.
Use your dog's backpack. After finding the dog companion at the Paws & Whiskers Lodge in the Coastal biome, unlock the Companion Research Station to get upgrades. The dog can carry items, search for specific materials, and return to the van to deposit them automatically. On long collection runs, that's a meaningful extension of your carry capacity.
Build upward. The Build menu supports second floors, external side platforms, and roof extensions. Place heavy workstations and metal items on lower floors, and lighter items like Solar Panels and plant pots on the roof. Weight distribution affects handling, so keeping mass low improves how the van drives.
Upgrade engine and suspension together. A heavy, upgraded van with only an engine upgrade still sways badly on turns. Both upgrades together solve the handling problem. Battery drain on hills also decreases when the van is properly upgraded.
Organize your storage chests. One chest for raw resources, one for processed components, one for consumables, one dedicated to Recycler inputs. It sounds trivial but saves real time when you're trying to find specific crafting materials mid-session.
Automate food production. Crop Plots can be placed on your van via the Build menu. Plant fruits, vegetables, or wheat, water them, and harvest on a cycle. Setting up a processing chain (harvest → Food Processor → cooked meals) gives stamina and energy buffs that raw food doesn't provide.
What's different in each biome?
Each biome asks something different from your van setup. The Canyon overheats vehicles, so prepare your cooling systems before driving in. The Dry Hilly Area is where the Pickaxe earns its keep. Mushrooms grow better in damp forest conditions, coastal fruits produce more near shore, so plant crops that match the biome you're in rather than fighting the terrain.
To progress from the first forest zone to the coast, travel northwest until you find a collapsed tunnel. With Axe II unlocked, you can smash the rocks blocking the path and drive through.
For everything from van selection to Signal Tower strategy covered in one place, the Outbound ultimate beginner's guide is the best starting point. The full Outbound guides collection also covers specific materials like Coarse Ore and Adamant Metal as you push into later zones.