
For a melee damage build in Queen's Domain, work toward Jigeki's Serpent Thrust, Splash Hammer, and Vampiric Scimitar. Together, they cover Pierce, Impact, and Slash, with specials for poison, group damage, and life drain.
Start with Rusted Spear while you work toward its evolution. The combat plan is deliberate: let your Power Meter recover, punish an opening, and reposition rather than forcing another weak swing. This guide covers the October 30, 2026 launch release, with attack-timing advice also relevant to the demo. Later updates may change weapon balance.
Melee damage build overview
What makes this setup effective?
This is a coverage-first damage build. Jigeki's Serpent Thrust handles Fast Pierce attacks and a damage-charged poison special. Splash Hammer gives you a dedicated area attack, while Vampiric Scimitar adds healing to ordinary Slash attacks.
Your active weapon should follow the enemy's resistances, not a fixed preference. Check the bestiary when damage looks unusually low, then switch damage types before assuming you need more levels.
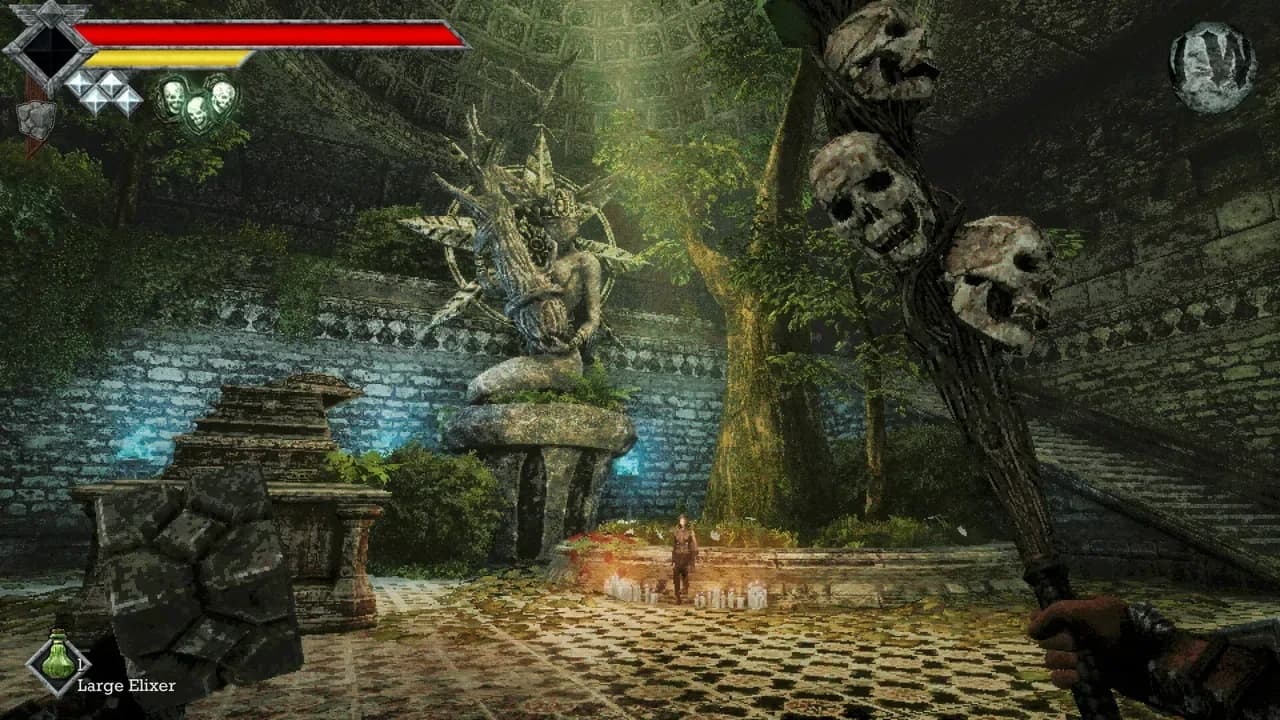
Time hits around meter recovery
The Power Meter also makes attack speed a misleading shortcut. A Fast weapon gives you a different attack rhythm, but swinging before the meter recovers can produce weaker hits. Use the recovery period to move out of reach and prepare your next opening.
Who is this build best for?
Choose this setup if you want melee attacks to drive your specials. Both Jigeki's Serpent Thrust and Splash Hammer build their special meters through damage, so their strongest tools reward landing regular attacks rather than waiting for passive recharge.
If you prefer defending through incoming attacks, Spiked Buckler is the alternative to consider. Its parry reduces incoming damage and opens an immediate counterattack opportunity.
Recommended weapons
Which weapons should fill your three slots?
| Role | Weapon | Damage type | Power / Speed | Special and reason to choose it | Acquisition |
|---|---|---|---|---|---|
| Pierce and poison | Jigeki's Serpent Thrust | Pierce | 11 / Fast | Damage fills its green eye meter, enabling Poison Strike for poison and a brief stun | Evolve Rusted Spear |
| Group damage | Splash Hammer | Impact | 15 / Slow | Damage fills a meter for a high-damage area attack | Chest in Obmuer Temple |
| Healing during melee | Vampiric Scimitar | Slash / Physical | 10 / Average | Normal attacks drain enemy health; its secondary charges Life-draining Slash | Sold by Umbawa the Merchant |
Jigeki's Serpent Thrust is the progression target for your early spear. Its Poison Strike applies poison and stuns enemies for about 1 second. Best for players who want Fast Pierce attacks with a special earned through active melee combat.
Splash Hammer earns its slot through area damage, not speed. Build its meter by dealing damage, then use the secondary attack when multiple enemies give you a worthwhile opening. Best for groups where its area attack can do more work than another single-target strike.
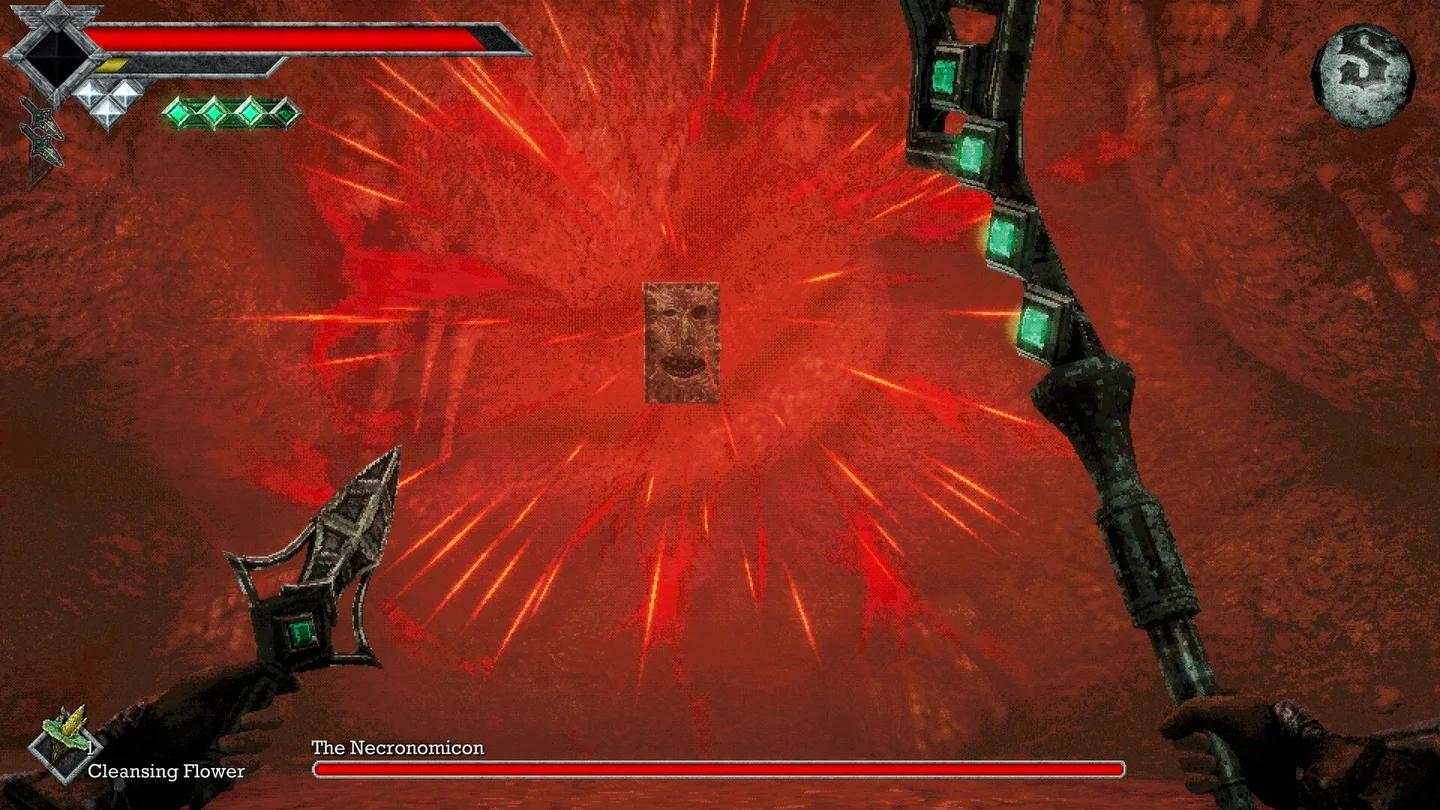
Spend the meter against groups
Vampiric Scimitar is your sustain option. Its normal swings drain health without requiring the secondary attack, making those ordinary hits the reason to carry it during longer encounters.
What should you use before those weapons are available?
Collect the opening physical-damage spread rather than waiting for the finished setup:
- Rusted Short Sword: Commander Ekonta gives it to you at the start. It provides Slash damage, and its secondary attack combines a slash with a forward dash.
- Rusted Spear: Found in the ruined tower near the Knight's Encampment Crystal Monument. Its backward-dash stab lets you attack while creating distance, and it evolves into Jigeki's Serpent Thrust.
- Wooden Club: Found in a chest in the Isle of Neasied's underground dungeon. It supplies Impact damage and a leaping-smash secondary attack.
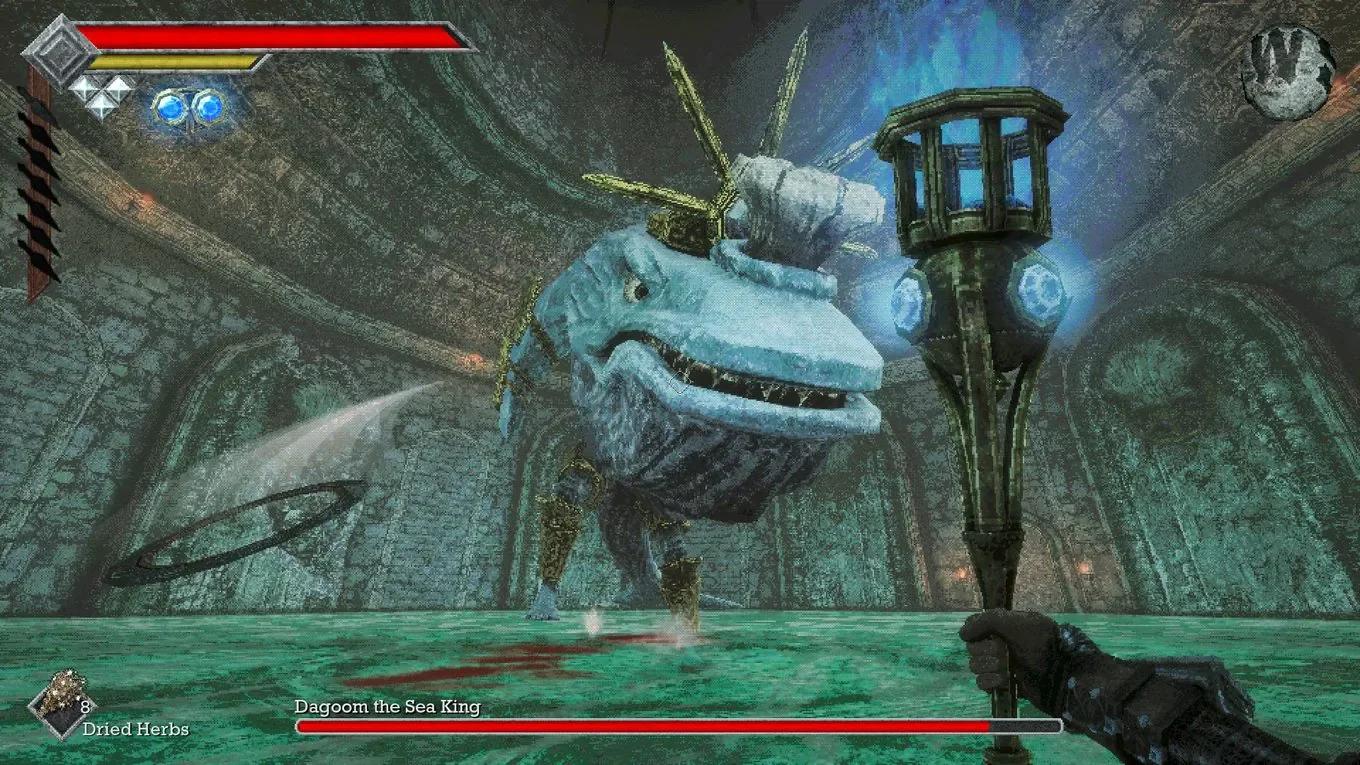
Strike while creating distance
Keep the Wooden Club available for skeleton encounters. Impact is a useful early matchup against skeleton warriors, while the starting sword and spear cover enemies better suited to Slash or Pierce.
When should you change the recommended setup?
Swap Splash Hammer for Spiked Buckler when defensive counters matter more than area damage. The buckler retains Impact coverage, adds Pierce, and gives you a parry instead of a damage-charged area special.
For exploration, replace the scimitar with Holy Sword Endu or Soul Bound Endu. You retain Slash coverage and gain Endu's air-dash utility, but give up healing through normal attacks. Wind Gems add further air dashes.
For a wider selection of alternatives, compare the melee weapon rankings and locations before changing a slot.
Recommended accessories
Where do accessories fit into this build?
Accessories are part of Queen's Domain's equipment system, but no particular accessory is part of this recommendation. Build around the weapon effects first: Jigeki's Serpent Thrust supplies poison, Splash Hammer supplies area damage, and Vampiric Scimitar supplies normal-hit healing.
Keep accessory decisions secondary to learning the Power Meter and maintaining damage-type coverage. Those are the foundations of this setup's attack rotation.
Leveling priorities
Which weapon should you level first?
Prioritize Rusted Spear if you want to reach Jigeki's Serpent Thrust. Successful attacks contribute to weapon experience, and most eligible weapons can evolve at level 10.
Each weapon level adds 3% bonus damage, up to 30%. That makes consistent use valuable, but keep switching when an enemy's resistance favors another damage type.
Use this progression order:
- Work toward the spear evolution. Rusted Spear combines an early defensive movement attack with a confirmed evolution into Jigeki's Serpent Thrust.
- Level your useful damage alternatives through combat. Bring Wooden Club or Splash Hammer into encounters where Impact is the better fit.
- Develop Vampiric Scimitar through normal attacks. Those hits contribute to weapon progression while also providing its health-draining effect.
Character levels and weapon levels are separate parts of Queen's Domain's progression. This build's specific damage milestones are the weapon-level bonus and the Rusted Spear evolution, rather than a prescribed character-stat allocation.
Charge attack and special attack rotation
What should you do during a normal melee opening?
On PC, left-click performs primary attacks, holding primary prepares a charged attack, and right-click activates the weapon's secondary move. Start by learning a single-enemy rhythm before trying to force charged strikes into crowded fights.
- Check the matchup. Select Pierce, Impact, or Slash using the enemy's bestiary information.
- Let the Power Meter recover. Move while it refills instead of spending the recovery period inside the enemy's reach.
- Draw out an attack. Give yourself room to observe the commitment and move beyond its reach.
- Punish the opening. Use a normal strike for a short opportunity or prepare a charged primary attack when the opening supports it.
- Reposition after the hit. Recover your meter and reassess nearby threats before attacking again.
When should you spend each weapon special?
With Jigeki's Serpent Thrust, land attacks until the green eye meter is full, then use right-click for Poison Strike. Its poison and roughly 1-second stun add utility to an opening. Reassess the enemy after the strike before committing to another attack.
With Splash Hammer, deal damage to fill its meter, then spend the secondary area attack when the group positioning and your opening make it useful. Its Slow speed makes preparation more important than trying to squeeze it into every exchange.
With Vampiric Scimitar, use normal attacks when you want its health-draining effect. Treat Life-draining Slash as a separate commitment: its purple meter appears on your life bar while charging, and the swing temporarily reduces maximum health.
The rotation is a decision loop, not a fixed combo. Poison Strike and Splash Hammer's area attack need damage-built meters, while charged primary attacks need preparation time. Spend whichever tool fits the opening you actually have.
Common mistakes
What makes this melee build less effective?
- Clicking as soon as another swing is possible. A partially recovered Power Meter can produce weaker attacks. Reposition while it recovers.
- Waiting for damage-built specials to refill passively. Jigeki's Serpent Thrust and Splash Hammer require attacks to build their meters.
- Choosing only by Power. Splash Hammer has 15 Power, but its Slow speed and area special serve a different purpose than the Fast spear.
- Using Life-draining Slash without accounting for its cost. Normal-hit healing and the secondary attack's temporary maximum-health reduction are different effects.
- Forcing Pierce against every enemy. Keep your Impact and Slash options ready when the bestiary points to a better matchup.
Pro tips
How can you make the setup more flexible?
For a less active secondary weapon, consider Occult Warhammer in the Impact slot. Its two projectile throws recharge over time while equipped, including when another equipped weapon is active. Best for players who want ranged support prepared between melee openings rather than another damage-built meter.
Keep throwing weapons available for awkward targets instead of chasing everything with your spear. The throwing weapon guide covers ranged options that complement your melee slots.
Check Umbawa the Merchant after defeating bosses, because the shop's stock expands. Vampiric Scimitar, Spiked Buckler, and Occult Warhammer are merchant purchases, so shop visits matter to your equipment progression.
Practice Rusted Spear's backward-dash stab against an ordinary enemy before depending on it in a difficult encounter. Its movement is part of the attack's value, and learning where it leaves you is more useful than reading its Power rating alone.
Frequently asked questions
How many weapons can you equip?
You can equip three melee weapons and three different throwing weapons. Use the melee slots for damage-type coverage and the throwing slots for additional ranged options.
Is Diamond Blade better because it has 16 Power?
Diamond Blade has 16 Power, Slow speed, and Slash / Impact damage. Choose it for strong individual hits; choose the recommended trio when you want poison, area damage, and healing across your available attacks.
Where do you get Holy Sword Endu?
Find Holy Sword Endu at the Endu Shrine after defeating the Shrine Guardian. Its air dash supports traversal, and Wind Gems add further dashes. For help planning exploration alongside your equipment, browse the Queen's Domain guide collection.