
Remothered: Red Nun's Legacy drops you into the Ashmann Villa with very little hand-holding. The early sections feel manageable right up until the Novices arrive, and then everything changes fast. Between managing your torch, reading the environment for puzzle clues, and learning when to hide versus when to run, there is a lot pulling at your attention at once. These tips cover the core survival mechanics and walk you through the game's first major puzzle chain so you can stop fumbling and start making real progress.
Why stealth matters more than speed
The opening stretch of the villa gives you free rein to roam without any threat, which is exactly the wrong lesson. Most players spend those early minutes sprinting everywhere, and that habit gets punished hard once the Novices show up.
The Novices patrol the villa constantly, and running gives away your position. The mistake most players make is treating every clear hallway as an invitation to sprint. Save running for situations where a Novice is clearly on the opposite side of the building and you need to cover ground quickly. The rest of the time, slow movement keeps you off their radar and lets you focus on finding the puzzle items you actually need.
Should you keep your torch on?
Here's the short answer: turn it off the moment you hear a Novice.
The torch is your only light source when the villa's power fails, and it feels essential. The problem is that enemies can spot the beam from a floor above or below you. A Novice upstairs will notice light bleeding through the floor and head straight toward it. Being caught because of your torch is far worse than stumbling around in the dark for a few seconds.
Train yourself to switch the torch off as soon as enemy audio cues appear, not just when one is directly in front of you.
How does the hiding system actually work?
Hiding under benches and inside cupboards sounds simple, but the Novices use a prediction system that punishes obvious choices. If you break line of sight and immediately duck into the nearest cupboard, the Novice will check that spot first. They predict where a fleeing player would logically hide based on the room layout and how long they have been out of sight.
The fix is to put distance between yourself and the Novice before committing to a hiding spot. Let them lose track of you properly before you go still.
There is one exception: even if a Novice finds your hiding spot, the game triggers a minigame called Close Call that gives you a chance to stay hidden. Completing it successfully means you survive even a direct discovery, so do not panic if a Novice starts investigating your cupboard.
How to manage your item inventory
The villa stocks items generously. Nearly every main room contains at least one of each item type, and you can carry up to 4 items at once. The categories available to you are:
| Item Type | Primary Use |
|---|---|
| Throwables | Distract Novices or hit them to create an opening |
| Melee weapons | Stun a Novice if you land the first hit |
| Break-out items | Instantly escape a grab attack |
| Healing items | Restore health after taking damage |
The temptation is to hoard everything. Resist it. Items respawn throughout the villa as you progress, so burning a distraction throwable to get past a Novice blocking your path is almost always the right call. The only time hoarding makes sense is if you are specifically carrying spares of one type you rely on heavily.
Why you need to unlock every door twice
Every locked door you open in the villa creates a potential escape route, so clearing them out early is worth the effort. Keys, puzzles, and accessibility from the other side all gate different doors, and building a mental map of your open paths is what separates a clean run from a panicked one.
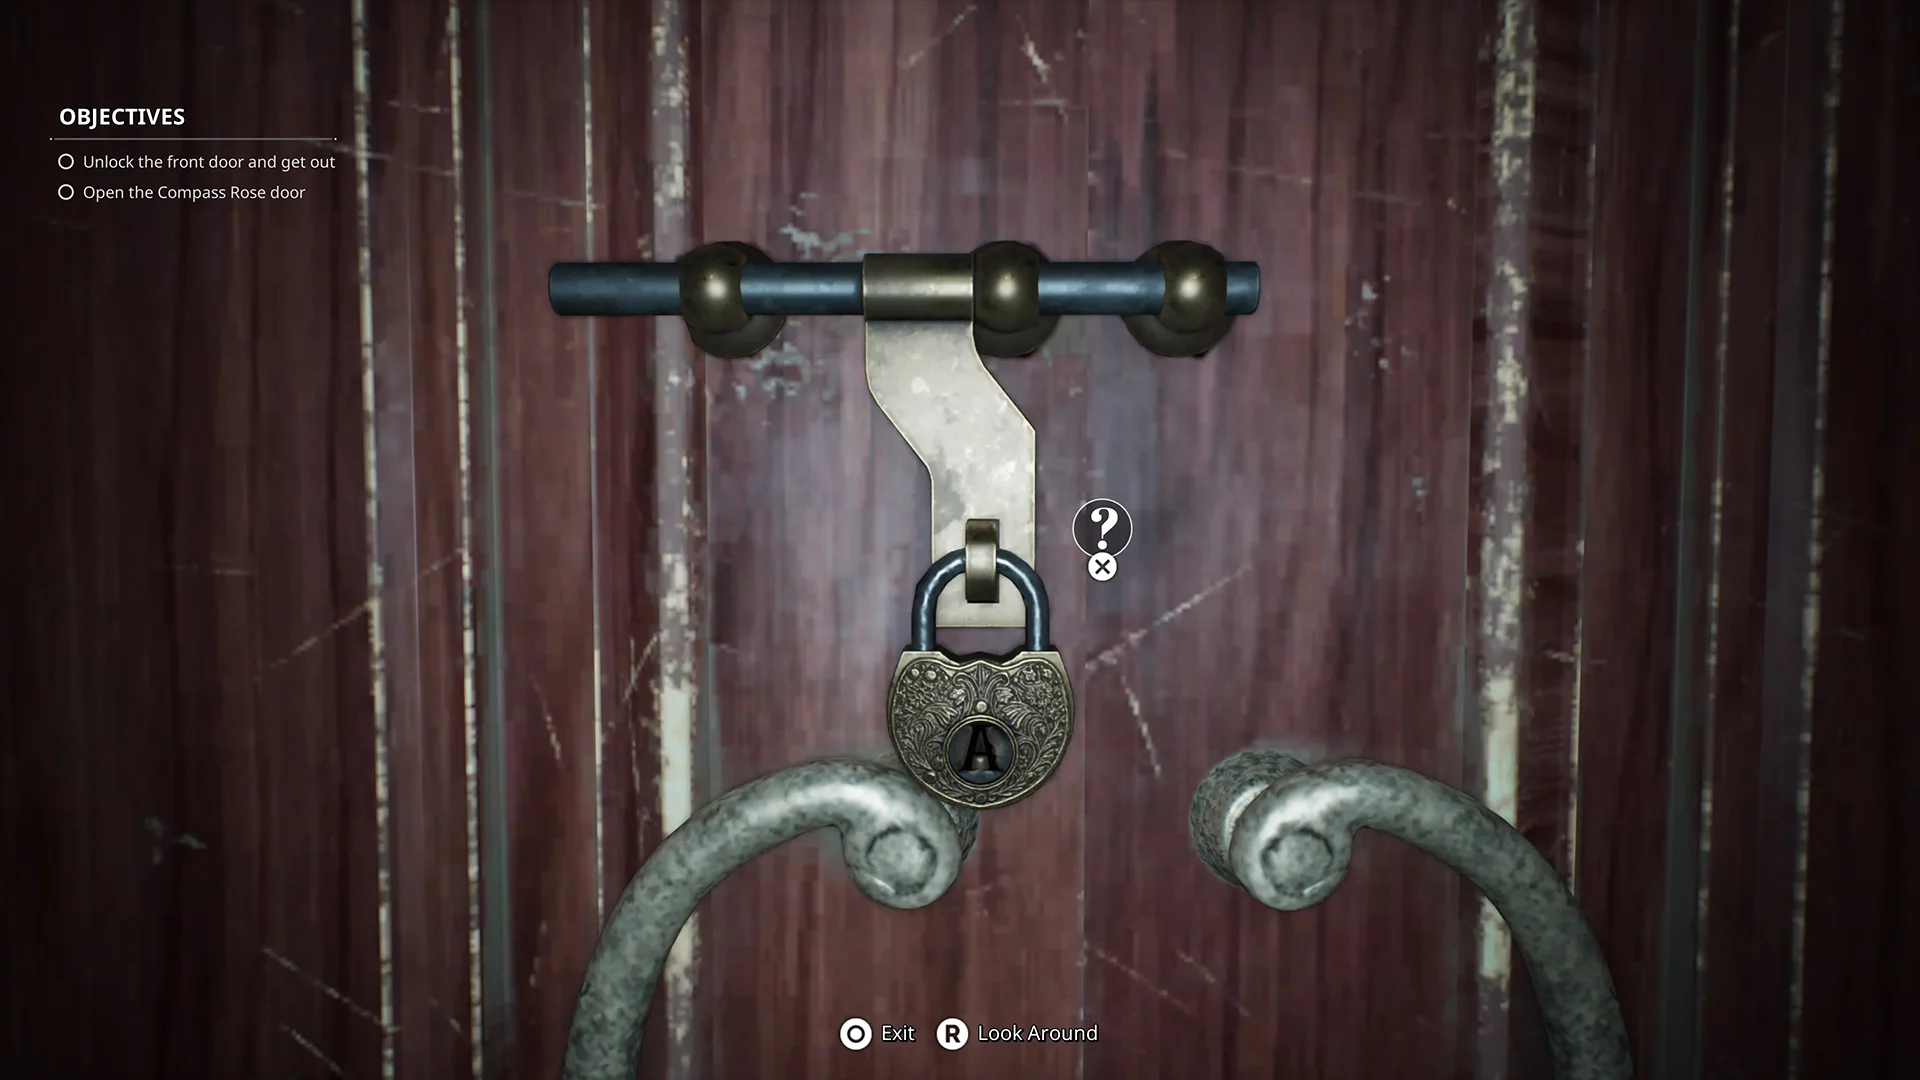
Here's why that matters later: the Novices will eventually start locking doors behind you to funnel you into scripted sequences and jump scares. Once those sections end and you regain freedom, you will need to go back and re-unlock those doors. Treat your escape network as something that requires active maintenance, not a one-time setup.
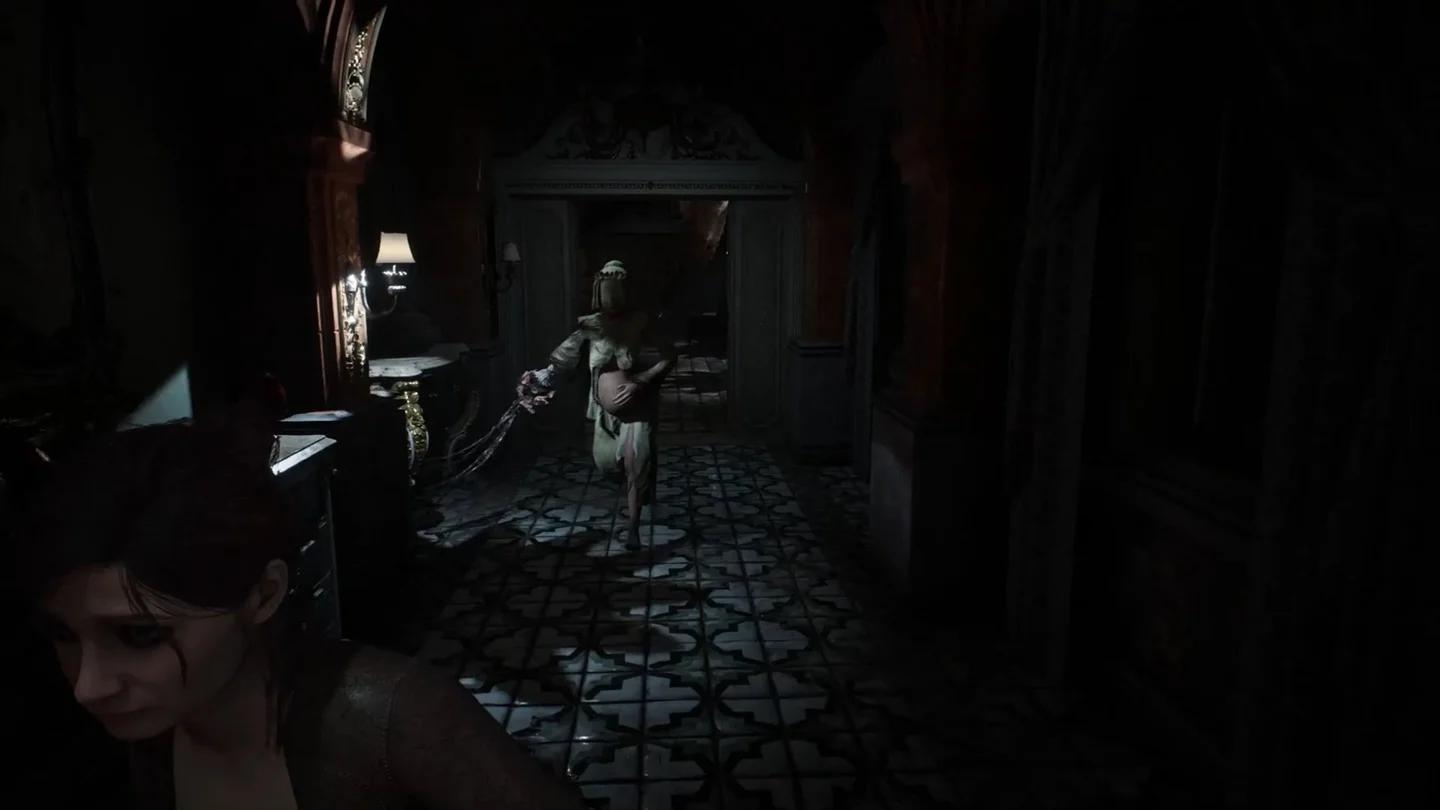
Unlock doors for escape routes
How to solve the music box puzzle and open the birdcage
This is the first major puzzle chain in the game, and it sends you back and forth across the villa multiple times. Here is the full sequence.
Step 1: Find the Compass Key
Head to the far right side of the villa into the room filled with paintings and busts. At the back of this room sits the music box, which holds a bride statue but is missing the groom. Inside a small cupboard in the same room, you will find the Compass Key.
Step 2: Reach the Room of Wonders
The Compass Key opens the Room of Wonders on the left side of the villa. This is also the point where the Novices are introduced, so the smooth exploration phase ends here. Cross the foyer carefully, using distractions or waiting for the Novice to move away. Note the locked birdcage in the foyer containing a metronome as you pass through.
Step 3: Find the Library Key
Inside the Room of Wonders, look diagonally left from the entrance door. A closed book in the far corner holds the Library Key.
Step 4: Enter the library and get the groom statue
The library is back on the right side of the villa. Before you open the door, be ready for a cutscene involving a Novice and a jump scare. Once inside, head upstairs to the balcony and pick up the groom statue from a table.
Quick tip: the door you entered through will be locked when you try to leave. Roam the balcony until you find the door leading to the foyer's upper level, then use the stairs on either side to get down. Open both staircase doors while you are up there.
Step 5: Complete the music box and unlock the birdcage
Return to the painting room and place the groom statue in the music box. The reward is a dove pendant. Take it to the birdcage in the foyer, but be aware the direct route will be locked by the Novice. Go through the library as a detour instead. Place the pendant in the birdcage to open it and unlock the next story section, along with a new ability.
How to solve the Retrocognition puzzle
After unlocking the birdcage and accessing the metronome inside, you are transported to a twisted memory of a convent covered in flowers and vines. This is where you learn the Retrocognition ability, which lets you focus on items in the environment to uncover memories attached to them.
Finding the puzzle
In the hallway of this location, focus on a mask to reveal a message on a nearby table. Then backtrack until you find a portrait of nuns that has shifted slightly on its wall. All the nuns in the portrait have red X marks on their faces except one. Interact with the portrait to use Retrocognition again, then take it off the wall. Behind it is a bottle of acid you can use to clear the vines blocking a door ahead.
Solving the rotating pillar puzzle
Through the cleared door, you reach a room with a large wall puzzle featuring rotating pillars, each displaying different symbols. Interact with the pedestal holding a book and use Retrocognition to hear the riddle.
The buttons on each pillar do not rotate them. The pillars rotate automatically. The buttons stop a pillar on whatever symbol it is currently showing. Stop each pillar in this order, left to right:
- Woman
- Snake
- Skeleton
- Heart
Lock all four in place and the puzzle completes, advancing the story with Retrocognition fully unlocked.
How to find Agata and open the Eclipse Door
Reaching the Residential Wing requires the Secrets of Mirrors ability first. Once you have it, follow Agata through mirrors across the villa until you find a note with a key in a locked room accessed through a fireplace. Exit through the red-lit door and head toward the alleyway between the main villa and the residential wing.
The main door to the residential wing is locked. Climb through a window on the left side of the building, entering through what appears to be the laundry room.
Finding Gloria's Key and the Eclipse Door
From the laundry room, head down the hallway and take the stairs upward. The Eclipse Door sits on the highest floor currently accessible, surrounded by the word "Eclipse" scratched repeatedly into the wall around it. The door is locked.
To get the key, head back down and enter the first door across from those stairs, which leads to a bathroom. After investigating the bathroom, use a wall gap to slide into the adjacent room while still in a hiding position. Spin around and exit into Stefano's bedroom.
In the small office area of Stefano's room, a desk covered in photographs also holds Gloria's Key. Take it back upstairs, unlock the door, and trigger the cutscene where you find Agata. The sequence ends with you waking up in the basement of the residential wing on the far side of the building, opening up a new area to explore.
For more walkthroughs and puzzle solutions, the full Remothered: Red Nun's Legacy strategy guides collection covers every major section of the game. Fans of tense survival horror will also find plenty of recommendations in the broader action games library if you want something to play next.