
Introduction
Romestead is a Roman survival town-builder where the order you place buildings matters as much as which ones you pick. Get it wrong and your villagers starve before the first night raid arrives. Get it right and your settlement practically runs itself while you push into new biomes and take on bosses. This guide covers every major building, the build order that prevents early collapse, and base layout principles that keep production tight and defense manageable.
What should you build first in Romestead?
The answer is simpler than most players expect: solve food before anything else. Your opening sequence should be Workbench, Town Core, Food Storage, and a Farmstead. That four-building cluster keeps villagers alive and working. Once that loop is stable, the Altar (just a Workbench and 3 Stone) comes next to unlock worship and quests.
Every early-game collapse traces back to the same mistake: rushing production buildings or defense before food is handled. A starving settlement loses villagers, and a settlement with no villagers produces nothing regardless of how many structures you placed.

Assign workers at Town Core
Every major building and what it does
Core settlement buildings
Town Core is the first structure you place. Recruitment, town renaming, and settlement overview all happen here. Everything else grows around it.
Workbench opens Construction Mode and acts as a prerequisite for the Altar. It is cheap and comes before almost everything else.
Food Storage distributes food to your villagers. Food sitting in your personal inventory does nothing for your citizens. Place Food Storage near the center of your population so its supply range covers everyone. A Food Storage tucked in a corner is one of the most common reasons new players lose villagers to hunger even when crops look full.
Farmstead auto-harvests crops within a 6-tile range to its left, right, or above. The range never extends below the building, so you need to plan crop plots in those three directions before placing it. One Farmstead with a Green Thumb Trait villager assigned handles food for a small early settlement. The Green Thumb match triggers the Purposeful happiness buff and lifts food output at no extra cost. When your population outgrows a single Farmstead, add a second one covering a new crop block rather than stacking a second worker on the first. Two Farmsteads covering two fields doubles throughput; two workers on one Farmstead does not. The Farmstead functions in the Desert and Volcanic biomes, so your food infrastructure carries forward as you push into later zones.
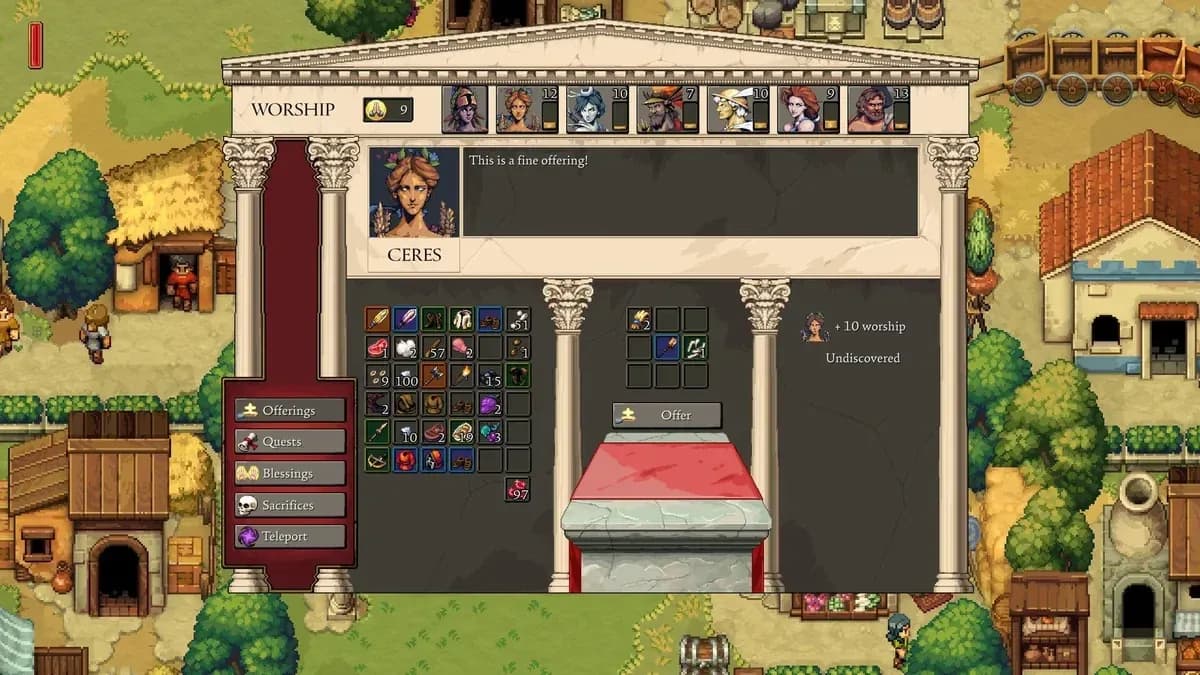
Altar is the worship interface and quest hub. It costs a Workbench and 3 Stone, making it one of the cheapest high-value buildings in the game. Offerings here raise Worship Level, activate Blessings, and apply boss-drop knowledge. Check out our Romestead gods guide for which deity to back first and which offerings level them fastest.
Carpenter handles building upgrades. Upgrading the Altar at the Carpenter unlocks teleportation between settlements, which becomes essential once you manage more than one base.
Production and progression buildings
Blacksmith smelts ore into bars and crafts tools, armor, and weapons. Each biome introduces a new ore tier, so the Blacksmith is your gear pipeline from Copper through Bronze to Iron and beyond. Pair it with our Romestead weapons tier list to know what to craft at each stage.
Lumberyard makes wood extraction efficient but can only be placed in the Forest biome. You cannot build it in Plains, Desert, or Volcanic zones. Build enough Forest lumber production before advancing, because later biomes have no way to generate it and construction will stall without a stockpile.
University costs 20 Research Papers, 8 Lumber, and 6 Stone and requires an Altar at level 3. Once built it generates more papers over time and unlocks advanced technology and mid-tier magic weapons.
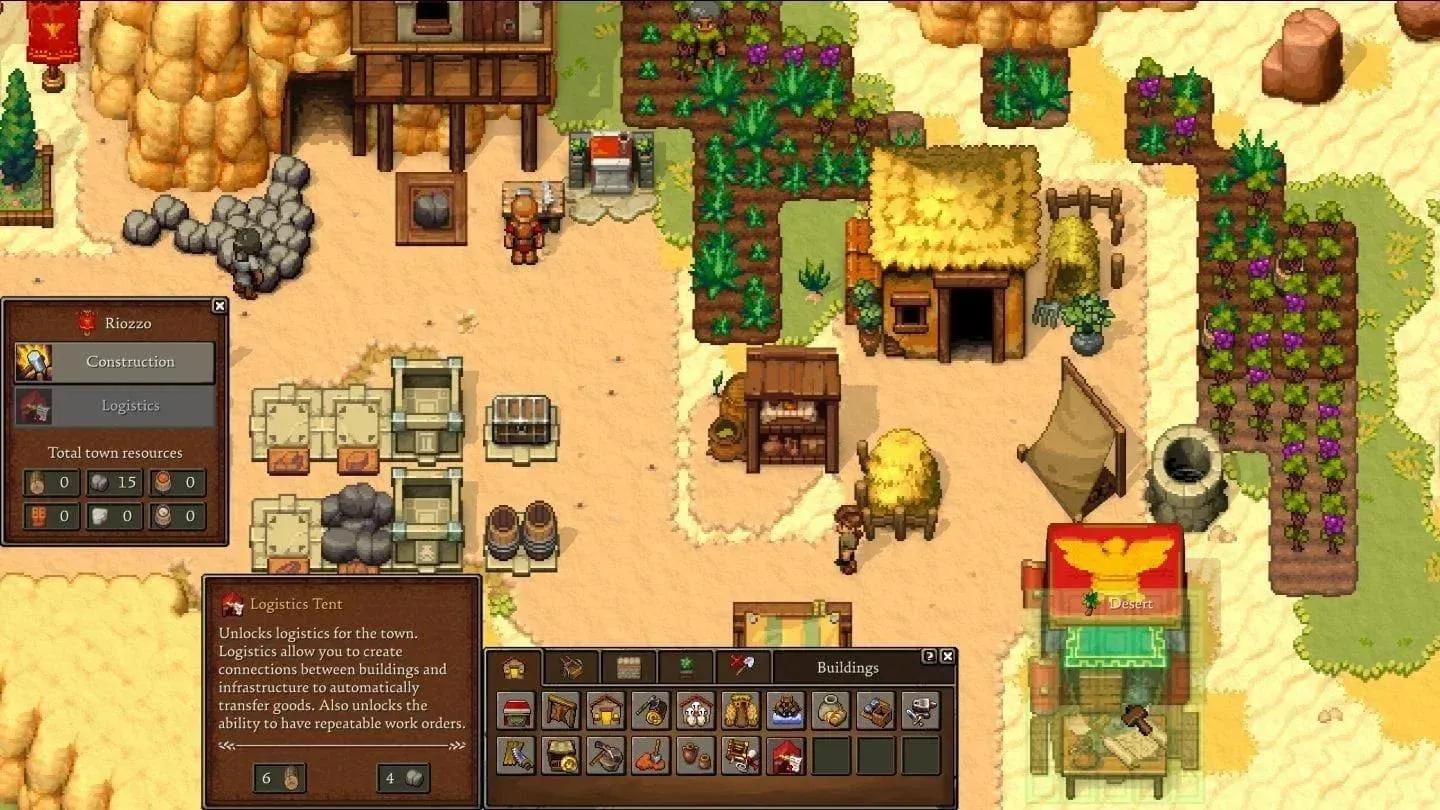
Logistics Tent connects buildings, automates resource transfer, and enables repeatable work orders. Before it exists, you are the logistics system. After it unlocks, a slightly messy layout becomes manageable at scale.
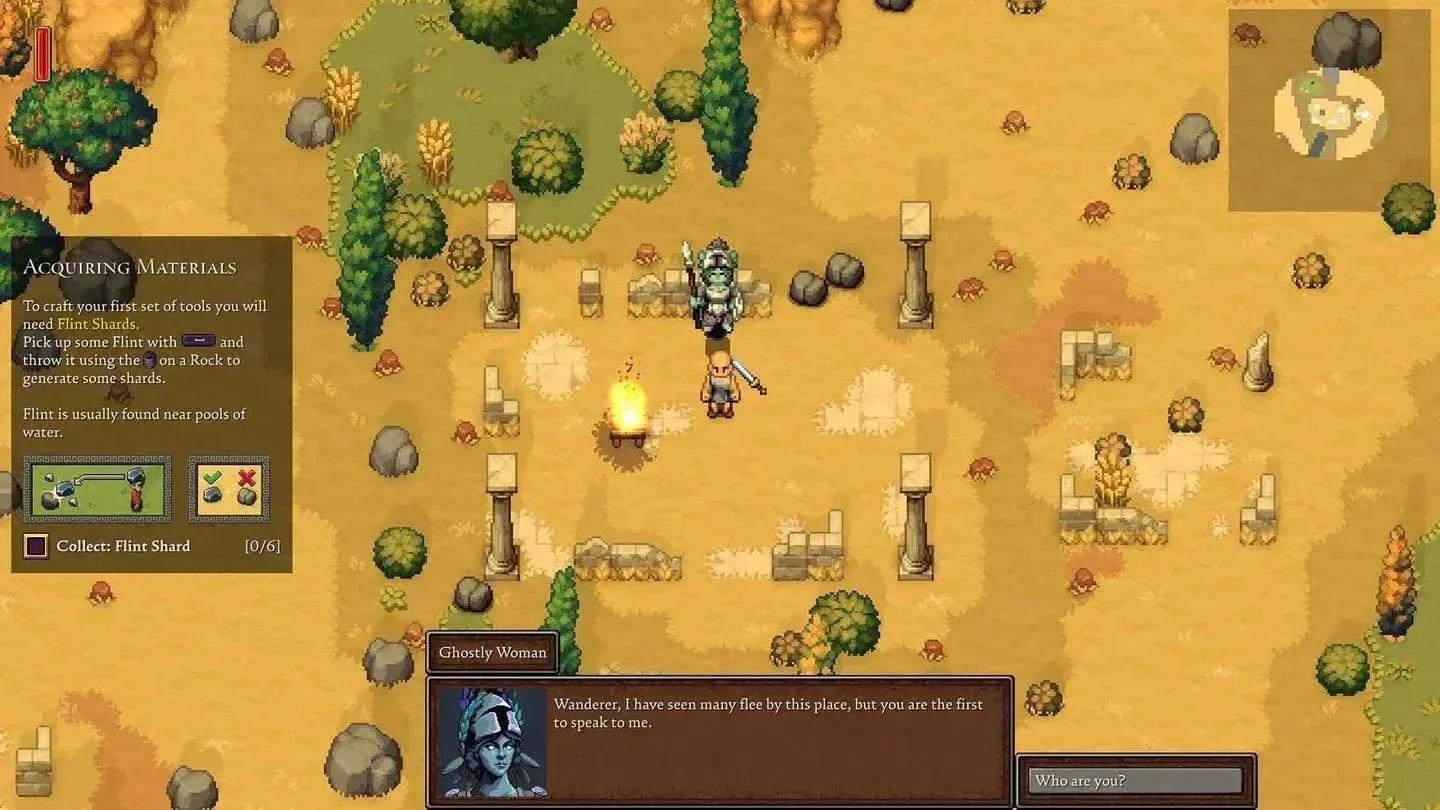
Leatherworker produces early armor and gives you access to the Leather Bedroll, one of the most important first-day safety tools. Craft the Bedroll with 2 Leather, 2 Wool, and 1 Wheat, place it inside a house, and interact with it to sleep through the night. Sleeping also sets your respawn point, making it part of your raid and boss preparation, not just a comfort item.
Altar worship and blessing panel
Defense buildings
Torches form the light network that defends your settlement at night. Romestead runs a day/night cycle and night brings undead raids. Defense is last in the build order for a reason: a perfectly torched town that is also starving still collapses. Get food and production stable first, then ring your settlement with light before the first serious raid wave.
Walls, battlements, and traps raise your town's Defense Value. Check the town UI after placing defensive structures to confirm the value is actually improving. One wall section is rarely enough.
What is the correct build order?
The priority chain is: feed first, assign work second, expand third, defend fourth.
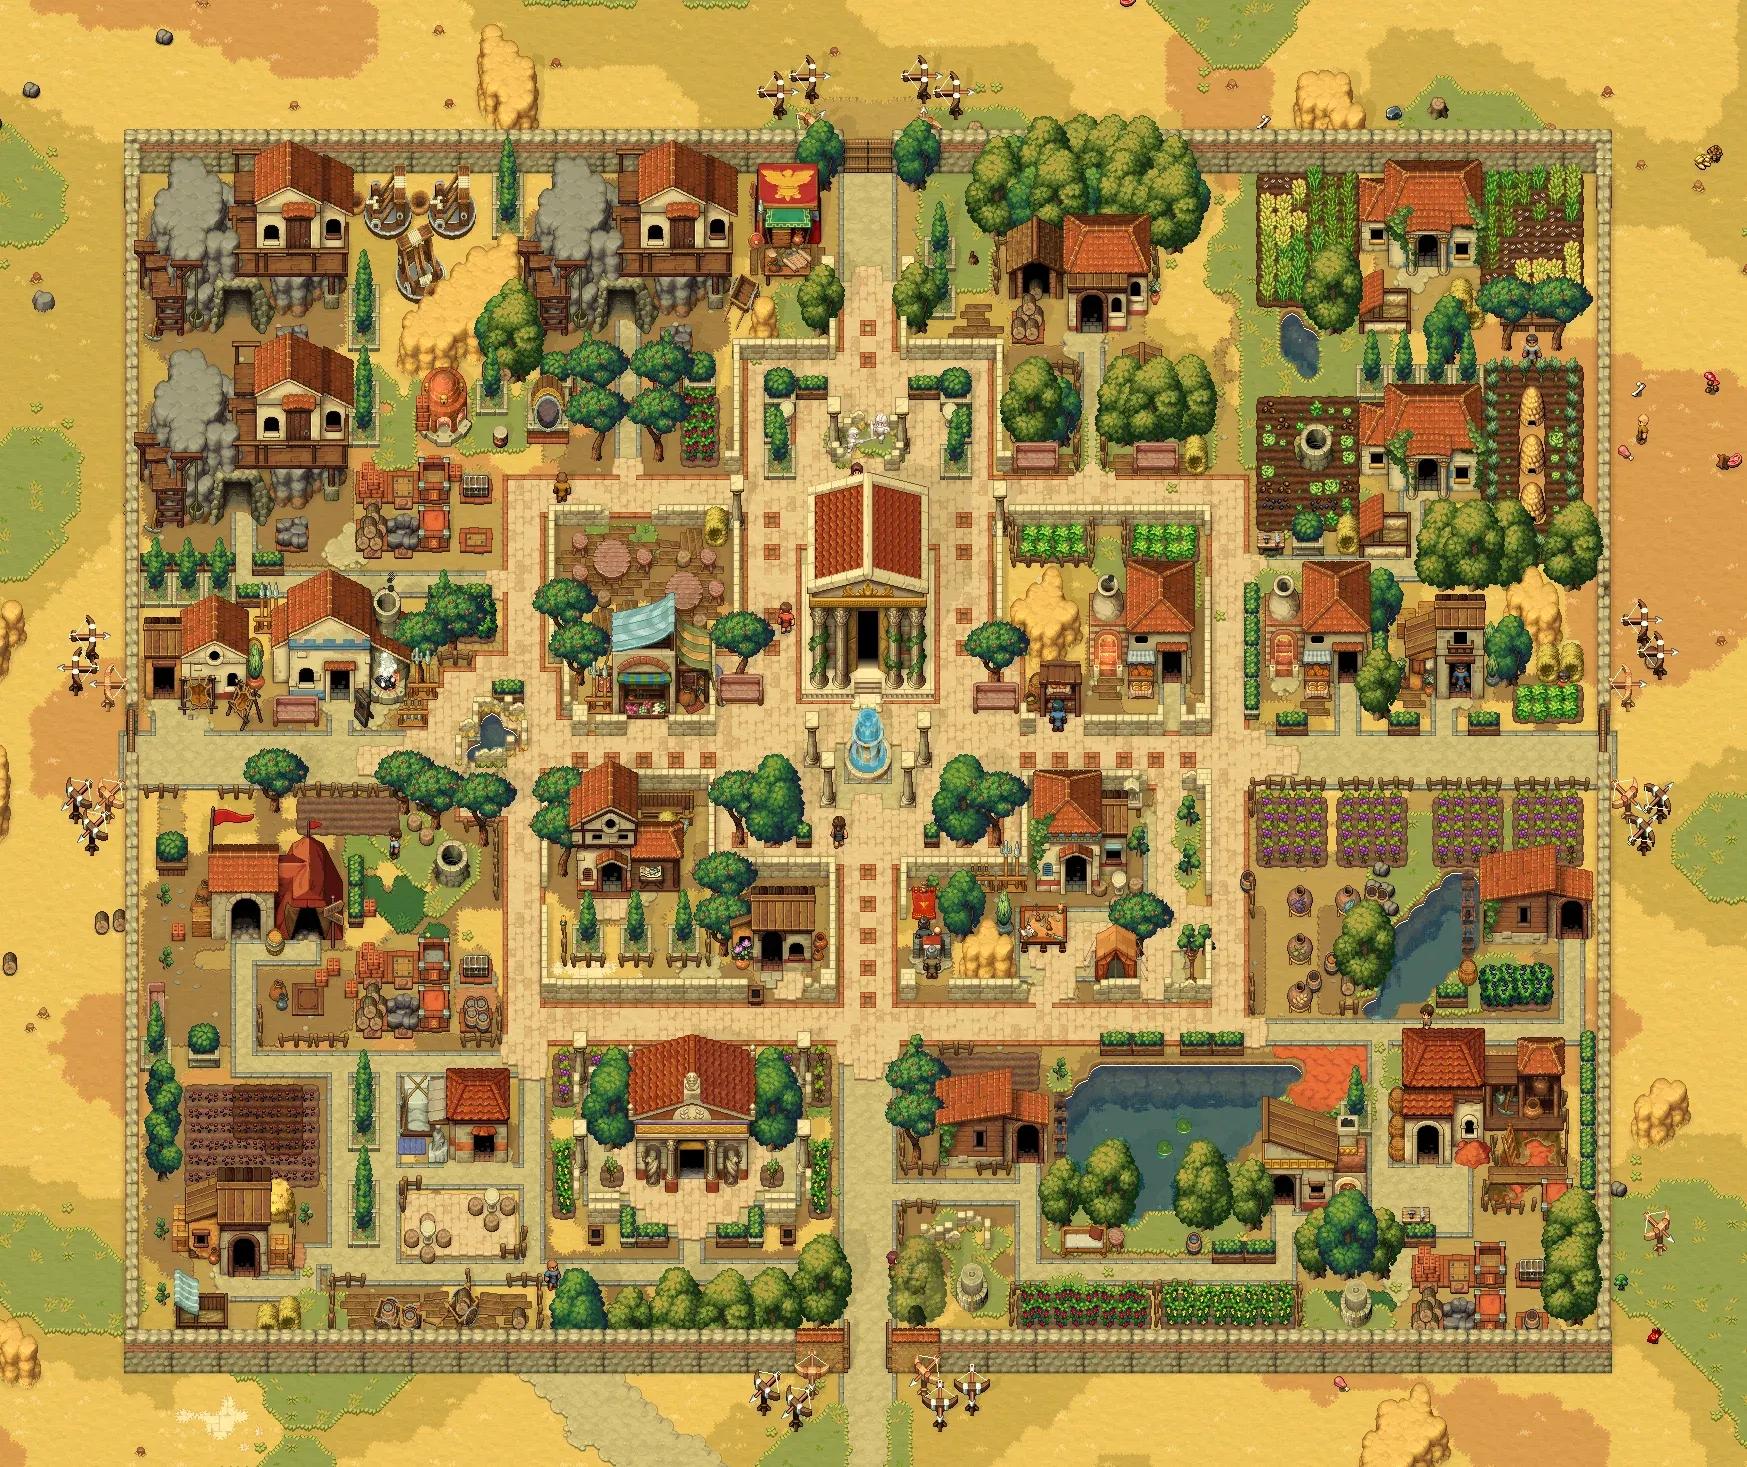
How should you lay out your base?
Choosing the right location
Do not place the Town Core at spawn without scouting first. A good base location sits near the center of your early travel routes and has reliable access to water, clay, stone, wood, and coal. Water matters because early crops need manual watering and Watermill placement depends on it later. Clay is used in a surprising number of mid-game buildings, so a distant clay route slows every expansion phase.
Leave open space around the Farmstead before the town fills in. Farming systems punish settlements that cover every available tile with houses and roads too early.
Compact core principles
The most common layout mistake is spreading buildings too far apart. A scattered town is harder to defend, harder to troubleshoot, and easier to lose during raids.
Keep the buildings you check every day close enough that feeding citizens, assigning workers, and responding to raids does not require crossing the map.
Farmstead crop layout
The Farmstead's 6-tile range covers left, right, and above only. The most common placement error is dropping the Farmstead at the top of a crop block so only one row falls in range. Place crop plots first, then position the Farmstead at the bottom edge of the field so the range sweeps the entire block above it.
Farmstead range covers three directions
Roads and logistics
Roads reduce travel time for villagers and for you. Connect the routes you actually use every day: Workbench to Town Core, Food Storage to housing, Farmstead to processing, Material Storage to production buildings, and main entrances to raid defense positions. Do not pave the entire map before your building plan is settled.
Before the Logistics Tent unlocks, treat yourself as the logistics system. Keep the buildings that exchange resources close enough that you are not spending the whole session carrying items on foot.
Raid defense layout
Raid defense starts with layout decisions you make before the first raid arrives. A compact core is cheaper to light, cheaper to wall, and easier to repair after a bad night.
Use natural terrain where possible. Cliffs, water edges, and narrow land bridges reduce how many wall sections you need and funnel enemies into predictable paths. A simple kill-box courtyard with one lit entrance and walls or terrain on the sides handles early raids without requiring a massive perimeter.
Light the perimeter before night raids
Common building mistakes to avoid
- Placing Food Storage at the edge of town where its supply range misses half your population
- Building production structures with no villager assigned, then wondering why output is zero
- Under-stocking the Lumberyard before leaving the Forest biome
- Skipping the Altar early because it looks optional (it is not)
- Defending before feeding, which is the fastest route to a collapsed settlement
- Placing the Town Core at spawn without checking water, clay, and open space nearby
- Blocking the Farmstead area with roads and houses before the farm is fully operational
For a deeper look at bosses and where to find them once your settlement is stable, the Romestead boss locations guide has every spawn point and trigger. For everything else across all game systems, the full Romestead guide collection covers professions, biomes, co-op, and more.