

Trampler fights in SAND: Raiders of Sophie are slow, grinding brawls where two walking fortresses pound each other into scrap across open desert. Most new players lose because they treat these encounters like a standard shooter duel. They don't. Winning here comes down to target priority, constant repairs, and knowing exactly when to stop shooting and start boarding.
How do you drive a trampler?
Before any of the combat tactics matter, you need to get the machine moving. After the airship drops you onto the map, the trampler's engine stays dead until you find the chimney on the main or upper deck and hold the interact button on the power switch beneath it. Once that's done, head to the steering wheel and use the controls below.

Trampler controls at the wheel
Power drains after 10 to 12 minutes, so always carry NZ MK2 Energy Rods and slot one into the port near the main switch before the engine dies. One habit that pays off immediately: cut the power whenever you stop to loot. The chimney smoke is visible from across the map, and switching it off hides your position from rival players.
What cannon loadout should you run?
Your three trampler cannons do completely different jobs, and mixing them up is one of the fastest ways to lose a fight.
- 80mm: The heavy hitter. One large, slow round with serious damage output, but it sits empty by default and needs a moment to reload between shots. Best used as a finisher.
- 40mm: The workhorse. Fires continuously, holds decent range, and never stops to reload. It does overheat under sustained fire, so use short controlled bursts rather than holding the trigger down.
- 70mm: Weak against tramplers, but its wide spread makes it the best option for killing enemy crew members up close.
The most reliable all-rounder setup is a 40mm for sustained pressure paired with an 80mm for the killing blow, mounted front and back so you always have a weapon facing the threat regardless of your orientation. For personal sidearms, two grey revolvers work well in PvP: six rounds each, fast to reload, and if you get caught mid-reload you just swap to the second one.

Front and rear cannon setup
What is the correct target priority in trampler PvP?
This is where most players go wrong. Blasting away at the whole ship spreads your damage around without actually winning the fight. There's a specific order, and following it decides the outcome.
- Legs first. Cripple their mobility and half the threat disappears. They can't flank, can't escape, and become a slow predictable target you can circle at will.
- Cannons second. Once they're stuck, strip their ability to punish you back. A crippled trampler with working cannons is still dangerous.
- Reactor last. Destroying the reactor wrecks the ship and prevents enemy respawns, but the captain survives and can run for extraction or attempt to steal your vessel. You still need to put them down after the ship goes.
While you're attacking, protect your own reactor by steering it away from the enemy's guns. Experienced players aim straight for it.
How do repairs change the outcome of a fight?
Defence wins these brawls as much as offence. The moment your trampler takes hits, get on the multi-tool and patch up the pipes, plates, and circuit boxes scattered through the captain's quarters, crew rooms, and around the reactor. Damaged legs slow you down significantly, so those get priority.
These fights often end through attrition. Two crippled tramplers circling each other slowly is a common outcome, and the one that kept up with repairs is the one that walks away. Repair constantly, not just when things look bad.
Reactor repair mid-combat
How do you board and steal an enemy trampler?
Once an enemy is weakened, the boldest play is to stop trading shots entirely. Push your trampler into theirs, breach into the captain's cabin, and interact with the terminal on the table. That hands you their ship and all its cargo, instantly cuts off their ability to respawn, and locks them out of their own doors. From that point you only need to kill them once and the fight ends.
Time bombs and C4 are excellent for this approach: blow open doors, wheels, or cannons to clear a path through the ship. Before you leave any wreck, grab the black box off the destroyed reactor. It sells for a solid amount back at base.
How should you build your trampler for your playstyle?
Your trampler build shapes your entire approach to every encounter. Heavy armor raises your health pool but drops terrain speed, making you a slower, more exposed target. Balance matters.
Solo play: Go small and fast. A booster paired with a 40mm or 80mm gives you hit-and-run flexibility. Keep the wheel, reactor, and cannons clustered close together so one person can manage all of them. Move in, deal damage, grab what you can, and leave before you become a target.
Squad play: The trampler becomes a mobile base. Load up on armor, crew rooms, and turrets to make it a nightmare to bring down. Tuck the reactor somewhere hard to reach. Split roles: one or two players boarding enemy ships while another works the cannons. That coordination wins fights before they start.
For a deeper look at specific module combinations and faction upgrades, the SAND: Raiders of Sophie Tech Tree upgrade guide covers every unlock cost and tier breakdown.
How do you use terrain in trampler combat?
The dunes are a genuine tactical tool, not just scenery. Position well and you can force bigger tramplers to climb at awkward angles, turning them into slow, exposed targets while you control the engagement. Drive too fast into a steep hill or rock yourself, though, and you'll take damage and stall. Read the ground before committing to a position.
What are the PvE trampler threats?
Not every fight involves another player. NPC tramplers go down in roughly four or five 80mm hits and drop a crate of useful items including fuel rods, alloys, and occasional repair kits. Ironclad robots spawn when an eye beacon appears on the map. They're hard to outrun, so either stay well outside their range or commit to the fight. They're a bit slow on the spawn, which gives you a window to land free shots before they fully activate. Some zombies in wrecks carry guns and shoot back with surprisingly accurate aim, so don't walk into a wreck carelessly.
Quick reference: trampler combat priorities
What else should you know before your next run?
A shovel is worth picking up whenever you find one. It's a one-use item, but digging at the right spots uncovers rare resources and gear that you won't find any other way. Make it a priority when looting.
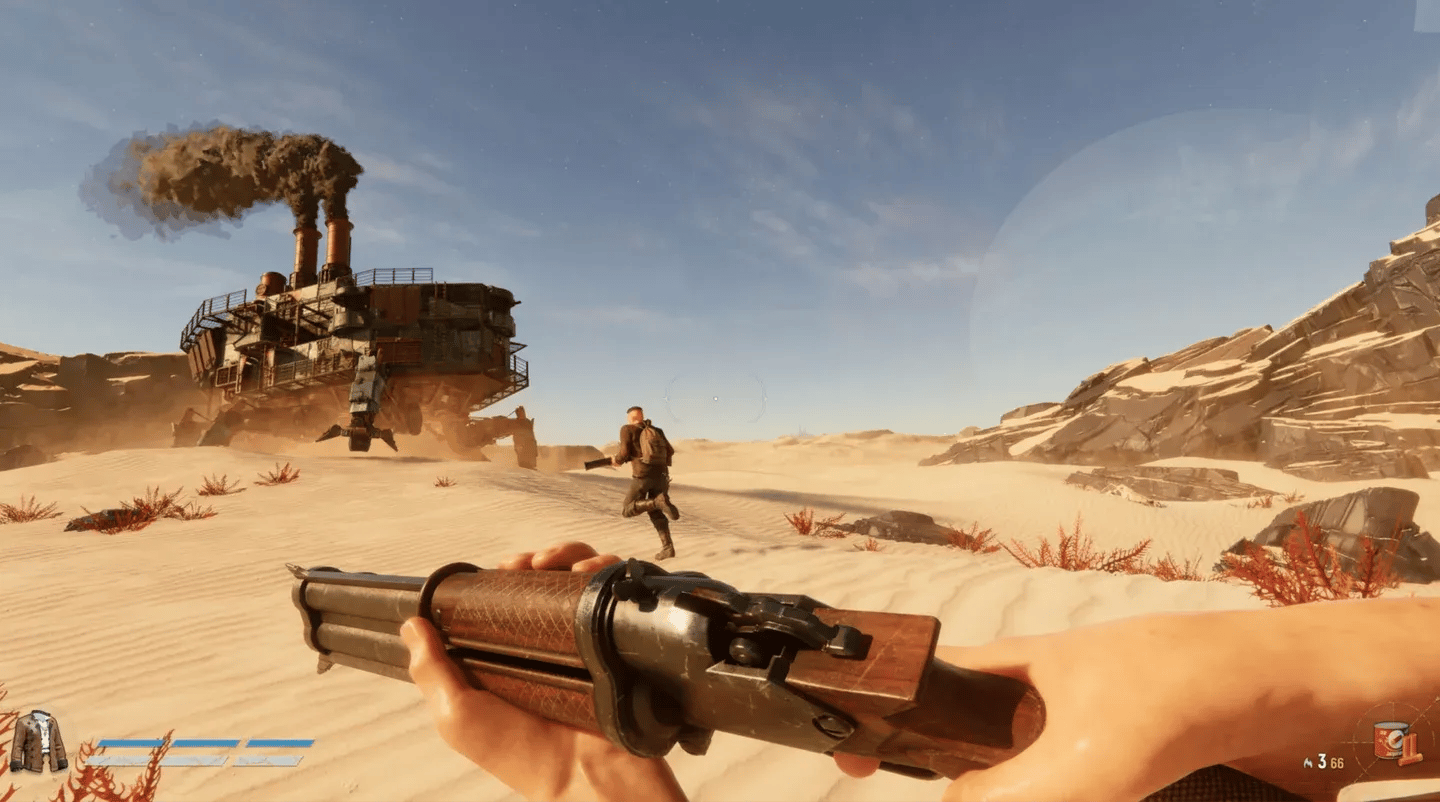
Players who are already busy looting are also prime targets. Catching someone mid-loot means they're distracted, likely carrying good resources, and not in a position to fight back effectively. Risky, but the payoff is real.
For everything that happens after you survive a run, the guide to buying and selling items in SAND: Raiders of Sophie walks through converting extracted loot into currency and restocking for the next drop. For weapon crafting specifics, the weapons and ammo crafting recipes guide has every ingredient and workbench requirement. More tactics across all systems are in the full SAND: Raiders of Sophie guide collection.