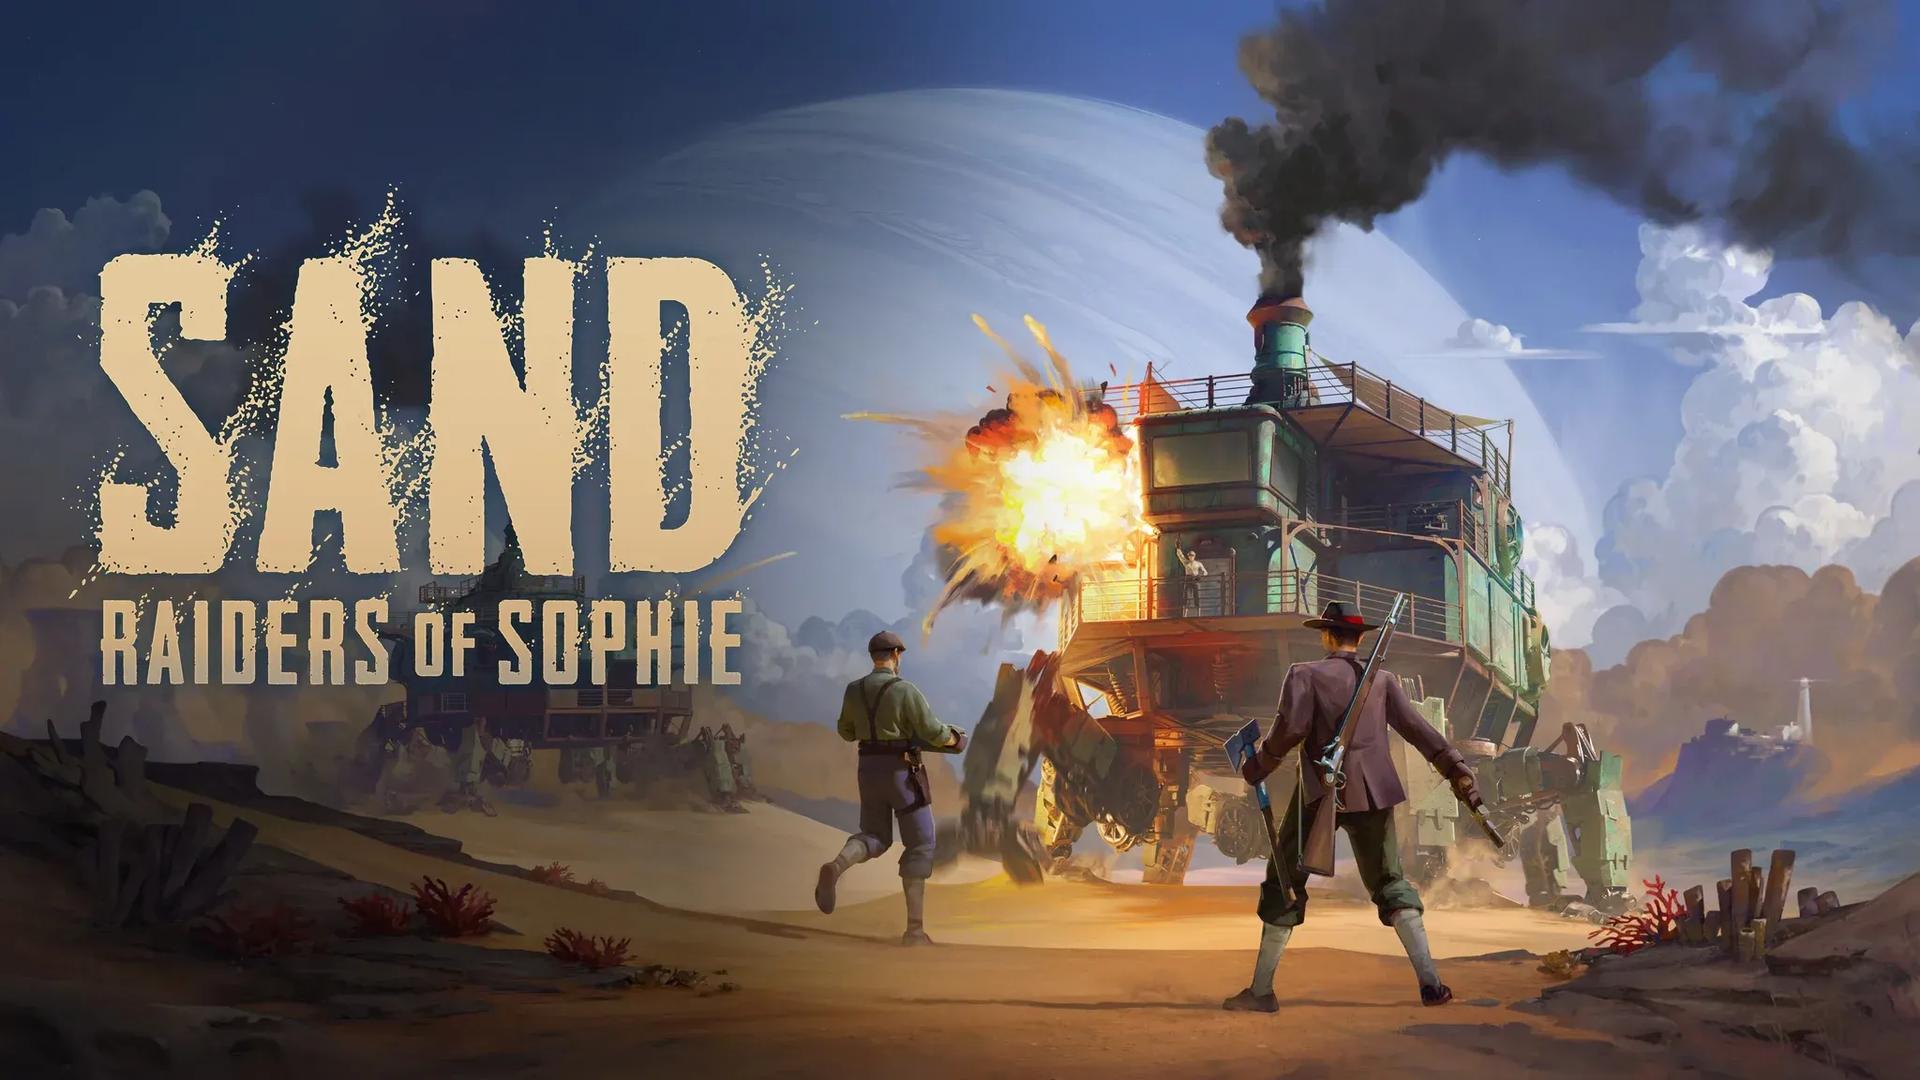

SAND: Raiders of Sophie drops you onto a dieselpunk alternate-history desert where your giant walking fortress is everything: your weapon, your base, and your escape plan. Lose it and you lose your loot. Master it and you become the threat that other crews are desperately trying to avoid. This guide covers the builds that hold up under fire, the cannon targeting order that actually wins fights, and the boarding tactics most players figure out too late.
How does the Trampler actually work?
Before touching a single weapon mount, you need to understand what keeps your machine alive. The Reactor is the heart of the whole operation. No Reactor means no movement, no weapons, and no respawns for your crew. Enemy players know this, which is why protecting yours and targeting theirs are the two most important habits to build.
Every Trampler is assembled from individual modular compartments. You can scale the chassis up or down, add cargo crates, install crew spawn beds, and mount external gun platforms wherever the sockets allow. The trade-off is straightforward: heavier modules raise your defensive health pool but reduce terrain speed. A lumbering fortress is harder to kill but easier to outmaneuver, so your layout choices have real consequences out on the dunes.
Extraction matters too. Any loot you scavenge from ruined cities has to be physically stored in your cargo hold before you reach an extraction tower. Loose items sitting around your deck disappear when you die. Get into the habit of stowing everything properly before pushing into contested territory.
Reactor placement is everything
What are the best Trampler builds?
Three distinct build philosophies cover most playstyles in the current Early Access meta. Each one demands a different approach to both construction and combat.
Solo players should lean toward the Dune Runner setup. Mobility is your primary defense when there is no crew to repair damage or man a second cannon. Keep your wheel, Reactor, and cannons clustered close together so one person can manage all of them without sprinting across the ship mid-fight.
Squads benefit most from the Outpost or Iron Dreadnought approach. Tuck the Reactor deep inside the hull where it is difficult to snipe, load up on armor, and assign clear roles: one or two players boarding enemy ships while another works the cannons. That coordination alone wins fights before they escalate.
What cannons should you use on your Trampler?
The three cannon types handle very differently, and knowing which one to reach for in a given situation separates competent gunners from dangerous ones.
The most reliable all-rounder pairing is a 40mm for sustained pressure and an 80mm for finishing blows, mounted front and back so you always have a weapon facing the threat regardless of which direction the fight pushes. For personal sidearms during boarding actions, a pair of grey revolvers works well: six rounds each, quick to reload, and if you are caught mid-reload you just swap to the second one.
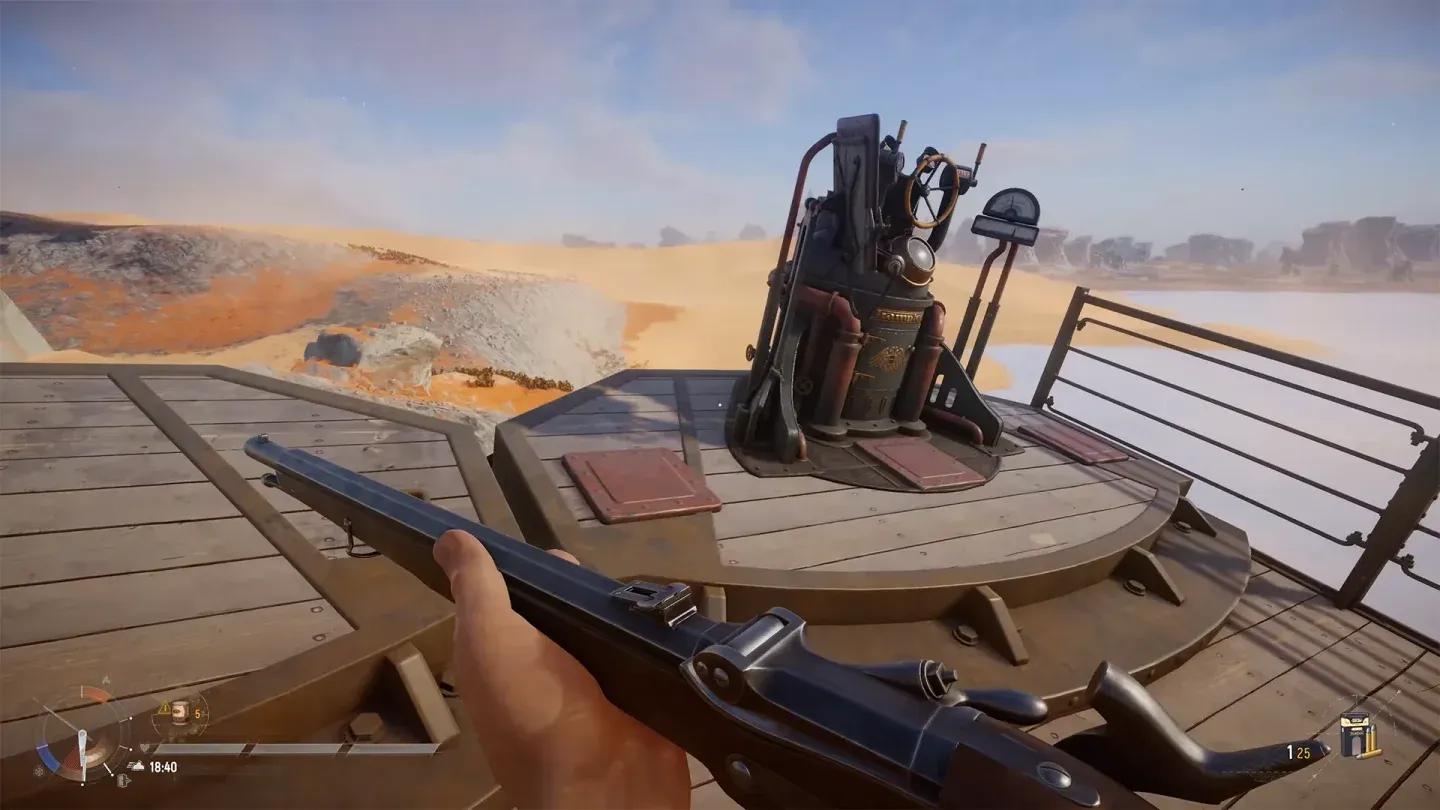
For attachments, a Reinforced Gun Shield on your Heavy Autocannon protects the gunner from being sniped off the platform. A High-Capacity Ammo Drum on Flak Artillery cuts reload frequency by 40%, which matters enormously during close-quarters base defense. A Thermal Tracking Scope on a Sniper Cannon highlights structural weak points and lets you pinpoint the enemy Reactor from across the dunes.
Dual cannon mount configuration
What is the correct target priority in Trampler fights?
Most new players just blast away at whatever part of the enemy ship is facing them. That approach loses fights. There is a specific order, and working through it methodically is what separates players who win engagements from players who get stripped for parts.
- Legs first. Cripple their mobility and half the threat evaporates. They cannot flank you, cannot escape, and become a slow predictable target locked in place.
- Cannons second. Once they are stuck, take out their weapons so they cannot punish you while you work on the finishing blow.
- Reactor last. Destroying the Reactor wrecks the ship and cuts enemy respawns. But the captain survives and can still run for an extraction tower or attempt to steal your ship, so you need to hunt them down afterward.
While you are working through that sequence, keep steering your own Reactor away from their gun lines. A well-positioned Reactor is harder to snipe and forces enemies to expose themselves to get an angle on it.
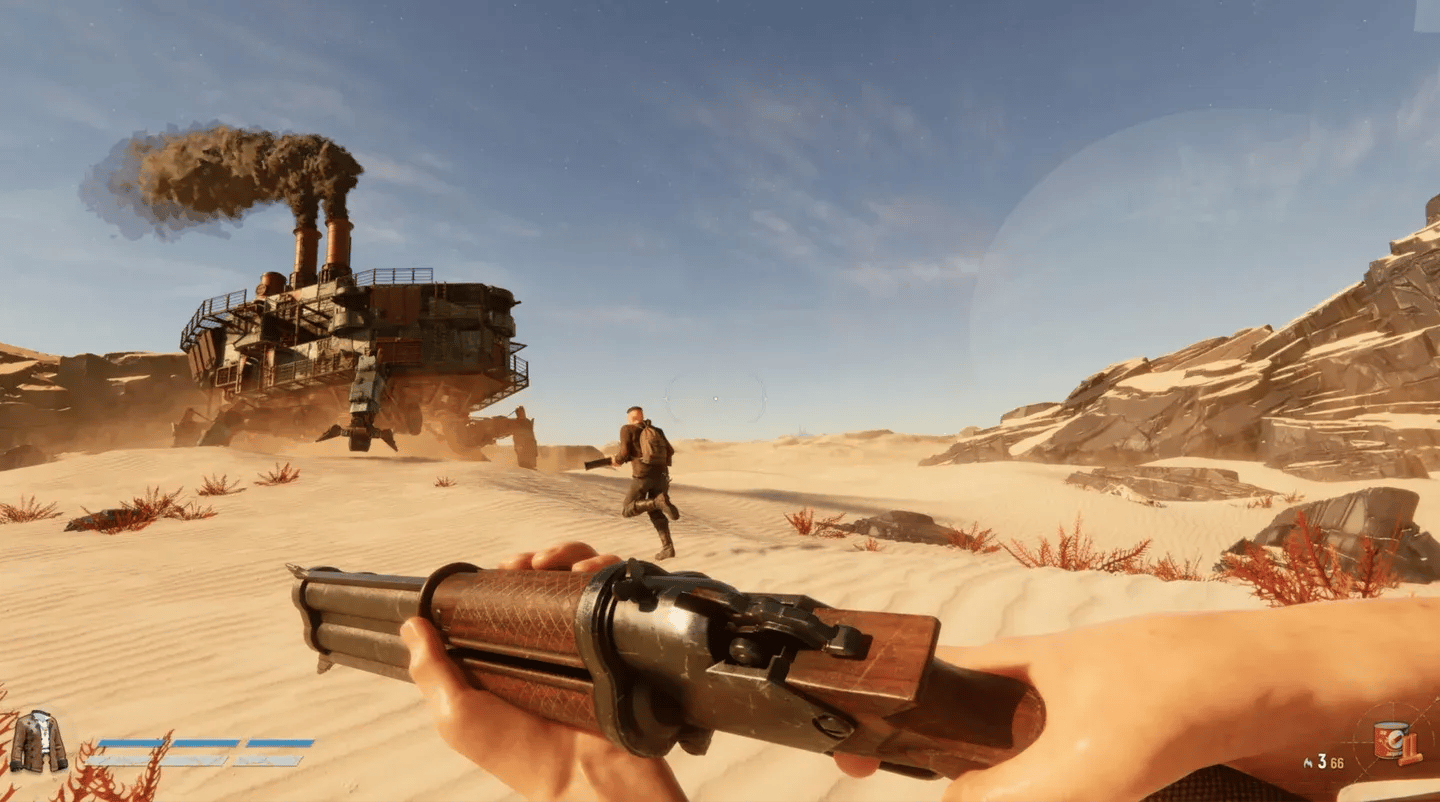
How do you board and steal an enemy Trampler?
Boarding is the highest-risk, highest-reward play available. Once you have weakened an enemy ship, physically drive your Trampler into theirs and breach their captain's cabin. Interacting with the terminal on the captain's table hands you control of their ship and all its cargo, while simultaneously cutting their ability to respawn or open doors. From that point you only need to kill them once and the fight is finished.
Time bombs and C4 are the best tools for this. Use them to blow open reinforced doors, wheels, or cannon mounts and clear a path through the ship. Before you leave any wreck, grab the black box off the destroyed Reactor. It is worth a significant amount when you sell it back at the orbital base.
Defending against boarders follows the same logic in reverse. Keep internal doors reinforced, repair damage the moment it appears, and never let an enemy reach your captain's cabin uncontested.
How do repairs affect Trampler fights?
Repair work wins fights as often as good shooting does. The moment your Trampler takes damage, pull out the multi-tool and start patching: pipes, plates, and circuit boxes are scattered through the captain's quarters, crew rooms, and around the Reactor itself. Damaged legs slow your movement, so prioritize those when they take hits.
These fights regularly come down to attrition. Two crippled Tramplers circling each other slowly is a common late-fight scenario, and the crew that kept up with repairs is the one that walks away. Never stop repairing just because the incoming fire has slowed down.
How do PvE Trampler encounters work?
NPC Tramplers go down in roughly four or five 80mm hits and drop a crate containing fuel rods, alloys, and occasional repair kits. They are manageable targets for testing out a new build or topping up supplies mid-run.
Ironclad robots are a different problem. They spawn when one of the eye-shaped beacons appears on the map. They are hard to outrun, so your options are staying well out of their range or committing to the fight. They are slightly clumsy right at spawn, which gives you a window to land a few free shots before they fully engage.
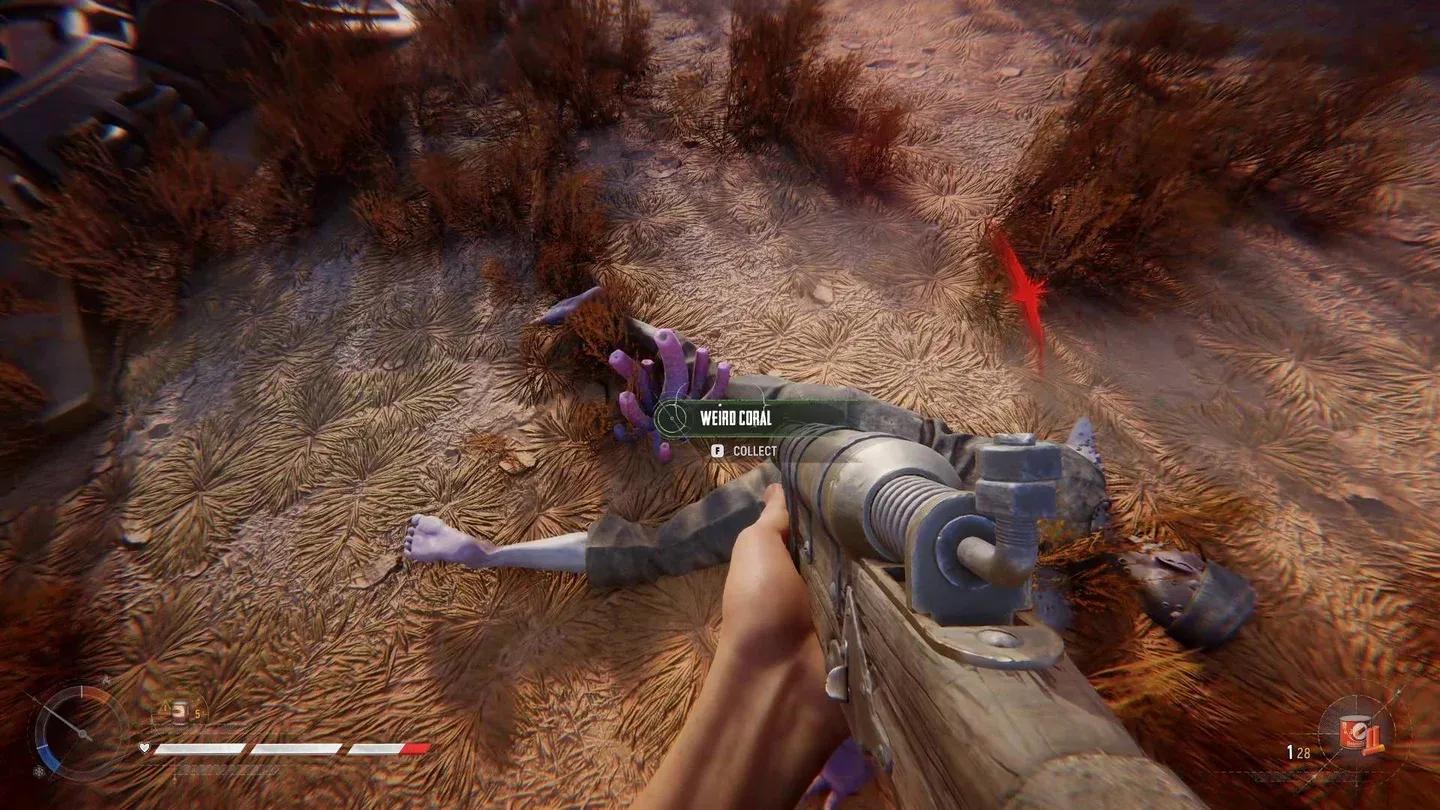
Upiors are the mutated creatures roaming the abandoned city streets. They will not threaten a moving, heavily armored Trampler, but they swarm players who go on foot. The reliable counter is luring them into open terrain and eliminating them with close-range Flak Artillery before starting your looting run.
Armed zombies are scattered through the wrecks and have surprisingly accurate aim, so do not dismiss them as background noise when you are exploring on foot.
Upiors swarm on foot explorers
How do you get a replacement Trampler?
Losing a fully kitted machine hurts, but rebuilding is straightforward. Return to your orbital hangar after a safe extraction, open the Trampler Editor from your main terminal, and select either a saved blueprint or a starter template. Spend your gathered currency, metal plates, and raw components to purchase a fresh Reactor, engines, and cargo hulls. Lock the modular compartments together in the editor, mount your cannons on the external sockets, load up ammunition and food supplies, then drop back down in either Voyage or Storm Dive mode.
Your unlocked blueprints survive ship destruction, so you never lose the configuration itself, only the physical materials needed to rebuild it.
For everything you can bring back from a run, check out our guide on all weapons and ammo crafting recipes to make sure your rebuilt Trampler is stocked with the right firepower. Once you are selling extracted loot and reinvesting in upgrades, the buying and selling items guide covers how to convert your hauls into usable currency efficiently. For the full collection of tactics and systems, browse the complete SAND: Raiders of Sophie strategy guides to keep building on what you have learned here.