

Managing power in Solarpunk feels straightforward until the moment your drill goes dark and you have no idea why. The energy system has real load math behind it, and once you understand the numbers, most outages become predictable and preventable. This guide covers every power value you need, the right build order, placement rules for solar panels and windmills, and how switches turn a messy grid into something you can actually control.
Power values every player should know
Before placing a single cable, get these numbers in your head. They are the foundation of every decision you will make about your grid.
The drill is the number that surprises most players. At 10 power per solar panel, a single drill demands the equivalent output of 12 panels before you account for clouds, nighttime, sprinklers, or a powered dock sitting on the same cable network. That is not a reason to avoid drills. It is a reason to plan before you connect one.
Energy Workbench unlock tree
What should you build first for power?
The temptation is to stack solar panels and hope for the best. The smarter move is to unlock the tools that let you read your grid before expanding it.
The clean early route looks like this:
- Trade for the Energy Workbench blueprint and build it at your base.
- Research and craft solar panels.
- Run enough cables to connect your first powered area.
- Place a Network Display before adding any heavy machines.
- Only then connect a drill or expand your farm automation.
For a broader look at early progression, the Solarpunk beginner's guide covers base building, the Research Table, and your first airship launch.
Why does your power keep shutting off?
Most outages trace back to one of four causes: no sunlight, too much load, missing storage, or a cable network that is accidentally split into separate islands.
If your base works in sunshine and fails at night, that is the solar system behaving correctly. Early on, sleeping past nighttime is the simplest solution. Batteries are the permanent fix once your machines need to run around the clock.
How many solar panels do you need for a drill?
The math is blunt. One drill uses 120 power. One solar panel produces 10 power. That means a drill alone requires the output of 12 panels at full capacity, and full capacity only happens in clear daytime conditions.
For your first drill setup:
- Check the Network Display before connecting the drill.
- Turn off sprinklers or other optional machines while mining is your priority.
- Add a Battery once Tier 2 opens.
- Consider a remote mining outpost on the ore island rather than running everything from your main base.
Network Display live readout
When should you build batteries?
Build your first battery as soon as your base has at least one powered machine you cannot afford to lose overnight. That usually means the moment you connect a drill, run more than one sprinkler, or start using the Advanced Dock.
The wrong move is waiting until your base is large and then chasing every outage with another solar panel. Storage and generation need to grow together.
For everything you can unlock at each research tier, the Solarpunk Research Table guide breaks down both tiers and Traderbot blueprints in full.
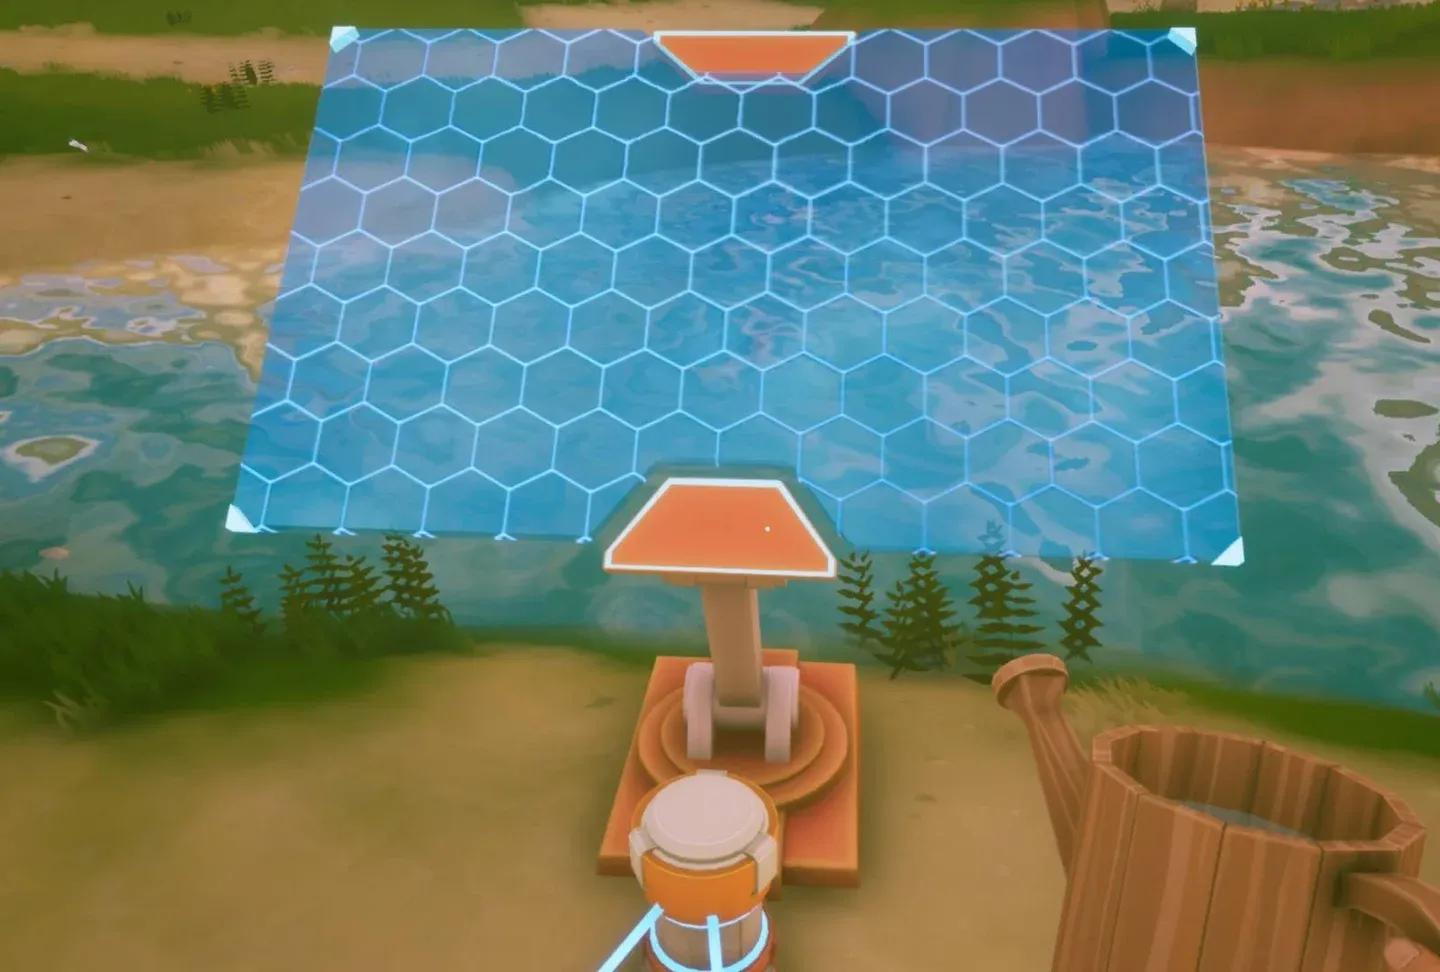
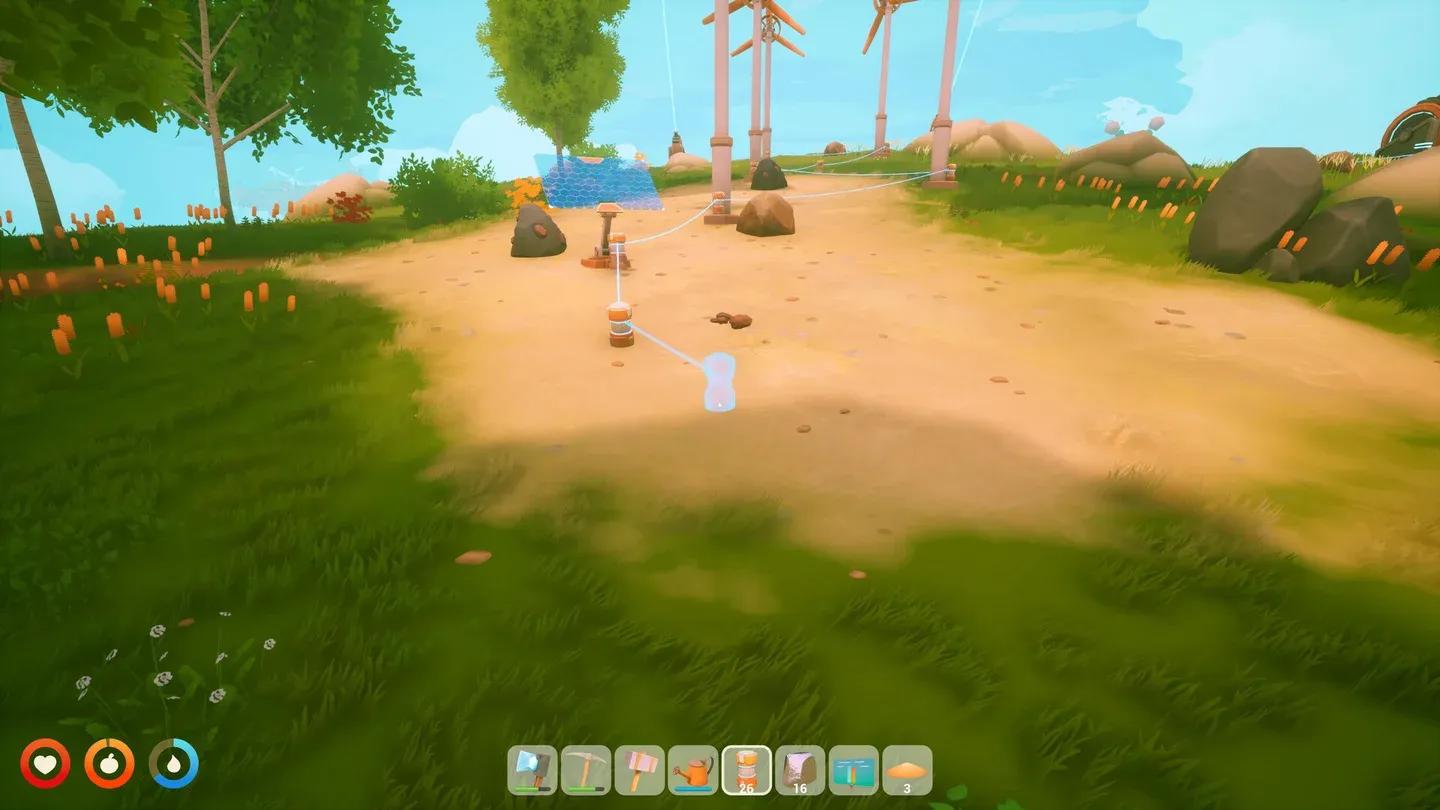
How to place solar panels and windmills correctly
Bad placement can make a solid power setup feel half as strong as it should be.
Solar panels need open sky. Keep them away from roofs, tall walls, and cramped corners where base structures create shadow. Staggering panels in rows instead of packing them into a dense block also makes future expansion cleaner.
Windmills need breathing room. A rough 5 to 10 meter gap between turbines is a safe planning rule. Jamming windmills into a crowded crafting zone reduces their effectiveness and makes your energy area harder to read.
Keep your main energy zone open from the start. You will almost certainly add more panels, batteries, windmills, and switches as the game progresses, and cramped early layouts make that expansion painful.
Solar panel placement layout
How do switches stop power waste?
Switches are the most underused tool in the energy system. They let you cut power to one branch of your grid without touching the rest, which means you can stop sprinklers from draining batteries during rain without also killing your drill.
The setup is simple:
- Run sprinklers on their own cable branch.
- Add a switch before that branch.
- Turn the sprinkler line off during rain or low-power periods.
- Give the drill its own controllable line if it competes with farm machines.
- Use sensors and logic blocks later when you want automation instead of manual switching.
Controlling demand is just as valuable as adding more generation. More solar panels help, but a well-switched grid often solves the same problem without the material cost.
How to set up a remote mining outpost
Once you have access to an ore island, stop flying out to hand-mine the same nodes repeatedly. A simple drill outpost turns those trips into quick pickup runs.
Bring:
- A drill
- Enough local solar panels to power the drill
- Cables
- A battery if Tier 2 is unlocked
- Repair supplies for your airship
- Food and water for the trip
Keep the outpost on its own local network. One drill, one battery bank, and a small solar setup is far easier to troubleshoot than a cable chain running all the way back to your main base. Collect ore manually at first, then let transport drones handle the supply chain once they are available.
For the full airship setup needed to reach ore islands, the Solarpunk airship guide covers the Crashed Airship Component, dock construction, and copper requirements.

Remote copper island outpost
When should you build windmills?
Windmills are a mid-to-late-game answer, not an early fix. Prioritize them after Tier 3 when your base has grown past what solar and batteries can reliably cover.
Build windmills when:
- Your farm runs multiple sprinklers and batteries keep draining
- Drills compete with base machines for the same power
- The Advanced Dock is part of your regular grid
- Rain and night still interrupt your routine despite having batteries
Cosmetic upgrades and comfort unlocks are fine, but power stability affects every other system. If your base is still losing power in bad weather, windmills come before lights and decorations.
Recommended power build order
Follow this sequence and the energy system stops feeling like a mystery:
- Use a generator only as a bridge to reach the Energy Workbench.
- Unlock the Energy Workbench through the Traderbot route.
- Build solar panels, cables, and a Network Display.
- Place solar panels in open sky with room to expand.
- Keep one main cable network at your base early.
- Add a drill only after checking its 120-power requirement against your actual generation.
- Unlock Tier 2 and build a Battery early.
- Put sprinklers on a switch-controlled line once your farm grows.
- Set up a remote mining outpost with local power and a battery.
- After Tier 3, build a Windmill if your grid is still strained.
For a full look at all Solarpunk systems including farming, resources, and exploration, browse the complete Solarpunk guides collection.