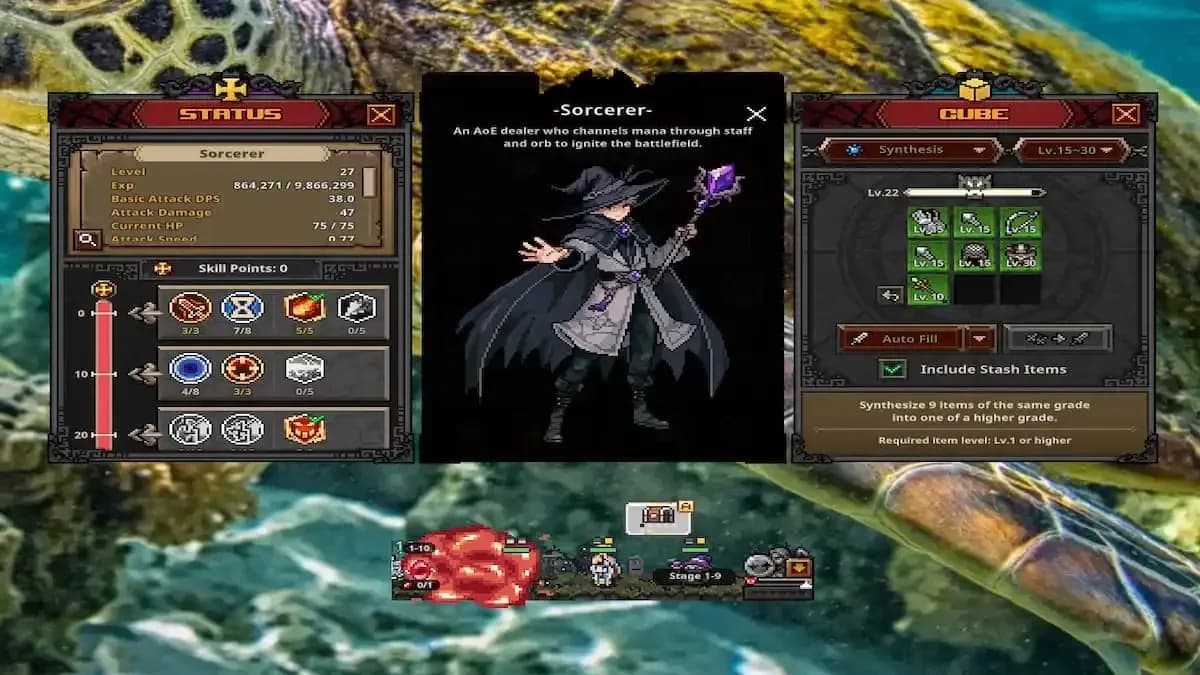

The Sorcerer is one of four free starter classes in TBH: Task Bar Hero, and she might be the trickiest of the bunch to get right. Her AoE damage ceiling is genuinely high, but she's fragile enough that a bad build or wrong team comp will get her killed before she does anything useful. Get the setup right, though, and she clears entire screens with a single well-placed Meteor Strike.
What makes the Sorcerer worth playing?
The Sorcerer wields a Staff as her main weapon and an Orb as her off-hand. She deals magic-based damage and specializes in hitting groups of enemies at once. Every ability in her kit either hits an area or applies a debuff to multiple targets simultaneously, which makes her the best class for wave-clearing when she's built correctly.
The tradeoff is survivability. She has the lowest effective health of the free starter classes, and she relies almost entirely on her abilities to deal meaningful damage. That means cooldown management and passive investment aren't optional extras; they're the foundation of any functional Sorcerer build.
She can be unlocked for 500 gold, making her accessible from the start. If you're still deciding which class to commit to first, check the TBH: Task Bar Hero class tier list for a ranked breakdown of every option.
What are the best abilities for the Sorcerer?
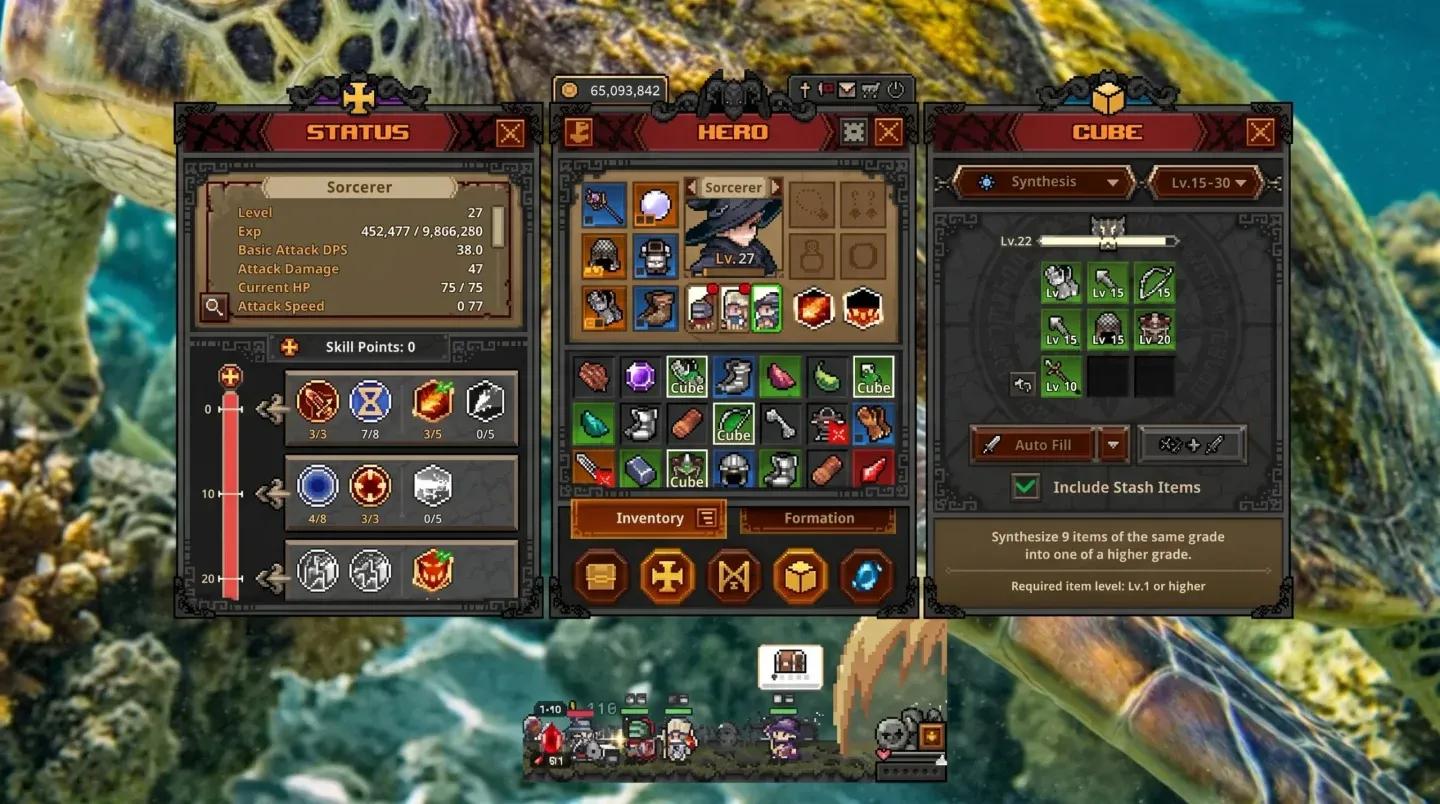
The Sorcerer's skill tree spans eight tiers, with active abilities and passive upgrades gated behind cumulative point investment. Here's what to prioritize.
Flame Hydra ability overview
Meteor Strike (Tier 5 active)
Meteor Strike is the Sorcerer's best ability, and it's not particularly close. It summons a meteor that deals 550 percent damage to every enemy caught in the impact area. The radius is wide enough to catch clustered groups reliably, and the damage number is the highest single-ability output in her entire kit. The catch is that it sits at Tier 5, meaning you need 40 points spent in earlier tiers before it unlocks. That investment is worth every point.
Flame Hydra (Tier 3 active)
Flame Hydra is the best secondary active to run alongside Meteor Strike. It summons a Hydra that fires fireballs dealing 255 percent damage to enemies within its range. The Hydra's projectiles can hit multiple enemies with a single shot, which adds consistent AoE pressure between Meteor Strike cooldowns. It fills the gap well.
Other active abilities at a glance
The Sorcerer's full active ability roster gives you options across multiple elements:
Ice Orb is worth noting as a solid early-game pick since it slows enemies and deals multi-hit cold damage, buying the Sorcerer time before higher-tier abilities come online. Snowstorm (Tier 4) also has utility as a zone-control tool that chills and deals damage per second, but it gets phased out once Meteor Strike is available.
Which passives should you upgrade first?
Passive investment determines how much damage the Sorcerer actually deals. Four passives stand out as must-haves regardless of which active abilities you're running.
Attack Damage Enhancement
Available at Tier 1 (3 ranks) and again at Tier 5 (10 ranks), Attack Damage Enhancement adds flat damage to everything the Sorcerer does. It's the broadest damage multiplier in her tree and should be upgraded consistently throughout the game.
Cooldown Reduction
The Sorcerer lives and dies by her abilities. Cooldown Reduction appears at Tier 1 (8 ranks, +1% per level), Tier 5 (10 ranks, +2% per level), and Tier 8 (10 ranks, +2% per level). Stack as much as you can across all three tiers. Getting Meteor Strike back faster directly translates to more damage and more cleared waves.
Area of Effect Enhancement
Area of Effect Enhancement at Tier 2 (8 ranks, +3% per level) and again at Tier 7 (10 ranks, +3% per level) directly increases the radius of every AoE ability the Sorcerer uses. A larger Meteor Strike radius means more enemies caught in the damage. This passive scales better the more enemies you're fighting, which is exactly the situation the Sorcerer is designed for.
Critical Chance Enhancement
Critical Chance Enhancement at Tier 2 adds +20% critical chance per rank across 3 ranks. A later version at Tier 8 adds +0.3% per level across 10 ranks. Pair this with Critical Damage Enhancement at Tier 6 (+20% critical damage per level, 10 ranks) once you reach that point. The combination significantly multiplies the Sorcerer's burst potential on Meteor Strike.
What gear should the Sorcerer use?
For weapon decoration, prioritize bonuses that add fire damage first. The Sorcerer's two best abilities (Meteor Strike and Flame Hydra) both deal fire-type damage, so fire damage percentage bonuses apply to both. After that, look for decorations that raise base attack damage and increase critical hit chance. These three stats compound well together and push the Sorcerer's damage output significantly higher than raw ability levels alone.
Avoid gear that only benefits cold or lightning damage unless you're specifically building around Ice Orb or Lightning as your primary abilities, which is a weaker setup overall.
What's the best team comp for the Sorcerer?
The Sorcerer works best as the primary damage dealer in a three-hero party. The two best supports to run alongside her are the Knight and the Priest.
The Knight absorbs incoming damage and keeps enemies focused away from the Sorcerer. Without a frontline tank, she gets targeted and dies quickly, especially in later stages. The Knight is the single most important support for keeping her alive long enough to cast. For more on building the Knight effectively, the best Knight build guide covers tank and hybrid setups in detail.
The Priest handles healing and removes damage counters from the Sorcerer. This is the part most players underestimate. Damage counters stack up on the Sorcerer fast because she's always in the middle of AoE exchanges, and the Priest's cleanse keeps her functional through sustained fights.
Knight tanks. Priest sustains. Sorcerer nukes. The formation is straightforward, and it works consistently across most content.
Is the Sorcerer hard to build correctly?
Honestly, yes, compared to the other free starters. The Knight and Priest are more forgiving because their roles are clearly defined and their weaknesses are less punishing. The Sorcerer requires you to hit specific passive thresholds, invest in the right gear bonuses, and run a team that compensates for her fragility. Skipping any of those pieces and she underperforms noticeably.
The payoff is that a properly built Sorcerer is the strongest AoE damage dealer among the free classes. Meteor Strike at full build with maxed AoE Enhancement and fire damage bonuses hits harder than anything the Knight or Priest can produce offensively.
For players who want a full picture of how formation setup and gear priorities interact across all classes, the TBH: Task Bar Hero builds and formation guide is a good next stop. The full TBH: Task Bar Hero guides collection has everything else you need to round out your roster.