
TBH: Task Bar Hero has one of the deeper gear systems in the casual games space, and the Cube sits at the center of all of it. Engraving is one of the Cube's more powerful features, but it's also the one that trips up the most players because it looks deceptively simple. You slot in a material, you get a stat. What could go wrong? Quite a lot, actually, if you don't understand the RNG involved or which items even qualify.
What is Cube Engraving in TBH: Task Bar Hero?
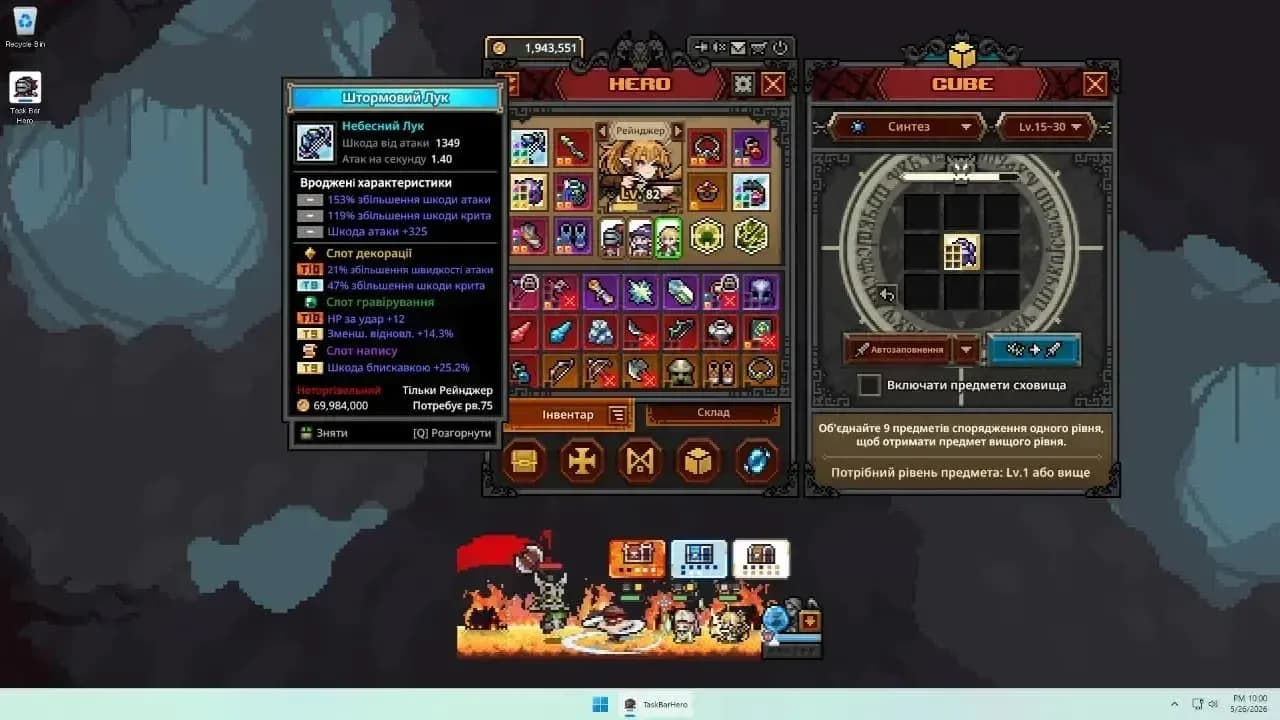
Engraving is a Cube mechanic that unlocks at level 15. At its core, it lets you apply Engraving Materials to compatible gear to add one of two random affixes to that item. Think of it as a more unpredictable version of Decoration, the Cube feature that unlocks at level 8.
The two systems share a similar premise but diverge in two meaningful ways. First, Engraving only works on items of Immortal Grade or higher. Decoration applies to Rare items and above, so the entry bar for Engraving is significantly higher. Second, the RNG is much heavier. With Decoration you have some control over what you're adding; with Engraving you're always picking between two random affixes, no guarantees.
Engraving requires Immortal+ gear
How does Engraving RNG actually work?
Every time you apply an Engraving Material, the game presents two possible affixes and you get one of them. That's the coin flip. On top of that, the stat rolls within each affix are still variable, so even if you land the affix you want, the actual value attached to it can range from weak to strong.
This double layer of RNG means genuinely good Engravings are rare. Getting the right affix is step one. Getting a strong roll on that affix is step two. Both need to go your way.
The upside is that Engraving Materials cover a wider stat pool than Decoration materials do. This makes them more flexible across different character builds, which matters when you're gearing up multiple heroes like the Priest, Sorcerer, and Ranger simultaneously.
How does Engraving compare to Decoration and Crafting?
Understanding where Engraving sits relative to the other Cube systems helps you decide when to use it. Here's a quick breakdown:
Engraving sits in the high-risk, high-reward column. You're spending a scarce one-time-use resource on a system that doesn't guarantee results. That's fine when you know what you're doing, and a waste when you don't.
For a deeper look at how Synthesis and Alchemy compare at the foundational level, the TBH Cube Synthesis vs Alchemy guide covers that territory well.
One-time use, no refunds
When should you actually use Engraving Materials?
The answer is: later than you think. Engraving Materials are scarce, especially before you've built out your Rune Tree and started running higher-level content. Spending them on gear you'll replace in five levels is the most common mistake.
Here's the practical order of operations when upgrading a piece of gear that has both Decoration slots and Engraving slots:
- Apply your Engravings first, since the affix result is random and you want to know what you're working with before committing your guaranteed Decoration stats.
- Once you're satisfied with the Engraving result (or have accepted what you got), apply your Decorations to lock in the stats you can control.
- Only do this on gear you plan to keep for a meaningful stretch of levels.
The logic here is that Decorations give you predictable stat additions, so you want those as your safety net after you've rolled the dice on Engraving.
What gear slots can you Engrave?
Only items at Immortal Grade or higher have Engraving Slots. The Cube's Crafting system can generate gear across these slot types, which is relevant when you're farming for Engravable pieces:
- Main Weapon (Any Class)
- Sub Weapon (Any Class)
- Helmet
- Armor
- Gloves
- Boots
- Accessories (Amulet, Earring, Ring, Bracer)
Note that Accessories require Gems to Craft, the same Gems used for Decorations. Burning Gems on Accessory Crafting can leave you short on Decoration materials, so plan accordingly. For a full breakdown of how to get gear efficiently, the TBH classes and gear guide covers every slot and class combination.
Immortal+ gear slots only
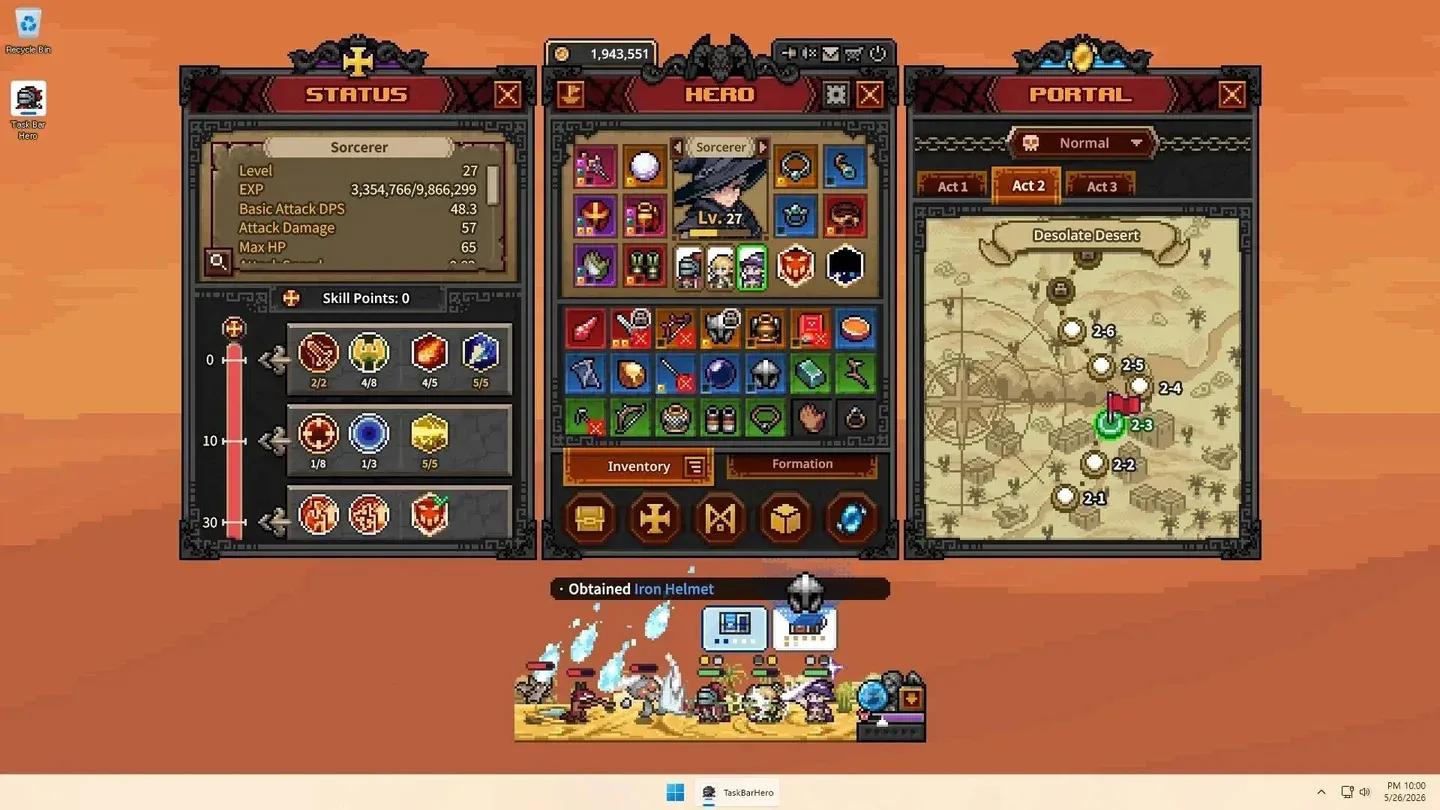
Engraving priorities for the meta team
If you're running the Priest, Sorcerer, Ranger composition (currently the strongest progression setup), here's where Engraving fits into each character's gear plan:
Priest (Tank/Support, Front Formation) Target Cooldown Reduction and HP Engravings. At around level 30, you'll want more than 20% Cooldown Reduction to make the swap from Heal to Sanctuary viable. Engravings that push you toward that threshold faster are worth the material cost. By level 51, once you have 2-3% Life Leech on Priest, the focus shifts toward Wrath of Heaven which needs strong HP and sustain to function.
Sorcerer (Damage Dealer, Back Formation) Crit Chance is the primary Engraving target. The Sorcerer already has higher base Critical Chance than the other classes, so Engravings that amplify that stat have outsized returns. Attack Damage Inscriptions handle the other scaling, so Engraving slots are best spent on Crit.
Ranger (Damage Dealer, Middle Formation) Attack Speed and Crit Chance both work well here. Rapid Fire activates every 5 attacks, so the more Attack Speed you stack, the more frequently it fires. Engraving slots that push Attack Speed are efficient investments throughout the mid-game.
Quick tips before you start Engraving
- Save Engraving Materials until you're past the early game grind. Gear churn is high before level 20, and spending materials on items you'll replace quickly is a net loss.
- Apply Engravings before Decorations on any new piece of Immortal gear so you know what RNG gave you before committing your guaranteed stats.
- Immortal Grade items are the floor for Engraving eligibility. Don't try to apply materials to Rare or Legendary gear and wonder why the slot isn't there.
- If an item is destined for the marketplace, leave it clean. Engraved items are harder to sell and the materials spent don't come back.
For everything else the Cube can do, the full TBH Cube, Runes, and Pets guide pulls together all the systems in one place and is worth bookmarking as you push into the later stages.