

Bombs in The Adventures of Elliot: The Millennium Tales sit in an awkward spot. They hit hard, cover wide areas, and can wipe groups of enemies in one detonation. They also blow up in your face if you misjudge the timing. The right magicite setup fixes that second problem while amplifying the first, turning bombs from a liability into one of the most satisfying tools in Elliot's arsenal.
What makes bomb magicite different from other weapon types?
Unlike swords or spears, bombs carry an inherent risk that no other weapon in the game shares: self-damage. Every magicite decision you make has to account for that. The best bomb builds are not just about stacking raw damage; they are about making the weapon safe enough to use aggressively while still getting meaningful output from each detonation.
Bombs also work differently depending on how you want to play. You can build around them as a primary damage source, which demands more magicite slots and specific picks to keep your supply topped up. Or you can treat them as a secondary tool that softens enemies and fills gaps between your main weapon's attacks. After testing both approaches across a full playthrough, the secondary-tool approach tends to deliver more consistent results, since bombs fade in comparison to faster, more reliable damage sources in drawn-out fights.
Bomb magicite slot setup
All bomb magicite: full list and effects
Which bomb magicite should you prioritize?
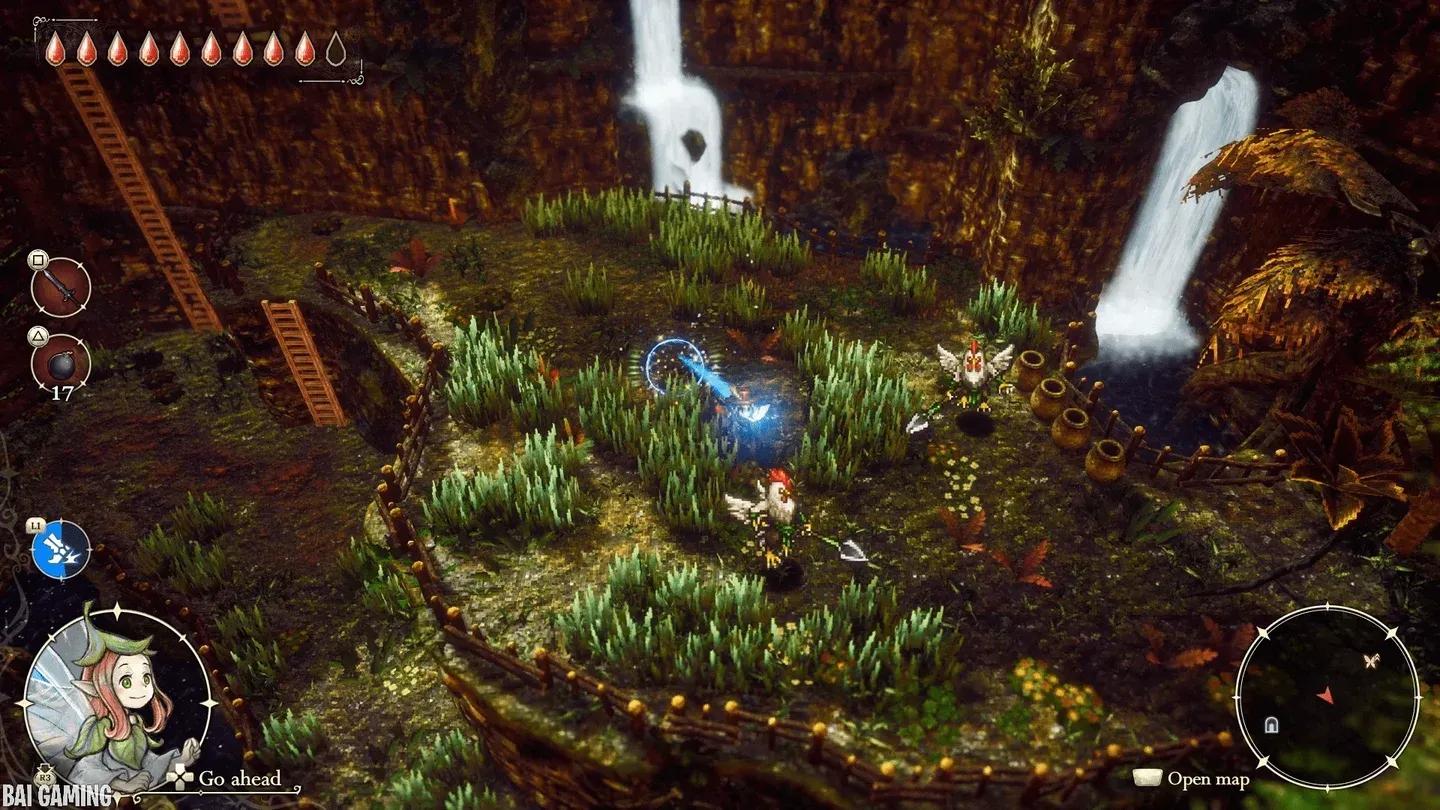
Aggrandize and Self-Destruct Resistance are the two picks that belong in almost every bomb build. Aggrandize turns each explosion into a genuine area-of-effect threat, making it far easier to catch multiple enemies or track an agile boss. Self-Destruct Resistance cuts the self-damage you take by 50%, which means you can place bombs closer to enemies without constantly burning through healing items. These two always go together.
Attack Up is the simplest addition and almost always worth a slot. More damage is more damage, and it stacks cleanly with everything else.
Kill & Take earns its place if you plan to use bombs frequently in standard encounters. Running out of bombs mid-dungeon is a real problem early on, and this magicite gives each bomb kill a chance to replenish your supply passively.
Weapon Shift - Set is a clever pick that often gets overlooked. Placing a bomb and then immediately switching to a charge-heavy weapon like the spear or boomerang lets you take advantage of the reduced charge time, effectively letting two weapons contribute damage in the same window.
Bomb Master is worth considering if you want bombs as your primary source of damage. Having an extra bomb on the field at once meaningfully increases your burst potential. The cost is that it occupies a magicite slot that could otherwise go to a passive effect, so weigh that against your Magicite Box limit.
Ripe Bomb is a double-edged pick. The 10% damage increase sounds modest, but the delayed detonation changes how you have to play. Holding a bomb longer before throwing it works in controlled situations, but in hectic boss fights it leaves you exposed. Use it only if your playstyle is patient and deliberate.
Bomb radius with Aggrandize active
Best burst damage bomb build
This setup maximizes single-detonation damage while keeping self-harm manageable.
The logic here is straightforward. Self-Destruct Resistance makes the build safe to execute aggressively. Aggrandize and Ripe Bomb stack the damage ceiling on each detonation. Bomb Master gives you an extra bomb on the field, which doubles your burst potential against bosses with large hit boxes or grouped enemies.
Best early game bomb build
Early on, your Magicite Box is smaller and your options are limited. This build focuses on making bombs reliable before you have access to the full magicite pool.
Safe Carrier earns its place here specifically because timing is harder to nail in the early game. Once you are comfortable with detonation windows, you can swap it out for a stronger pick. Weapon Shift - Set is useful from the moment you have a second weapon worth charging, which comes earlier than most players expect.
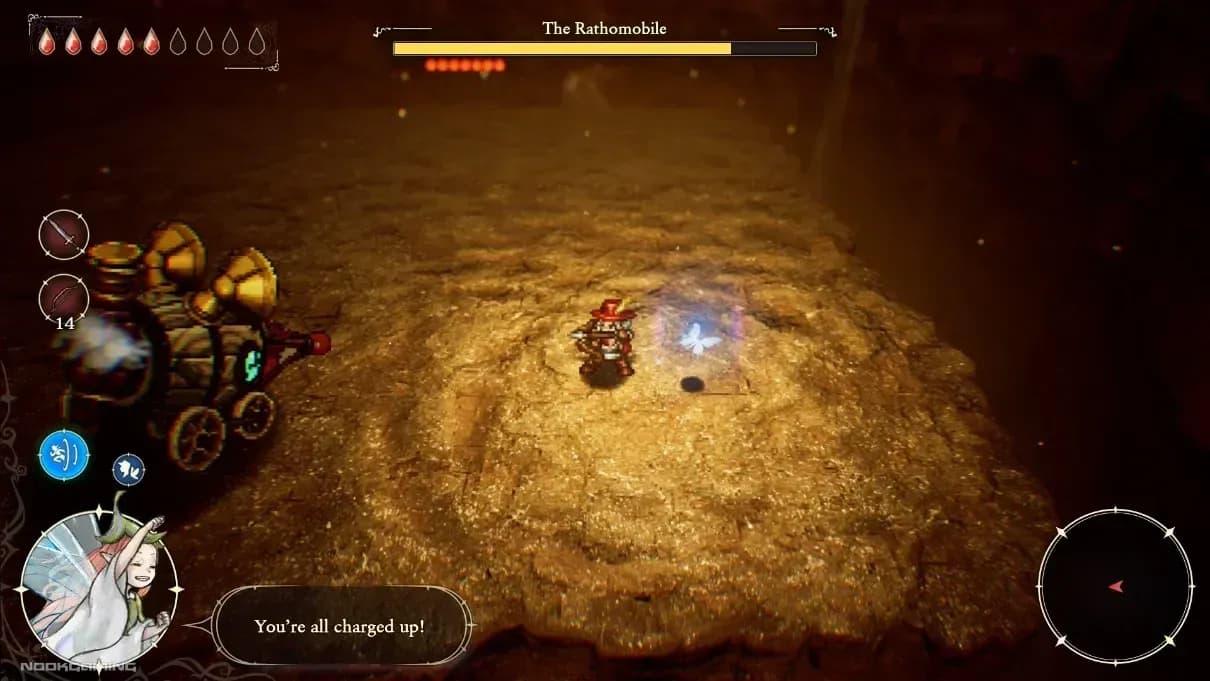
Bomb placement and detonation timing
Best endgame bomb build
At endgame, with a 60-point magicite cap and all magicite at five stars, bombs become a legitimate threat against the game's hardest regular encounters.
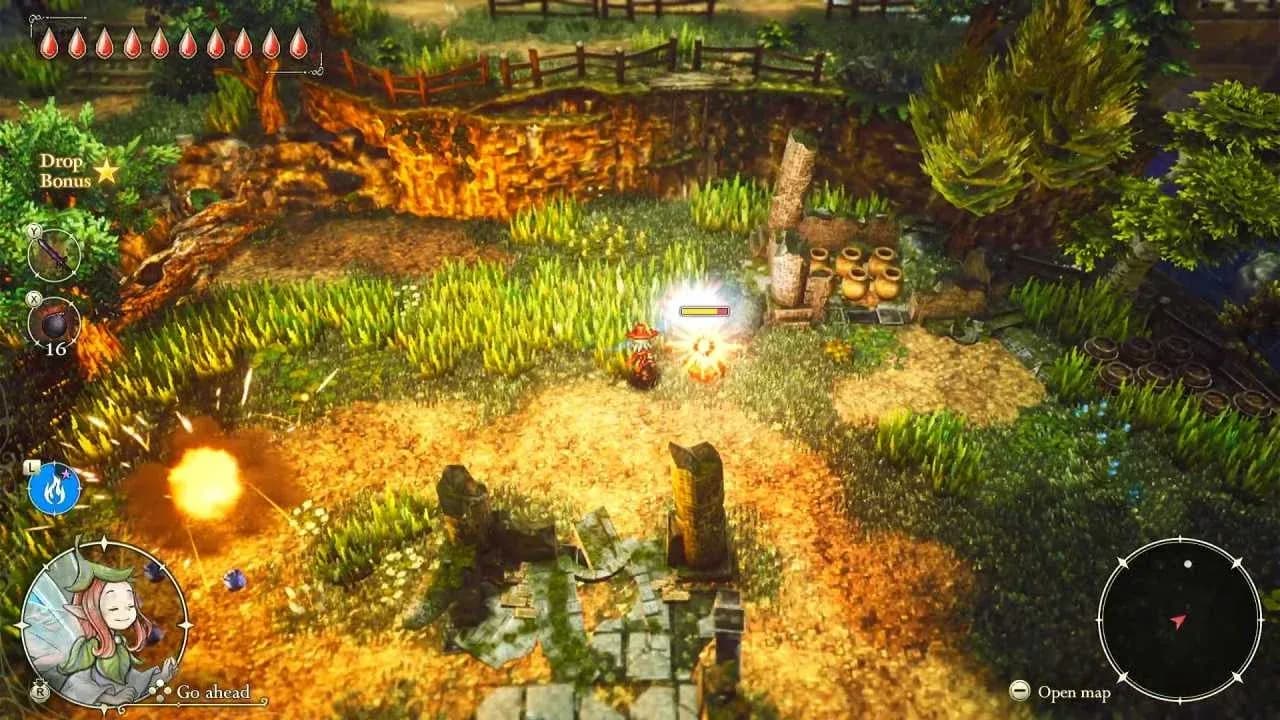
This loadout layers multiple damage effects onto each bomb. Fireworks and Brimstone add sparks and lava to every detonation, Freezing Bomb locks down nearby enemies when you set the bomb, and Aggrandize makes sure the explosion catches everything in range. Kill & Take keeps your supply topped up through regular combat, and Swift Carrier lets you reposition quickly while carrying a live bomb.
Weapon Shift - Set continues to earn its place here, particularly if you are running a secondary spear or boomerang. For more on maximizing those weapons alongside your bomb setup, check out the best bow magicite build guide for ranged options, or the best boomerang magicite build guide if you want to pair bombs with charge-attack stacking.
What bomb magicite should you avoid?
Not every magicite in the bomb pool is worth your slots. Safe Carrier is the clearest skip once you are past the early game. Bomb timing is learnable quickly, and the slot is better spent on damage or utility. Critical Rate Up and Critical Damage Up are also low priority since bombs are not a consistent enough source of hits to make crit-stacking reliable compared to weapons that attack repeatedly.
Rubber Bomb has a niche use case for specific encounter layouts where bouncing projectiles hit otherwise hard-to-reach enemies, but it rarely outperforms straightforward explosion-focused picks in practice.
Bombs as a primary weapon: is it worth it?
Running bombs as your main damage source is viable but demanding. You need Kill & Take to sustain your supply, Bomb Master to increase your output, and enough defensive magicite to avoid punishing yourself constantly. The payoff is impressive area damage that can clear groups of enemies before they reach you.
The trade-off is that bombs are slower than every melee weapon and most ranged options. Against bosses that move unpredictably or close distance fast, you will find yourself wishing for a faster fallback. Treating bombs as a high-damage supplement to a primary melee or ranged weapon gives you more flexibility without sacrificing the moments where a perfectly placed detonation does enormous work.
For a complete look at every weapon available across all four ages, the all weapon locations guide covers attack stats and unlock methods for every bomb and beyond. You can also browse the full The Adventures of Elliot strategy guides collection for boss tactics, farming routes, and more.