

All treasure chest locations in The Adventures of Elliot: The Millennium Tales
There are 144 treasure chests scattered across the continent in The Adventures of Elliot: The Millennium Tales, and missing even a handful can mean skipping over some genuinely useful Magicite Fragments, weapons, and boons. Chests come in three colors, each with its own rules for where it appears and what it takes to open. This guide breaks down every chest type, lists the notable rewards you should prioritize, and flags the one dungeon that will permanently confuse you if nobody warns you about it first.
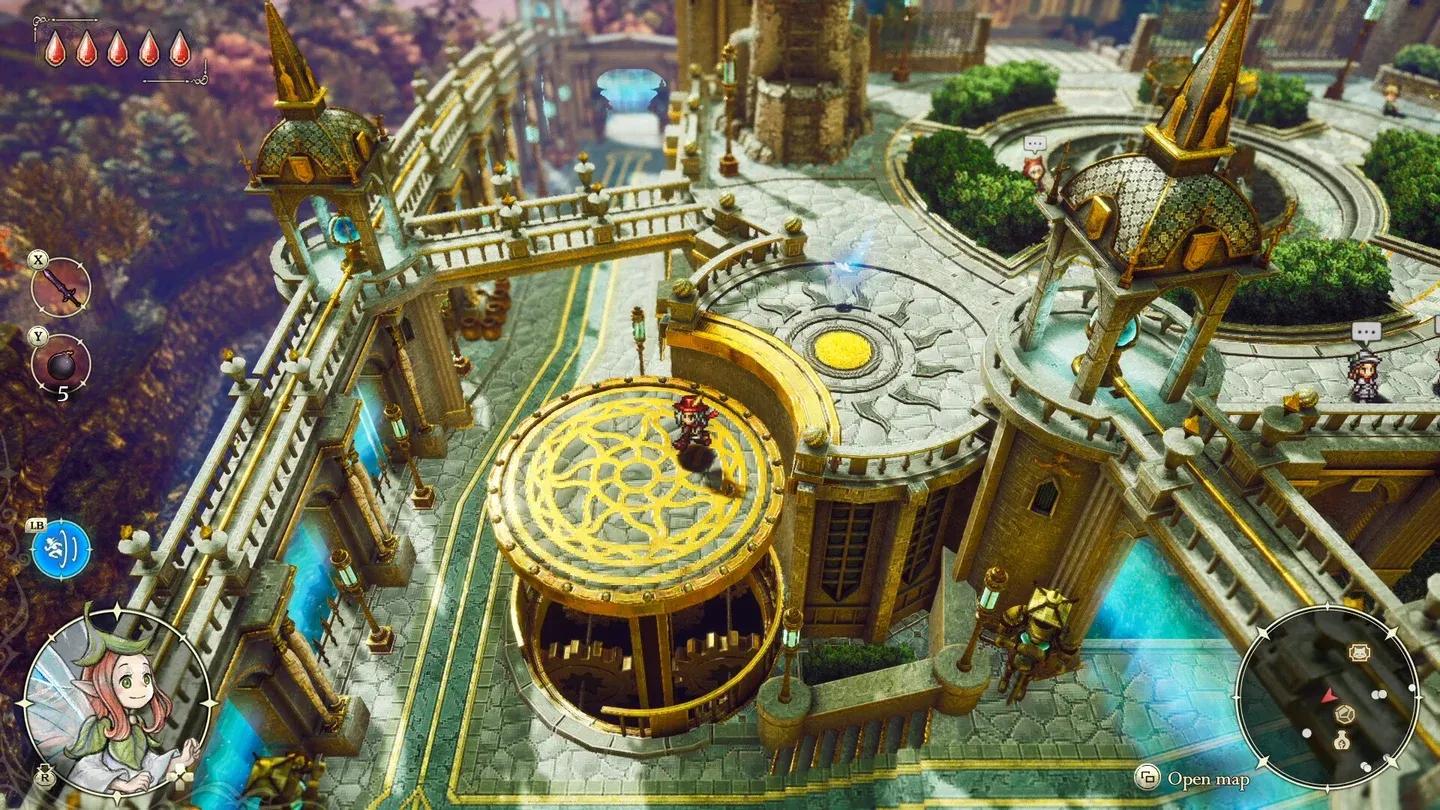
Blue chests dot the overworld
What are the three chest types?
Not every chest works the same way, and the color tells you almost everything you need to know before you even try to reach one.
Blue chests are the most common by a wide margin. You will find them in open areas, tucked behind breakable walls, up ladders, and across platforming sections throughout every Age. Many require tools you pick up during normal story progression, so do not panic if a chest sits out of reach early on. Red chests live inside the major dungeons and almost always contain something you actually need, whether that is a key weapon or a literal dungeon key. Green chests are the rarest and demand the most effort, locked behind platforming gauntlets in the overworld.
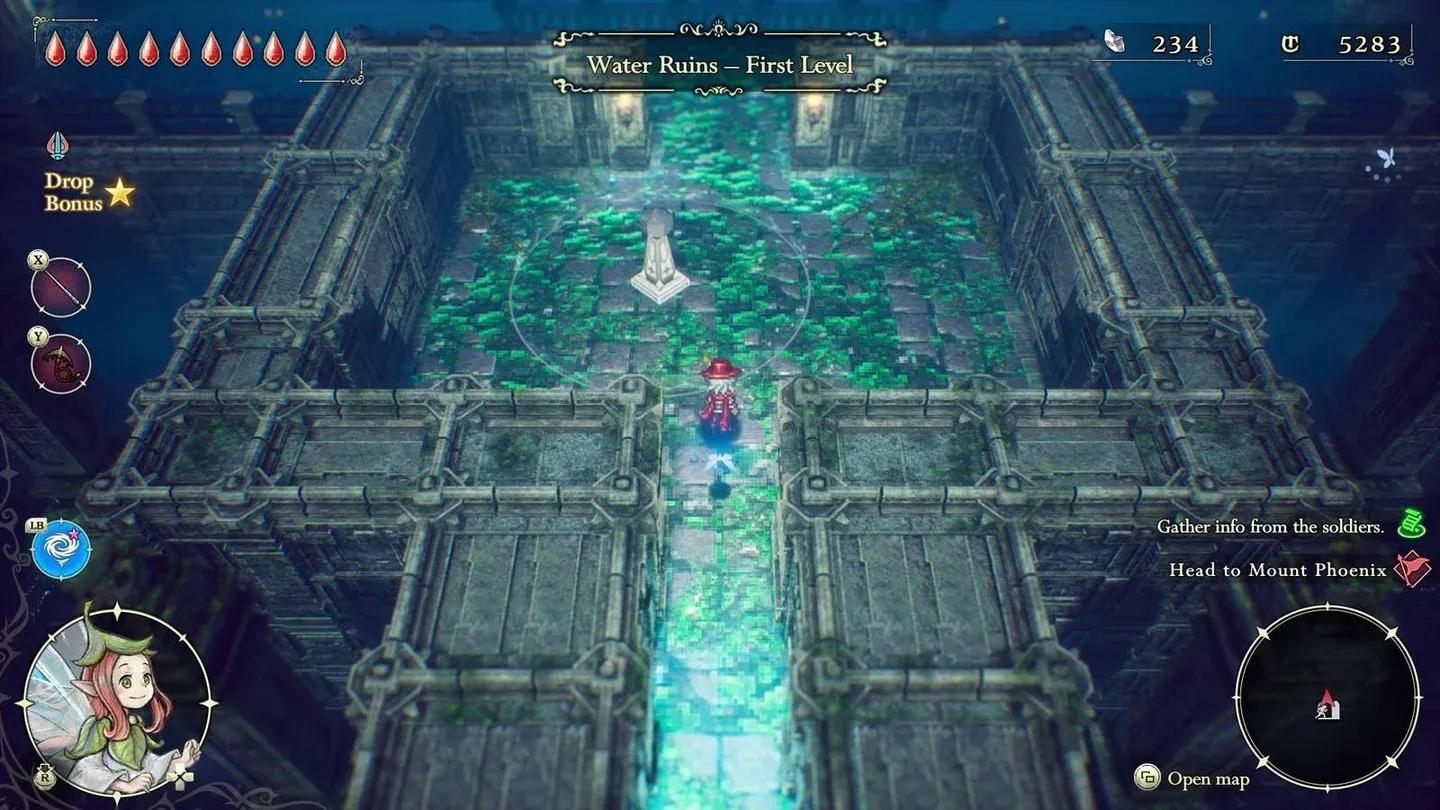
How do you unlock the stuck chests in Water Ruins?
This is the question that trips up almost every player, and the answer is not obvious from anything the game tells you directly.
Water Ruins during the Age of Reconstruction is the only dungeon in the entire game where chests are locked off by story progression rather than a missing ability or weapon. You can clear the boss, grab the Dive ability from the big red chest, and still see three chests sitting on your map that are completely unreachable. No Faie ability unlocks them. No weapon breaks the walls blocking them.
The walls only collapse after you complete the story events at Dragonpillar in the Age of Budding. Once that happens, return to Water Ruins in the Age of Reconstruction and you can finally reach those final three chests, including the red chest containing the Leytstaf sword. The Leytstaf is required to destroy the strange barrier doors found elsewhere in the game, and it also plays a direct role in reaching the True Ending.
There are minor hints scattered through NPC dialogue in Littlehope Village, but nothing that explicitly tells you to go back. Make a mental note the moment you see unexplored sections on that map.
Leytstaf sits behind story gates
Notable red chest rewards by dungeon
Red chests are the ones worth planning around. Here are the standout rewards and where to find them:
- Heavy Hammer (Southern Caves, Desert Exit, Age of Reconstruction): Follow the path that opens after defeating The Rathomobile.
- Catalpa Bow (Eastern Caves, Age of Reconstruction): Northeast section of the dungeon.
- Dusk Sword (Doorway Ruins, Sublevel One, Age of Reconstruction): Center of the sublevel.
- Silver Spear (Western Caves, Age of Magic): Tucked into a small side path in the middle of the cave.
- Moonmirror (Rainbow Lotus, Innermost Area, Age of Safekeeping): Unlocks after defeating the Lord of the Maw.
- Winnehild (Falls Caves, Uppermost Level, Age of Magic): Requires the Dive ability to even enter the cave, then beat the boss.
- Orochi (Secret Caves 1, Age of Magic): Reach the elevated east area and throw a bomb into the chest area.
- Death Spiral (Dragonpillar, Sublevel One, Age of Budding): Use Faie's Copy ability to open the path.
- Leytstaf (Water Ruins, Sublevel Two, Age of Reconstruction): Requires Dive and the Best-Weapon Needle item, plus completing Dragonpillar in the Age of Budding first.
- Judgement (Geared Ruins, Second Level, Age of Magic): Navigate the gear and laser section, then use both Wynat's Key and Boyne's Key to open the door.
- Scythe Chain (Rainbow Lotus, Sublevel One, Age of Safekeeping): Clear the caged monster room after descending northeast stairs.

Judgement needs two keys to reach
High-value blue chest rewards to prioritize
With over 100 blue chests spread across four Ages, picking which ones to chase first matters. These stand out for the quality of their boons:
- Fire Dance (★★★★) (Northern Caves, Age of Safekeeping): Requires the Flutterer's Cape to glide from the western ledge. One of the highest-star boons available in a blue chest.
- Linked Arrows (★★★) (Ice Ruins, First Level, Age of Reconstruction): East of the entrance, accessed through the Second Level.
- Wide Impact (★★★) (Whiterea, Age of Magic): Exit Secret Shortcut 3 via the southeast exit.
- Blast (★★★) (Forest Ruins, Third Level, Age of Magic): Use the lily-pad jump pads to reach the south side.
- Tremors (★★★) (Desert Caves, Sublevel One, Age of Magic): Fall into the sand pit west of the activated switch.
- Swallow Thrust (★★★) (Doorway Ruins, Sublevel One, Age of Magic): Go up the stairs beside it, then use the warp.
- Biggun (★★★) (Westerea, Age of Magic): Northwest of the Western Eddartrayl save point, up the ladder.
Magicite Fragment payouts from blue chests also add up fast. The Forest Ruins First Level (Age of Magic) alone yields 60 Fragments, and the Doorway Ruins Sublevel Two (Age of Magic) gives 65. If you are grinding to craft weapon boons, check out the Magicite Fragment farming guide to combine chest runs with active farming routes.
Age-by-age chest hunting tips
Age of Safekeeping
Many chests here require tools you get later, so expect to revisit. The Flutterer's Cape opens the Fire Dance chest in Northern Caves. Bombs unlock a Shard of Life in Eastern Hucarea behind a cracked wall. The Blue Rainbow Lotus Key comes from a chest after pressing the time switch in Rainbow Lotus Sublevel One.
Age of Reconstruction
This Age has the most chests gated behind specific weapons. The Southern Caves Marshlands Exit chest requires a Heavy Hammer to access. Several boulders throughout Northern Hucarea and Western Hucarea need bombs to clear. Remember that Water Ruins chests stay locked until the Age of Budding story events.
Age of Magic
The density of high-value blue chests spikes here. Forest Ruins alone contains multiple chests worth 60 to 70 Magicite Fragments each. Breakable walls become a recurring mechanic, so bring bombs whenever exploring. The Black Iron red chest in Doorway Ruins Sublevel Two also appears in this Age.
Age of Budding
Fewer chests overall, but two stand out: the Blue Dragonpillar Key in Dragonpillar Sublevel Two (use a bomb on the breakable wall) and the Death Spiral red chest in Dragonpillar Sublevel One via Faie's Copy ability.
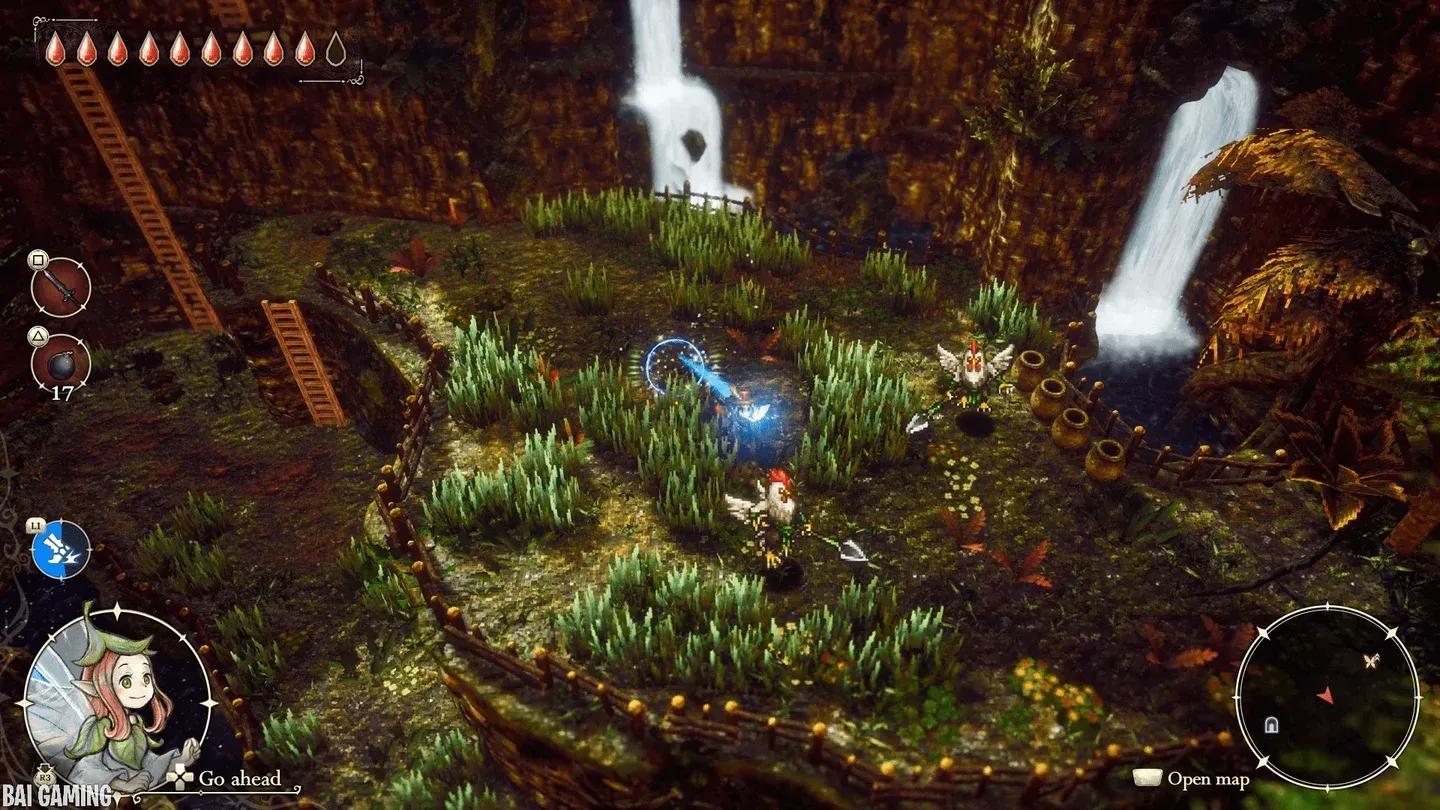
Forest Ruins yields big Fragment hauls
What about the Green chests?
Green chests are locked behind platforming sections and puzzles in the overworld rather than dungeons. The source data currently confirms one green chest in Forest Ruins Second Level during the Age of Safekeeping, rewarding Charging Shot (★★). These chests are the rarest category and tend to sit in spots that test your movement skills more than your combat abilities.
Tools and abilities you need for full chest completion
Before attempting a full 144-chest clear, make sure you have acquired these:
- Bombs: Required for breakable walls and boulders across multiple Ages.
- Heavy Hammer: Opens specific blocked paths in Southern Caves.
- Dive ability: Needed to enter Falls Caves and reach Water Ruins red chests.
- Flutterer's Cape: Required for the Fire Dance chest in Northern Caves.
- Faie's Copy ability: Opens the path to Death Spiral in Dragonpillar.
- Best-Weapon Needle item: Required alongside Dive for the Leytstaf chest in Water Ruins.
- Wynat's Key and Boyne's Key: Both needed for the Judgement chest in Geared Ruins.
For players going for full completion, the all weapon locations guide pairs well with this chest list since several red chests are the primary source for specific weapons.
If you are tracking down every collectible alongside your chest hunt, the full strategy guides collection covers cats, shrines, manuscripts, and everything else you need for a complete run.