
Witchspire biome guide: every zone, resource & route explained
Witchspire splits its world into distinct biomes, each with its own resource pool, enemy pressure, and route logic. The difference between a productive run and a wasted one usually comes down to knowing which biome you should be in, what you should be grabbing, and when to turn back. This guide breaks down every major zone, how to plan your loops, and how to use the map as a preparation tool rather than just a navigation aid.
What biomes exist in Witchspire?
The world is divided into four main zones, each serving a different stage of progression. Understanding where each one fits in your overall advancement prevents you from walking into a cave with a starter kit or farming beginner herbs long after you should have moved on.
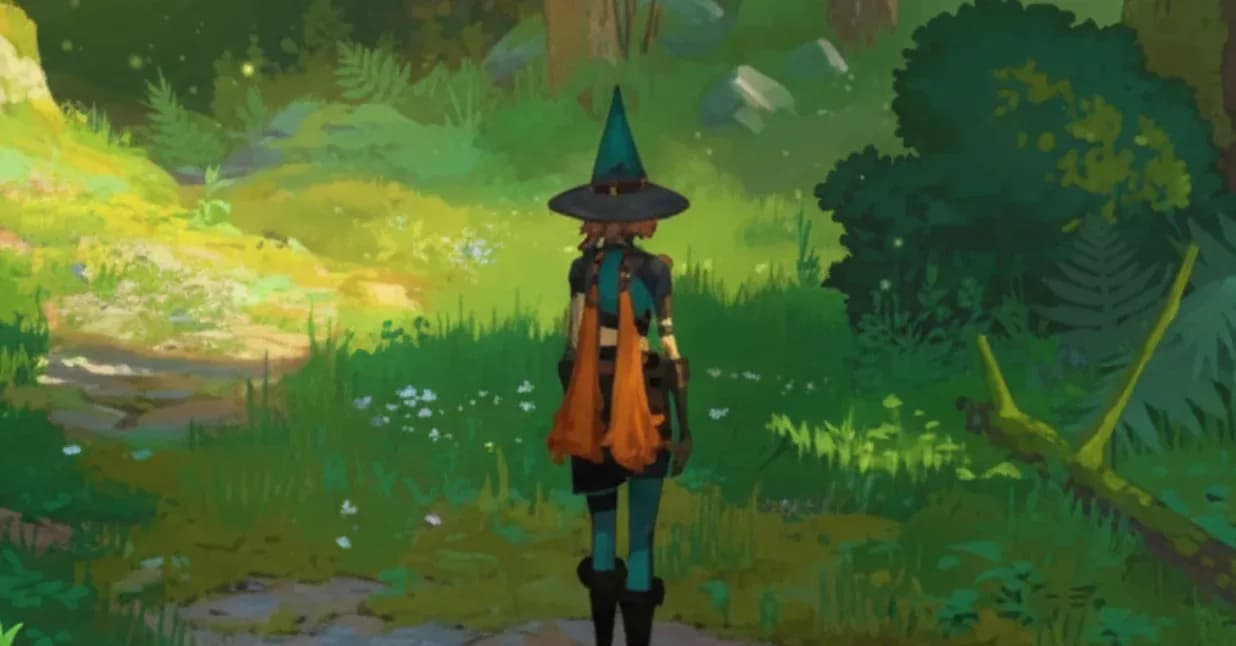
Verdant Glades (starting biome)
The Verdant Glades is where every run begins. The enemy pressure here is low, the resources are plentiful, and the route is forgiving enough to let you learn the game's rhythm without constant punishment. Wood, stone, herbs, and fiber are the core pickups. These materials keep early crafting moving and give you enough base setup to start thinking about your first workbench upgrade.
Don't rush out of the Glades too early. The safe return paths here are worth memorizing because you'll come back to collect basic materials even in the midgame. Treat every Glades run as a gathering loop with a clean exit, not a sprint toward the next biome.

Verdant Glades resource loop
Frozen Peaks
The Frozen Peaks are where the game starts asking more of you. Rare ice resources spawn here that you won't find anywhere else, and the terrain is designed to punish players who overextend without a clear return path. Before heading into this zone, make sure your healing supplies are stocked and your familiar is equipped for the added pressure.
The primary draw of the Frozen Peaks is the rare materials that gate specific tool upgrades. If you're hitting a crafting wall and standard ore isn't cutting it, this is the zone to target. Scout the approach before committing to a full farming loop.
Volcanic Depths
The Volcanic Depths sit at the deeper end of the progression curve. Fire essence and obsidian are the key materials here, and the lava creatures that guard them hit significantly harder than anything in the starting biome. This zone rewards players who've already cleared earlier biome upgrades and built a solid familiar bond.
Route planning matters more in the Volcanic Depths than anywhere else. Inventory overflow or a missed return window can turn a profitable run into a complete loss. Go in with a specific material goal, hit it, and leave.
Corruption zones
Corruption zones are the game's high-risk, high-reward areas. Rare drops spawn here that you simply can't get elsewhere, but the corruption mechanic adds a layer of pressure that demands resistance preparation. These zones aren't biomes in the traditional sense; they can appear across different areas of the map and scale in difficulty accordingly.
Before entering a corruption zone, check your resistance setup. Going in without the right preparation means you're spending resources fighting the zone itself rather than farming it.
How should you plan your biome routes?
Thinking in loops is the most efficient way to approach Witchspire's map. Each stage of the game has a natural route that matches your current tools and build strength.
Early game loop: Start in the Verdant Glades. Collect wood, stone, herbs, and fiber on every run. Return home before your inventory fills or your healing runs low. This loop funds your first crafting upgrades and keeps your base setup moving.
Midgame loop: Push toward coastal and forest zones. Shell-type enemy drops, copper, and creature materials become the priority. These are the resource gates that decide when your next tool tier becomes available. Save rare drops until the upgrade path is clear rather than spending them on minor crafts.
Late-game loop: Route through caves, the Frozen Peaks, and eventually the Volcanic Depths. Iron, cave materials, and boss access define this stage. Familiar zones also become more relevant here, so mark useful creature spawn areas even if you can't bond with them yet.

Biome route planning overview
What resources should you track across biomes?
Every biome has a different resource profile, but the tracking logic stays consistent throughout the game. The table below covers the main categories and why each one matters for your progression.
For a deeper look at how farming loops connect to your base economy, the Witchspire farming guide covering plots, seeds, and crops explains how to build a self-sustaining resource cycle that complements your biome runs.
How do you prepare for biome bosses?
Every boss in Witchspire is essentially a preparation checklist. The biome tells you what resistance you need, which familiar role makes the fight cleaner, and what crafting upgrades you should have before walking in.
The approach is always the same: scout the arena boundary before committing to the fight. Watch the enemy types near the boss location, check whether the approach path is burning through supplies, and confirm your return route before engaging. If the run-in is already expensive, the fight is too early.
After you understand a boss, the route becomes a farming plan. Route in, fight cleanly, route out, craft the upgrade. Repeat until you have what you need.
For players still building out their progression systems, understanding how Luminaries work and which early upgrades to prioritize can make a significant difference in how efficiently you clear biome bosses. Pairing that with a strong familiar companion rounds out your combat setup considerably. The Witchspire Familiars guide covers every rarity tier and the best methods for finding rarer companions.

Boss arena scouting prep
Biome-specific tips worth remembering
- The Verdant Glades safe return paths are worth memorizing early. You'll use them throughout the game.
- The Frozen Peaks ice resources are the main reason to push into that zone. Don't go in without healing stocked.
- Volcanic Depths runs need a specific material goal before you enter. Wandering here without a plan wastes supplies.
- Corruption zones scale in difficulty. Resistance preparation isn't optional.
- Mark familiar spawn zones even when you can't bond yet. You'll want that information later.
- Cave routes create mining pressure and stronger enemy encounters. Leave before inventory overflow forces bad decisions.
For more strategies across every system in the game, the full Witchspire guides collection covers everything from building to co-op routing.