

The final stretch of Chapter 1 in Alabaster Dawn packs in more puzzle density than anything you've seen up to this point. Journey Up North introduces the Hall of Trials, a new party member named Filia, the Aether element, and a mutated toad boss that will test every mechanic you've learned. This guide covers every room, every puzzle solution, and every collectible from the moment you leave Lyhamn Center to the end of Chapter 1.
Getting started: tasks before the journey
After the opening scenes, Juno learns she needs to wait until nightfall. The game won't let you skip time directly, so you'll need to complete a set of sidequests first. Head to the Wellspring and check the Tasks tab to pick up your first 3 stories.
- Quick Quickwood Query
- For the Children, right
- Iron Deficiency
Once those are done, offer the Simple Knife and Mathematics Formulary valuables to the Wellspring. You'll receive Blueprint: Ruff Edge and Blueprint: Dirty Quill as rewards. There's one more story to grab: exit the village southwest toward the beach and look for an NPC under the stone arch to start The Fervor of Youth.
With all four tasks complete, fast travel to the Eye of Remis landmark and head north. Cross the western bridge toward Remis Rock. Before crossing, check behind the sign on the left for a ramp leading up to a stone slab worth reading. Cross the river using the stepping stones and interact with the 4 rock spires in order from smallest to tallest. A button appears in the center; step on it to raise a square platform to the southeast. That platform leads to unfinished content for now, so return and cross the eastern bridge instead.
Follow the eastern path to a ruined staircase. Check the left side for Gem: Chipped Edge, then go east through the ruined building, jump the rocks, and open the treasure for Construct: Distant Mark Construct. Continue north until a scene triggers, unlocking Waysprout: Koro Valley - Dusk Approach. Select Wait until night and Filia joins the party.
How to navigate the cliffside to the Hall of Trials
Head down the cliffside from the waysprout. There's a tricky optional treasure here that requires some precise jumping: from the main path, jump left to a rock, climb to the top, jump south to a black rock, then right across the gap. Jump southeast, then continue counterclockwise around the pool to find Construct: Blood Eye Construct. After grabbing it, return and head north until a scene reveals the Hall of Trials.
Along the way you'll fight Rana enemies for the first time. These electrified frogs jump and charge their bodies with electricity before slamming down, so stay outside the impact radius. They also fire homing electrified orbs; shoot them to neutralize the projectile. You'll also pick up Divine Art: Bramble Quake from a treasure after the first Rana fight.
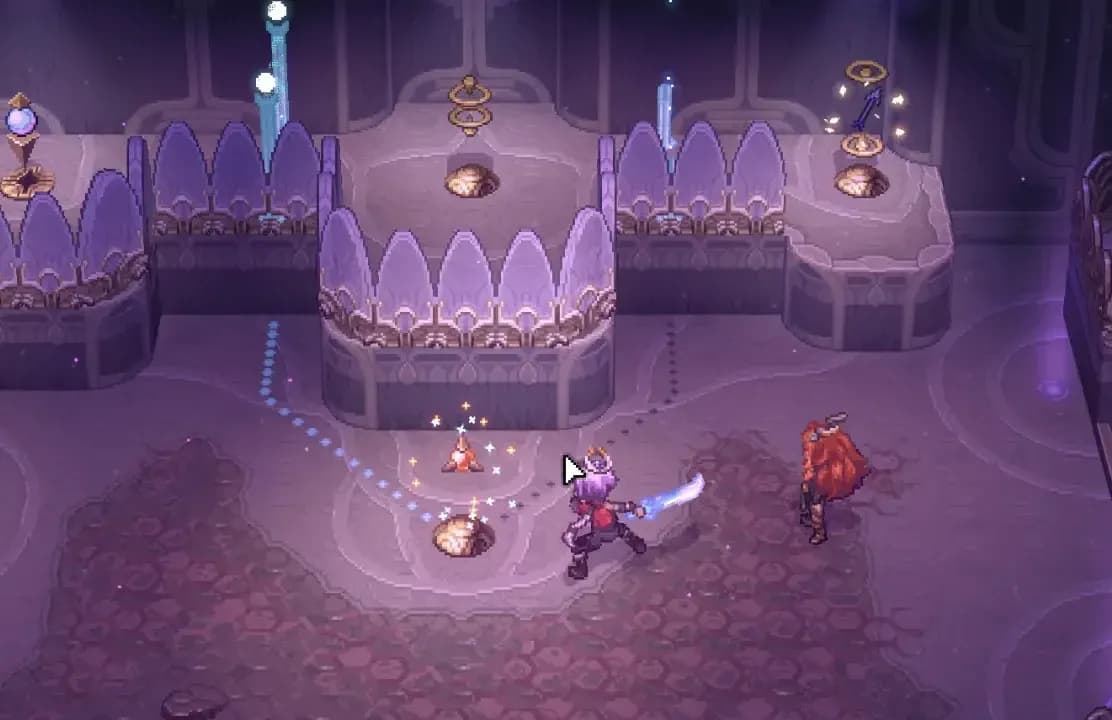
Hall of Trials 1F: room-by-room solutions
The Hall of Trials uses a room numbering system (A1 through A5 on the first floor, B1 onward on the second). Filia interacts with Wise Panels (the ring devices) to generate platforms and crystals that you can't access without her.
A1 and A2: opening barriers
Shoot the floating mechanism on the left to lower the barrier, then stand on the platform and shoot the right mechanism to raise it. Move forward and shoot the middle mechanism, cross halfway, shoot it again, and repeat on the next platform. Room A2 has a Nuemera fight followed by a puzzle where you hit the left crystal with a ranged weapon to create a platform over water, then shoot the next crystal to bridge the gap for Filia.
A3: block and crystal puzzles
Defeat the Nuemera, then have Filia enter the Wise Panel. She spawns 2 blocks. Move the first into the middle of the area and use the stairs to jump across with it as a stepping stone. Drop the second block on the floor as support to reach the next area. The star-shaped circles on the floor mark exactly where blocks should go for efficient jumping.
For the second puzzle in A3, drop into the pit and control the two blocks individually. Drag the left block to the middle to jump to the next platform, then drag the right block near the first crystal platform. Shoot the crystal, jump on its platform, jump to the second block, shoot the middle crystal, and use the resulting platform to access the door. Use the Wise Panel again to activate a moving platform on the right, ride it, hit the other crystal, and enter A4.
A4: projectile catcher sequence
Hit the center mechanism to create an arrow projectile. Aim it at the left mechanism to raise a nearby platform. There's a 4-mechanism puzzle here: one in the bottom area and three above. Hit the bottom mechanism to drop the barrier for the upper-right one. Shoot the upper-right mechanism to place an arrow there, then shoot it into the middle mechanism. Use your melee weapon on the bottom mechanism to raise the left barrier, then advance the arrow to complete the puzzle. Defeat the Nuemera wave that follows, then exit back to the main room to collect the Trial Mark key.
A5: Aether introduction and Impulse puzzles
A5 introduces a turtle-type Nuemera with no stagger bar. No amount of hits will interrupt it, so focus on dealing damage efficiently. After the fight, an electric platform appears in the center. Stand on it and hit the 2 pedestals above first, then use your ranged weapon on the bottom-right mechanism and forward it to the electric pedestal. Repeat for the left mechanism.
The next section has an electric barrier blocking a floor switch. Stand on the electric platform to the left, then shoot the Impulse Emitter (the purple block on the golden rod) to break the barrier. Step on the switch, then move right. The second barrier here is too far for a direct chain shot. Have Filia enter the Wise Panel at the bottom right; she spawns 2 blocks. Move the bottom block diagonally left to connect the golden hand to the right electric pillar. Stand on the platform and shoot the hand. Move both blocks left and shoot the golden hand again. Break the electric pedestal and take the elevator up.
B1 and B2: second floor and gaining Aether
On the second floor, break the two plants on each side to restore HP before the fights. Three waves follow: standard Nuemera, shelled Nuemera (use the electric platform and ranged attacks for these), and an empowered turtle that hits hard. Stay defensive against the turtle and only attack during its recovery windows.
Room B2 is where Juno receives the Aspect: Aether from Libra. Aether is the electricity element in this game. Press 2 to swap between Physis and Aether. Your weapon swings will show a purple glow when Aether is active. Exit B2 to complete the first Hall of Trials.
How to reach Remis Rock and the second Hall of Trials
Back outside, head right and fight the shelled enemies. Aether attacks deal noticeably more damage to them. Jump the cliff, have Filia enter the rings, and hit the right crystal quickly since it's time-sensitive. Climb the platform, break the rocks with your Divine Hammer, and use your ranged weapon on the golden hand. When the electric barrier breaks, immediately hit the crystal again, climb the next platform, and weave the nest. Jump across with the middle platform.
The next encounter introduces an enemy protected by an electric barrier. Defeat all unprotected enemies first, then shoot the golden hand to remove the barrier on the shielded one. Clearing this fight rewards you with Divine Art: Crack Shock, your first Aether divine art. A Divine Bridge then appears, letting Juno and Filia cross the large gap to Remis Rock.
Rest at the Waysprout: Aurum Plains - Remis Rock, then head toward the second Hall of Trials. Before entering, you'll fight a Pendicis enemy (also referred to as Flyfish in community documentation). This enemy spins at high speed, shoots projectiles, and charges an Aether orb. Parrying is the most effective approach. Use Aether attacks to build up its stun gauge faster, then go all-in when it's stunned.
Before entering the hall, go west and use the pillars to cross the chasm for a treasure containing Construct: Amplifier Construct.
Second Hall of Trials: B3 through B10
The second hall is significantly larger and introduces multi-element puzzle mechanics. Here's a room-by-room breakdown.
B9 needs both elements
B3 and B4: moving platforms and the Trial Mark
In B3, have Filia enter the rings, hit the right crystal to activate the first moving platform, ride it to the end, jump to the next platform, and hit the left crystal. At the track's end, hit the middle crystal to drop a barrier, cross it, and hit the left crystal to reach the area on the left. Defeat the encounter to raise a bridge for Filia. Use the rings again, jump on the moving platform, and hit the crystal to reach the area with two floor switches.
Embed your ranged weapon into the upper-left mechanism before the switches, activate the top floor switch, and when it reaches the second mechanism below, use the other floor switch and throw your ranged weapon at it to raise the next bridge. Exit B3.
In B4, break the corrupted rocks with the Divine Bow and defeat nearby enemies. You need a Trial Mark to continue. Go to the bottom-left area and enter B5 to get it. After retrieving it and completing B5, B6, and B7, return to B4, use the Trial Mark to unlock the path, and defeat the encounter (which introduces a slug-like enemy that throws explosive balls). A Waysprout appears after the fight.
B5 and B6: Nyx's lump puzzles
B5 introduces Nyx's lump, which floats in water. Before touching the lump, interact with the rings at the bottom and take the block to the right corner of its path. Shoot the lump to push it toward the block. When it's stuck in the mechanism over the block, drag the block to the center and push the lump into the tentacles above. The wall drops; enter B6.
After completing B6 and B7, return to B5 and interact with the rings again. Two blocks with golden mechanisms spawn. Drag the bottom block to the right end of its path, catch Nyx's lump from the bridge, and push it into the mechanism on top of that block. Drag the block to the central path and use the upper block to move the lump into the tentacles. Collect the Trial Mark and return to B4.
In B6, break corrupted rocks, shoot the exploding rock to clear debris, and drop down into an encounter. After defeating the Nuemera, an electric barrier blocks the Nyx nest. Hit the golden hand to raise a purple floating block, push it to the opening, catch it, and throw it into the purple rock to chain-destroy the barrier. The next area has a multi-step chain puzzle using the same floating block mechanic to ultimately clear the path to B7.
B7, B8, and the final Trial Mark
B7 is a straightforward Nuemera encounter. After clearing it, the bottom door returns you to B5 for the Trial Mark.
B8 introduces a new combat mechanic: a slug-type enemy protected by an electric barrier with no visible generator. When it throws an explosive ball, Filia weaves it, turning it into a purple floating block you can grab with your chakram. Throw it at the generator to make the enemy vulnerable. The second encounter in B8 adds a turtle to the mix; weave the explosive ball the same way and throw the block into the electric blocks around the turtle's shield. Clearing B8 opens the path to B9.
B9: dual-element puzzle
This is the hardest puzzle in the game up to this point. B9 requires switching between Aether and Physis mid-puzzle.
For the opening puzzle: throw your ranged weapon into the middle mechanism, press 2 to switch to Aether, catch and forward the projectile to the next mechanism, and hit the crystal. For the left crystal, press 1 to switch to Physis first, then repeat.
The left section multi-step sequence:
- Switch to Aether, throw your first projectile into the mechanism, forward it to the Aether mechanism.
- Press 1 to switch to Physis (your ranged weapon swaps too). Throw the second weapon into the mechanism and move it down to hit the Physis mechanism, dropping the barrier.
- Press 2 again, forward the Aether projectile to the mechanism below.
- Hit the first crystal with your Aether projectile, then immediately press 1 and hit the other crystal with your Physis weapon.
For the right section: have Filia enter the rings. A block with a golden mechanism spawns. Hit the golden hand to activate the purple floating block, use the Aether Chakram to catch it, and place it in the block's mechanism. From here, drag the block through a series of floor switches and bridges, forwarding a Physis projectile through mechanisms to raise each bridge in sequence. The final step involves pressing the floor switch that drops the barrier around the electric generator, then using the Aether Chakram to push the purple floating block into the generator. The path to B10 opens.
B10: final encounter
B10 is a lengthy Nuemera gauntlet featuring multiple turtles and Flyfish enemies. Stay defensive, attack during recovery windows, and use Aether for the shelled enemies. After clearing it, you return to B3 and can take the elevator up and out of the Hall of Trials.
How to defeat Rana Lingua Magna
Rana Lingua Magna is the Chapter 1 boss and a direct evolution of the Rana enemies you've been fighting. The fight has 3 phases, and the core loop is the same throughout: build the stagger gauge, wait for the tongue to come out, then unload your Divine Arts on it.
Use Aether attacks throughout. The boss hops between sides of the arena frequently, so track its position rather than committing to a fixed position yourself.
Phase 1 attacks:
- Slam: A circle appears around you, boss jumps and slams down, then leaps to the opposite side.
- Tongue: Boss sticks out its tongue and lasers shoot from the orb on its tip.
- Thunderbolt: Several thunderbolts rain down in a circular pattern with safe gaps between them.
Phase 2 adds the High Jump, where Magna jumps higher than usual and slams twice. Dash away twice to avoid it. When the tongue falls out in phase 2, it has an electric barrier. Wait for the slug Nuemera to throw an explosive ball, let Filia weave it into a purple floating block, grab it with your chakram, and throw it at the tongue's generator.
Phase 3 scales up the same mechanic: 2 electric generators protect the tongue, and 2 slug Nuemera spawn. Weave both orbs and clear both generators before attacking the tongue.
Post-boss: cleansing the Nyx Spire and ending Chapter 1
After defeating Magna, head north and east to the Nyx Spire. Approach it to trigger a scene where Juno and Filia cleanse it together, earning Divine Connection: Harmony Level 2. This upgrade increases your attack stat and grants one additional divine charge.
Head south, jump down the cliff, go right to the Waysprout, and take the elevator back into the Hall. A scene plays showing the blue divine wall has been removed. Continue right through the next areas, grabbing Ingredient: Grumpy Salmo x7 by climbing the left wall when the path curves right. Follow the path to trigger the final scenes of Journey Up North, ending Chapter 1 and transitioning into Chapter 2.
For everything that comes next, the Alabaster Dawn strategy guides collection has you covered for the full journey through Sundalan and beyond. If you want to revisit the earlier quest before this one, the Unyielding Solidarity walkthrough guide covers every boss and gem location in Chapter 1's opening. To sharpen your combat before tackling Magna, the beginner combat guide breaks down weapons, Growth Charts, and early-game strategy in detail. And if B9's dual-element mechanics left you wanting a deeper understanding of the Aether system, the skill tree and gems guide explains how to build around your new element from the ground up.