
On MW4's hardest campaign settings, the wrong target can end a run just as quickly as an enemy bullet. Call of Duty: Modern Warfare 4 has 16 missions, but YOLO asks you to clear all of them with a single life. Realism is the preparation: Veteran-level combat, no HUD, and friendly fire. This walkthrough focuses on surviving that climb through cover, AI allies, careful equipment use, and practice on the fights that punish mistakes. Expect encounter spoilers, especially around Out in the Cold and Assassins.
How do you select the hardest available difficulty?
Veteran is the hardest option available before your first campaign completion. If you want the toughest route at every stage, start there. If unlocking the higher settings is your priority, a campaign clear on Recruit also qualifies.
Finishing the campaign on any difficulty unlocks Realism. Completing it on Realism then unlocks YOLO, so a fresh save requires two campaign clears before you can attempt the single-life challenge.
| Difficulty | Unlock requirement | What matters for your run |
|---|---|---|
| Recruit, Regular, and Hardened | Available initially | Any complete campaign clear unlocks Realism |
| Veteran | Available initially | Hardest starting option |
| Realism | Complete the campaign on any difficulty | Veteran-level combat without a HUD, with friendly fire and no teammate markers |
| YOLO | Complete the campaign on Realism | Every game over sends you back to the campaign's beginning |
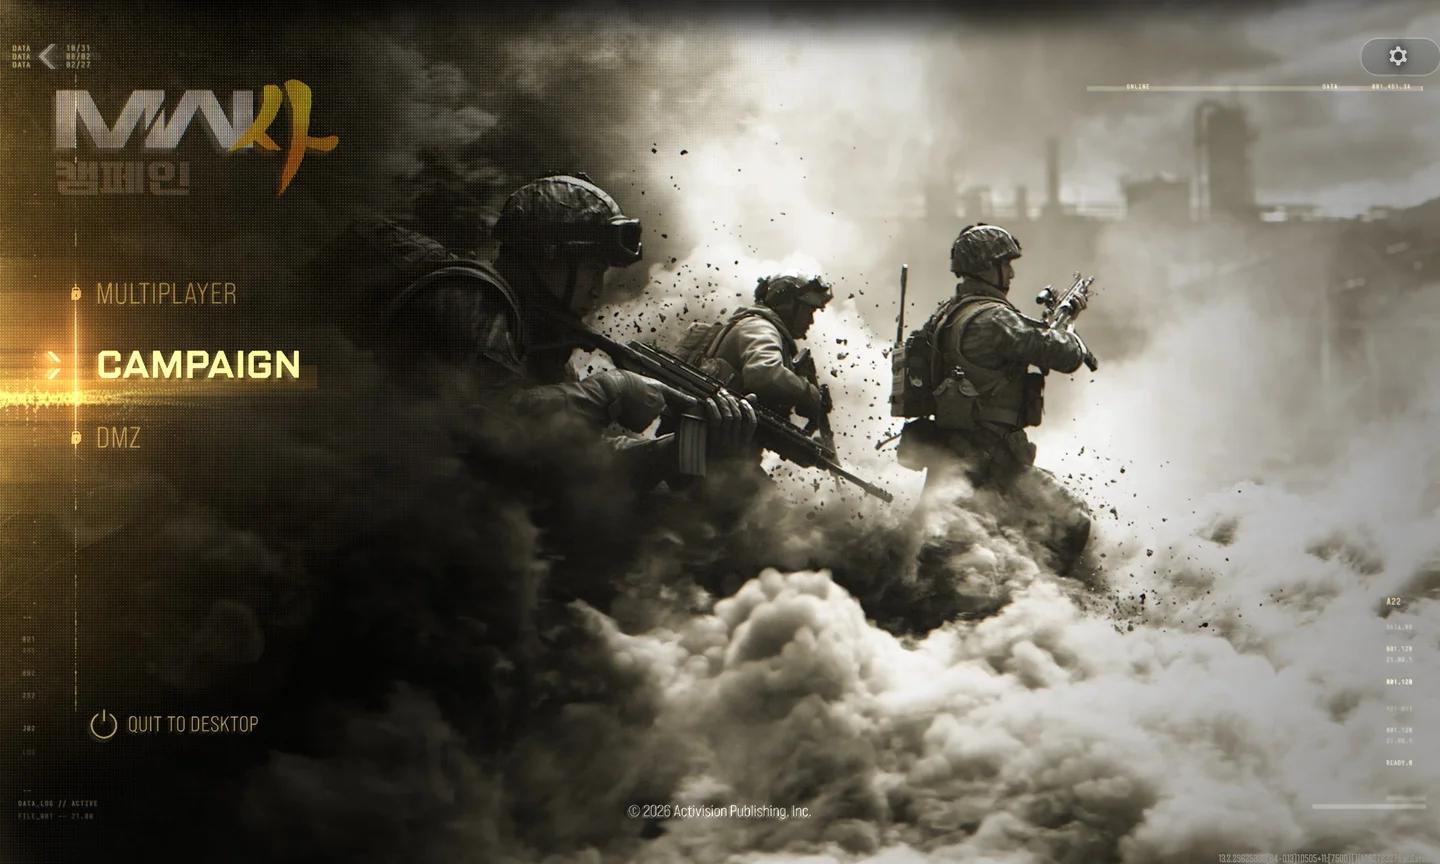
Choose your campaign challenge

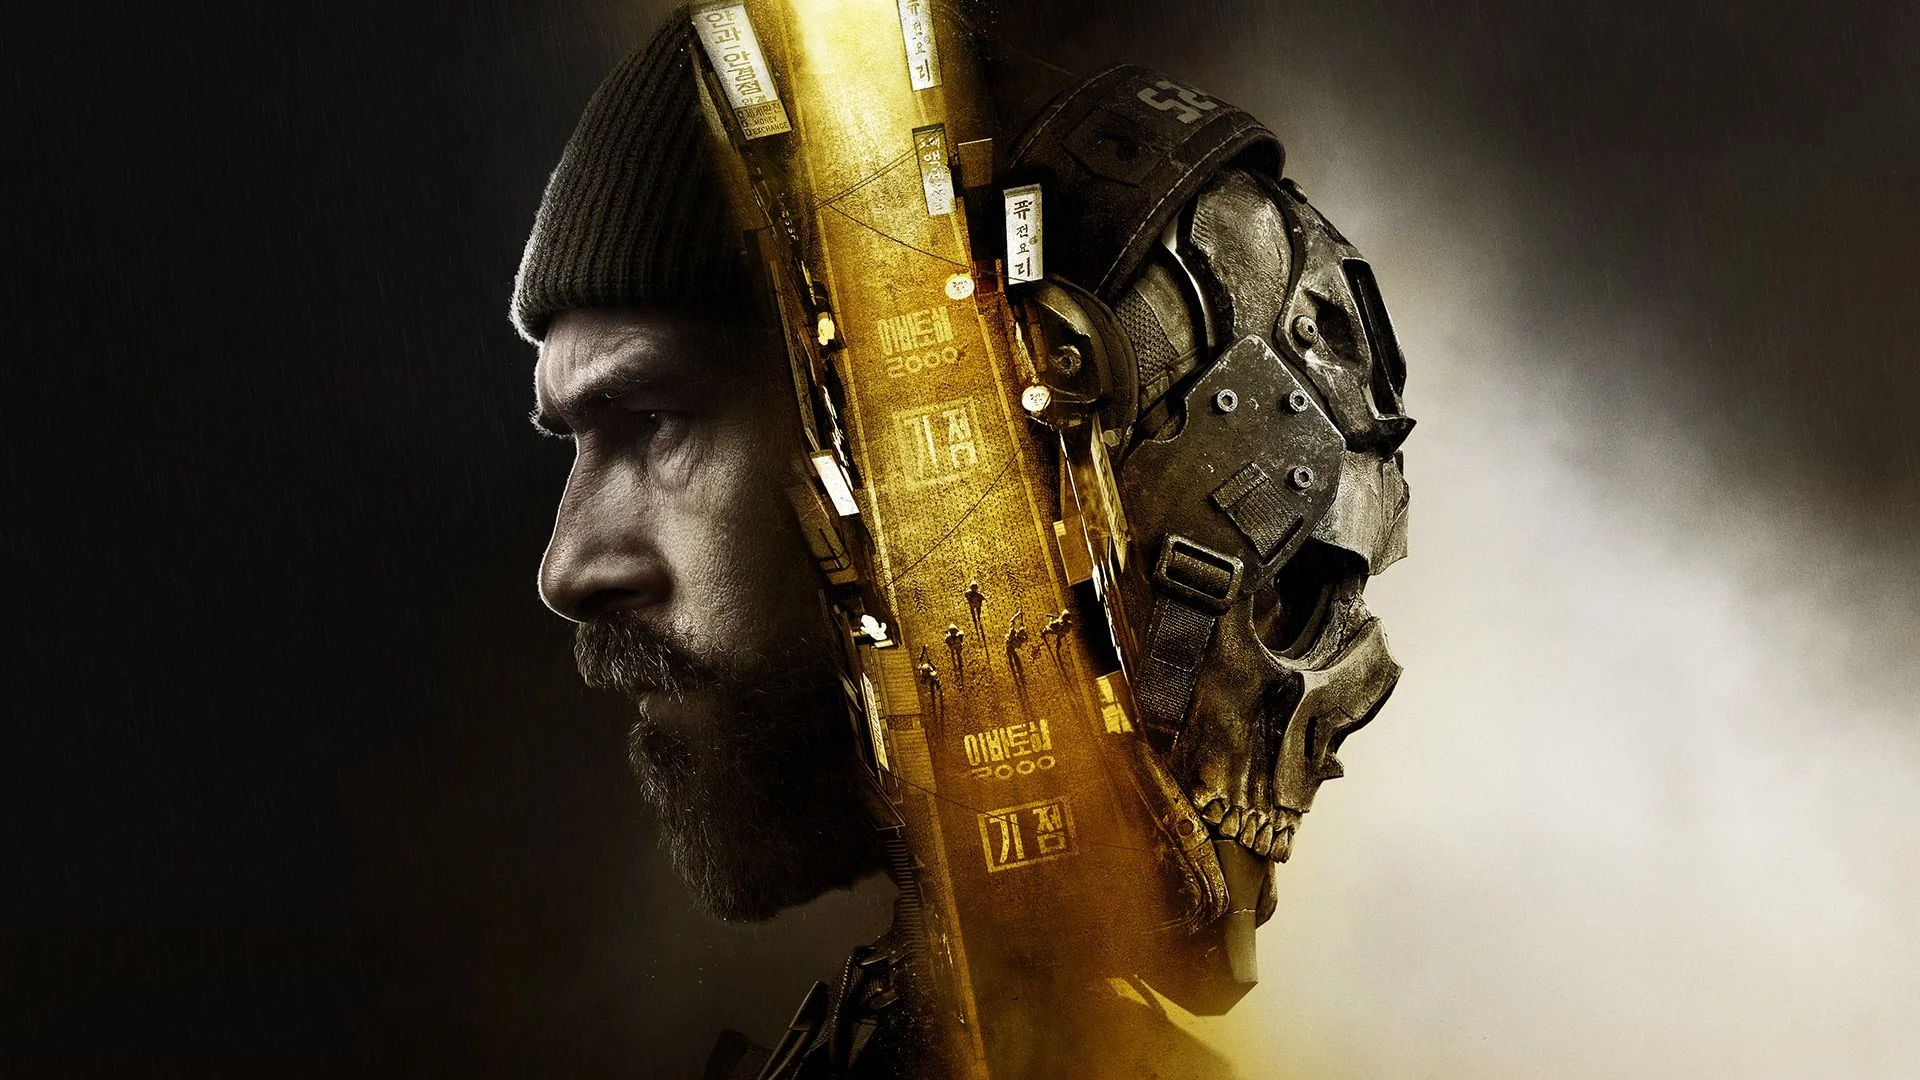
Decide whether you want trophies or the one-life clear
For campaign trophies, Realism is the required difficulty. The trophy Was it worth it? requires completing the campaign on Realism; YOLO completion rewards a multiplayer Calling Card instead.
All 18 trophies belong to the campaign, with no Multiplayer or DMZ trophies to add to this route. Once you've finished your campaign goals, the MW4 game modes guide covers your options beyond the story.
What combat rules keep you alive on high difficulty?
Let AI allies do their share
The safest supported approach to YOLO gunfights is deliberately slow: stay behind a wall while AI allies kill enemies, then deal with the survivors. That can mean waiting several minutes rather than immediately joining every exchange.
On Realism, build your shooting around brief peeks. Leave cover, eliminate one enemy, and return to cover before repeating. Enemies are more accurate, throw more grenades, and kill you faster, so extended exposure gives them more opportunities to end the fight.
Identify targets before firing
Realism removes the checkmarks that identify teammates. With friendly fire active, you need to recognize who is in your sights before pulling the trigger, especially when allied troops and civilians share the battlefield.
YOLO makes identification even more demanding because failure is broader than losing a gunfight. Shooting a civilian, failing a jump, or losing a chase can all produce the game over that ends your attempt.
How should you clear difficult checkpoints methodically?
Use your earlier campaign clears to rehearse the sections that keep killing you. Other difficulties let you replay missions individually, making Mission Select useful for preparation before starting YOLO.
For ordinary gunfights, use a repeatable sequence:
- Stay behind cover while AI allies engage.
- Peek briefly to eliminate one surviving enemy.
- Return to cover rather than stretching the exchange.
- Use a flashbang to stun remaining enemies when civilians and allies are clear of its effects.
Realism is a useful rehearsal because its missing HUD and teammate markers force you to practice target recognition alongside shooting. A checkpoint you survive only by firing at every moving shape still needs work before YOLO.
Rehearse mandatory melee encounters separately
MW4's fists-only encounters take away the equipment-based approach that helps in gunfights. Missing a counter can end the fight, and incoming attacks provide limited feedback, making these sections dangerous places to improvise.
The encounter where Price fights two former allies deserves particular attention during preparation. Learn the blocking and countering demands during your earlier clears, because neither AI-assisted shooting nor grenades can solve that fight for you.
How do you handle exposed crossings and enemy waves?
Keep civilian-heavy fighting controlled
The nighttime withdrawal through Hajin combines incoming fire with civilians and allied troops moving through the battlefield. That makes it a particularly bad place to rely on the grenade-heavy approach that works against isolated enemy groups.
Use the same patient cover-and-allies approach here, but give target identification priority over taking a quick shot. On YOLO, friendly fire can erase the whole campaign attempt.
Exposed movement also includes sequences where shooting is not the main problem. A failed jump or chase can end YOLO, so rehearse any traversal sequence that caused a game over during your first two clears.
Learn where additional enemies arrive
In Assassins, an extra four-enemy wave matters for the Revenge trophy near the bunker ladder. In Stranded, SAM Site vehicle reinforcements approach across the same bridge. Those are specific situations worth learning before a high-difficulty attempt, rather than assuming a quiet area is finished.
Keep trophy cleanup separate when its requirements add combat. Revenge requires killing every enemy after Shin dies on Hardened or higher, while Pacifist requires completing Assassins with only its single mandatory kill. Choose your objective before entering the mission.
How should you manage ammunition and equipment?
Letting AI allies take kills reduces the number of enemies you need to shoot yourself. Follow that with the one-enemy-per-peek approach rather than staying exposed to finish several targets in one exchange.
Flashbangs give you a window to shoot stunned enemies, while grenades can clear clustered enemies. Use those tools where the targets are separated from civilians and allies. Their value changes sharply in crowded encounters such as the Hajin withdrawal.
Use Stranded's supply system without rushing
Mission 10, Stranded, gives you unlimited time to collect supplies. You can gather them through Yellow Supply Crates, bags on the ground, and supply drops. The mission contains 26 Yellow Supply Crates.
At Base Camp, four weapons and eight items can be repaired or made for a combined cost of 195 Supplies. The Scavenger trophy requires all of those jobs, but individual options have different costs and requirements.
| Base Camp option | Supply cost | Requirement |
|---|---|---|
| Scoped LMG | 30 | Repair at Base Camp |
| Silenced AR | 25 | Repair at Base Camp |
| Silenced Thermal Sniper | 20 | Repair at Base Camp |
| Silencer for Vulcan Sniper Rifle | 10 | Pick up the rifle at the SAM Site objective first |
| Semtex | 5 | Make at Base Camp |
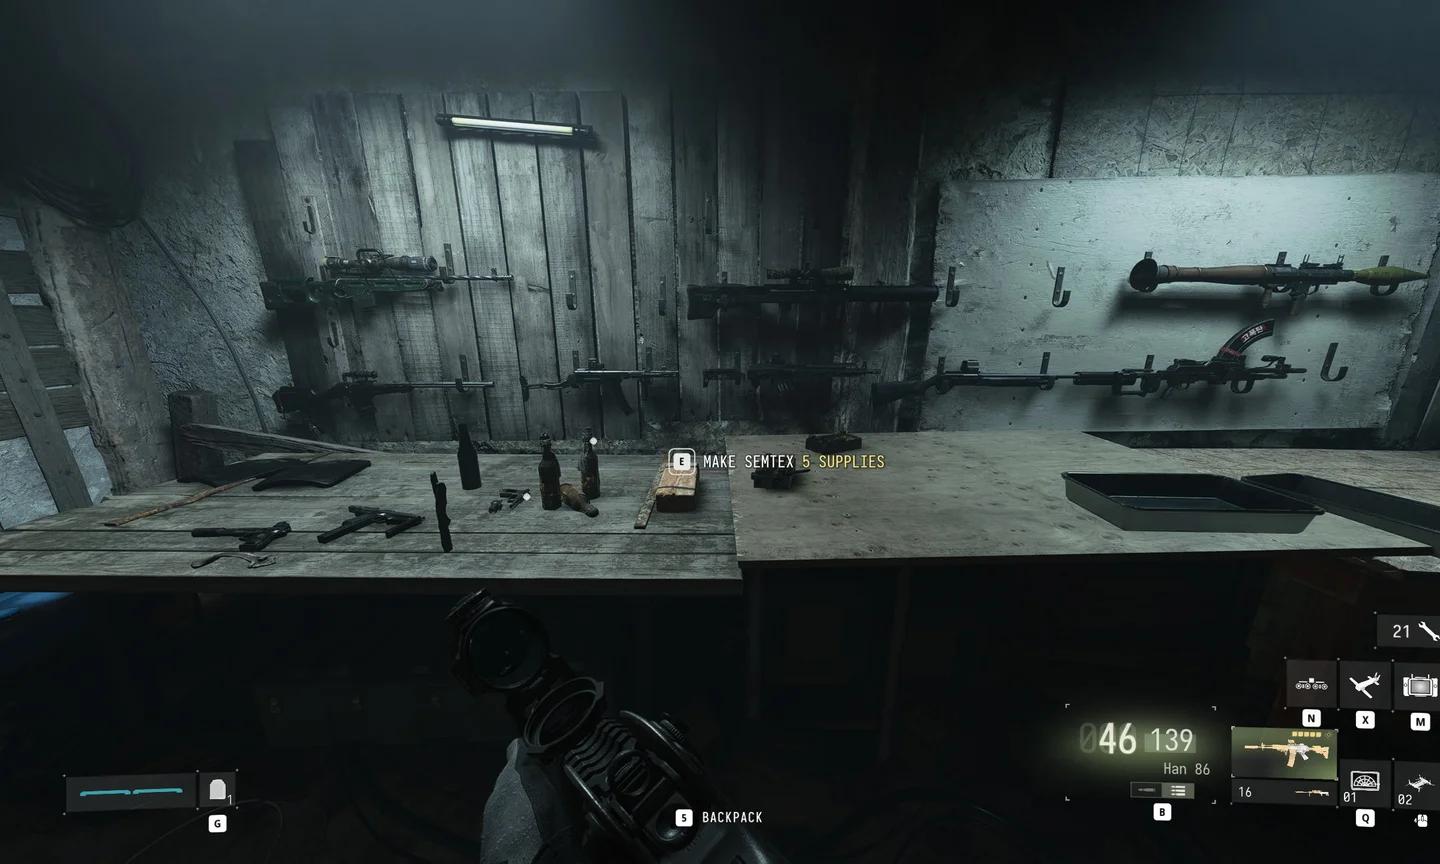
Spend supplies at Base Camp
Complete the full crate hunt and repair checklist during an earlier campaign run if you want those trophies. That lets you learn Stranded's objectives without combining your first full collection sweep with a single-life attempt.
Which mission trouble spots deserve practice?
Out in the Cold: Makarov's alley fight
At the end of mission two, Out in the Cold, the chase leads into a fistfight with Makarov. Blocking uses L2 on PlayStation or LT on Xbox. A red outline on the screen indicates that you've been hit.
The Can't touch this trophy asks you to beat this encounter on Veteran or higher without taking a hit. Practicing that requirement gives you a concrete preparation goal: finish the fight without depending on surviving mistakes.
On an ordinary difficulty run, the fight includes a checkpoint, and reloading after a later hit can still let you earn the trophy. YOLO's game-over rule makes learning the encounter beforehand far more valuable.
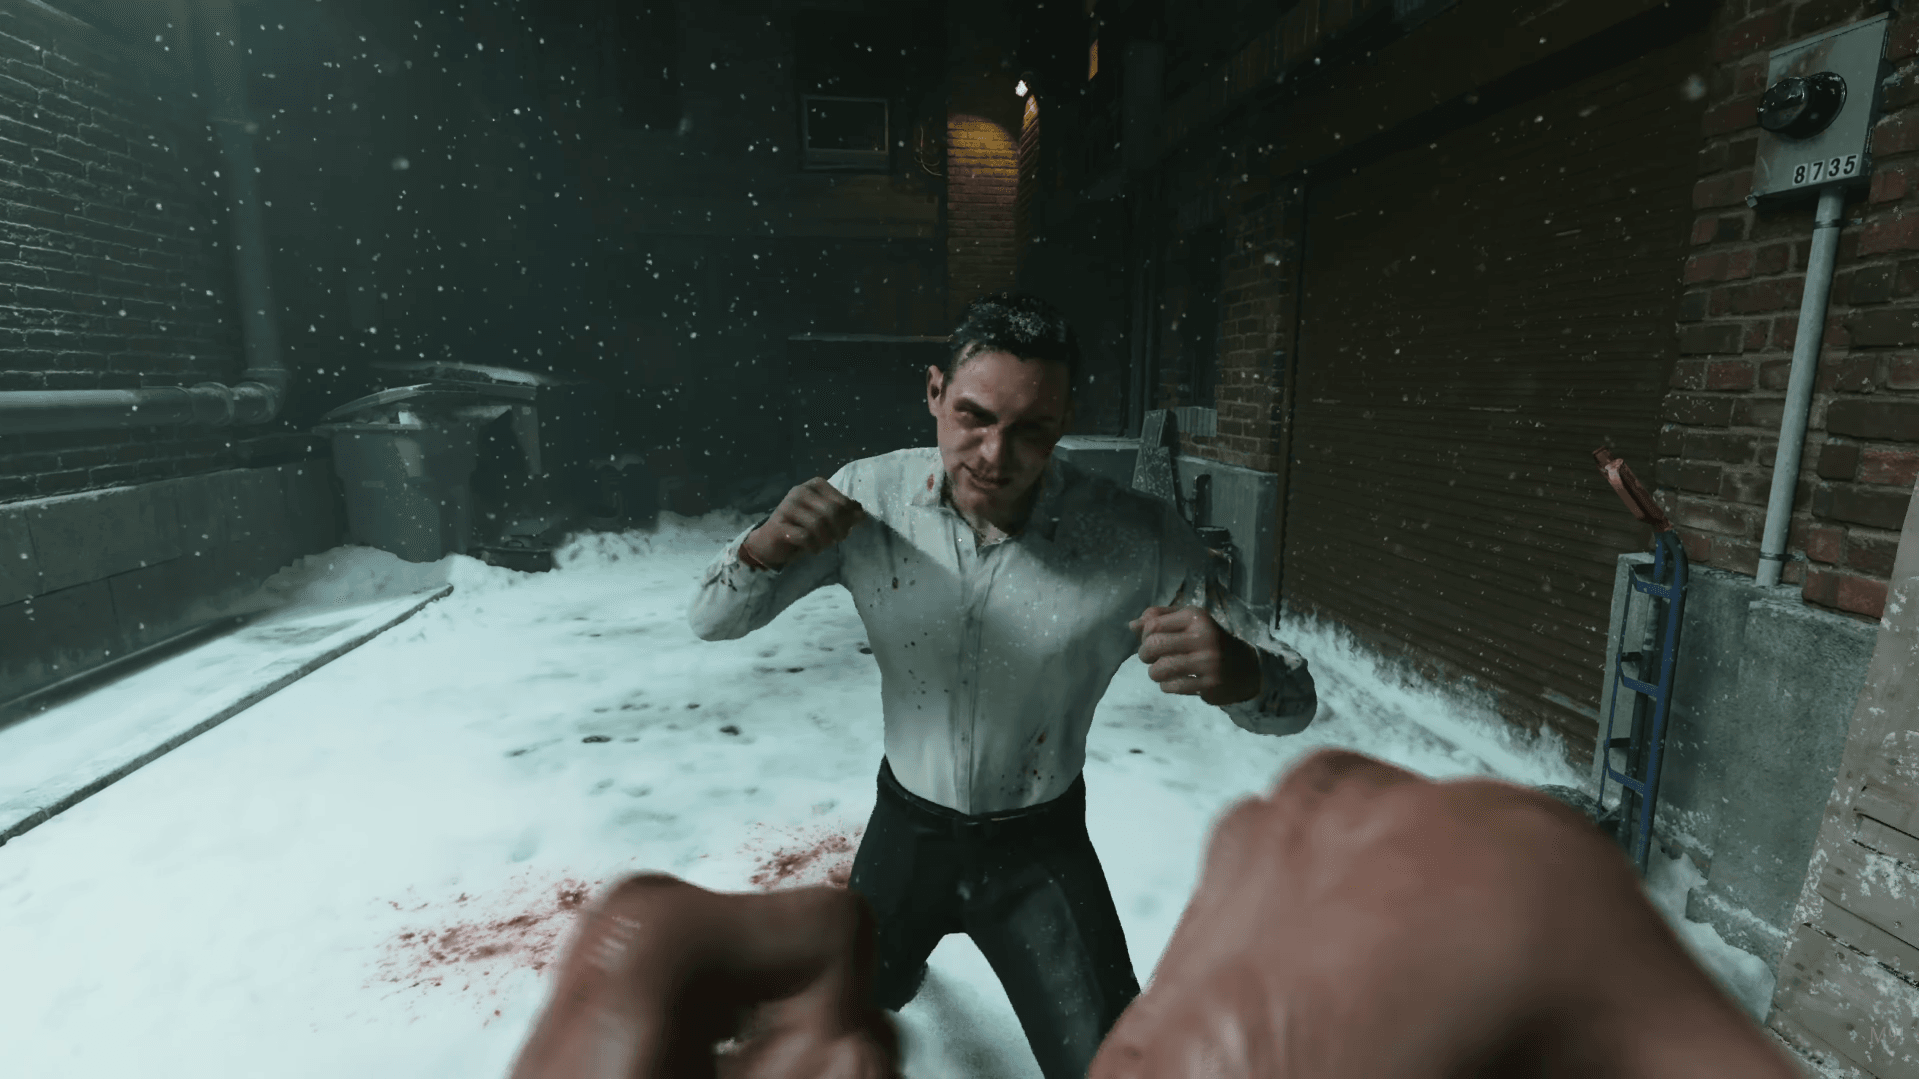
Practice Makarov's alley fight
Assassins: learn the escape route
Assassins supports a route with only one mandatory kill, which is the requirement for Pacifist. After the opening section, knowing the doors and the garden route gives you a clear plan through the mission:
- Reach the upstairs library door and enter code 5523.
- Cross the kitchen and use code 7632 at the exit door.
- In the garden, swim beneath the gazebo to remain hidden from its sniper.
- Head toward the large statue in the upper-left part of the area.
- Reach the bunker behind the statue and enter code 9103.
For Pacifist, descend the bunker ladder and continue through the next door. For Revenge, you instead need to remain before the ladder and eliminate the additional four enemies, along with every other required enemy after Shin's death. These trophy requirements cannot be combined.
Stranded: prepare for the SAM Site reinforcements
The SAM Site reinforcement sequence includes eight trucks and one tank. All approach across the same bridge, giving you a known direction to watch. Green crates in the area provide bomb drones.
Each truck takes one bomb drone to destroy, while the tank requires two hits. Proximity mines on or around the bridge provide another supported tool for the approach. Watch the green crates when you run out of drones.
The Incoming! trophy requires destroying every reinforcement vehicle before its troops unload. Learn the vehicle approach during preparation so you can recognize the sequence immediately on a harder run.
Counter Attack: track both mortar teams
In Counter Attack, you defend allies from a rooftop. After destroying the tank slightly below and to your left, check the rooftop above it for the first mortar team. There are two enemies to eliminate.
After the later sniper encounter, watch the rooftop to the left of the first team's position. The second two-person mortar team appears there. Knowing both positions gives you a specific place to aim instead of searching the skyline while your allies are under attack.
The Long Shot trophy requires killing all four mortar operators. On an ordinary campaign run, reloading the checkpoint lets you practice if you fail to kill the second member of a team quickly enough.
How do you verify campaign completion?
Greater Good, mission 16, is the campaign's final mission. Your completion goal determines what you should have earned afterward:
- Completing the campaign on any difficulty awards Hold the Line and unlocks Realism.
- Completing the campaign on Realism awards Was it worth it? and unlocks YOLO.
- Completing the campaign on YOLO awards its multiplayer Calling Card.
The Calling Card is the reward for the one-life clear. If multiplayer is your next stop, the MW4 multiplayer maps guide covers the locations you'll be playing on.
The time commitment can be substantial: one successful YOLO clear took around 20 hours, with 40 hours spent across three attempts. The challenge is worth considering for the clear itself, because the Calling Card is the reward at the end of that effort.
Before starting YOLO, make sure you can identify friendly troops without markers, handle Makarov's alley fight, and complete the chase or jump sequences that caused failures during earlier runs. Those are all ways to lose the attempt without ever reaching the final mission.
Finish Realism, replay the encounters that still cause deaths, and then start YOLO with survival as your only objective. Keep the MW4 strategy guide collection handy as you finish the campaign and plan what to play next.