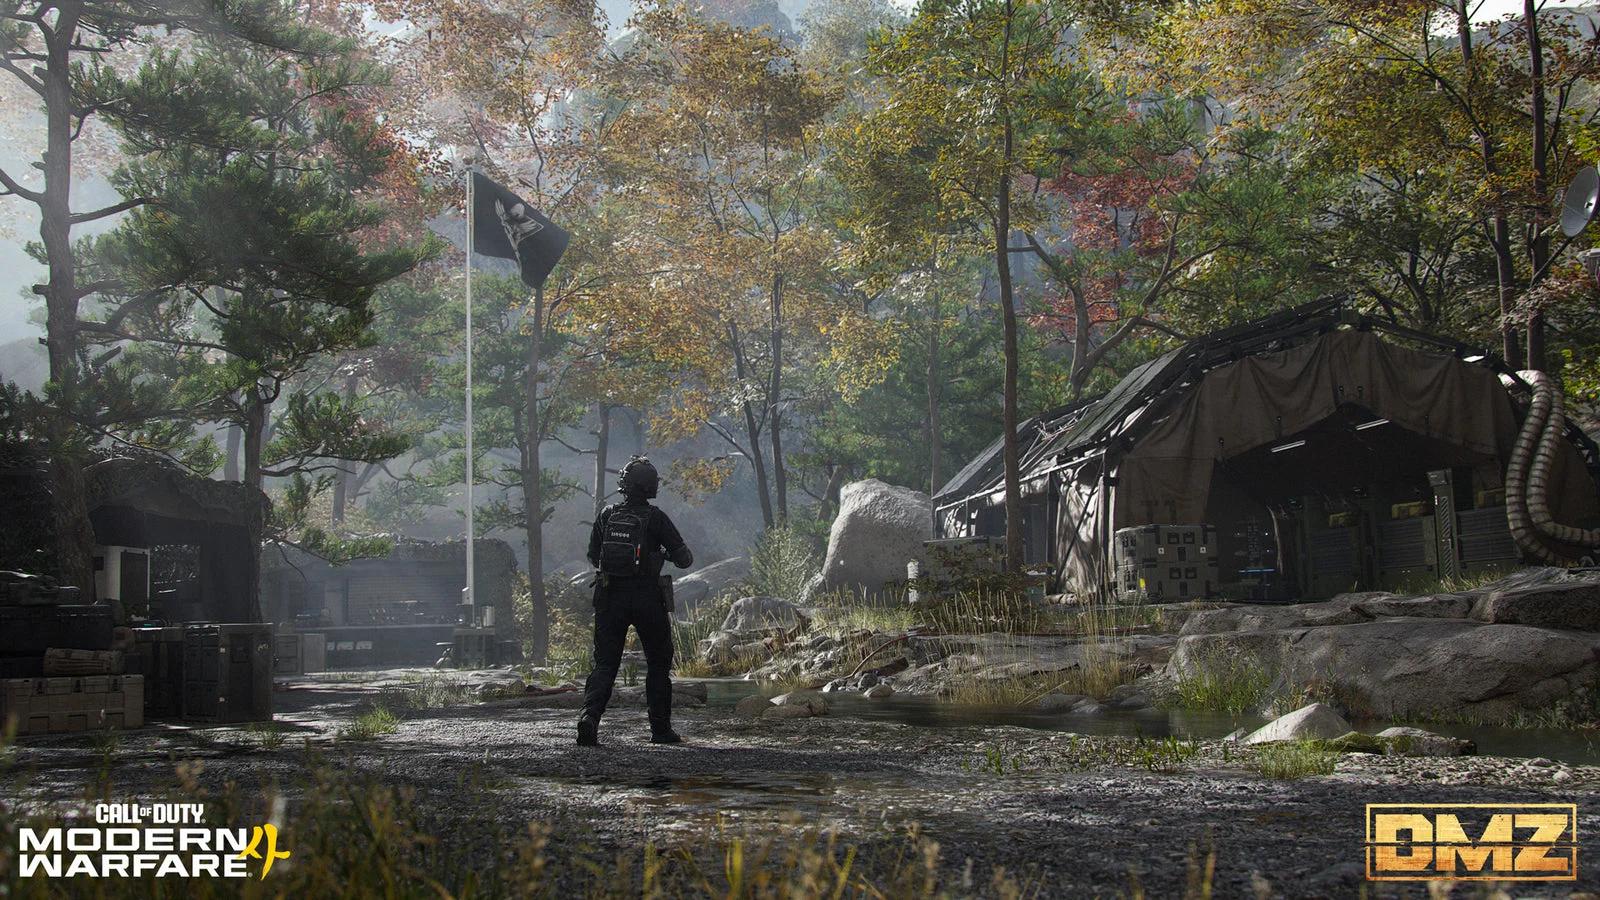

Hajin has 13 Points of Interest, and the difference between a profitable extraction and an empty-handed respawn usually comes down to which ones you visit first. Call of Duty: Modern Warfare 4 DMZ rewards players who plan their routes around threat levels, loot types, and extraction proximity. This guide breaks down every worthwhile POI, the best Military Compounds, and the most efficient farming route to run when you want consistent returns.
What are the best loot locations in MW4 DMZ?
Not every POI on Hajin offers the same return on risk. Threat levels range from Low to Extreme, and higher-threat zones don't always mean proportionally better rewards for the effort spent. Here's a full breakdown of the most worthwhile stops:
| Location | Threat Level | Best Loot to Target |
|---|---|---|
| Mirae General Hospital | Low | Medical supplies, crafting resources, patient ward containers |
| NuriGO East | Medium | Crafting materials, guns at Police Station, medical supplies at Clinic |
| Imjin Farmland | Low–Medium | Ammunition, armor, crafting resources, Jeong Loading Dock |
| Songdo Wharf | Low | General supplies, waterfront buildings, residential loot |
| Cheonwang Peak Array | Medium | Safes with gold bars, keys, printer resources, weapon manuals |
| Haneul Nuclear Reactor | High | Power Regulators, weapon manuals, high-rarity resources |
| The Citadel (Chang-san Air Base) | Critical–Extreme | Military gear, weapon manuals, armor vests, printer resources |
| The Grid | Critical–Extreme | High-risk military loot, Hanex Bank, DBN Headquarters |
| 14th Political Prison | High–Critical | Military equipment, eastern barracks, Fortress Prison Yard |
For most deployments, NuriGO East and Mirae General Hospital give the best balance of accessible loot and manageable enemy counts. The hospital covers medical needs; NuriGO East fills your backpack with crafting materials and gives you a shot at the Police Station's locked Armory.
Fire Stations are worth a quick stop for Radiation Gear and Parachutes. Green Clinics are your go-to for healing items when supplies run low mid-deployment.


High-risk, high-reward spots worth the danger
The Citadel
Sitting inside the Chang-san Air Base in northwestern Hajin, the Citadel operates at Critical to Extreme threat levels. The trick to looting it efficiently is choosing the story mission Operation Iron Citadel, which spawns you close to the POI at match start and drops an objective marker pointing directly to the most valuable loot room.
The approach runs along the outer air base wall until you find a broken section you can vault through. Three identical barrack-style buildings sit inside. Loot all three, focusing on soldiers' lockers and duffle bags. These containers have a solid chance of dropping armor vests, high-value printer resources, keys, and weapon manuals. Suppressed weapons or throwing knives keep the garrison quiet throughout.
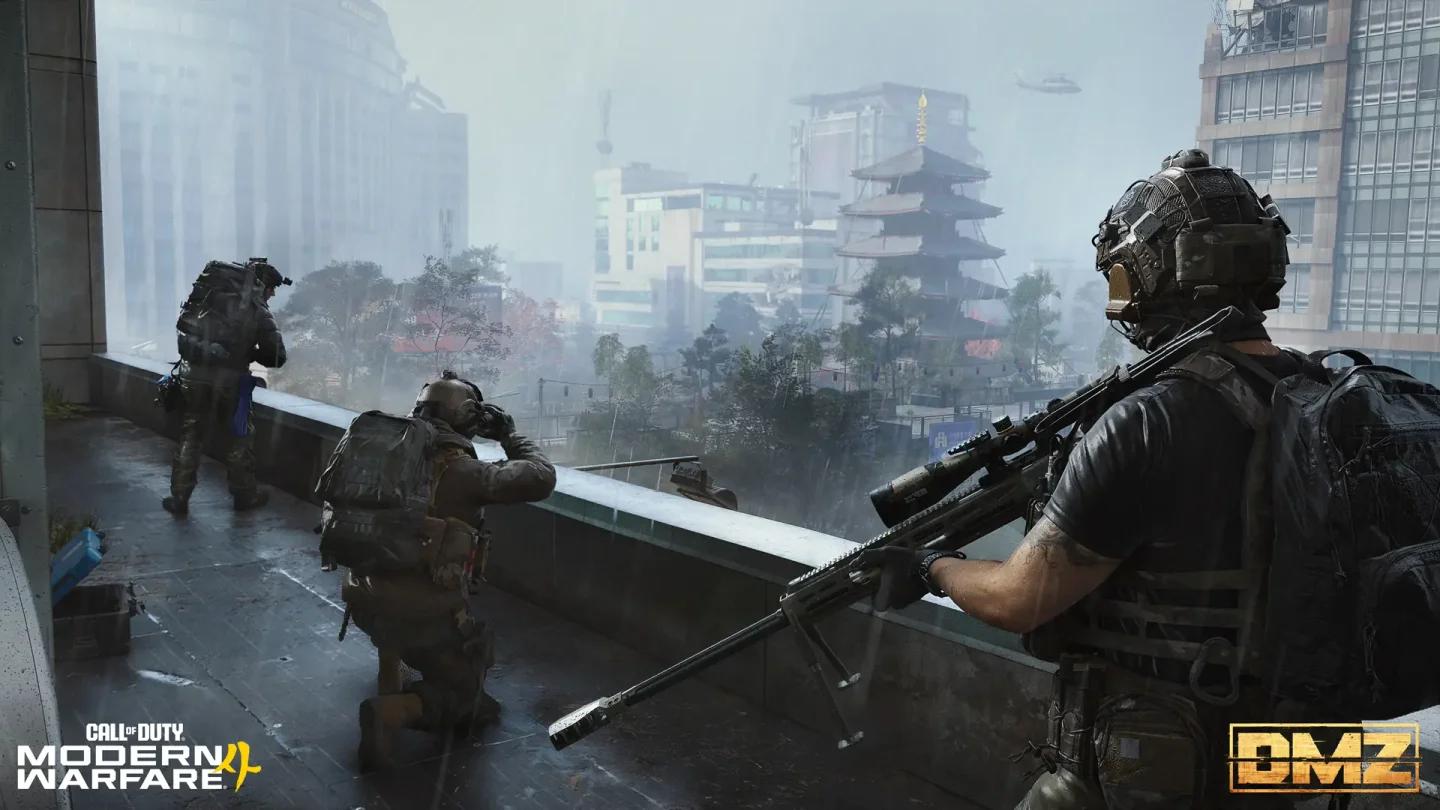
Citadel barracks loot rooms
Cheonwang Peak Array
This smaller central POI punches above its weight. The threat level sits at Medium, making it far more approachable than the air base or the nuclear reactor. Three rooms inside contain Safes that can drop gold bars, keys, printer resources, and weapon manuals. You can clear it solo with a stealth approach or sweep it quickly with a squad.
One important note: Cheonwang Peak Array is a potential spawn location for the Colossus commander, Hajin's minigun-wielding boss. Check our MW4 DMZ boss locations guide before committing to this spot so you know what you're walking into.
Haneul Nuclear Reactor
The nuclear plant is Hajin's most punishing environment but one of its richest loot pools. Radioactive vapor fills the area in yellow and red zones. Yellow zones drain gas mask durability gradually; red zones accelerate that degradation significantly. Radiation blockers work in yellow zones but lose effectiveness in red, so save them for your initial approach and stack gas masks for deeper exploration.
Hazmat suits can appear in small rooms and hallways within the nuclear stacks. Grabbing one blocks all radiation for a limited time and lets you push further into the reactor than most players manage. Power Regulators and weapon manuals are the primary targets here.
What loot can you find on Hajin's train?
Hajin's train isn't a named POI, but it holds a surprising number of loot containers. Ammo, printer resources, and occasional weapon manuals are all possible finds. The containers are easy to miss because some sit on and between seats rather than on obvious shelves or in marked crates. Slow down and check every seat row.
How do Military Compounds work in MW4 DMZ?
Military Compounds appear as tent-and-flag icons on your Tac-Map and are scattered across Hajin. They're lower-risk than the major military POIs and reliably contain weapons, armored vests, printer resources, keys, and occasionally weapon manuals.
The two open Compounds around Daesong Ridge in southern Hajin are the best starting point. They require no keys to enter and have lighter enemy presence than fortified camps elsewhere on the map. Clearing the guards also completes a Side Ops mission, rewarding cash and XP on top of whatever you scavenge.
The general compound farming loop:
- Open your Tac-Map and locate the nearest Compound icon (small tent with a flag).
- Approach from cover and eliminate guards individually to avoid triggering the full garrison.
- Search the watchtower, main building, and barracks for Safes, lockers, and supply containers.
- Open any available Safe and collect valuables for extraction and sale as DMZ Cash.
- Hit the Ammo & Armor Cache before leaving to top off supplies.
- Move to the next Compound or head toward extraction depending on backpack space.
If you want to know what those keys can unlock, the Counting Room Vault Key guide covers one of the more lucrative locked areas on Hajin, with loot worth up to $25,000.
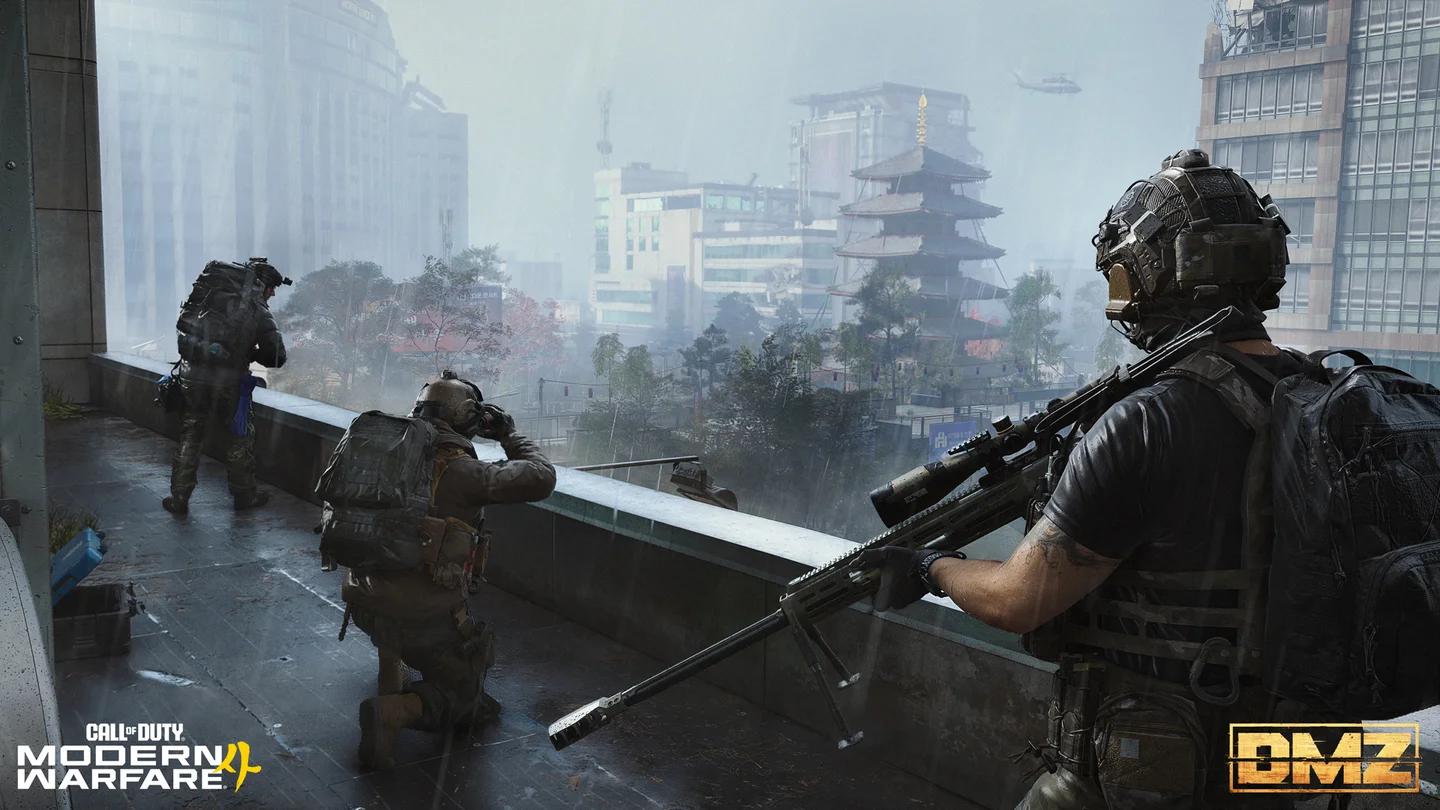
Daesong Ridge compound loot
Best loot farming route in MW4 DMZ
The most consistent general-purpose route pairs Mirae General Hospital with NuriGO East. Both sit close enough together in north-central Hajin to clear in a single deployment without straying into The Grid's Critical-threat zone.
- Mirae General Hospital first: Hit exterior triage tents, emergency rooms, and patient wards for medical supplies and crafting resources. This also sets you up with healing items before pushing into higher-traffic areas.
- Head east to NuriGO East: Take a covered route and avoid cutting south toward The Grid. NuriGO East's Medium threat level keeps encounters manageable.
- Work through the commercial buildings: Shops, storage rooms, and accessible containers are your targets. Prioritize crafting materials and high-value items over low-priority filler.
- Clear the Police Station: Find the blue building on your Tac-Map, eliminate the guards, and check the locked Armory if you have the key. Military gear here is consistently solid.
- Resupply at a Clinic or Ammo Cache: Top off healing items and armor plates before deciding whether to push further. Avoid NuriGO West unless your squad is equipped for High-threat combat.
- Complete a Dynamic Operation if supplies allow: Consecutive successful Operations during one deployment increase the rarity of Supply Drop rewards. Don't skip these if you have the ammo.
- Extract away from The Grid: Identify your exfil on the Tac-Map and route around The Grid entirely. Apply armor, reload, and approach the extraction site carefully.
Weapon manuals are a rare drop at every location mentioned above. They're never guaranteed, but the Citadel barracks, Cheonwang Peak Array safes, and NuriGO East all give you above-average opportunities. If unlocking guns permanently at the Gunsmith is your priority, the weapon manuals locations guide covers the fastest routes to farm them.
For more DMZ strategies across Hajin, browse the full MW4 guide collection covering everything from crafting materials to boss tactics.