
Ghost and Quick Fix are the best starting points for Perk 1 in Call of Duty: Modern Warfare 4, while Ninja and Blood Rush lead Perk 2. Pick Ghost and Ninja for quieter flanks, or Quick Fix and Blood Rush for aggressive fights and faster rotations. Your third slot should answer the problem actually killing you: tactical grenades, enemy detection, or an empty magazine. Across MW4's 18 multiplayer perks, the strongest class is the one whose benefits you can regularly put to work.
Version scope: Call of Duty: Modern Warfare 4 launch multiplayer. Balance updates may change these priorities.
How we rank multiplayer perks
MW4 perks compete within three slots. Choosing Ghost means giving up Quick Fix, while taking Ninja costs you Blood Rush. A strong effect still needs to justify the alternative you lose.
The tiers below prioritize perks that regularly help you survive, move, or avoid detection. A-tier choices become valuable when you build around their benefits. B-tier choices need a more specific job, such as carrying two primaries or building toward offensive Killstreaks.
| Tier | Perk 1 | Perk 2 | Perk 3 |
|---|---|---|---|
| Meta | Ghost, Quick Fix | Ninja, Blood Rush | None |
| A | Resupply, High Alert | Birdseye, Bomb Squad | Scavenger, Cold-Blooded, Combat Grid, Tracker |
| B | Overkill, Kill Chain | Hardline, Fast Hands | Battle Hardened, Lethal Reach |

Why do perk slots matter more than a single ranking?
You select one option in each of Perk 1, Perk 2, and Perk 3. Ghost and Quick Fix cannot form one combination, but either can work alongside Ninja. Compare the alternatives in the slot you're changing, rather than assuming every highly ranked perk belongs in the same class.
Battle Hardened also illustrates why context matters. Its tactical resistance suits close-range fights and contested objectives, even though its value depends on enemies actually using tactical equipment. Cold-Blooded answers a different set of threats, while Scavenger becomes valuable when ammunition limits your streaks.
Best all-round perks
Should you choose Ghost or Quick Fix?
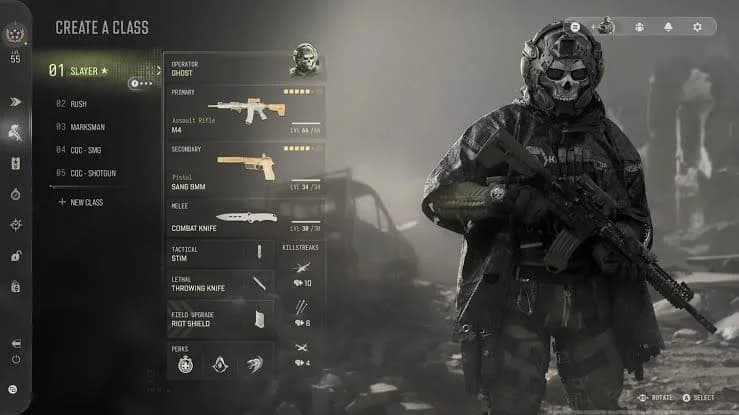
Ghost is the safer choice when enemy detection keeps exposing your position. It protects you against UAVs, Portable Radars, Heartbeat Sensors, and enemy voice-line callouts, making it useful for flanking and repositioning.
Quick Fix suits players who regularly survive one fight and immediately face another. Kills and secured objectives start health regeneration, shortening the recovery gap before your next engagement. It is also unlocked by default, so you can build around it immediately.
Ghost radar protection details
For an all-round class, choose Ghost if information is your main problem and Quick Fix if recovery is. High Alert offers another option when you keep getting caught looking the wrong way, but it occupies that same first slot and can be countered by Cold-Blooded.
What should fill your third perk slot?
Battle Hardened is a practical starting point for close-range and objective classes because it reduces the effects of enemy tactical equipment. If Flash or Concussion Grenades regularly leave you helpless before a push, it addresses that exact frustration.
Switch to Cold-Blooded when opponents rely on thermal optics, Recon Drones, High Alert, or AI targeting. Choose Scavenger when you consistently survive long enough to run short of ammunition. Each solves a specific problem rather than improving every encounter.
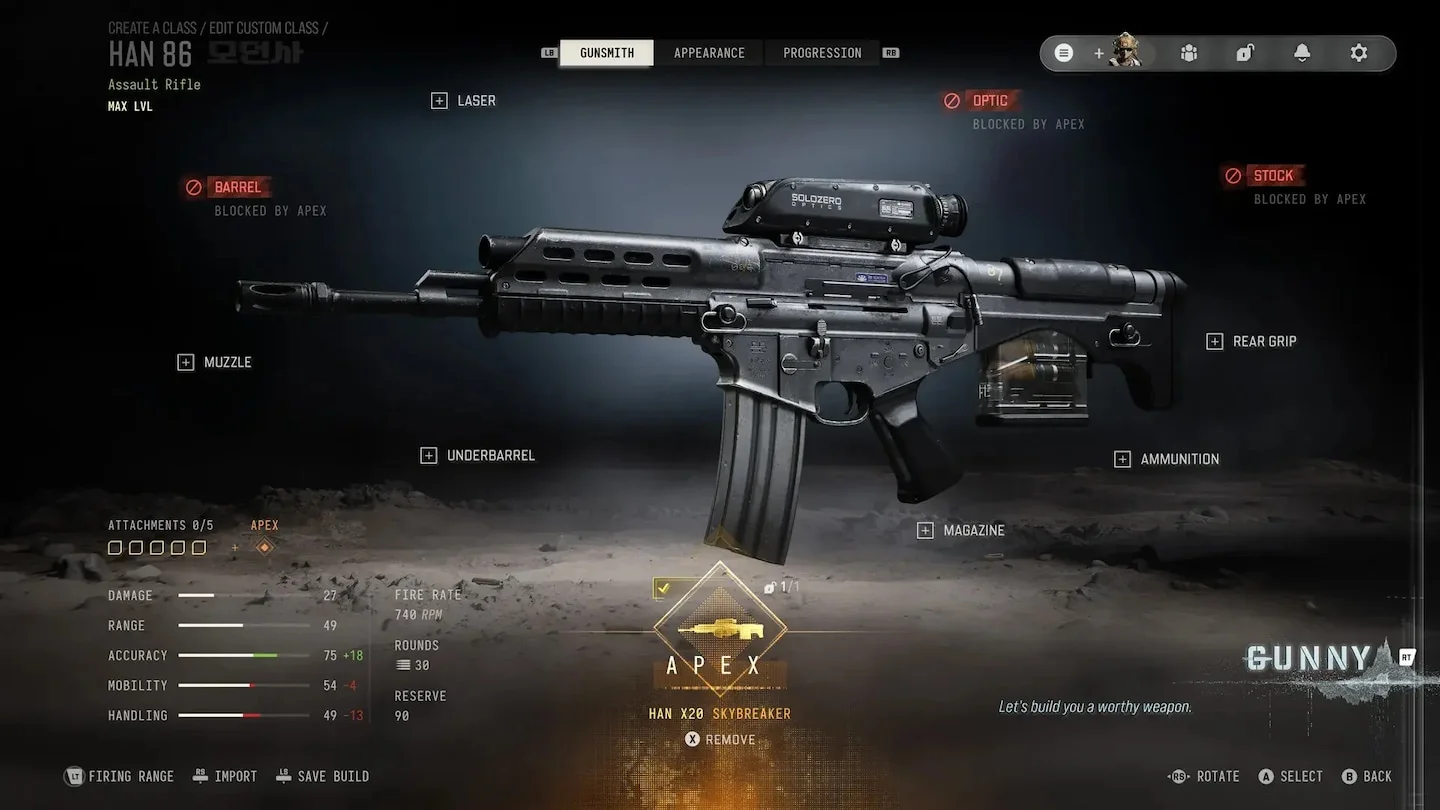
If your primary is the M4, use the M4 attachments and class setup guide alongside these perk choices to finish the class.
Best perks for aggressive play
Is Blood Rush worth the Perk 2 slot?
Blood Rush enables Tactical Sprint, making it the movement pick for rushing, rotating between objectives, and crossing larger maps. Tactical Sprint uses stamina, and eliminations replenish that stamina so successful aggression can keep you moving.
MW4's Tactical Sprint also has the same firing delay as regular sprinting. You gain the faster movement without an additional Tactical Sprint firing penalty, which makes Blood Rush particularly appealing when you frequently reposition between fights.
Pair Blood Rush with Quick Fix for a class built around successive engagements. Blood Rush helps you reach the next position, while Quick Fix starts recovery after a kill. Battle Hardened rounds out the combination when enemy tactical grenades threaten your close-range pushes.
Which equipment supports this combination?
The Quick Fix, Blood Rush, and Battle Hardened setup works with equipment that helps you prepare the next fight:
- Concussion Grenade: Best for disrupting an enemy about to enter your room or round a corner.
- Frag Grenade: Best for attacking a position before you commit. Cook the grenade before throwing it.
- Portable Radar: Best for extra positional information during close-range fighting.
For a Rezi 12 class, combine this approach with the Rezi 12 loadout and attachment guide. The perk combination supports the aggressive movement and recovery that close-range classes benefit from.
Best perks for stealth
Why pair Ghost with Ninja?
Ghost blocks several detection tools, while Ninja reduces movement noise. They protect against different ways of finding you, which makes the combination more useful for flanking than either perk alone.
Ninja quietens footsteps and movement actions such as jumping, mantling, and sliding. It is particularly useful for SMG or shotgun flanks and quieter modes such as Search & Destroy, where movement sounds can expose your approach.
Ghost also does not replace a suppressor. Firing your weapon can still expose you on the minimap, so use a suppressor when committing to a stealth class.
Should stealth classes use Cold-Blooded or Tracker?
Choose Cold-Blooded when you want to counter High Alert, thermal optics, Recon Drones, Snapshot Grenades, spotter scopes, and AI targeting systems. It complements Ghost and Ninja by covering detection methods those perks do not address.
Choose Tracker when finding opponents is the harder part of your flank. Its footprint trails show recent enemy movement, helping you follow a route or hunt a player moving around your team. The trade-off is losing Battle Hardened's tactical resistance or Cold-Blooded's protection against detection tools.
| Stealth problem | Perk or attachment | Why it helps |
|---|---|---|
| UAVs, Portable Radars, or Heartbeat Sensors reveal you | Ghost | Blocks these detection tools |
| Opponents hear your approach | Ninja | Reduces footsteps and other movement noise |
| High Alert or thermal optics expose your flank | Cold-Blooded | Counters these detection methods |
| You lose track of a moving opponent | Tracker | Shows recent footprint trails |
| Firing exposes you on the minimap | Suppressor | Addresses the firing reveal Ghost does not cover |
Best perks for objective play
Which perks help you survive on an objective?
Quick Fix, Bomb Squad, and Battle Hardened form the most direct defensive combination for contesting objectives. Quick Fix supports recovery, Bomb Squad protects against non-Killstreak explosives and knockdown, and Battle Hardened reduces tactical equipment effects.
Bomb Squad earns its slot when grenades and explosive near misses keep interrupting captures or defenses. It is especially useful on a contested Domination flag or a small map with frequent lethal equipment use. You sacrifice Ninja's quieter movement or Blood Rush's Tactical Sprint to take it.
When should you use Resupply instead?
Resupply suits longer objective holds. It replenishes equipment over time, increases equipment capacity, and improves Field Upgrade recharge, helping you maintain resources during repeated attacks.
The catch is survival. Resupply needs time to deliver its replenishment benefits, while Quick Fix can help immediately after a kill or secured objective. Choose Resupply when you can hold a position long enough to use the extra equipment.
Are Birdseye and Combat Grid good for objectives?
Birdseye improves your minimap information and shows which direction enemies face when detected by UAVs or Portable Radars. It suits players who regularly check radar information and teams that frequently have UAV coverage.
Combat Grid reveals enemy equipment and Killstreaks through walls. Spotting Claymores, Proximity Mines, or Trophy Systems before a push helps you identify what needs clearing before you enter the objective area.
A Ghost, Birdseye, and Combat Grid class emphasizes information rather than direct explosive and tactical resistance. Pair it with Smoke Grenades, Thermite, and a Trophy System when your job is helping the team take and hold space.
Smoke Grenades help you attack positions, while Thermite can deny an objective area. Shooting through smoke briefly reveals the area where bullets pass, so account for that opening when using smoke to cover a push or defense.
Perk combinations and trade-offs
Which multiplayer perk combination should you use?
Choose the row that matches your role, then change a perk when a specific threat demands it. Ghost and Ninja prioritize avoiding detection; Quick Fix and Blood Rush prioritize recovery and movement.
| Best for | Perk 1 | Perk 2 | Perk 3 | Main benefit and trade-off |
|---|---|---|---|---|
| Quieter flanks with tactical resistance | Ghost | Ninja | Battle Hardened | Reduces detection and tactical disruption, but gives up Quick Fix and Tactical Sprint |
| Aggressive successive fights | Quick Fix | Blood Rush | Battle Hardened | Supports recovery and movement, but leaves you without Ghost's detection protection |
| Contested objective defense | Quick Fix | Bomb Squad | Battle Hardened | Combines recovery with equipment resistance, but sacrifices Ninja or Blood Rush |
| Detection-focused stealth | Ghost | Ninja | Cold-Blooded | Counters several ways of locating you, but loses tactical resistance |
| Objective information and trap clearing | Ghost | Birdseye | Combat Grid | Improves radar and equipment awareness, but sacrifices direct defensive perks |
| High Killstreak attempts | Kill Chain | Hardline | Scavenger | Supports streak progression and ammunition supply, but gives up recovery and movement perks |
When are Kill Chain and Hardline worth it?
Kill Chain lets Killstreak eliminations contribute toward your next streak at half efficiency. Hardline reduces Killstreak requirements by 1 kill. Together, they suit players who can earn an offensive streak and stay alive while it contributes toward another.
The first streak is the hurdle. Kill Chain provides no immediate help before you earn a Killstreak capable of securing eliminations, and choosing it costs you Ghost or Quick Fix. Scavenger supports longer lives, while Battle Hardened is the alternative if tactical grenades are ending your attempts.
Offensive options such as Missile Salvo, Combat Drone, and Gunship fit this plan. If you use Combat Drone, find a hidden position before controlling it remotely, since your operator needs to survive while you use the drone.
Which other specialist perks deserve a slot?
| Perk | Best for | Why you would choose it | What you give up |
|---|---|---|---|
| Overkill | Classes covering different combat ranges | Carries two primary weapons, such as a sniper rifle and an SMG | Ghost, Quick Fix, or another Perk 1 option |
| Fast Hands | Frequent reloads, weapon swaps, or equipment use | Speeds up those actions, particularly useful when swapping weapons to finish a fight | Ninja, Blood Rush, or another Perk 2 option |
| High Alert | Players frequently caught from outside their view | Gives a visual warning that can help you turn or reach cover | Ghost or Quick Fix, with Cold-Blooded able to counter it |
| Lethal Reach | Equipment-throwing or melee-focused classes | Adds throwing range and a throwing indicator, with benefits for specialized melee use | A Perk 3 option addressing detection, ammunition, or tactical equipment |
Common mistakes
- Taking Kill Chain before you can reliably earn an offensive streak. Ghost or Quick Fix can help you survive the fights that come before it.
- Choosing Scavenger when ammunition never runs out. Battle Hardened or a relevant detection counter can address a problem you actually encounter.
- Keeping Resupply while dying before equipment replenishes. Quick Fix offers a more immediate benefit after a kill or secured objective.
- Using Ghost without considering weapon fire. Add a suppressor if you want your stealth class to address firing reveals too.
- Keeping Cold-Blooded without a threat to counter. Its value comes from opponents using the detection and targeting tools it blocks.
Pro tips
How do you adjust a class without rebuilding it?
Keep a Cold-Blooded class ready for matches where enemy detection tools or targeting systems become a problem. You can preserve the Ghost and Ninja foundation while changing the third-slot protection to suit the threat.
With Birdseye, check enemy facing direction before committing to a corner. Knowing an opponent is already looking toward your approach gives you useful information before you expose yourself.
For objective defense, consider manually aimed offensive Killstreaks such as Impact Warhead, Crossfire, or Missile Salvo. Save them for an enemy attempt to take the area rather than spending them away from the objective.
Frequently asked questions
Can you equip Ghost and Quick Fix together?
No. Ghost and Quick Fix both occupy Perk 1, so choosing one means giving up the other. The same restriction applies to Ninja and Blood Rush in Perk 2.
Which perk unlocks Tactical Sprint in MW4?
Blood Rush enables Tactical Sprint. It uses stamina, and eliminations replenish that stamina, making it useful for aggressive movement and objective rotations.
What are the best perks for Search & Destroy?
Ghost and Ninja are strong starting choices because they reduce detection and movement noise. Add Cold-Blooded to counter tools such as High Alert, or Combat Grid when spotting enemy traps is the priority.
Which recommended perk is available by default?
Quick Fix is unlocked by default, giving you an immediate starting point for a recovery-focused class. Plan your remaining choices with the MW4 perks and unlock requirements guide.