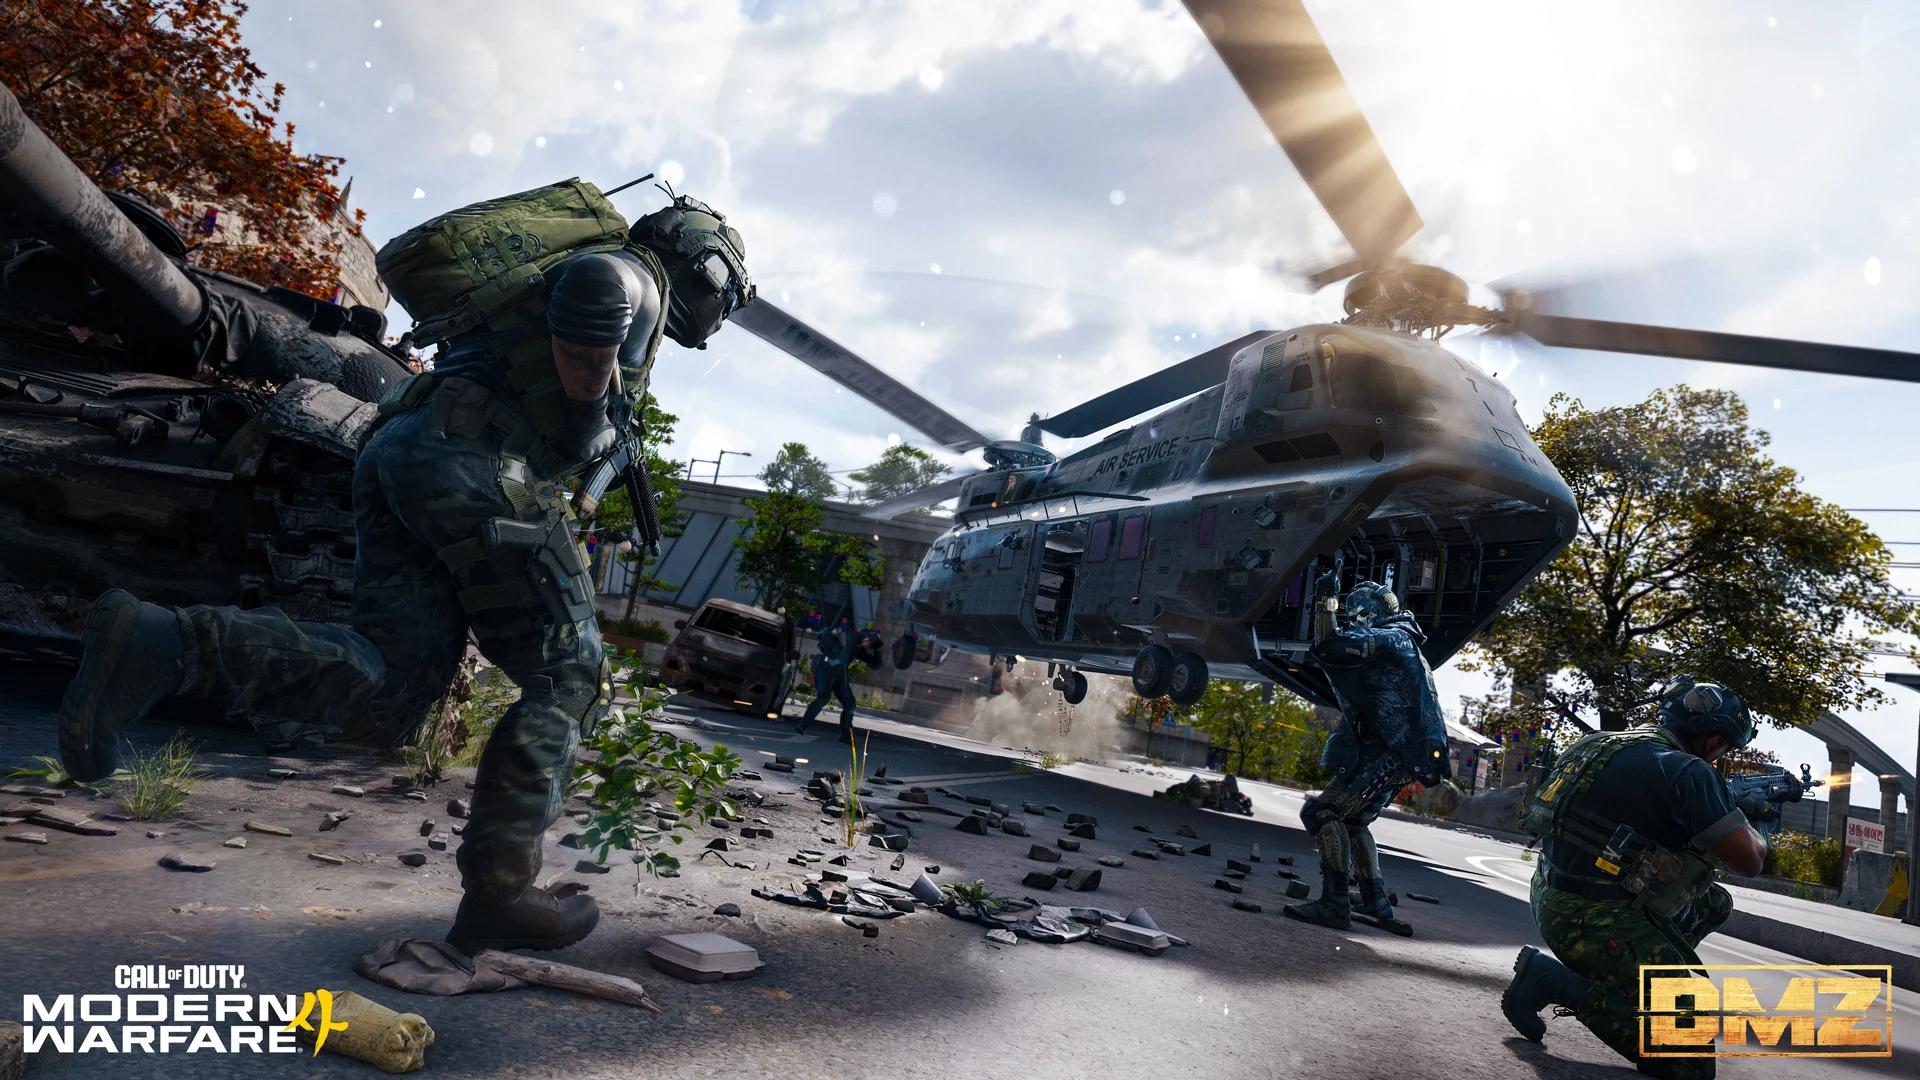

DMZ in Call of Duty: Modern Warfare 4 has 13 bosses scattered across Hajin, split into two tiers: three roaming Commanders and ten fixed-location Lieutenants. Each one drops something worth having, from Legendary weapon blueprints to Dog Tags you can cash in for bounty rewards, plus crafting materials that feed directly into your FOB upgrades. Knowing where they spawn and how to approach them is the difference between a clean extraction and a wasted deployment.
Hajin boss spawn overview
All Commanders in MW4 DMZ
Commanders are the three most powerful enemies on the map. None of them have a fixed spawn point, but each one patrols a general area you can learn to predict. Getting close to any Commander reveals them on your minimap, though you will get a proximity warning before they are close enough to engage. Every Commander kill drops a Legendary crafting item required for FOB upgrades, so these fights are worth the investment.

Where do Commanders spawn in DMZ?
| Commander | Patrol Area | Drop |
|---|---|---|
| Colossus | Chang-Sang Airbase Armory, Cheongun Village, Songdo Wharf | Experimental Compounds, Military Composites |
| Death Stalker | Nurigo Mall, DBN Headquarters (eastern map) | Prototype RF Module |
| Tank | Roads and highways across Hajin (no fixed route) | Nano-Structured Alloy |
How to beat each Commander
Colossus is a heavily armored infantry boss. The most effective approach is flanking from multiple angles as a squad so he cannot lock onto a single target. Keep your distance, throw Stun Grenades to interrupt his tracking, and aim for headshots to accelerate the fight. C4 and Thermites deal strong damage when you can close the gap safely.
Death Stalker is an airborne target, which changes the fight entirely. SAM Sites are the most efficient option, but Launchers and standard bullet weapons will also connect. Prioritize getting eyes on it early since it tends to hover around the eastern side of the map near Songdo Wharf and Nurigo Mall.
Tank is immune to bullet damage. Explosives only. Launchers, Thermites, C4, and Drill Charges all work. Bring Ammo Boxes because this fight burns through supplies fast.

Tank patrols Hajin streets
All Lieutenants in MW4 DMZ
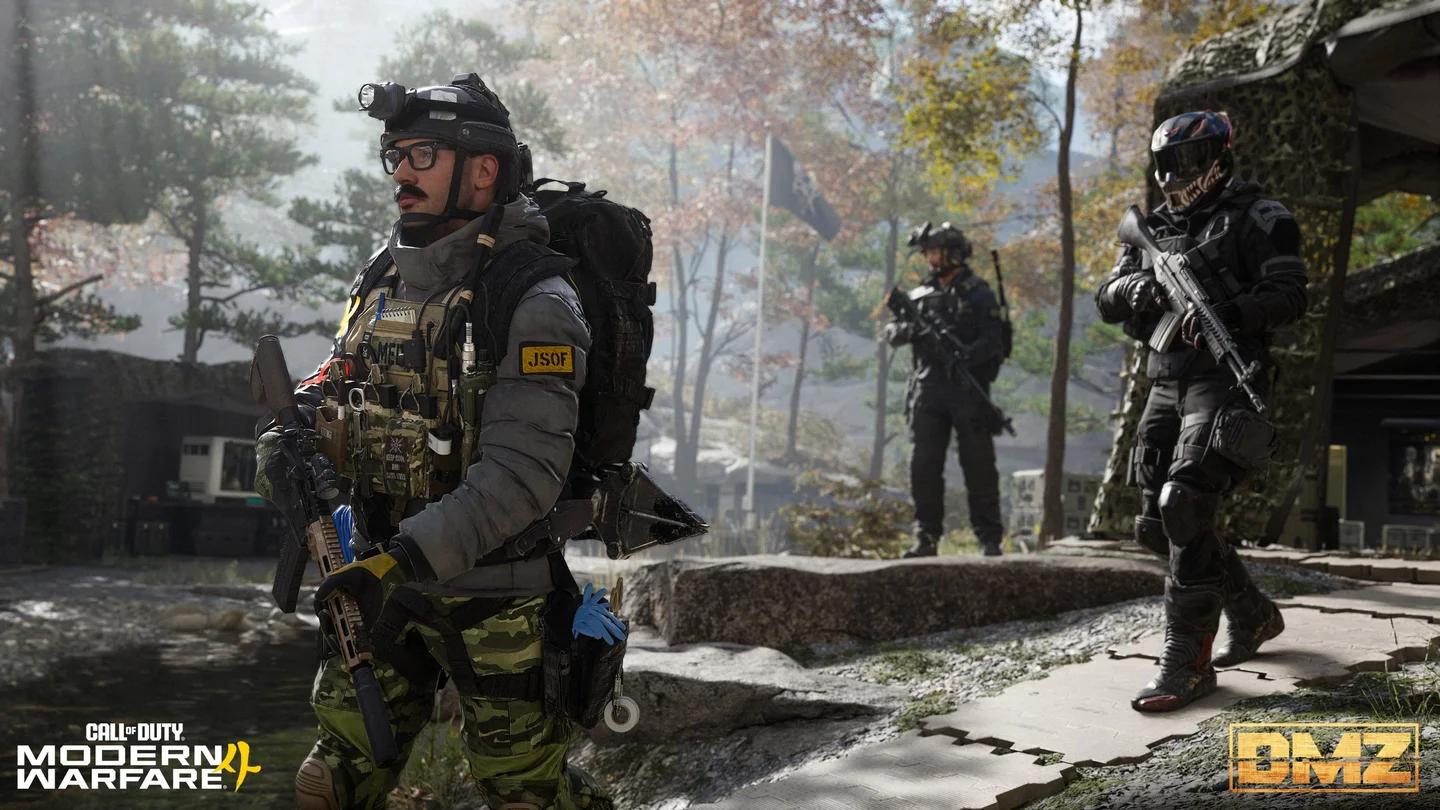
Lieutenants are fixed-location bosses, each tied to a specific landmark on the Hajin map. Every Lieutenant drops a guaranteed Dog Tag on death, which you can extract and redeem for bounty rewards. Most also drop a Legendary or Epic weapon blueprint. Ten Lieutenants are in the game, with one exception: the Scavenger has no set spawn and requires a different approach entirely.
If you are struggling to locate any Lieutenant before heading to their area, two options exist. Buy their Intel via the Boss Board at the FOB, though some require completing specific DMZ chapters first. Alternatively, use the Lieutenant Hunt Towers spread across the map, which reveal the nearest Lieutenant's position when activated.
Where does each Lieutenant spawn?
| Lieutenant | Location | Potential Drops |
|---|---|---|
| Gorani | Mujin Pass (wooded area) | Mar-9 Marksman Rifle, Dog Tags |
| The Chemist | Haneul Nuclear Reactor (Radiation Zone) | Oris 8.6 Marksman Rifle Legendary Blueprint, Dog Tags |
| Jin-Tae | Heavenly Luck Casino | Iso Nightshade SMG Legendary Blueprint, Dog Tags |
| The Doctor | Mirae General Hospital | Patriot XMR AR Legendary Blueprint, Dog Tags, The Doctor's Command Office Key |
| Bale | Re-Education Center | Type 73 LMG, Dog Tags |
| Iskra | Cheonwang Peak Array | Warlord Shotgun, Dog Tags |
| Scavenger | Randomly near dead player locations | Oris 8.6 Marksman Rifle, Dog Tags (looted) |
| Roze | DBN Headquarters (rooftop) | Astaroth .57 Legendary Blueprint, Dog Tags |
| Jang-Ui | Netshin Tech Complex | Hyeon Burst AR, Dog Tags |
| Warden | The Citadel (14th Political Prison) | X-58 NYX SMG Legendary Blueprint, Dog Tags |
Lieutenant-specific tactics
Several Lieutenants have mechanics that will catch you off guard the first time.
- Gorani deploys multiple decoys that vanish when shot. Do not waste ammo on them; wait for the real target to commit to a position.
- Bale throws smoke grenades constantly. Push through the smoke or use thermal optics to maintain sight lines.
- Warden carries a riot shield. Flanking him or landing a Flashbang forces him to drop it, opening him up to damage.
- Jang-Ui guards the Netshin Tech Complex, which is filled with exploding drones and laser turrets. Clear the building's defenses before focusing on the Lieutenant himself.
- Roze can one-shot players. Treat this fight like a PvP encounter: move unpredictably, stay behind cover, and never push her in a straight line.
- The Chemist occupies the Haneul Nuclear Reactor. Bring a gas mask for the Yellow Zone and a hazmat suit if you plan to enter the Red Zone.
What rewards are worth prioritizing?
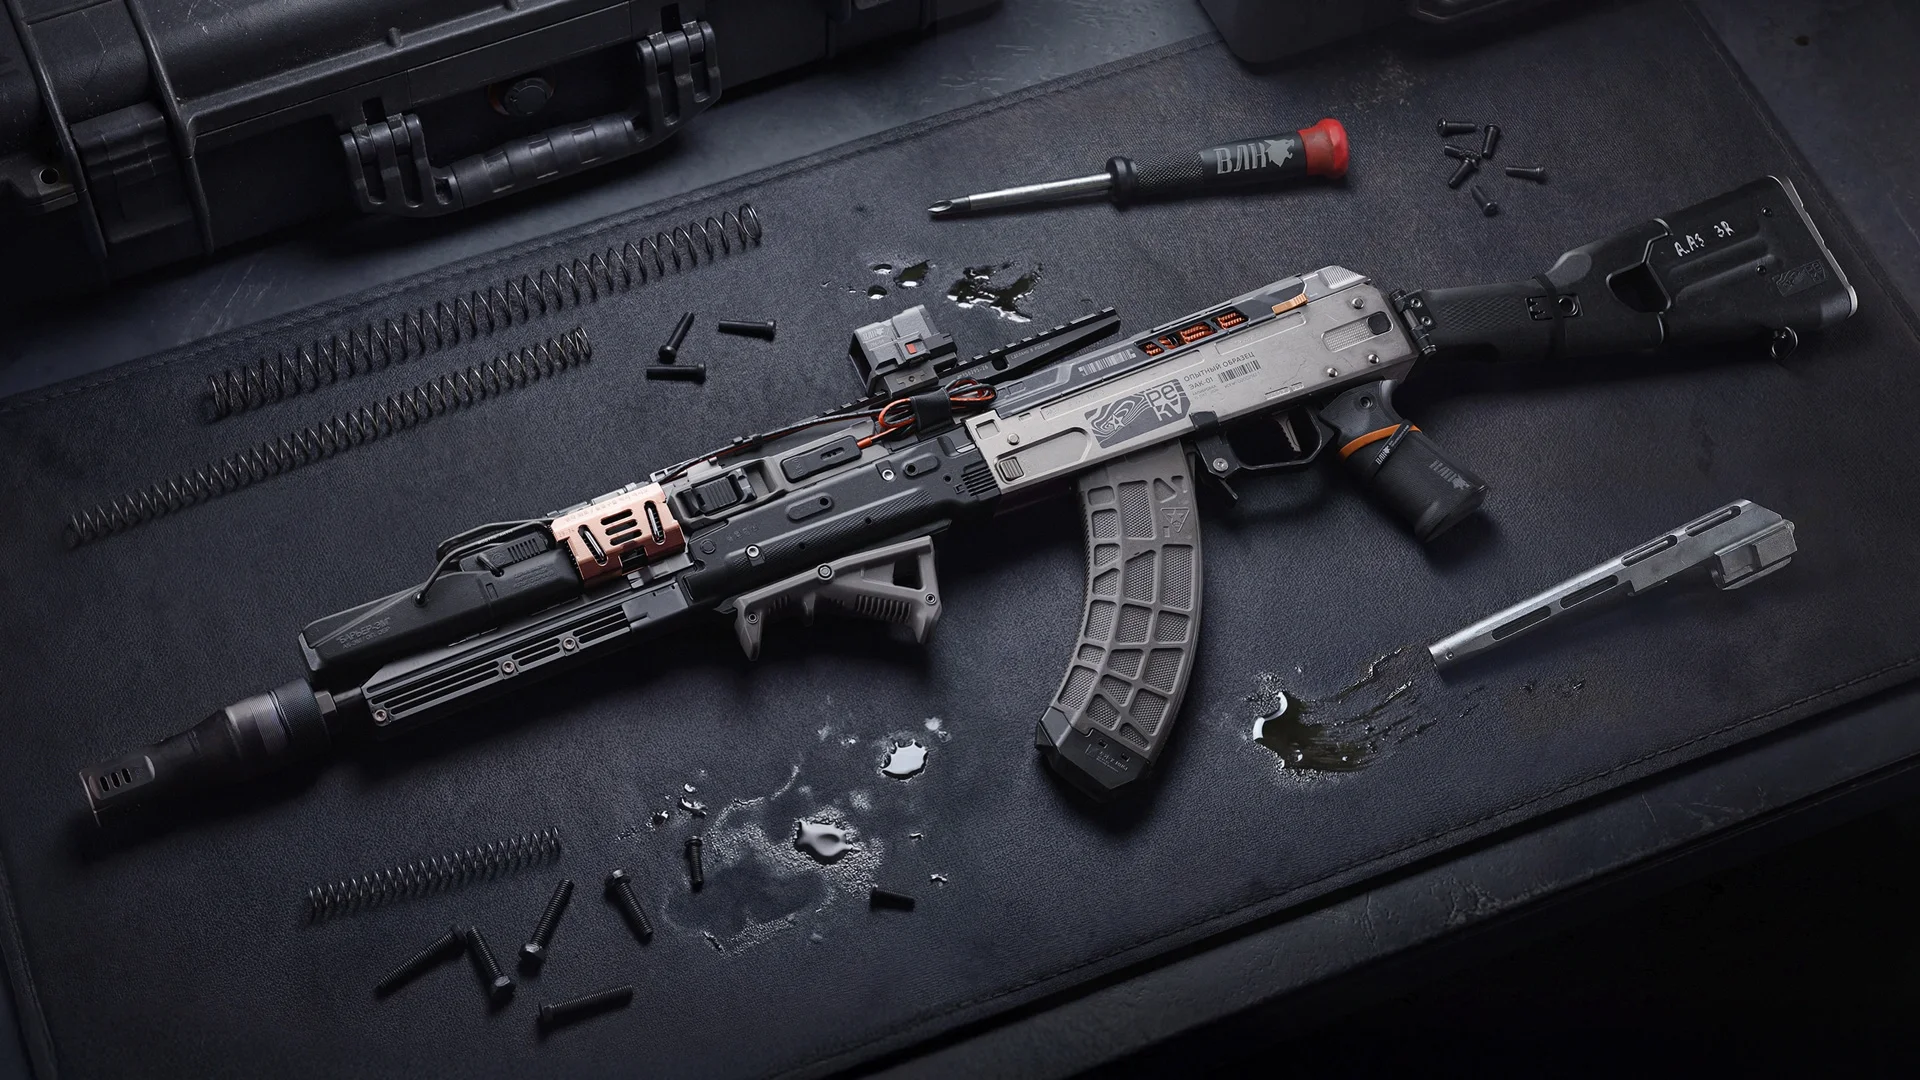
Not every boss drop carries equal weight. The Legendary blueprints from Lieutenants like The Doctor (Patriot XMR AR), Jin-Tae (Iso Nightshade SMG), Warden (X-58 NYX SMG), and Roze (Astaroth .57) are the most sought-after since they come pre-configured with strong attachment setups. Commander drops feed directly into FOB crafting, so clearing all three Commanders at least once is necessary for progression.
Dog Tags from any Lieutenant are worth extracting every run. The bounty cash they generate compounds quickly and accelerates your FOB upgrade path.
For more on how to build your operator around these encounters, the DMZ Operator Traits guide breaks down every passive ability across all three trait categories. Pairing the right traits with a boss-hunting loadout makes a noticeable difference, especially on Commanders. You can also check the full MW4 beta perks breakdown to understand which perks support aggressive boss-hunting playstyles.
For everything else in the game, the MW4 guides collection covers killstreaks, game modes, rewards, and more.