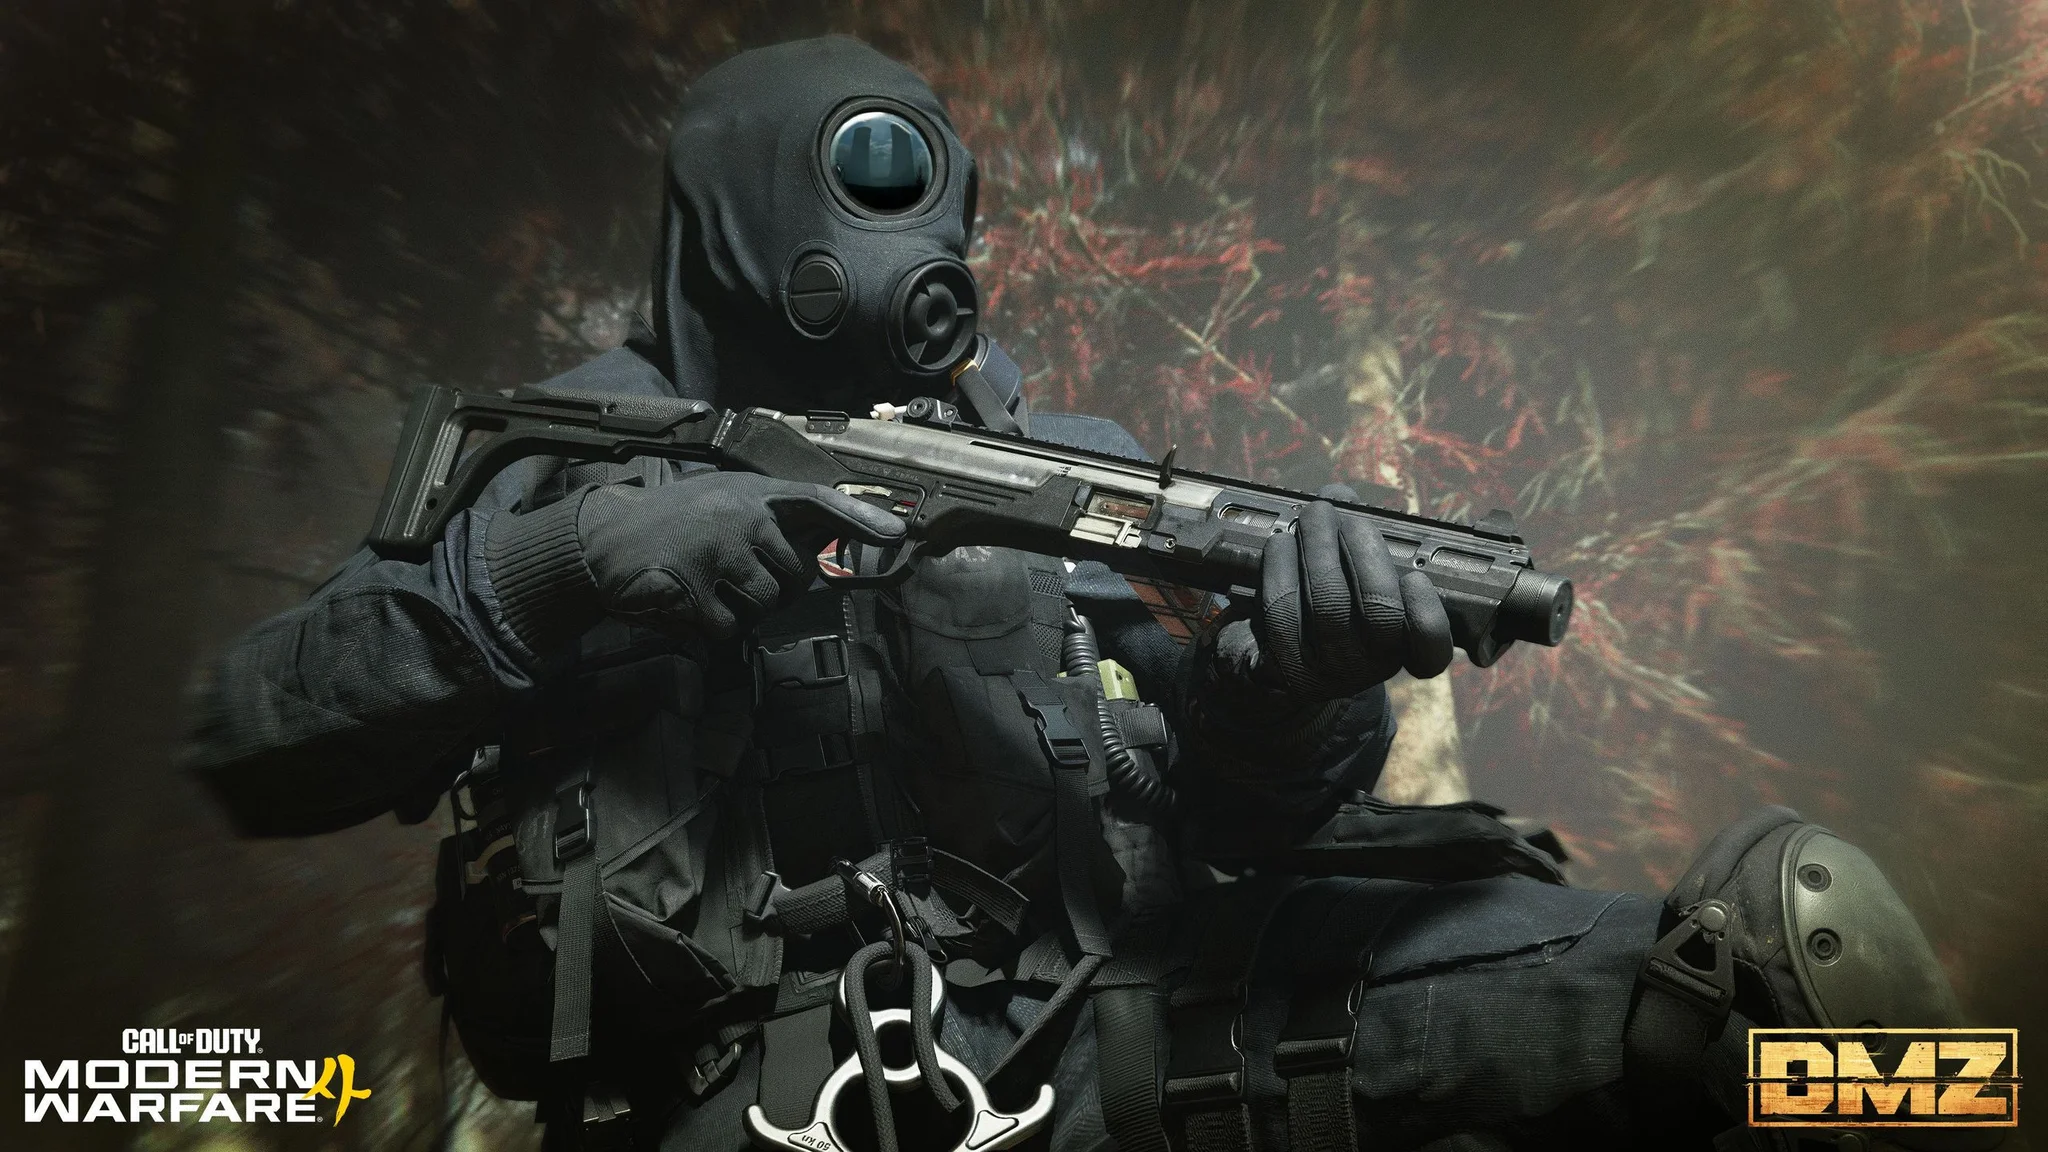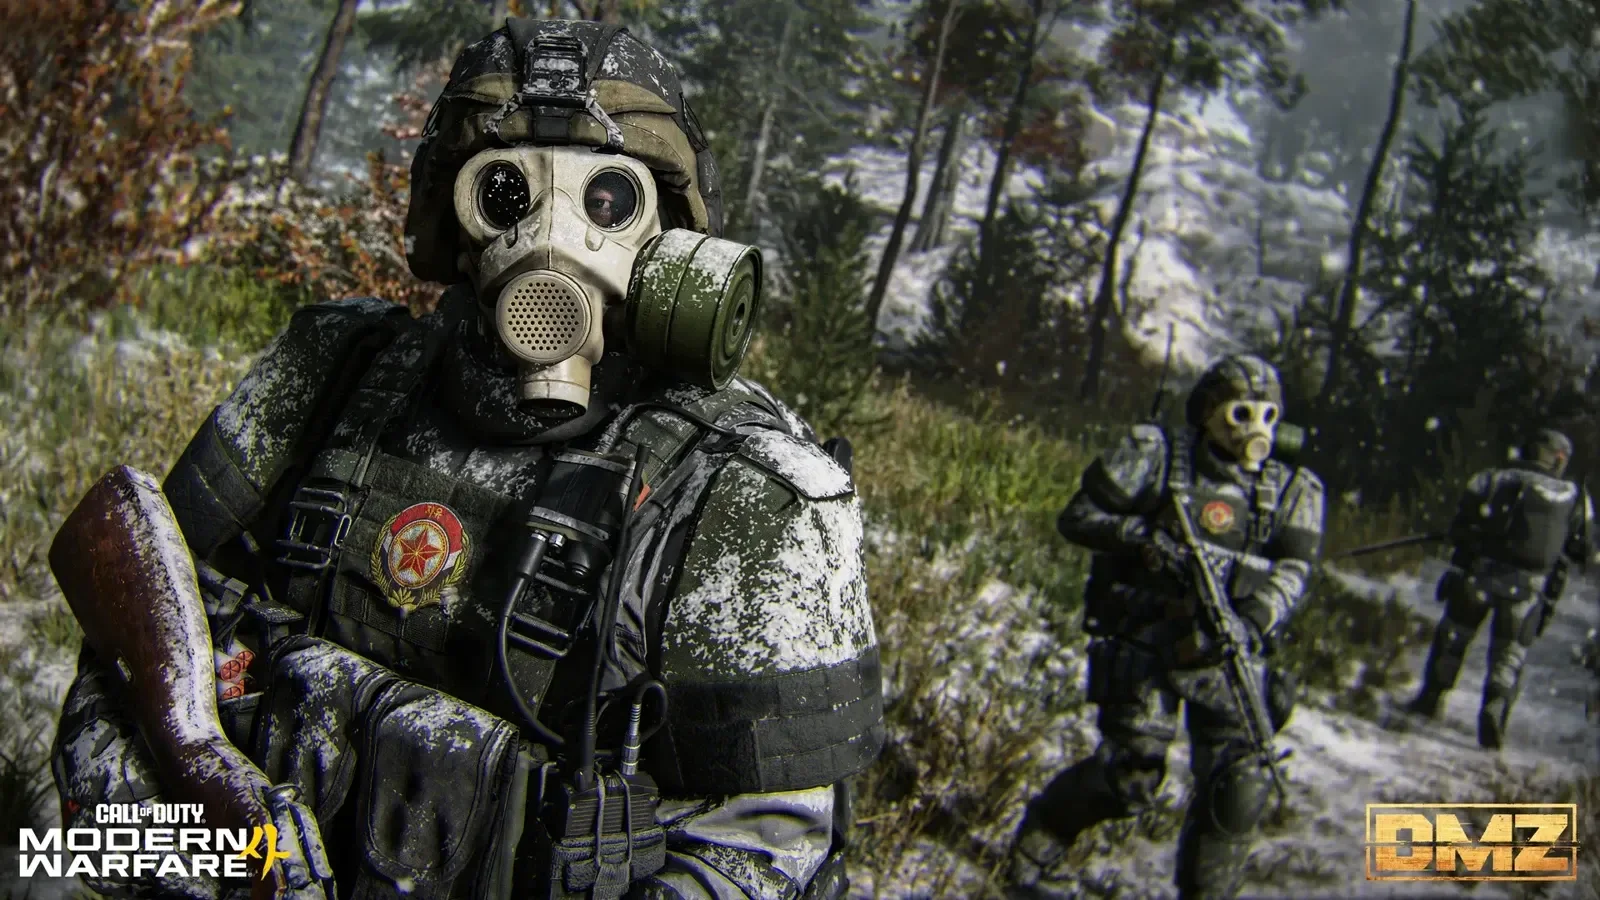

DMZ in Call of Duty: Modern Warfare 4 is one of the most demanding modes in the game, blending PvPvE extraction gameplay with a build system that rewards smart preparation. Operator Traits sit at the center of that system. Picking the right ones before you drop in can mean the difference between a clean extraction and losing everything. There are 21 Traits split across three categories, each one pulling your build in a distinct direction.
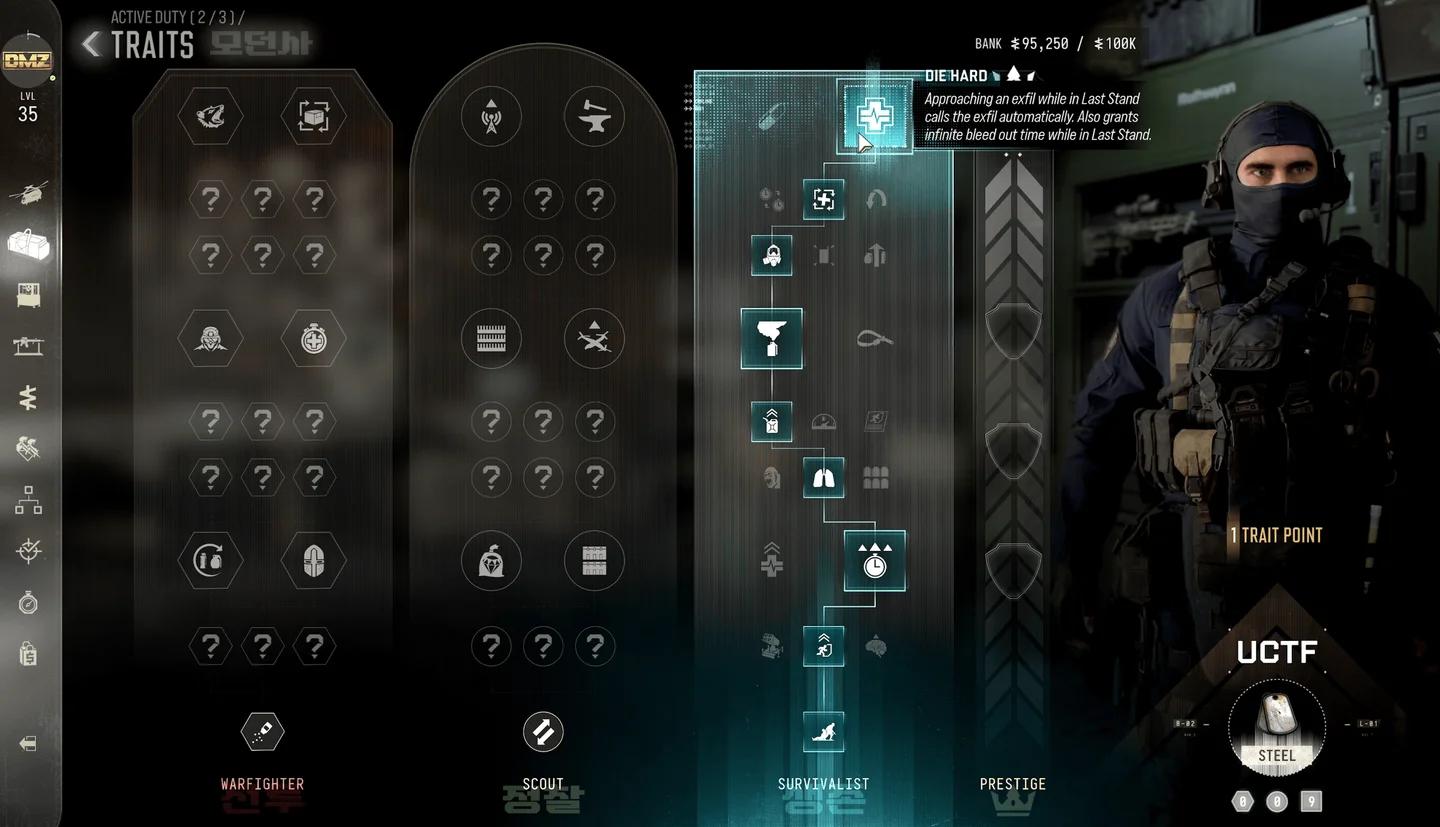
DMZ Operator Traits screen
What are the three DMZ Trait categories?
Traits in MW4 DMZ fall into three categories: Warfighter, Scout, and Survivalist. Each category contains 7 Traits, and each one is tuned for a specific playstyle. Warfighter Traits reward aggression, Scout Traits support looting and evasion, and Survivalist Traits focus on keeping your squad alive long enough to extract.
Knowing which category fits your role in a squad is the fastest way to build something useful. A three-player team running one of each category covers nearly every situation the mode can throw at you.

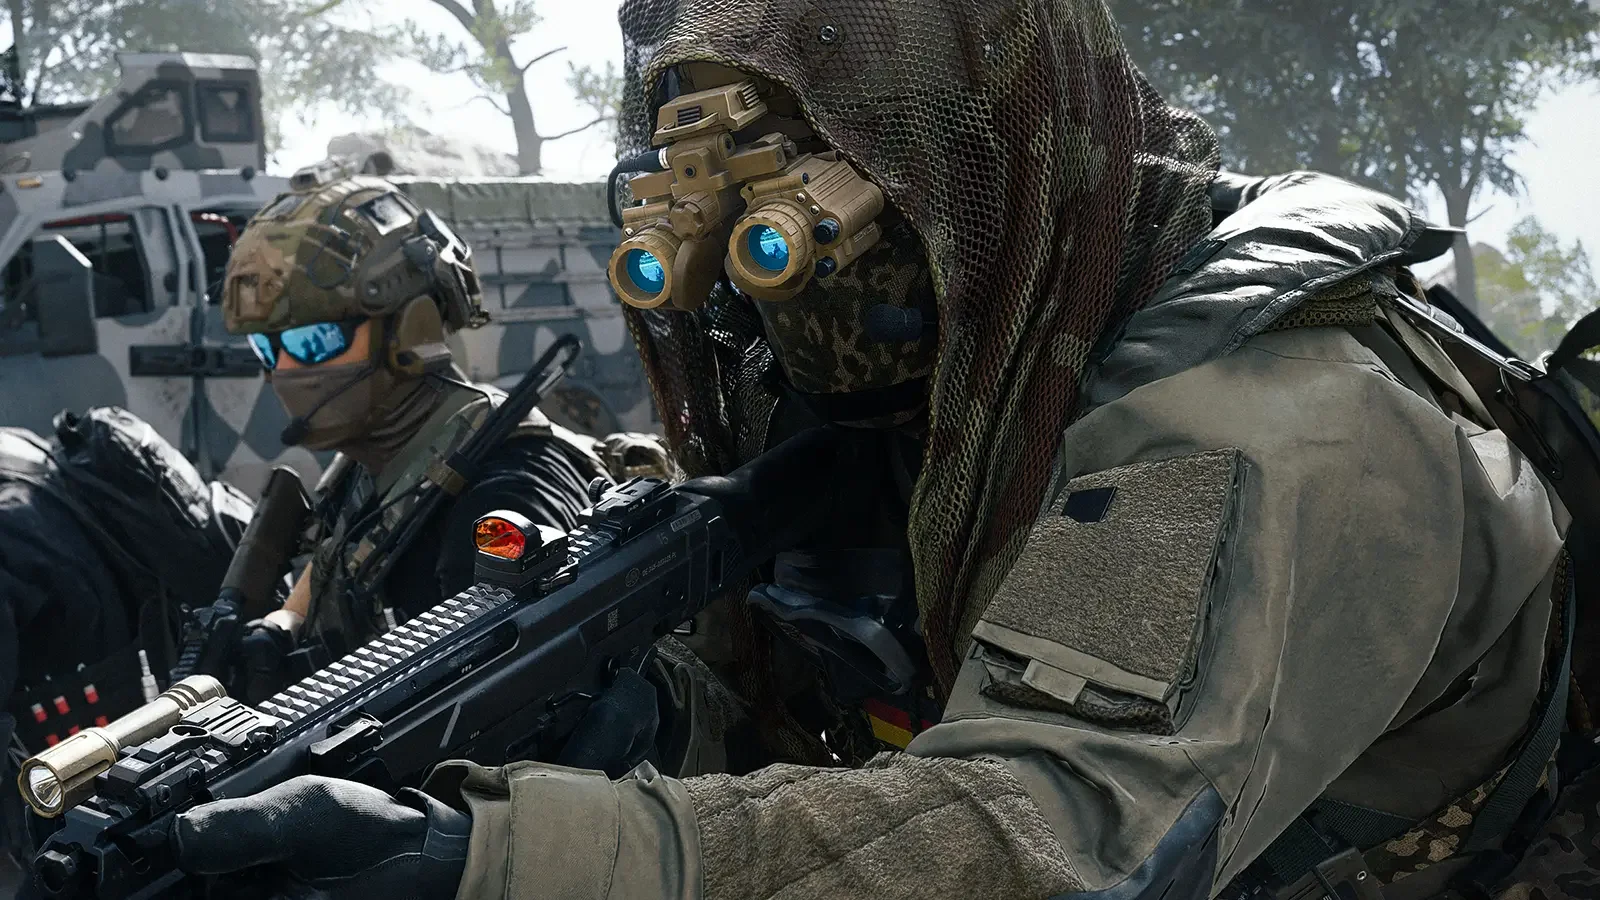
All Warfighter Traits and what they do
Warfighter Traits are built for players who want to push into fights rather than avoid them. They improve your combat efficiency, reduce the punishment for taking damage, and help you stay in the fight longer.
| Trait | Effect |
|---|---|
| Adrenaline Burst | Killing an enemy resets tactical sprint |
| Equipment Professional | Slowly recharges equipped lethals and tacticals after use |
| Combat Resistance | Reduces damage from explosives and effects of enemy tacticals |
| Viper Sense | Conceals you from thermal optics and AI targeting systems |
| Quick Fix | Reduces health regeneration delay when an enemy operator or hostile is killed |
| Possum | Allows self revive into last stand from death, restoring health to maximum, once per match |
| Adaptive Restock | Enemy hostiles drop one additional item when killed |
Adrenaline Burst pairs well with aggressive playstyles that chain kills quickly, since resetting tactical sprint after every kill keeps your momentum up. Viper Sense is surprisingly useful even in combat-focused builds because hiding from AI targeting systems means you can focus entirely on human threats.
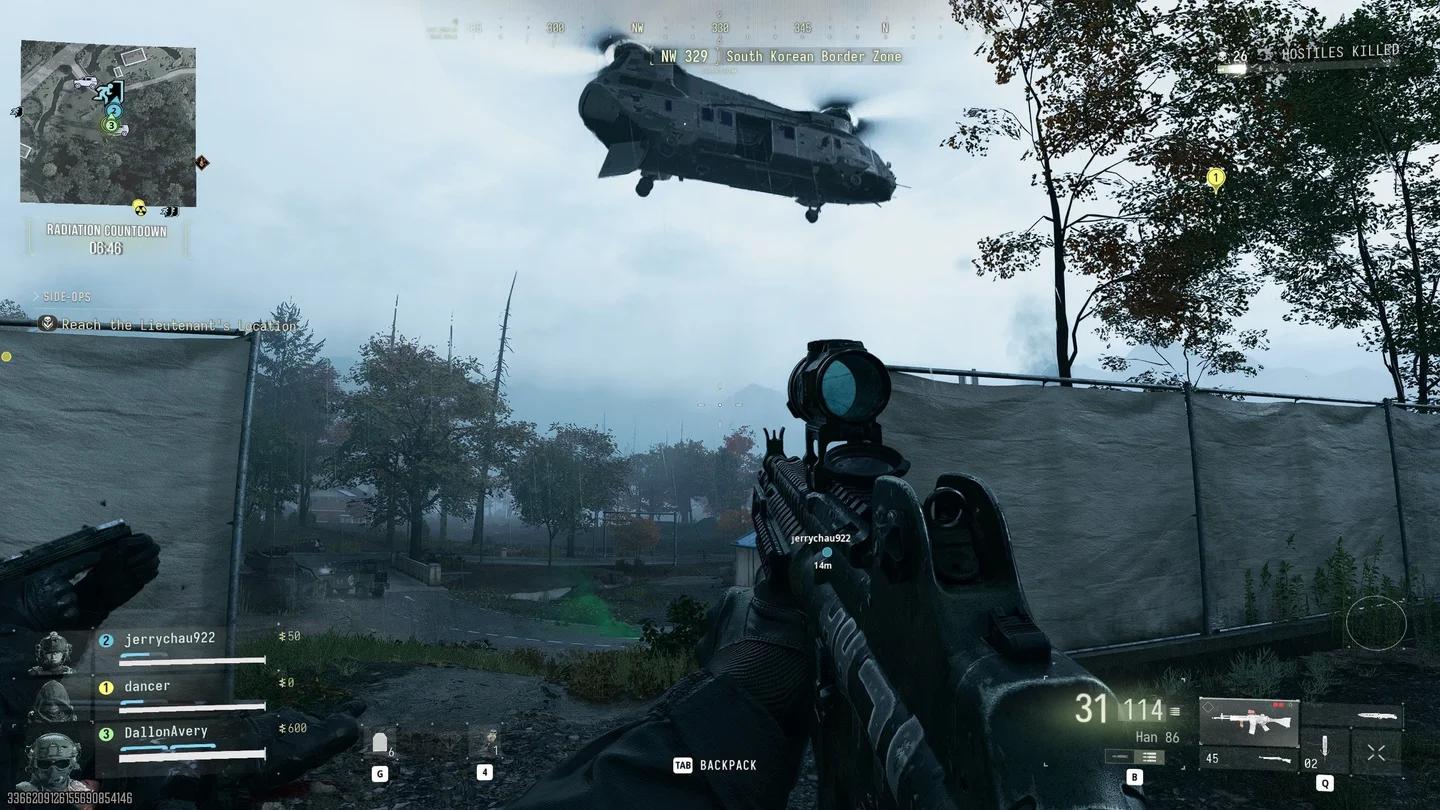
Warfighter Traits loadout view
All Scout Traits and what they do
Scout Traits are for players prioritizing loot, cash, and staying off enemy radar. If your job in a squad is to clear containers and get out clean, these Traits do the heavy lifting.
| Trait | Effect |
|---|---|
| Investor | Slightly increases cash amount extracted |
| Hostile Looter | Enemy hostiles sometimes drop an uncommon printer ingredient, with a small chance for a rare ingredient |
| Container | Chance to gain extra loot from containers |
| Thermal Padding | Hidden from UAVs and downgrades advanced UAVs to UAV detection |
| UAV Upgrade | Increases the range and duration of UAV, increases them to advanced UAV |
| Overwatch | UAV towers you activate never expire |
| Field Crafting | Allows crafting items directly out of common printer resources while deployed |
Field Crafting is one of the more underrated Traits in this category. Being able to craft from common printer resources mid-deployment removes the need to carry pre-crafted items, which frees up bag space for higher-value loot. Thermal Padding counters one of DMZ's most dangerous information tools since getting spotted by an advanced UAV can bring the entire lobby down on your position.
All Survivalist Traits and what they do
Survivalist Traits lean into squad support and staying alive through the late stages of a match when resources run low and the extraction zone gets contested.
| Trait | Effect |
|---|---|
| Air Superiority | Extends the duration of UAV and SAM Sites |
| Faster Revive | Increases revive speed |
| Consumable Duration | Increases duration of consumables |
| Impact Smokes | Release smoke when downed |
| Free Revive | Automatically repairs your first wound |
| Numb the Pain | Applies painkillers and smelling salt effects on revive |
| Die Hard | Approaching an exfil while in last stand calls exfil automatically; also grants infinite bleed out time in Last Stand |
Impact Smokes is a strong defensive pick for squads that frequently get downed in open areas since the automatic smoke on being downed gives your teammates a window to reach you without getting shot. Free Revive stacks well with Numb the Pain on different squad members, covering the initial wound and the recovery state.
How should you build your Trait loadout?
The short answer is to match your Traits to your squad role. Solo players generally get the most value from Possum and Die Hard since both provide safety nets that don't require teammates to activate. Duo and trio squads can spread across categories more freely.
A reliable trio setup worth testing:
- Player 1 (Warfighter): Possum for the solo safety net, Quick Fix for sustained combat
- Player 2 (Scout): Field Crafting for resource efficiency, Thermal Padding for radar evasion
- Player 3 (Survivalist): Die Hard for exfil insurance, Faster Revive to support the team
For players still getting comfortable with MW4's perk and progression systems, the full beta perks breakdown covers every perk slot and unlock level in detail.
What carries over between DMZ sessions?
The source material doesn't detail carry-over mechanics explicitly, so treat each deployment as its own run when planning Traits. What the Traits make clear is that DMZ rewards players who come in with a defined role rather than trying to cover everything at once.
For a broader look at what MW4 has to offer beyond DMZ, the full MW4 game modes guide breaks down all 15 modes and their variants. For everything else covering the game, the complete Modern Warfare 4 strategy guide collection has you covered.