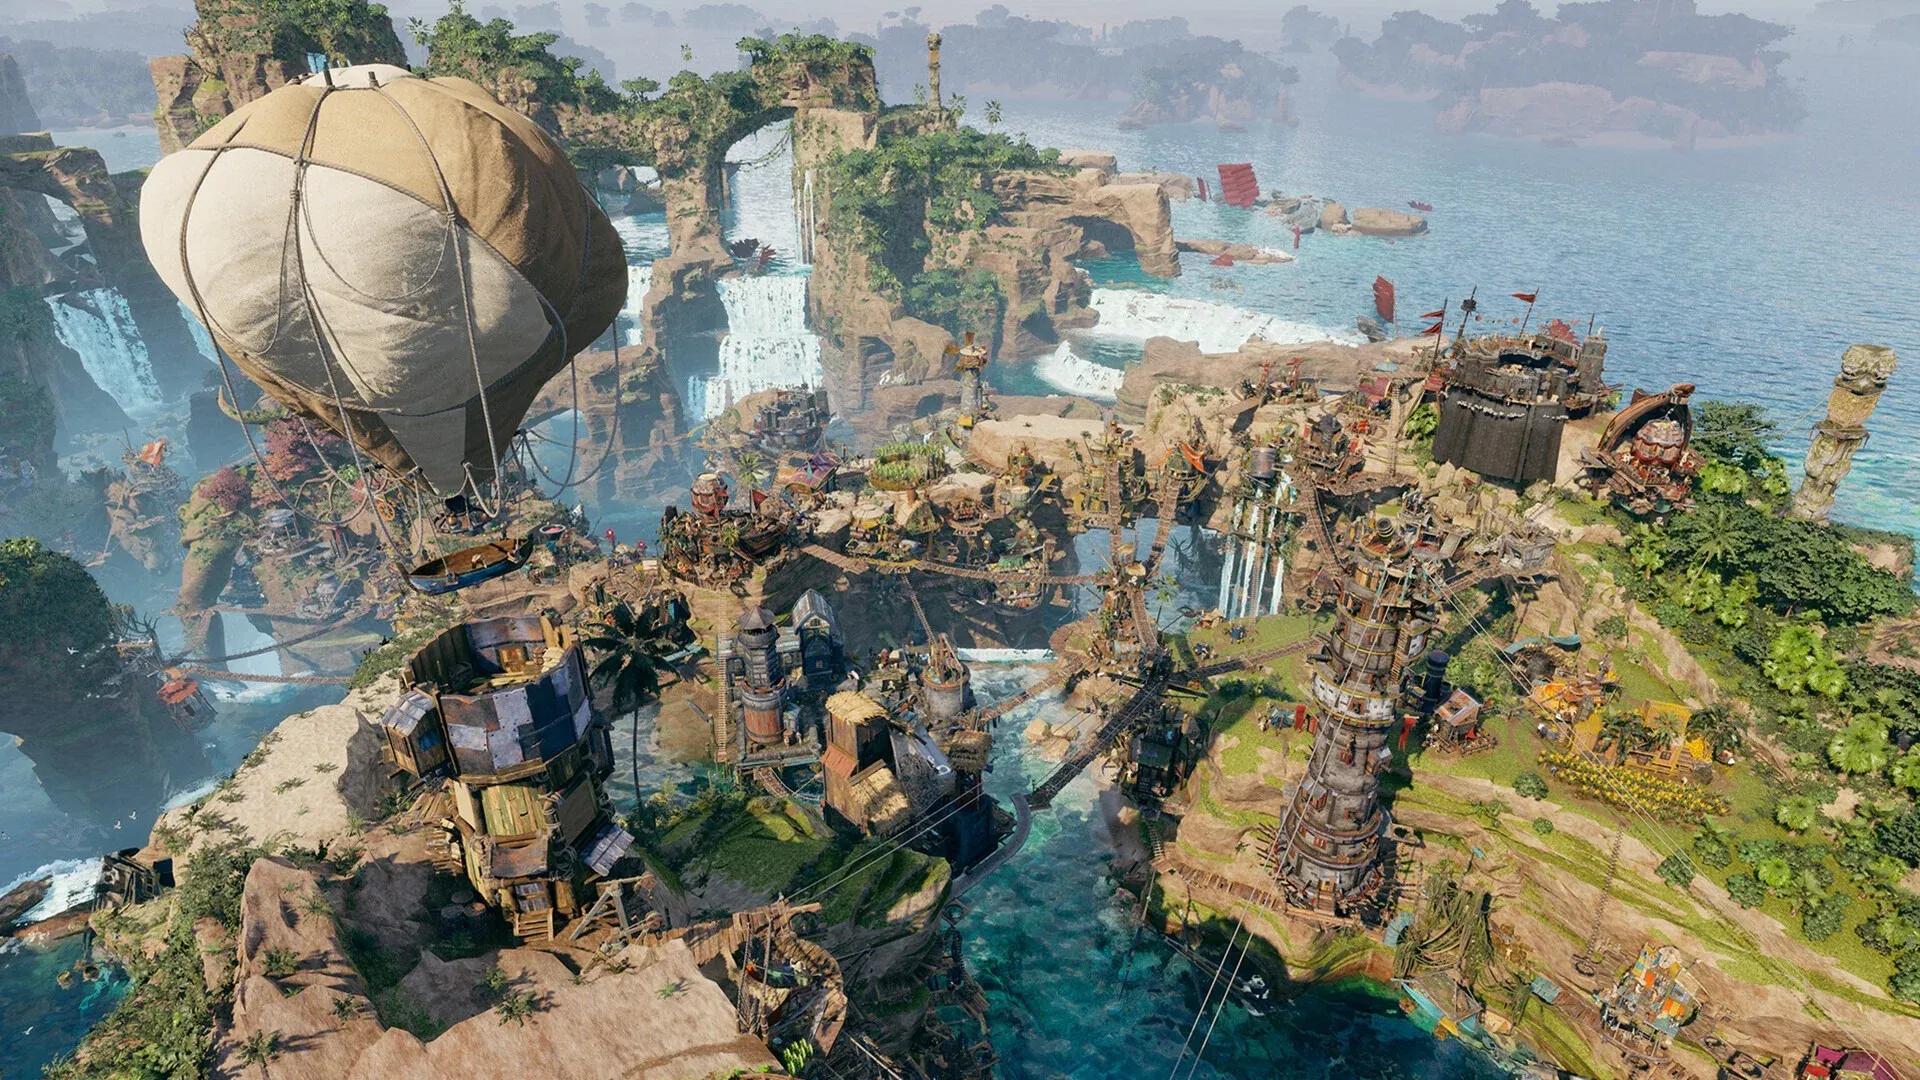

Corsair Cove runs on production chains, and the difference between a settlement that hums along and one that constantly stalls comes down to getting your building ratios exactly right. Every chain has a perfect configuration that hits 100% efficiency without requiring any upgrades, and knowing those ratios upfront saves you from tearing down half your island to fix a bottleneck you built three hours ago. This guide covers every confirmed perfect chain across construction, food, drink, ships, and equipment.
What is a perfect production chain in Corsair Cove?
A perfect production chain is one where every building in the sequence operates at full capacity with no idle time and no surplus waste. The ratios between resource gatherers, processors, and final producers are balanced precisely so that output from one stage exactly meets the input demand of the next. You do not need any building upgrades to hit 100% efficiency with these configurations; the numbers below work at base production rates.
All chains read left to right: raw deposit, then gathering building, then intermediate resource, then processor, then final product.
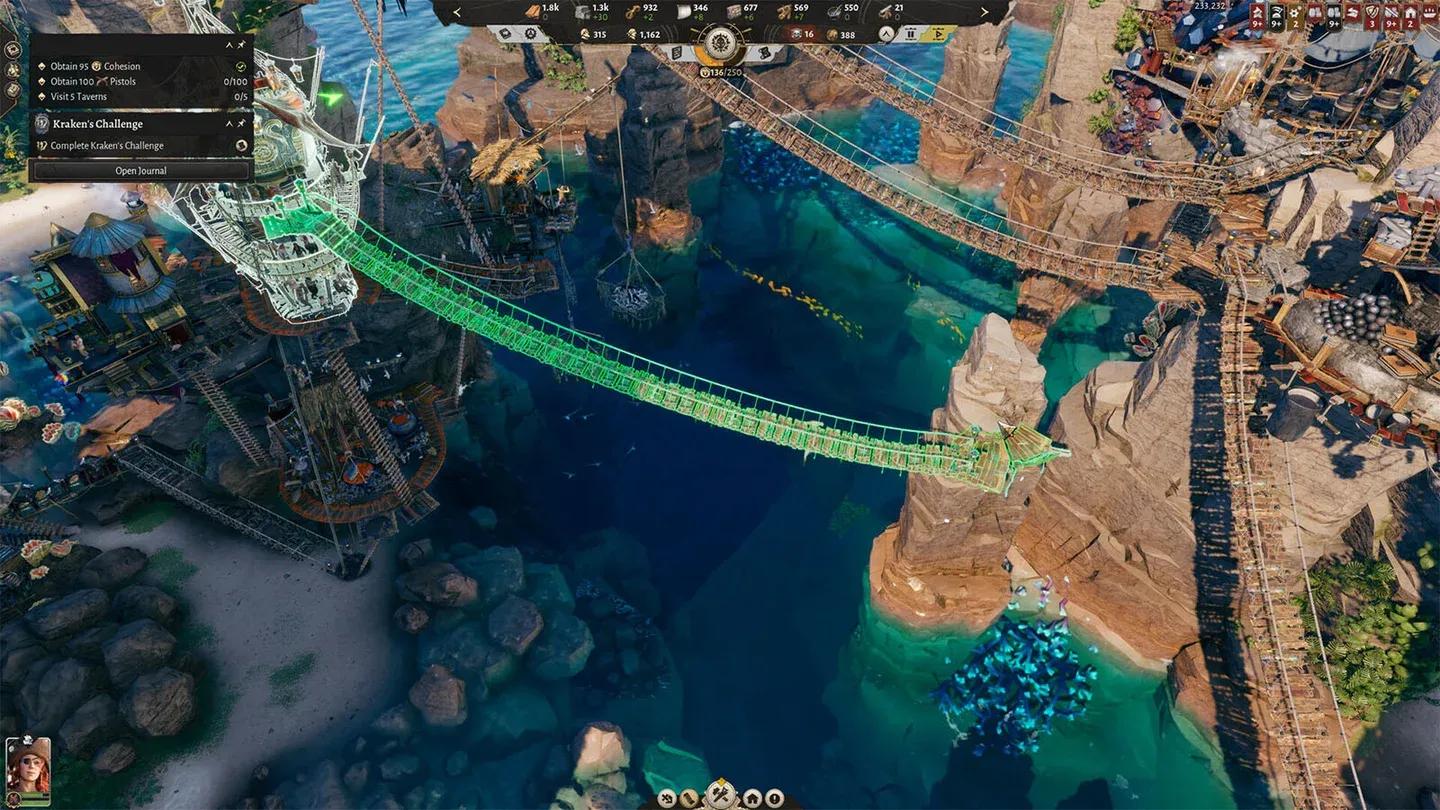
Building chain layout overview
Construction resource chains
These are the materials you will need early and often, so getting them right before expanding saves a lot of grief.
| Final Product | Production Chain |
|---|---|
| Planks | Hardwood Deposit > 1x Woodcutter > Hardwood > 2x Sawmill |
| Stone Blocks | Stone Deposit > 1x Quarry > Stone > 3x Stonecutter |
| Tabby | Lime Deposit > 1x Lime Kiln > Lime > Tabby Cradle; Seashells Deposit > 1x Shell Fisher > Seashells > 2x Tabby Cradle |
Tabby has the most complex construction chain because it pulls from two separate deposits simultaneously. Make sure both your Lime Kiln and Shell Fisher are placed close enough to your Tabby Cradles to avoid long hauling delays eating into that efficiency.
Food production chains
Keeping your crew fed matters, and each food type has its own multi-step chain. Several of these share the Fresh Water input, so a single well-placed Cistern can serve multiple chains at once.
| Final Product | Production Chain |
|---|---|
| Pig Stew | Pig Deposit > 1x Pig Herder > Pig > 2x Buccaneer Grill |
| Fish Stew | Fish Deposit > 1x Fishing Hut > Fish > Stew Kitchen; Fresh Water Deposit > 1x Cistern > Fresh Water > 2x Stew Kitchen |
| Cassava Bread | Deposit > 3x Cassava Picker > Cassava Roots > Cassava Oven; Salt Deposit > 1x Saltern > Salt > 3x Cassava Oven |
| Turtle Soup | Turtles Deposit > 1x Turtle Catcher > Turtles > Soup Kitchen; Fresh Water Deposit > 1x Cistern > Fresh Water > 2x Soup Kitchen |
| Roast Bird | Birds Deposit > 1x Bird Catcher > Birds > Rotisserie; Herbs Deposit > 2x Herbalist > Herbs > 3x Rotisserie |
| Hardtack | Cassava Roots Deposit > 1x Cassava Picker > Cassava Roots > Cassava Oven; Salt Deposit > 1x Saltern > Salt > 1x Cassava Oven > Cassava Bread > Provisioner; Herbs Deposit > 2x Herbalist > Herbs > 4x Provisioner |
Hardtack is the most involved food chain in the game so far. It feeds Cassava Bread as an intermediate product into the Provisioner, meaning you are running a chain-within-a-chain. The 4x Provisioner requirement means you need significant space dedicated to this one item.
Drink production chains
Drinks follow a similar pattern to food, with Rum being the most resource-hungry of the three.
| Final Product | Production Chain |
|---|---|
| Cider | Pineapple Deposit > 1x Pineapple Grove > Pineapple > 1x Cider Press |
| Beer | Eggs Deposit > 1x Egg Thief > Eggs > Brewery; Fresh Water Deposit > 1x Cistern > Fresh Water > 2x Brewery |
| Rum | Sugar Cane Deposit > 3x Sugar Cane Farm > Sugar Cane > Distillery; Hardwood Deposit > 1x Woodcutter > Hardwood > 1x Cooper > Barrel > 3x Distillery |
Cider is the simplest drink chain in the game: one deposit, one building, one product. Rum sits at the opposite end of the spectrum, requiring three Sugar Cane Farms, a Cooper for Barrels, and three Distilleries. Plan your island layout for Rum production before you start building, not after.
Ship component chains
Ship production is where the chains get genuinely complex. Several components share intermediate resources like Charcoal and Fabric, so reading through all of them before placing buildings pays off.
| Final Product | Production Chain |
|---|---|
| Rope | Fibre Deposit > 1x Leafcutter > Fibre > 3x Rope Maker |
| Sail | Fibre Deposit > 1x Leafcutter > Fibre > Weaver; Hardwood Deposit > 1x Woodcutter > Hardwood > 3x Wood Workshop > Wooden Awl > 3x Weaver > Fabric > 3x Sail Maker |
| Pitch | Hardwood Deposit > 1x Woodcutter > Hardwood > Charburner; Stone Deposit > 1x Quarry > Stone > 1x Charburner > Charcoal > 1x Tar Kiln > Charcoal > Tar > Tar Boiler; Hardwood Deposit > 1x Woodcutter > Hardwood > 2x Cooper > Barrel > 2x Tar Boiler |
| Figurehead | Hardwood Deposit > 2x Woodcutter > Hardwood > Master Carver; Cochineal Deposit > 1x Cochineal Harvester > Cochineal > Pigment Maker; Lime Deposit > 1x Lime Kiln > Lime > 2x Pigment Maker > Colour Pigment > 2x Master Carver |
| Jolly Roger | Cochineal Deposit > 1x Cochineal Harvester > Cochineal > Pigment Maker; Lime Deposit > 1x Lime Kiln > Lime > 1x Pigment Maker > Colour Pigment > Flag Maker; Fibre Deposit > 1x Leafcutter > Fibre > Weaver; Hardwood Deposit > 1x Woodcutter > Hardwood > 1x Wood Workshop > Wooden Awl > 1x Weaver > Fabric > Flag Maker |
| Fittings | Stone Deposit > 1x Quarry > Stone; Hardwood Deposit > 1x Woodcutter > Hardwood > Charburner > Charcoal; Copper Ore Deposit > 1x Copper Mine > Copper Ore > 1x Bloomery > Charcoal > Copper > 2x Hammermill |
Fittings introduce the Bloomery and Copper Mine, making them the most resource-diverse ship component. Pitch is deceptively complex because Charcoal feeds into the Tar Kiln, which then produces Tar for the Tar Boiler. The Barrel input for the Tar Boiler means Pitch and Rum are competing for Cooper output if you run them from the same Hardwood supply.
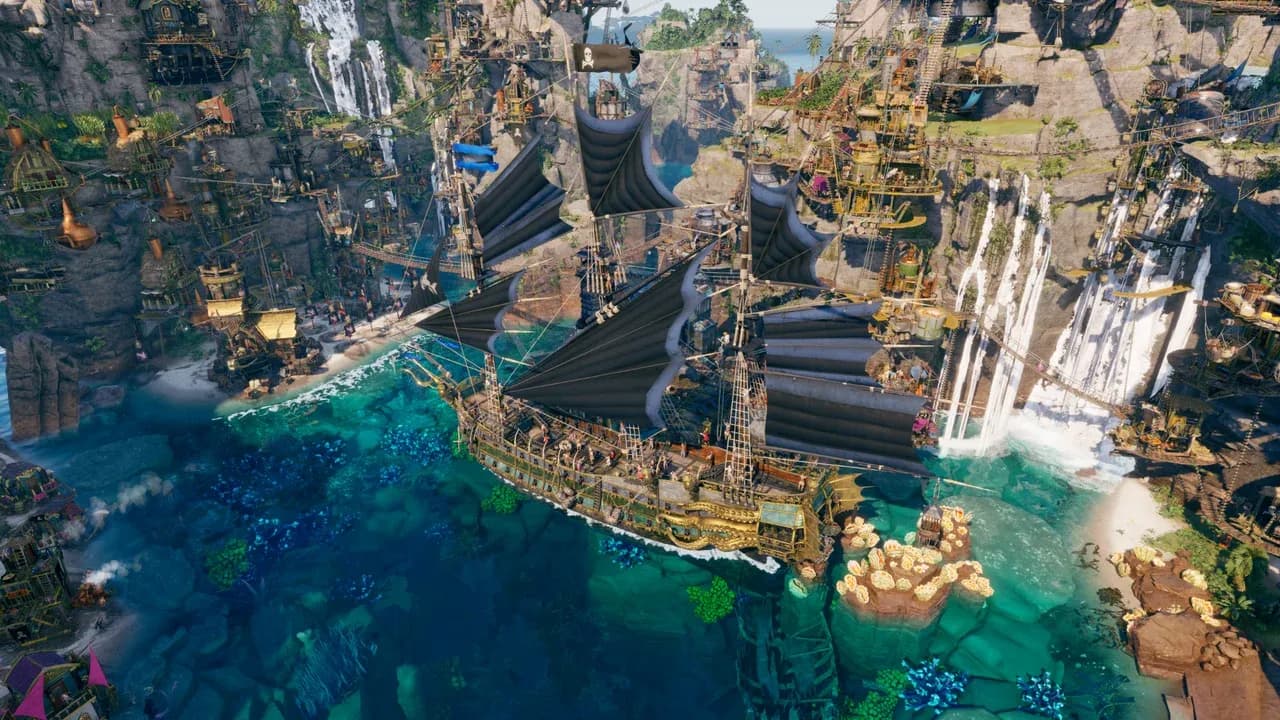
Ship component production line
Equipment chains
Equipment chains cover crew gear and consumables. Several of them share the Pig Herder and Tanner combination, so you can consolidate those inputs when building multiple equipment lines.
| Final Product | Production Chain |
|---|---|
| Boots | Pig Deposit > 1x Pig Herder > Pig > Tanner; Salt Deposit > 1x Saltern > Salt > 1x Tanner > Leather > Cobbler; Hardwood Deposit > 1x Woodcutter > Hardwood > 1x Wood Workshop > Wooden Awl > 2x Cobbler |
| Slops | Hardwood Deposit > 1x Woodcutter > Hardwood > 1x Wood Workshop > Wooden Awl; Fibre Deposit > 1x Leafcutter > Fibre > Weaver > 1x Weaver > Wooden Awl > Fabric > Slop Shop; Salt Deposit > 1x Saltern > Salt; Pig Deposit > 2x Pig Herder > Pig > Tanner > 3x Tanner > Leather > 3x Slop Shop |
| Medicine | Herbs Deposit > 2x Herbalist > Herbs > Apothecary; Fresh Water Deposit > Cistern > Fresh Water > 2x Apothecary |
| Tattoo Ink | Cochineal Deposit > 1x Cochineal Harvester > Cochineal > Pigment Maker; Lime Deposit > 1x Lime Kiln > Lime > 1x Pigment Maker > Colour Pigment > Ink Maker; Fresh Water Deposit > 1x Cistern > Fresh Water > 4x Ink Maker |
| Eyepatch | Pig Deposit > 1x Pig Herder > Pig > Tanner; Salt Deposit > 1x Saltern > Salt > 1x Tanner > Leather > Eyepatch Maker; Fibre Deposit > 1x Leafcutter > Fibre > 3x Eyepatch Maker |
| Fancy Clothing | Fibre Deposit > 1x Leafcutter > Fibre > Weaver; Hardwood Deposit > 1x Woodcutter > Hardwood > 1x Wood Workshop > Wooden Awl > 1x Weaver > Fabric > Master Tailor; Pearl Deposit > 1x Pearl Diver > Pearl > 2x Master Tailor |
Fancy Clothing requires the Pearl Diver, which means you need access to a Pearl Deposit. Tattoo Ink needs 4x Ink Makers fed by a single Cistern, so Fresh Water throughput here is higher than it looks at first glance.
What production chains are still missing?
Weapons production chains are not yet fully documented at the ratios needed to confirm 100% efficiency configurations. The chains listed here cover construction resources, all food and drink types, ship components, and crew equipment. Weapons will be added to this guide once the correct ratios are confirmed, so check the Corsair Cove guides collection for updates as they come.
Corsair Cove sits firmly in the simulation games genre where getting production ratios right is the entire game. Spending time upfront with this reference means less time demolishing misplaced buildings later. Every chain here runs at base rates with no upgrades required, giving you a clean baseline to build from before you start experimenting with efficiency boosts.
