Crimson Moon is a gothic action-RPG from Seattle-based studio ProbablyMonsters that ditches class systems entirely, hands you 30 weapon types, and sends you into nocturnal hunts across Gildenarch. The freedom is real, but the first few hours can feel overwhelming if you don't understand how the core systems connect. This guide breaks down everything you need to know to survive early hunts, build smarter loadouts, and stop losing gear to a death you could have avoided.
What is the core gameplay loop in Crimson Moon?
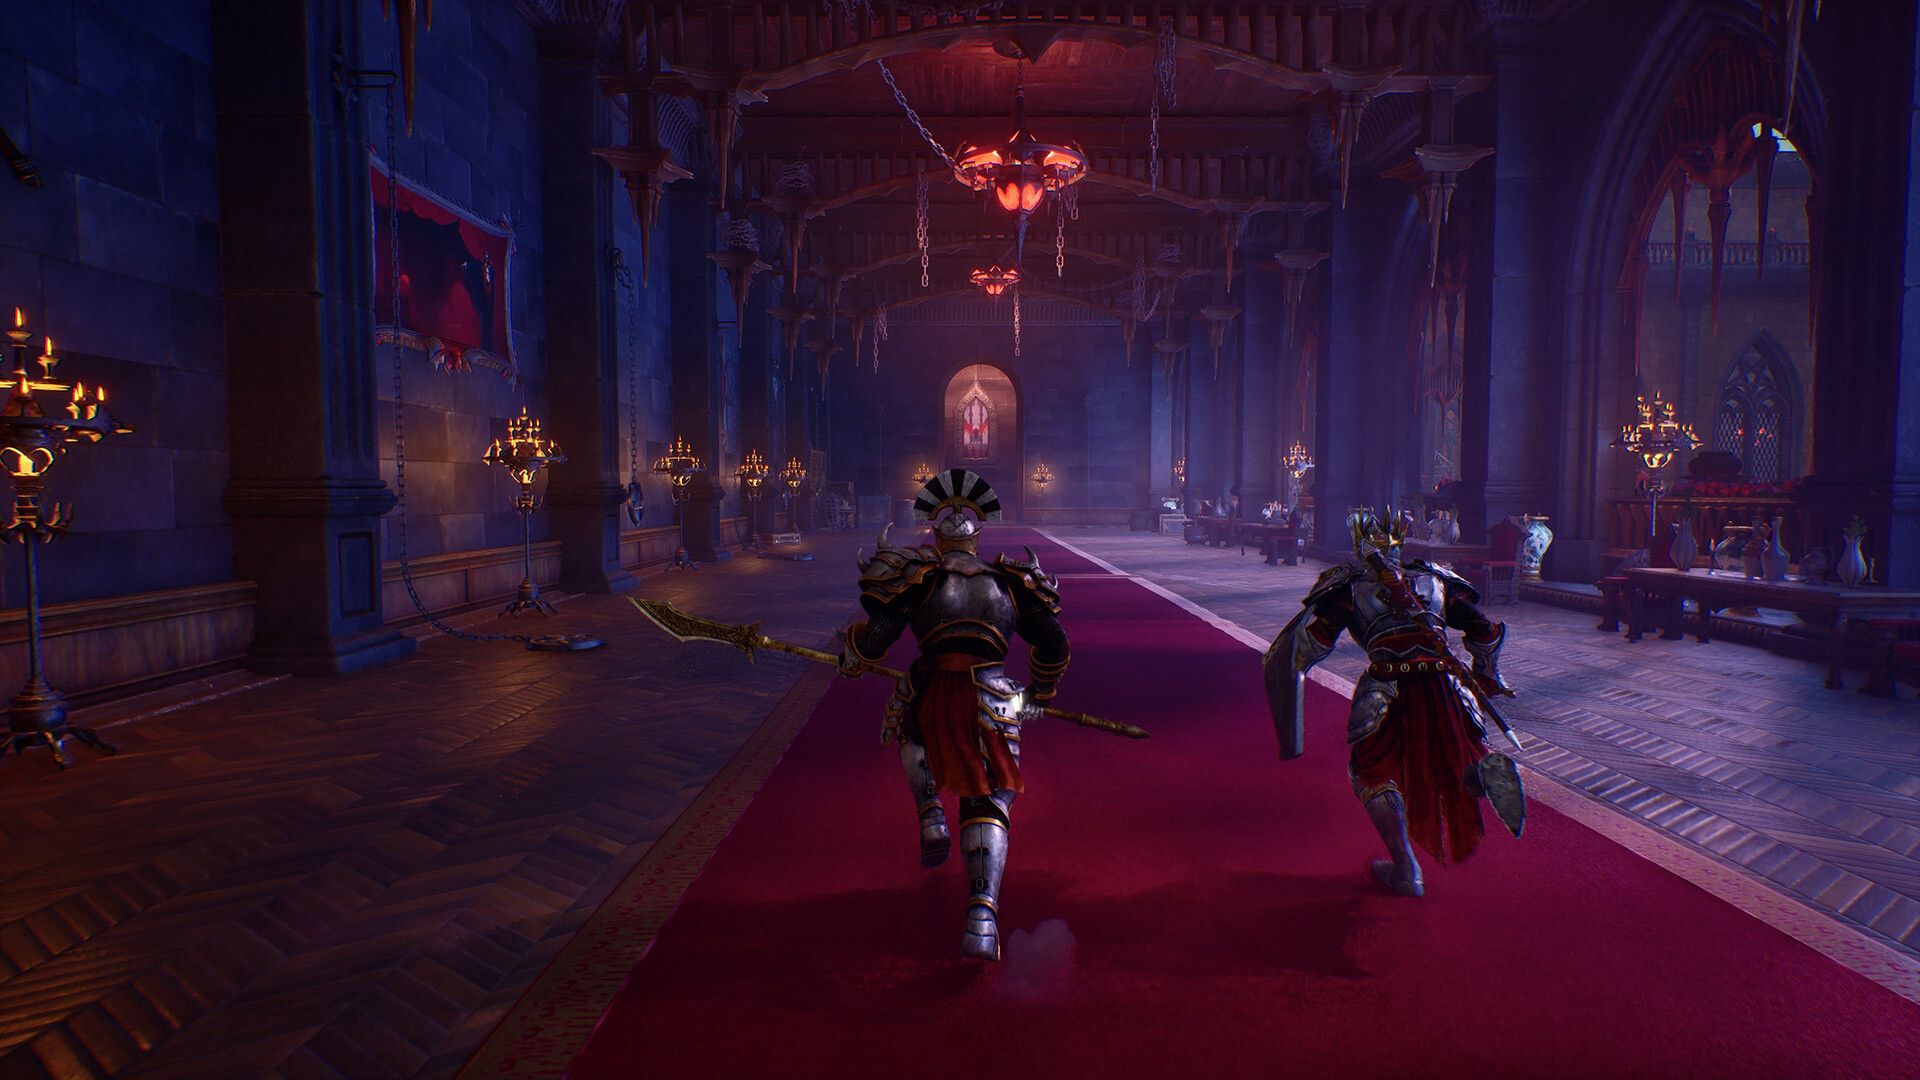
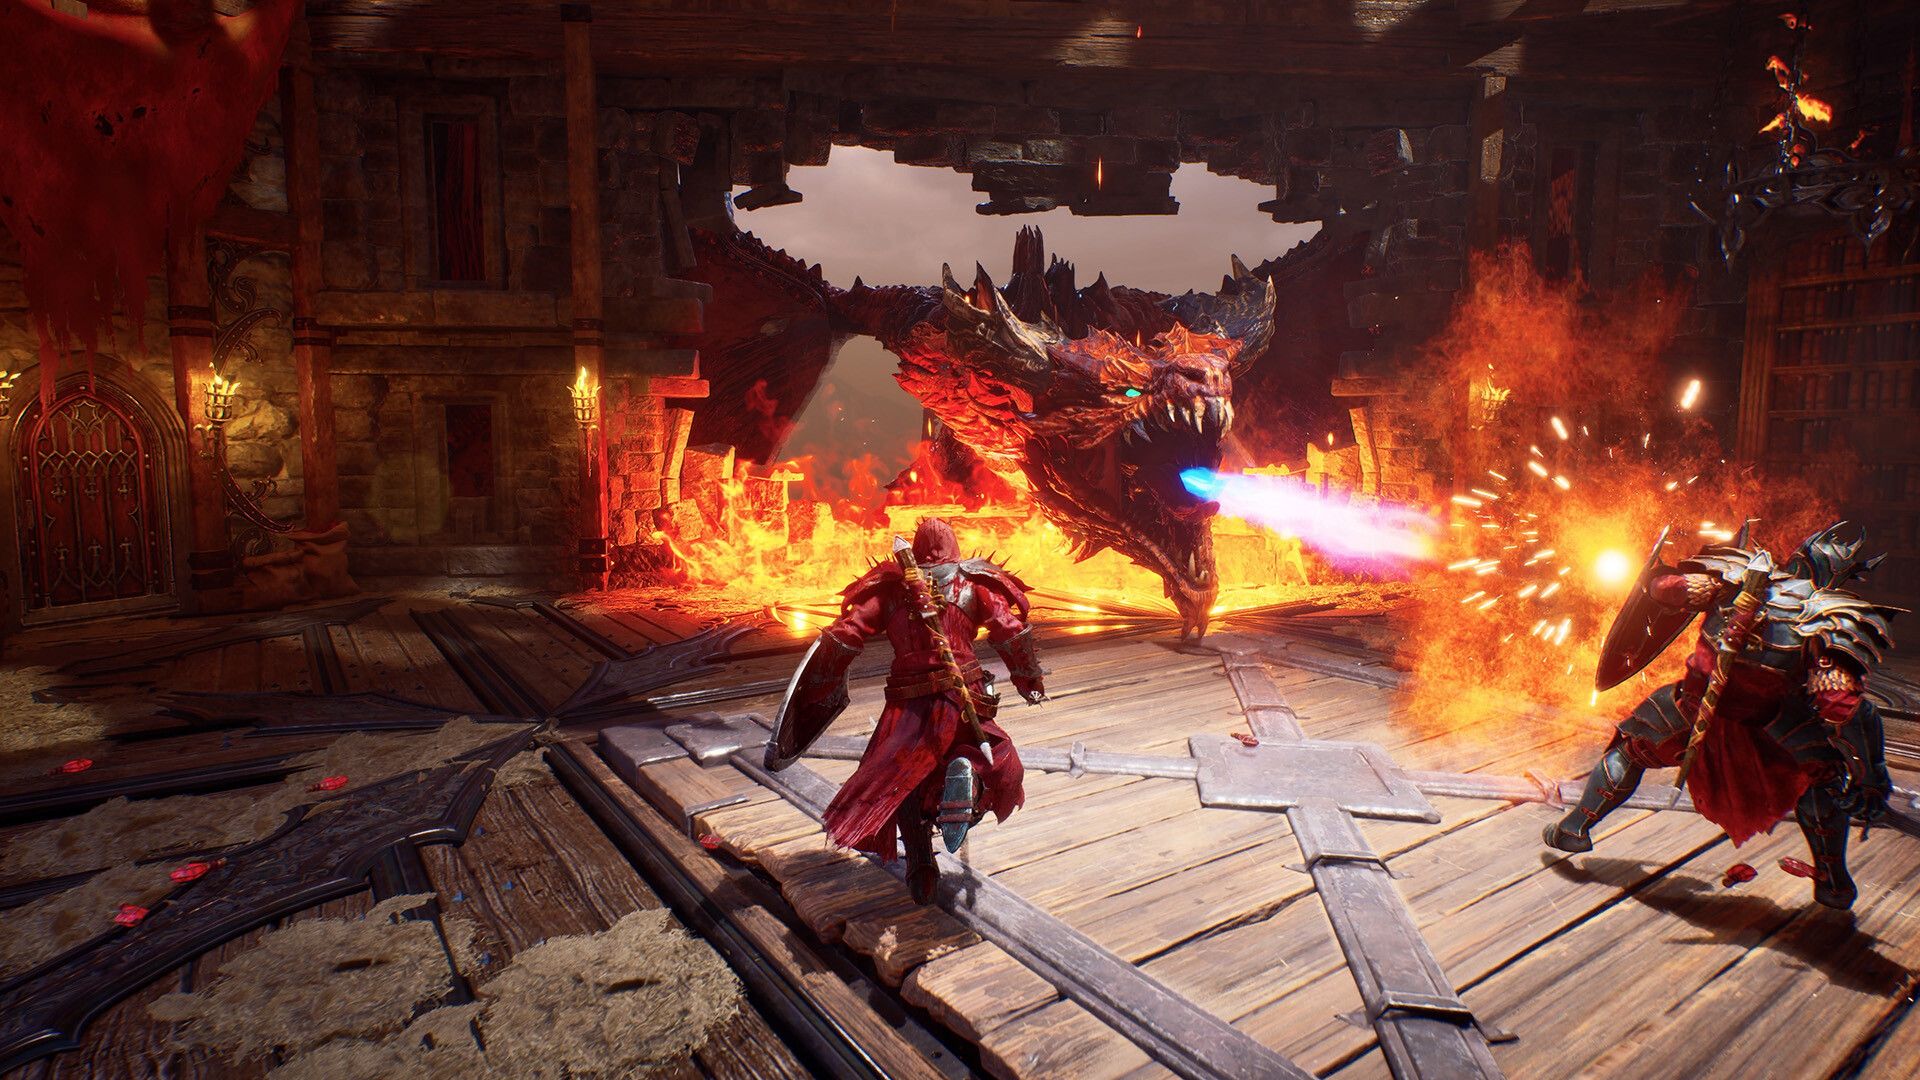
Every session follows the same rhythm: leave your central hub Sanctus Clypeus, enter a Ward packed with enemies and loot, fight your way to the zone's Dead God, return alive, then purify what you found. That last step matters more than anything else.
The purification system is the mechanic that separates confident players from frustrated ones. Any gear you pick up during a hunt stays in a temporary state. If you die before clearing the zone, that unpurified equipment disappears permanently. Survive, return to Sanctus Clypeus, and you lock it into your permanent collection. Every future hunt lets you equip it from the start. Each run is therefore a calculated risk: push deeper for better loot, or play conservatively and guarantee what you already have.

Crimson Moon Ultimate Beginner's Guide
The hub itself is your strategic base between runs. Four NPCs handle different functions: Gadulf the Blacksmith upgrades your purified equipment (unlocked at level 2), Merida the Librarian unlocks new Boons when you bring her lore scrolls, Lotte the Merchant sells and upgrades consumables, and Gallants issues bounties and contracts that reward enemies you would hunt anyway. Visit all four before each departure.
How do you build a loadout in Crimson Moon?
Before every hunt, you assemble a loadout of exactly 9 gear pieces, 2 consumables, and 1 Angel. There are no classes. Your character's identity comes entirely from what you equip.
The 9 gear slots cover weapons, armor pieces, and trinkets. Equipping multiple pieces from the same Armor Set unlocks set bonuses, so matching armor to your weapon style pays off faster than mixing random high-stat pieces.
Weapons split into two broad families:
| Weapon Family | Style | Strength |
|---|---|---|
| 1-handed (sword and shield) | Close-range, parry-focused | Reliable defense, consistent pressure |
| 2-handed (halberds, glaives) | Wide reach, no shield | High damage, breaks enemy poise faster |

Crimson Moon Ultimate Beginner's Guide
Every weapon carries a Weapon Art, which is the signature ability that defines how that weapon plays. A weapon with slightly lower base damage but a Weapon Art that matches your Boons will outperform a raw damage upgrade that conflicts with your build. Weapon effects like Frost, Bleed, and Stun are designed to pair with specific Boons, so pick weapons that reinforce what you already have equipped rather than chasing the highest number.
The game also separates physical damage into slashing and crushing. Crushing damage performs better against armored enemies, so keeping a crushing option in your loadout handles encounters that slashing weapons struggle with.
What does the Angel do?
Your chosen Angel rounds out the loadout and provides a transformation state called Angel Mode. Fill the Angel gauge by attacking and defeating enemies, then trigger the transformation for a powerful, near-immortal burst. Save it for dangerous encounters rather than burning it on standard enemies. The Angel you pick should complement your Weapon Arts and Boon selections, not contradict them.
How do Boons work?
Boons are passive bonuses that stack across your build. You gain them from equipped gear and by selecting them at Nexus Gates encountered during hunts. Lore scrolls found while exploring expand the catalog of available Boons when handed to Merida back at Sanctus Clypeus.
The key principle: choose Boons that work together rather than picking the highest individual value. A build focused on heavy attack damage wants Boons that boost heavy attacks, restore stamina after heavy attacks, and amplify Bleed or Frost if your weapon applies those effects. Mixing unrelated Boons produces a character that does nothing particularly well.

Crimson Moon Ultimate Beginner's Guide
Common Boon focuses worth experimenting with early:
- Heavy attack damage and stamina recovery
- Sprint attack chains with Bleed application
- Rage generation paired with offensive Angel abilities
- Frost stacking with slowing effects
- Defensive regeneration for survivability
How do you survive combat in Crimson Moon?
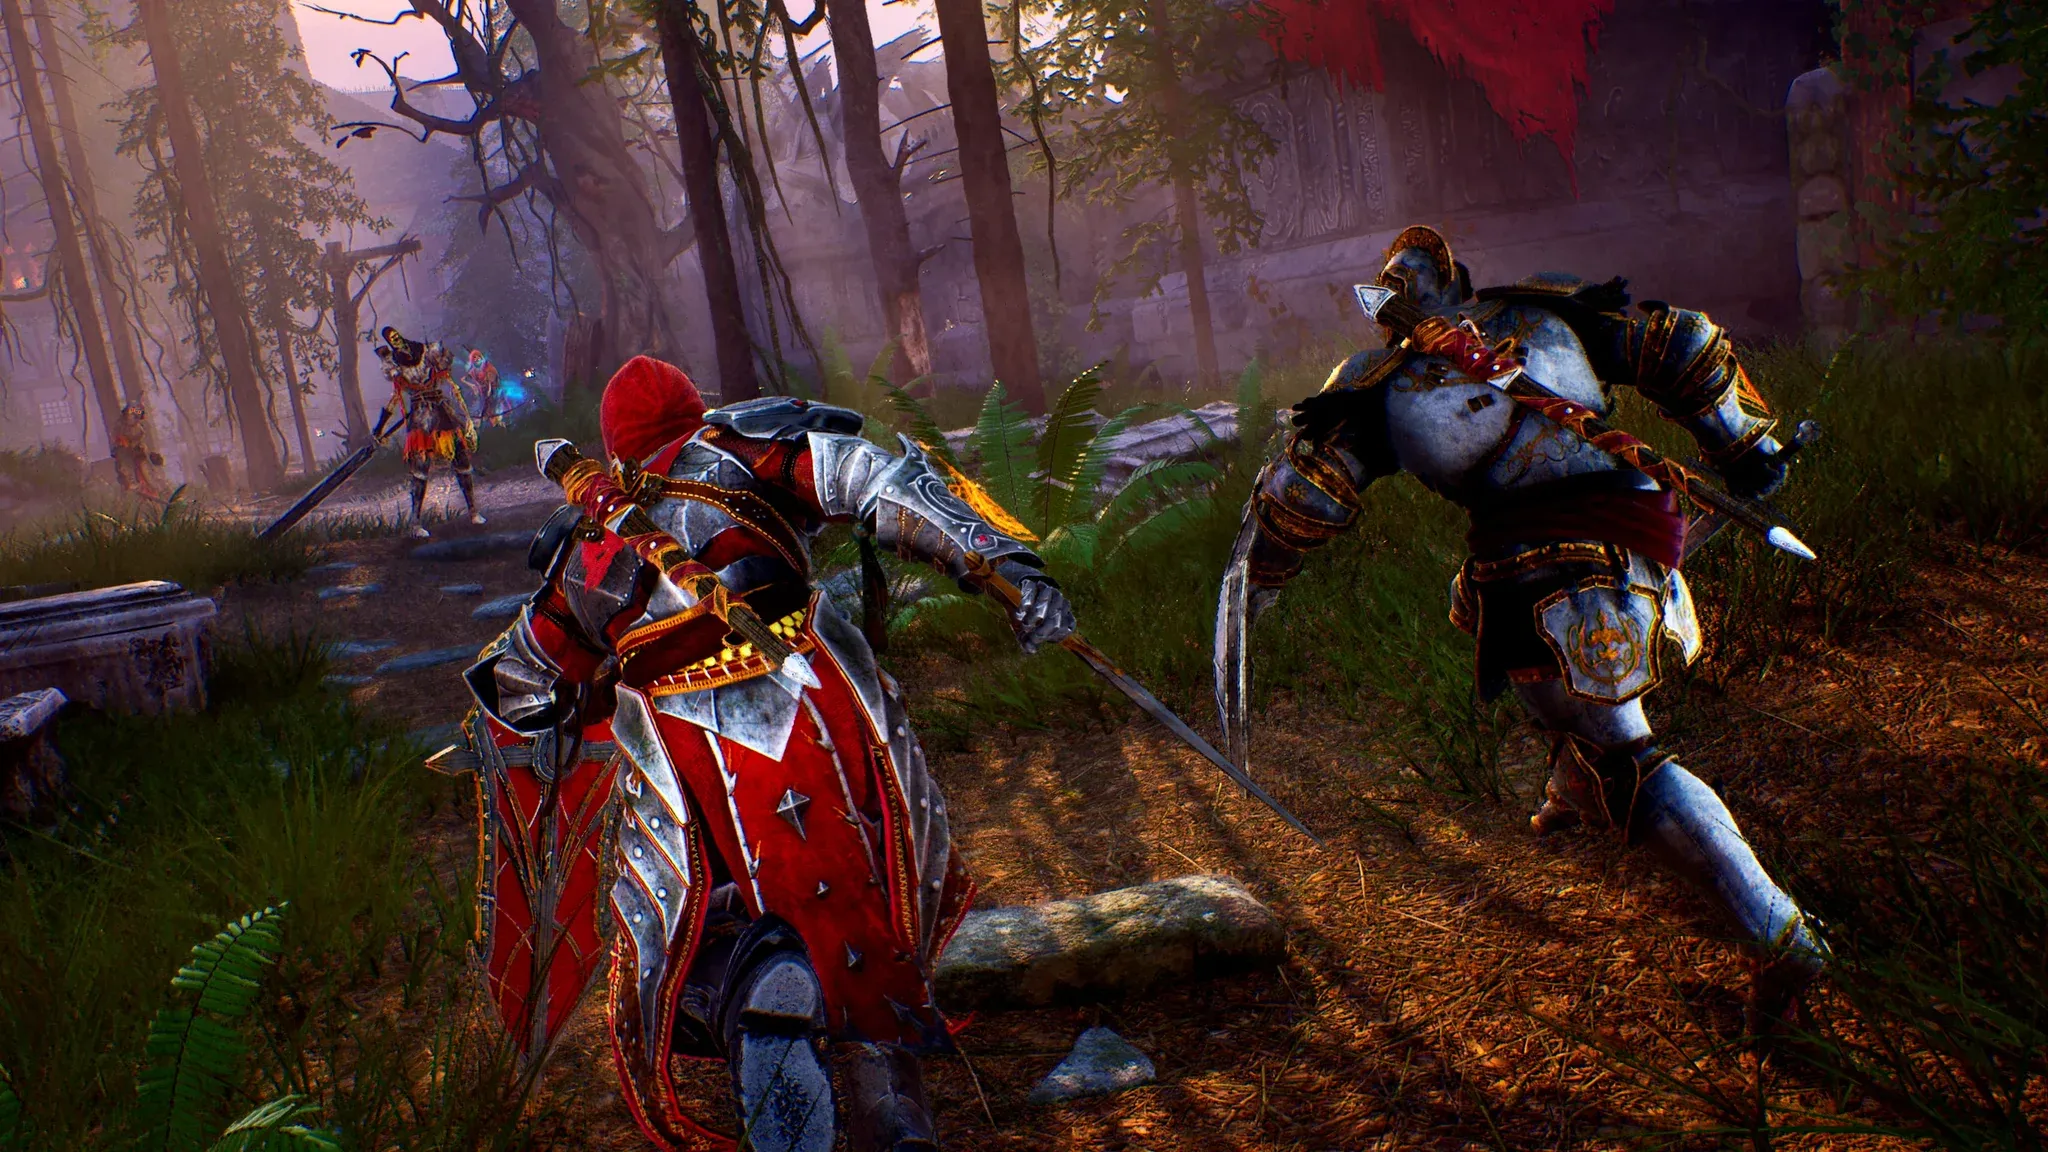
Crimson Moon takes clear inspiration from Souls-like combat but runs faster and more aggressively. Light attacks, heavy attacks, dodges, parries, sprint attacks, jumping attacks, and executions are all available from early on. The mistake most new players make is button-mashing through enemy encounters that demand pattern recognition.
Parrying and dodging are the two most valuable skills in the game. No gear upgrade compensates for ignoring them. Practice parrying on weaker enemies first to build the timing before attempting it against elite foes or bosses.

Crimson Moon Ultimate Beginner's Guide
Practical combat habits that extend your runs:
- Read enemy attack patterns before committing to offense
- Don't drain your stamina bar completely on attacks
- Use heavy attacks only when you have a confirmed safe window
- Reposition with dodges instead of backing away passively
- Attempt backstabs when you can safely reach an enemy's rear
- Save Weapon Art abilities for tougher enemies and bosses
What happens when you explore a Ward?
Each Ward contains enemies, hidden chests, environmental puzzles, lore scrolls, and gear drops. Thorough exploration before heading to the Dead God compounds your strength for that fight and every future run. Scrolls brought back to Merida unlock new Boons. Gear picked up and purified expands your loadout options permanently.
The reserve slot system lets you stash gear you find without equipping it immediately. Use reserve slots for equipment with strong unique perks or effects that could anchor a future build. Skip reserve slots for minor stat upgrades that won't change how you play.
Clearing a zone unlocks its higher-difficulty version at the War Table in Sanctus Clypeus. Higher difficulties reward more EXP and increase the chances of high-rarity gear drops. Don't push to harder difficulties until your purified collection and upgrades can handle the jump.
Should you play solo or co-op?
Crimson Moon supports cross-platform co-op for up to 2 players, meaning PS5, Xbox Series X/S, and PC players can hunt together. Solo runs follow a tuned difficulty curve that teaches mechanics without a safety net, which is the better starting point if you're new to action-RPGs. Two players can revive each other and combine builds for effects impossible alone, but the challenge scales up accordingly.
If you're already comfortable with the genre, co-op from the first hunt accelerates progression. Two complementary builds, one defensive and one offensive, create synergies that solo play can't replicate. Check the Crimson Moon exact release date and regional start times if you're coordinating a launch-day session with friends across regions.
Quck few tips for new players
- Visit all four Sanctus Clypeus NPCs before every hunt, not just the Blacksmith
- Upgrade your most-used gear consistently rather than spreading resources thin
- Use consumables freely; enemies and chests replenish them during hunts
- Speak to Gallants before departing to pick up contracts that reward enemies you'll fight anyway
- Purify equipment after every successful hunt before starting the next one
- Explore every corner of a Ward before engaging the Dead God
- Don't lock into one loadout permanently; the build system rewards experimentation
For more strategies across every system in the game, the full Crimson Moon strategy guides collection covers builds, weapons, bosses, and advanced mechanics as you push into harder difficulty tiers. Crimson Moon sits in a strong tradition of adventure games that reward patience and system mastery over raw reflexes, and the further you push into Gildenarch, the more that investment pays off.