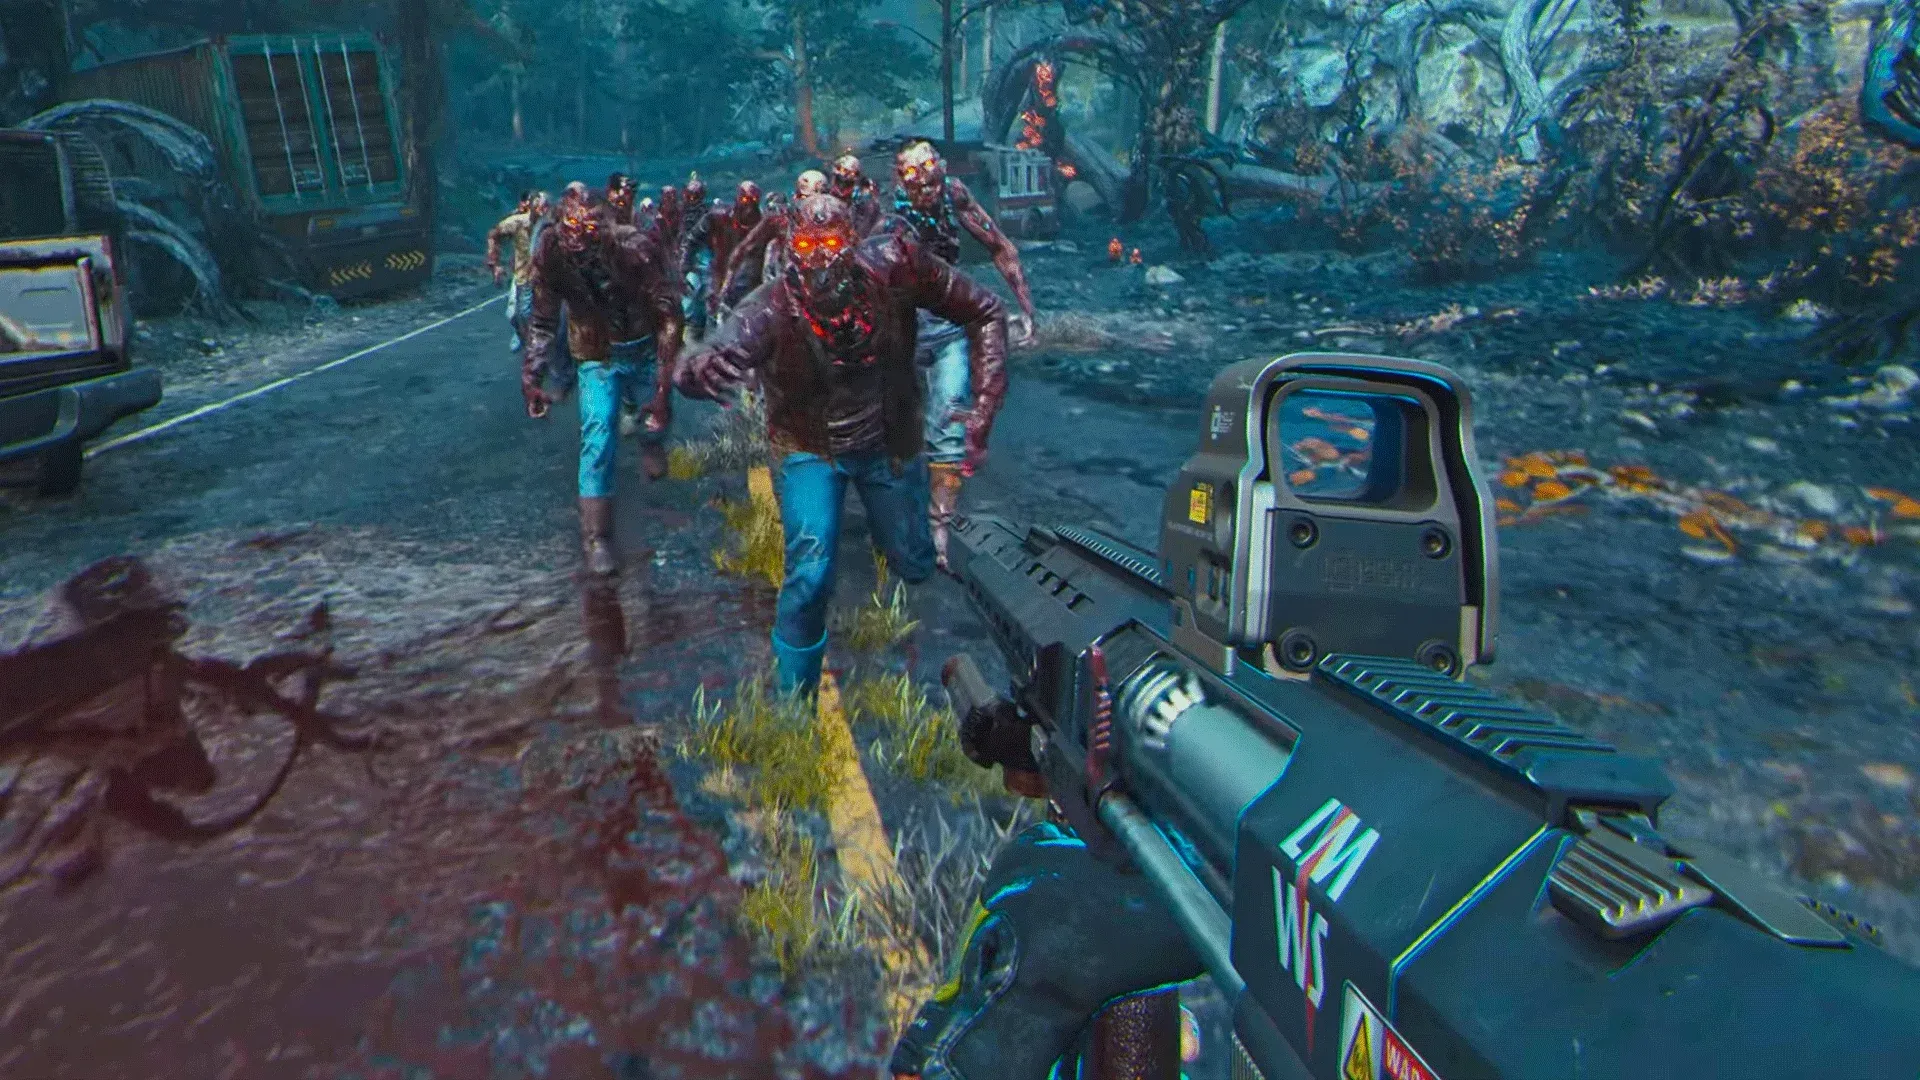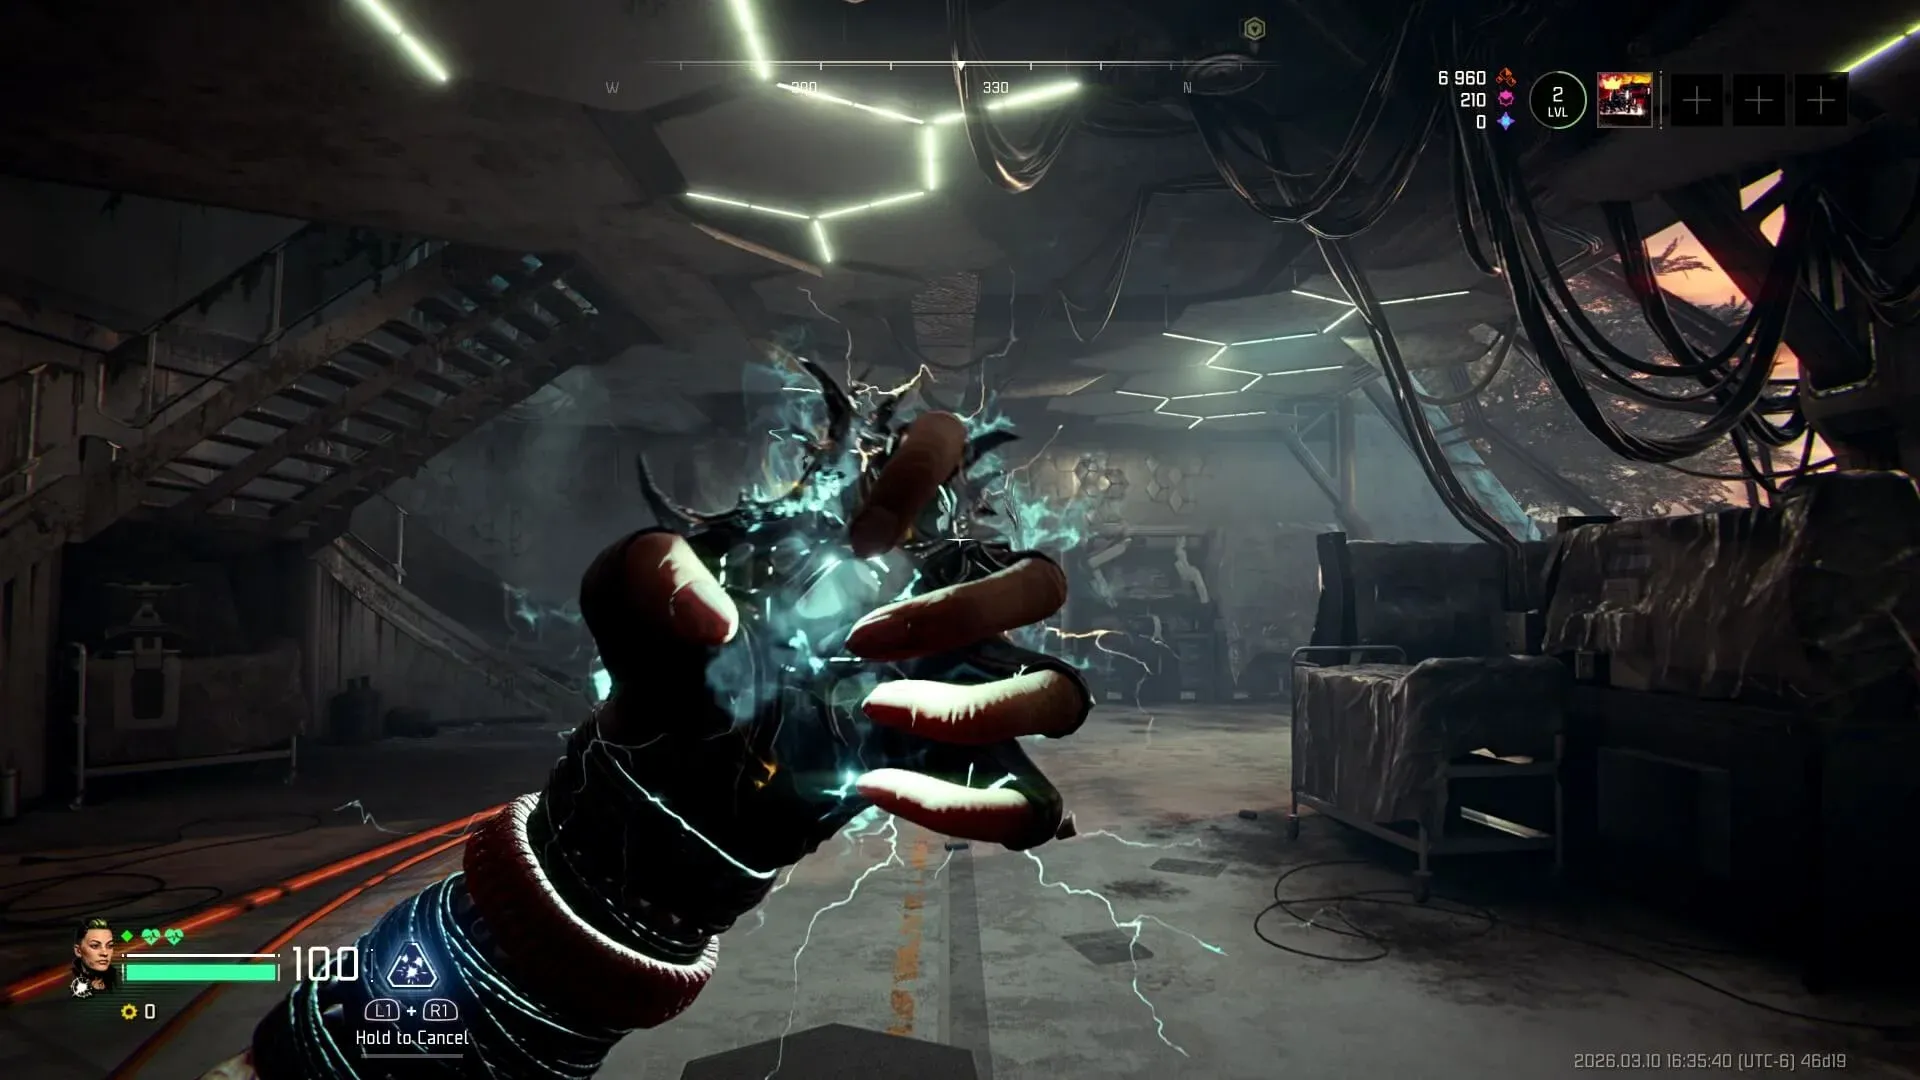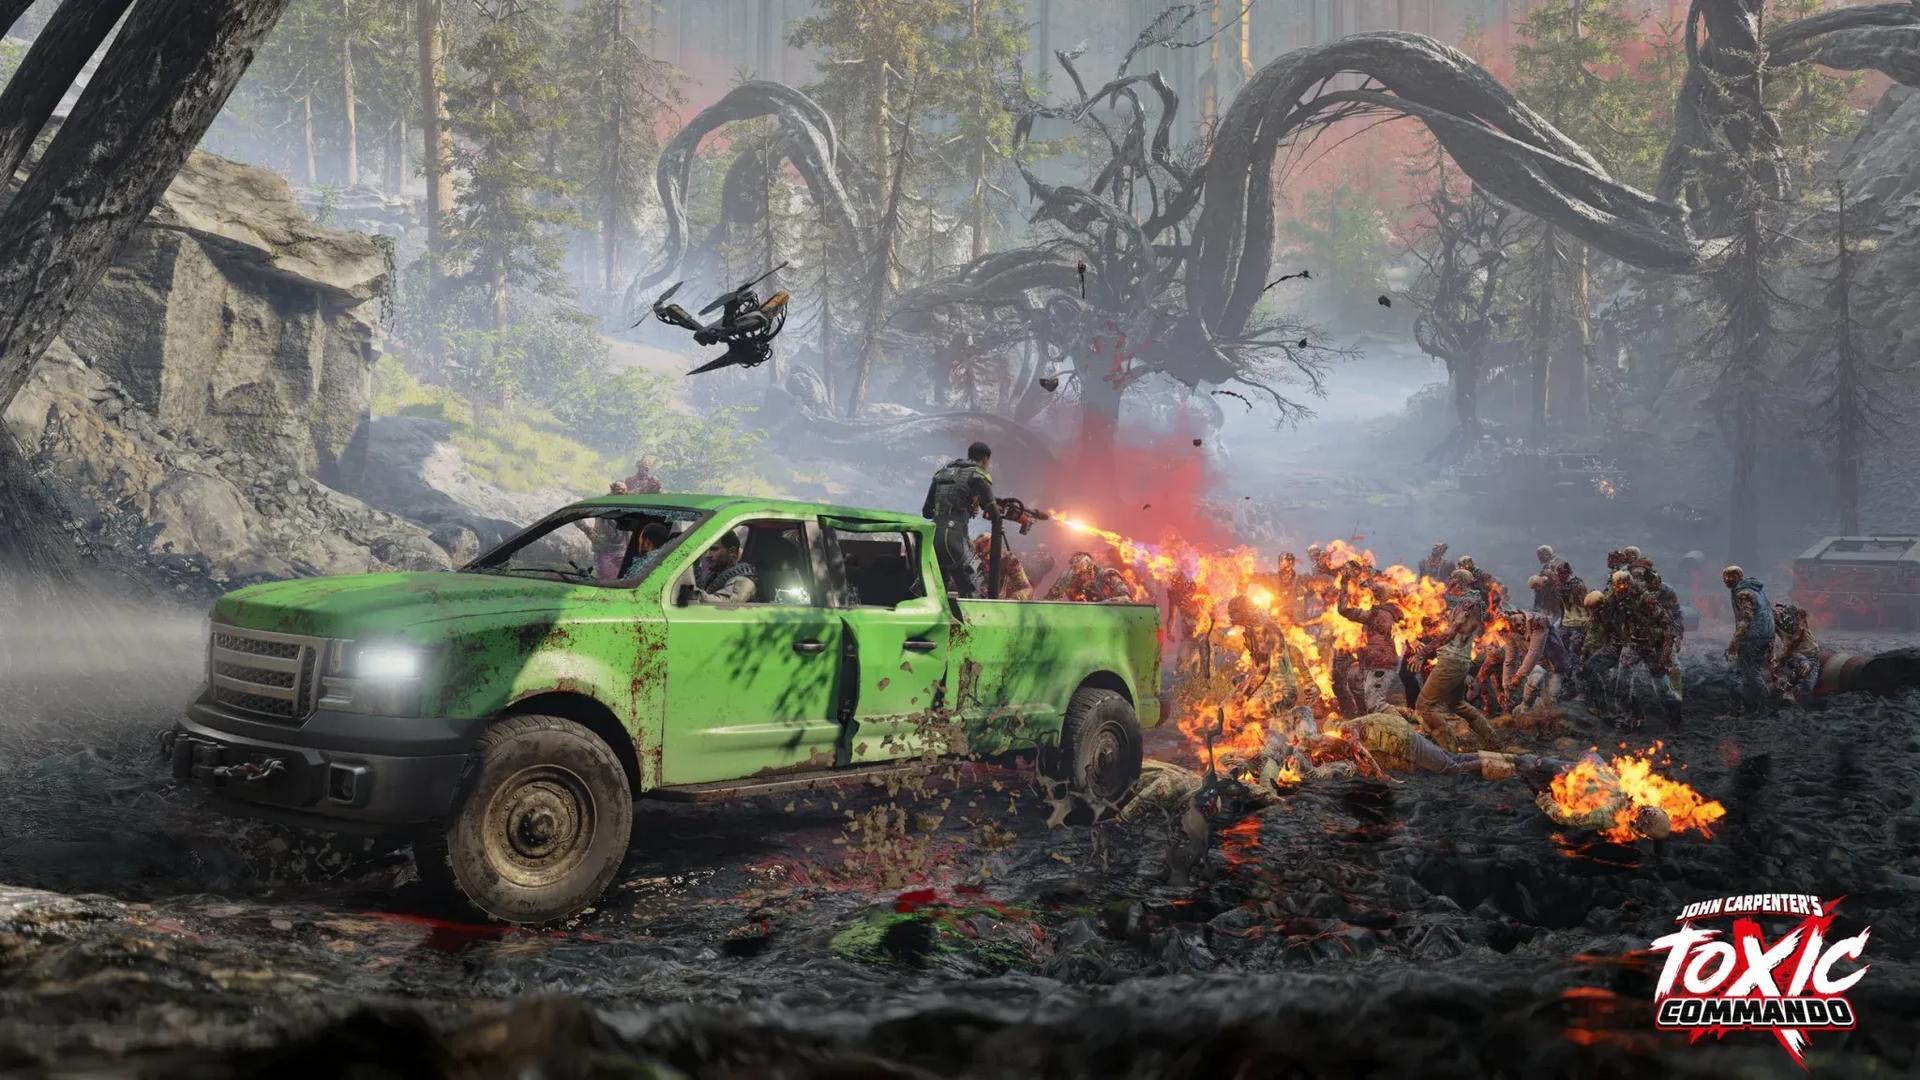

John Carpenter's Toxic Commando में High Octane मिशन मिशन तीन है, और यह difficulty spike को दर्शाता है। Leon को एक बहुत ही खास truck चाहिए, God Killer Truck, जो एक sludge-choked explosives factory के अंदर दबा हुआ है, और आपका काम उस vehicle और आपके बीच आने वाली हर चीज़ से लड़ना है। Tendrils, hordes, एक ticking clock, और एक truck health meter की उम्मीद करें जो आपको punish करेगा अगर आप focus खो देते हैं।
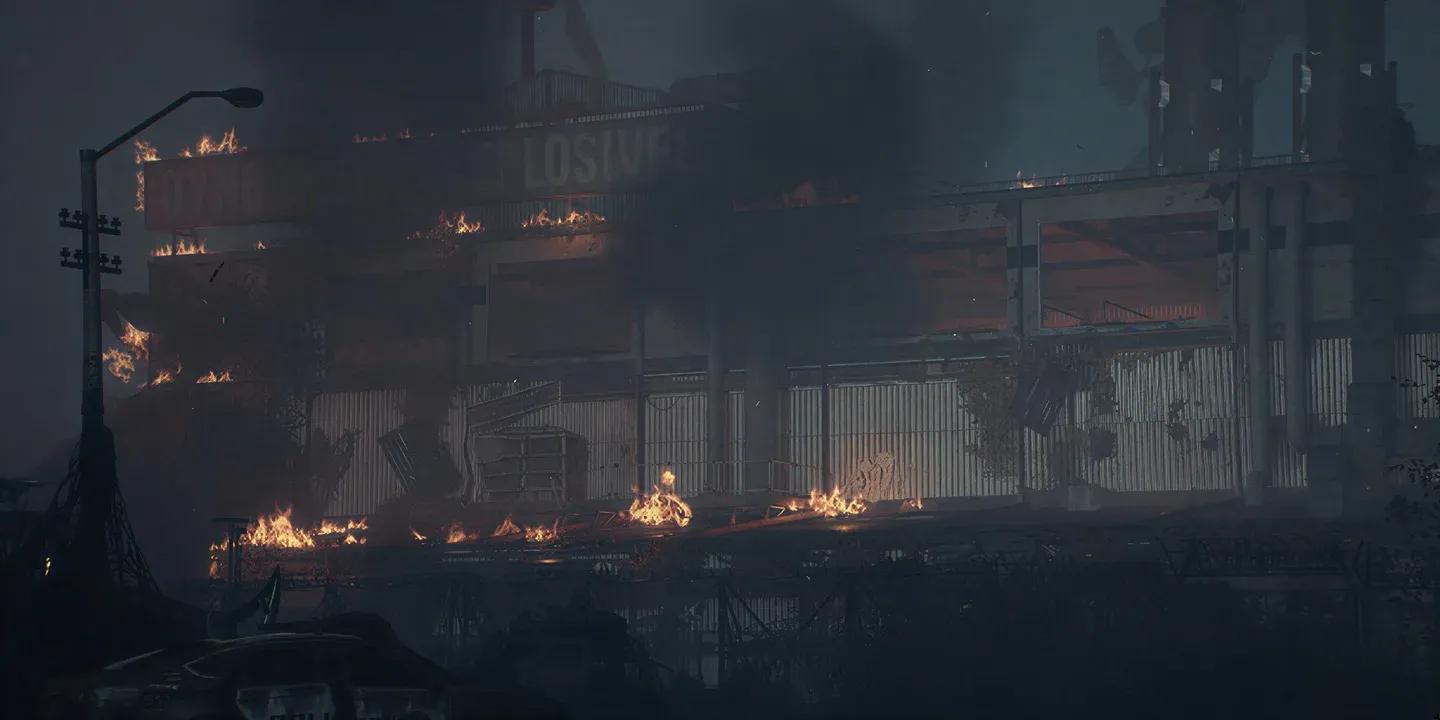
God Killer Truck at the factory
High Octane Mission कैसे शुरू करें?
Explosives factory तक पहुँचने से पहले, आपको एक Maverick winch car को track करना होगा। यह vehicle हर run में एक random location पर spawn होता है, इसलिए इसकी position कभी भी एक जैसी नहीं होगी।
अपना map खोलें और उस पर छोटे arrow वाले car icon को देखें। वह marker Maverick है। उस तक ड्राइव करें और उसे claim करें, क्योंकि winch के बिना, आप उस door को नहीं खोल सकते जो explosive charges को block कर रहा है।


Explosive Charges कैसे प्राप्त करें?
एक बार जब आपके पास Maverick हो, तो explosive charges location तक अपने objective marker को follow करें। जब आप पहुँचते हैं, तो आप पाएंगे कि charges एक structure के अंदर trapped हैं, जो tendrils द्वारा पकड़े हुए हैं।
उन्हें clear करने का exact sequence यहाँ दिया गया है:
- Tendrils को shoot करें जो structure को बांधे हुए हैं ताकि उनकी पकड़ ढीली हो जाए।
- Door को जबरदस्ती खोलने के लिए Maverick's winch का उपयोग करें।
- Locked chest के बगल में security console को locate करें और उसके साथ interact करें।
- Console को activate करने के तुरंत बाद trigger होने वाली zombie wave से survive करें।
- एक बार जब zombies नीचे आ जाएं, तो security chest को unlock करने के लिए console को hack करें।
- Chest के अंदर से explosive charges grab करें।
Explosives Factory तक कैसे पहुँचें?
Charges secure होने के बाद, factory की ओर बढ़ें। वहाँ पहुँचने से पहले आपको road को block करने वाली एक sludge barricade मिलेगी। यह वही है जिसके लिए वे explosive charges हैं।
Charges को designated pipe पर रखें, सुरक्षित दूरी पर पीछे हटें, और detonation panel के साथ interact करें। Explosion passage को clear करता है और आगे का रास्ता खोलता है।
अपने vehicle में वापस, factory की ओर ड्राइव करें। आगे की road में tendrils blocking the path होंगी। आप सीधे उनमें से shoot कर सकते हैं या ड्राइव करते समय किसी companion को इसे handle करने दे सकते हैं।
God Killer Truck Defense Phase क्या है?
यह mission का सबसे मुश्किल हिस्सा है, और preparation ही सब कुछ है। जब आप factory पहुँचते हैं, तो आप देखेंगे कि God Killer Truck tendrils में लिपटा हुआ है। इसे free करने का एकमात्र तरीका vehicle पर लगे EMP explosive को activate करना है।
Detonation से पहले Setup कैसे करें?
कुछ भी trigger करने से पहले, अपने defenses को prepare करने के लिए समय निकालें। EMP truck को free कर देगा लेकिन साथ ही एक massive zombie horde को unleash करेगा।
Detonating से पहले करने वाली चीज़ें यहाँ दी गई हैं:
- एक battery खोजें, इसे arm करने के लिए EMP device में डालें।
- अपने Spare Parts का उपयोग करके एक Mortar deploy करें। इसे truck के पास position करें ताकि आसपास के ground को cover किया जा सके।
- एक heavy weapon pick up करने के लिए किसी भी nearby weapon crates को खोलें।
- लड़ाई के दौरान high-ground positioning के लिए उपयोग किए जा सकने वाले elevated structures के लिए area का survey करें।

Mortar placement near the truck
Three-Minute Defense से कैसे Survive करें?
एक बार जब आप EMP detonate करते हैं, तो एक three-minute timer शुरू हो जाता है। God Killer Truck का अपना health meter है, जिसका मतलब है कि zombies सक्रिय रूप से vehicle पर attack करेंगे, न कि सिर्फ आप पर। Truck को बहुत ज़्यादा damage लेने देना mission को failure में समाप्त कर देगा।
| Priority | Action | Why It Matters |
|---|---|---|
| 1st | Monitor truck health | Truck destruction = mission failure |
| 2nd | Use Mortar on clustered zombies | Clears groups threatening the truck |
| 3rd | Hold elevated ground | Gives visibility across all approach angles |
| 4th | Save heavy weapon ammo | Use it on elite or large enemies near the truck |
इस phase के दौरान Mortar आपका सबसे अच्छा दोस्त है। एक single well-placed shot zombies के पूरे cluster को wipe out कर सकता है जो अन्यथा truck की health को seconds में shred कर देगा। हर side पर sightlines बनाए रखने के लिए जब भी संभव हो elevated structure पर रहें।
तीन मिनट का timer expire होने और truck के survive करने के बाद, mission पूरा हो जाता है। Objective को finish करने के लिए God Killer Truck को Leon तक ड्राइव करें।

Defend the truck for three minutes
High Octane Mission Step-by-Step Summary
| Step | Objective | Key Action |
|---|---|---|
| 1 | Find the Maverick | Locate car icon on map |
| 2 | Reach explosive charges | Follow objective marker |
| 3 | Clear tendrils | Shoot tendril bindings |
| 4 | Open the door | Use Maverick winch |
| 5 | Hack security console | Survive zombie wave first |
| 6 | Grab explosive charges | Loot the security chest |
| 7 | Clear sludge barricade | Place and detonate charges |
| 8 | Drive to factory | Shoot road tendrils |
| 9 | Arm the EMP | Insert battery into device |
| 10 | Set up defenses | Deploy Mortar, grab heavy weapon |
| 11 | Detonate EMP | Frees truck, triggers horde |
| 12 | Defend for 3 minutes | Protect truck health meter |
| 13 | Deliver the truck | Drive to Leon |
High Octane को complete करें और आप Leon को वह सब कुछ देने के एक कदम करीब पहुँच जाते हैं जिसकी उसे ज़रूरत है। इसके बाद के missions, जिनमें Demon Bait और Roof of Evil शामिल हैं, सीधे आपके यहाँ हासिल की गई चीज़ों पर आधारित हैं, इसलिए एक clean run मायने रखती है।