
MECCHA CHAMELEON is the kind of casual game that looks absurd until someone walks right past you without noticing. Developed by solo Japanese developer lemorion_1224, it drops every player into a match as a featureless white figure. Hiders paint themselves to vanish into the environment. Seekers hunt by eye alone. Survive to zero or tag everyone before time runs out. Simple premise, real depth once you understand what actually gets people caught.
How does a round work in MECCHA CHAMELEON?
Every match runs through three phases. During the Preparation Phase, Hiders roam the map freely while Seekers wait in a locked spawn room. Hiders scout locations, paint their bodies, and lock a pose before the countdown ends. Once the Hunt Phase begins, Seekers are released and start scanning every corner for anything that looks out of place. The round ends when either the timer hits zero (Hiders win if at least one remains undetected) or every Hider gets tagged (Seekers win).
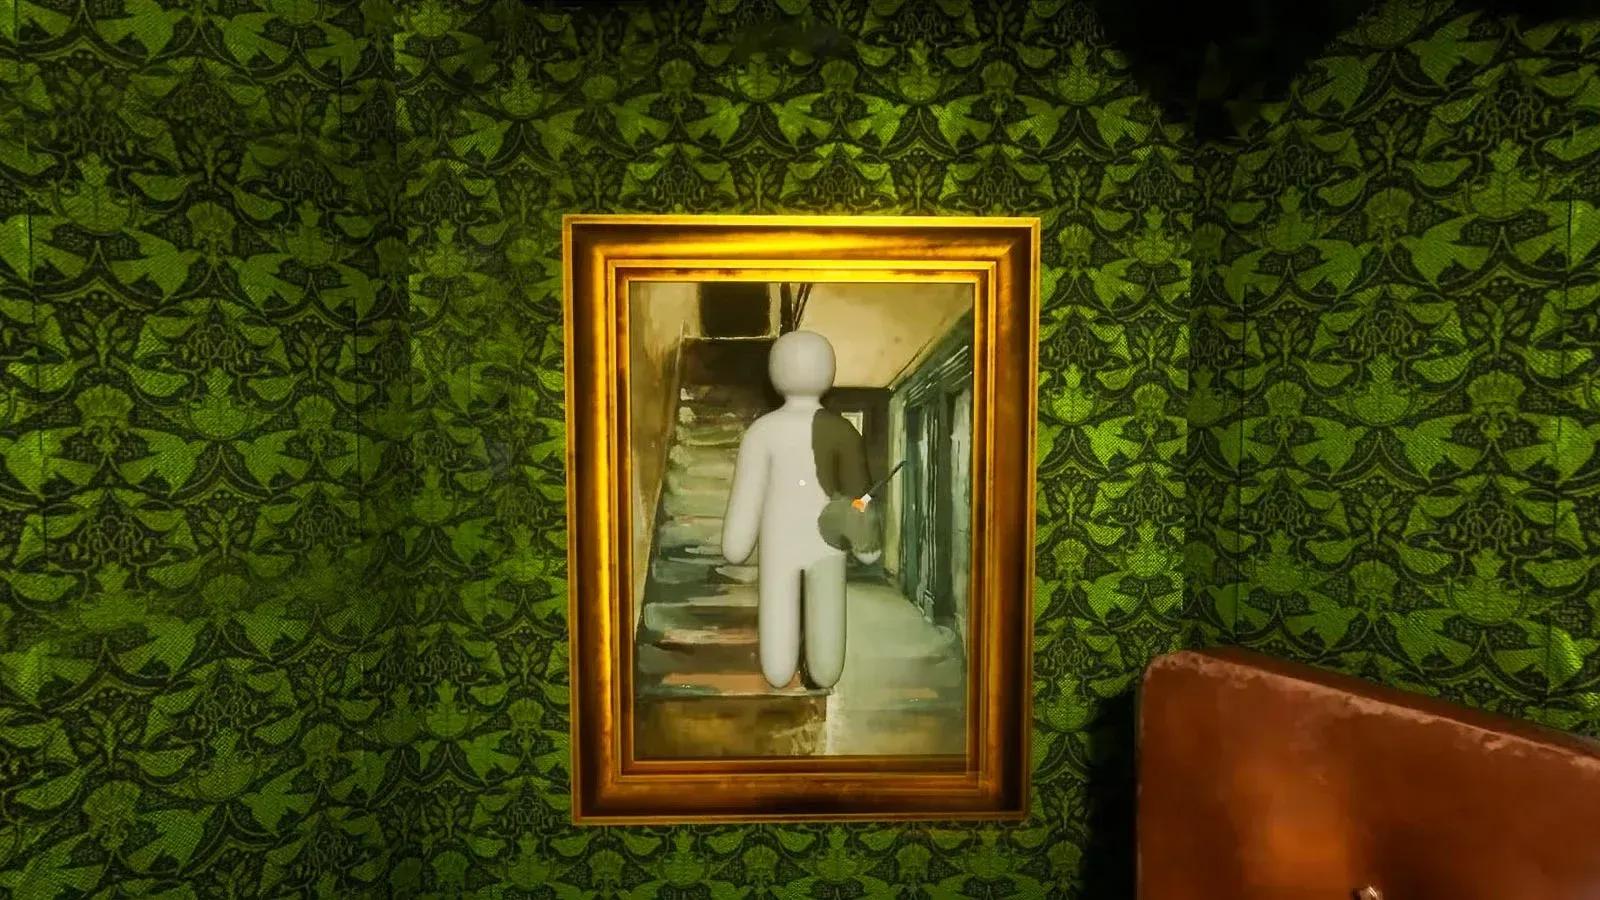
The Results Phase is genuinely the best part of the whole game. The post-match screen reveals exactly where each Hider was tucked away, complete with close-ups of brilliant camouflages and paint jobs that somehow fooled everyone.
Post-round reveal screen
What should you learn first as a beginner?
The paint tool is everything. Before you sprint to a hiding spot, spend your first lobby getting comfortable with how it actually works. Open it with F and you'll find something closer to an art program than a standard game menu.
The eyedropper tool is the most important control in the game. Point it at the exact surface you plan to hide against and it copies that color precisely. Sampling a similar-looking wall across the room is a trap: lighting shifts color more than most players expect, and even a slight mismatch becomes obvious from a few meters away.
Once you have the base color locked, use the HSV sliders (Hue, Saturation, Value) to nudge the shade toward the shadows or highlights of your specific spot. The Value slider alone can make or break a hide in darker corners.
The tools most beginners skip entirely are the Metallic and Roughness sliders. These control how your body interacts with the map's light sources. A perfectly color-matched character with a high gloss setting will still catch light against a completely matte wall and give away your position instantly. Match the surface finish, not just the color.
Why does color matching alone keep getting you caught?
Seekers hunt shapes, not colors. That's the gap between players who get tagged in ten seconds and players who survive to the final countdown.
Your character model reads as a human figure even when the color is perfect. The silhouette is the giveaway. To break it, you need to do two things: match the direction of the room's light so your body has depth rather than looking like a flat sticker, and use an unusual pose or emote that turns your limbs into geometric angles matching the surrounding environment.
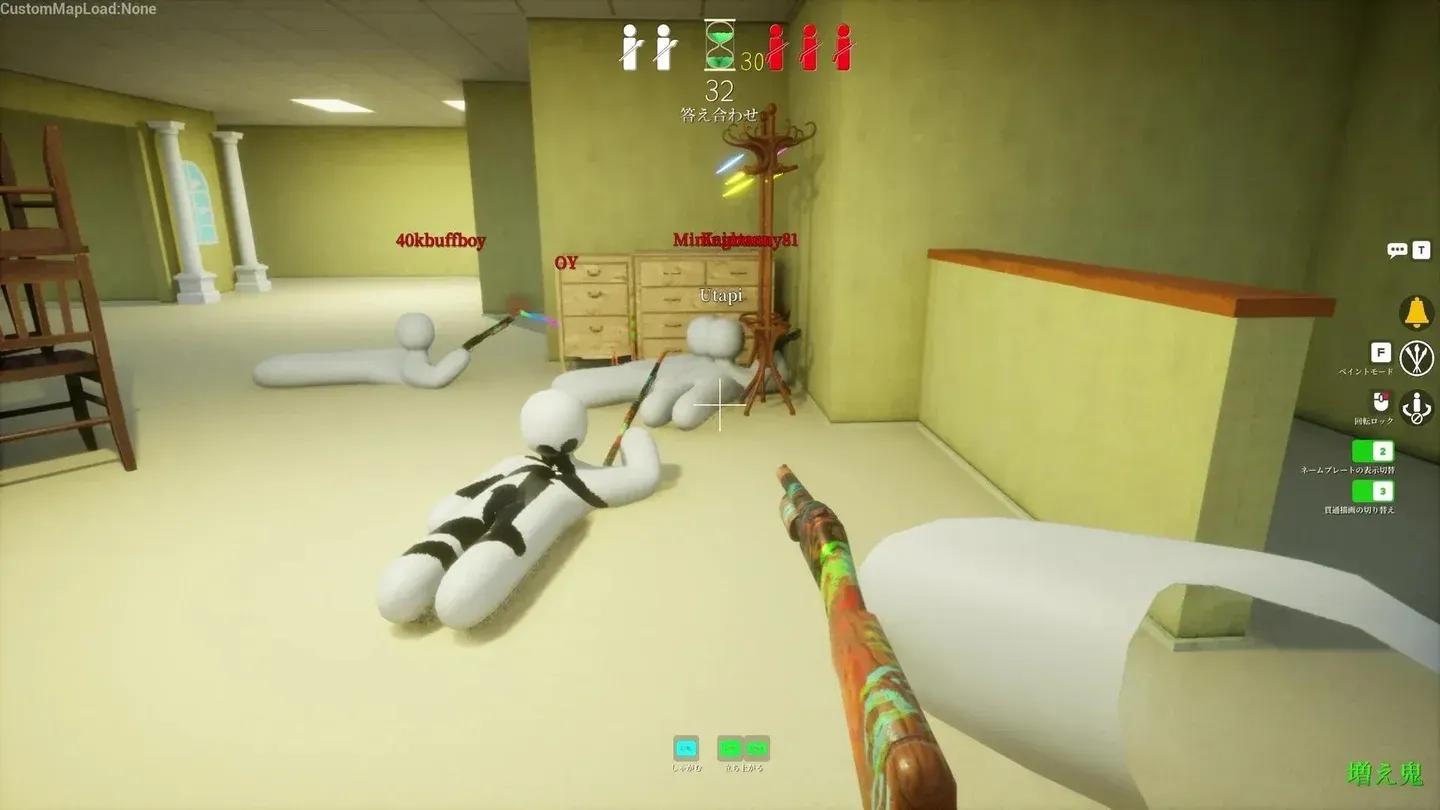
The Pose Lock mechanic freezes your character model completely in place once you've found a position that mimics the layout of the environment. A crouched figure bent to look like a low step or a geometric sign is dramatically harder to spot than someone standing upright against a wall. Once the Hunt Phase begins, your hands should come off the movement keys entirely.

Pose lock breaks your silhouette
How to check your disguise before the hunt starts
The single most common beginner mistake is judging a disguise from your own first-person view. A hide that looks flawless from your perspective can be completely obvious to a Seeker approaching from a different angle.
Before the preparation window closes, rotate your camera a full 360 degrees in third-person view. Look specifically for:
- White gaps between limbs (unpainted elbows end more rounds than bad hiding spots)
- Color sections that don't align with the background lighting from the side
- Any body part that clips through a wall or floats slightly off the ground
- Glossy patches against matte surfaces
That third-person check takes about five seconds and saves you from the most avoidable eliminations in the game. For more detailed techniques on painting and posing, the best hiding patterns and pose techniques guide goes deep on the specifics.
Where should you actually hide?
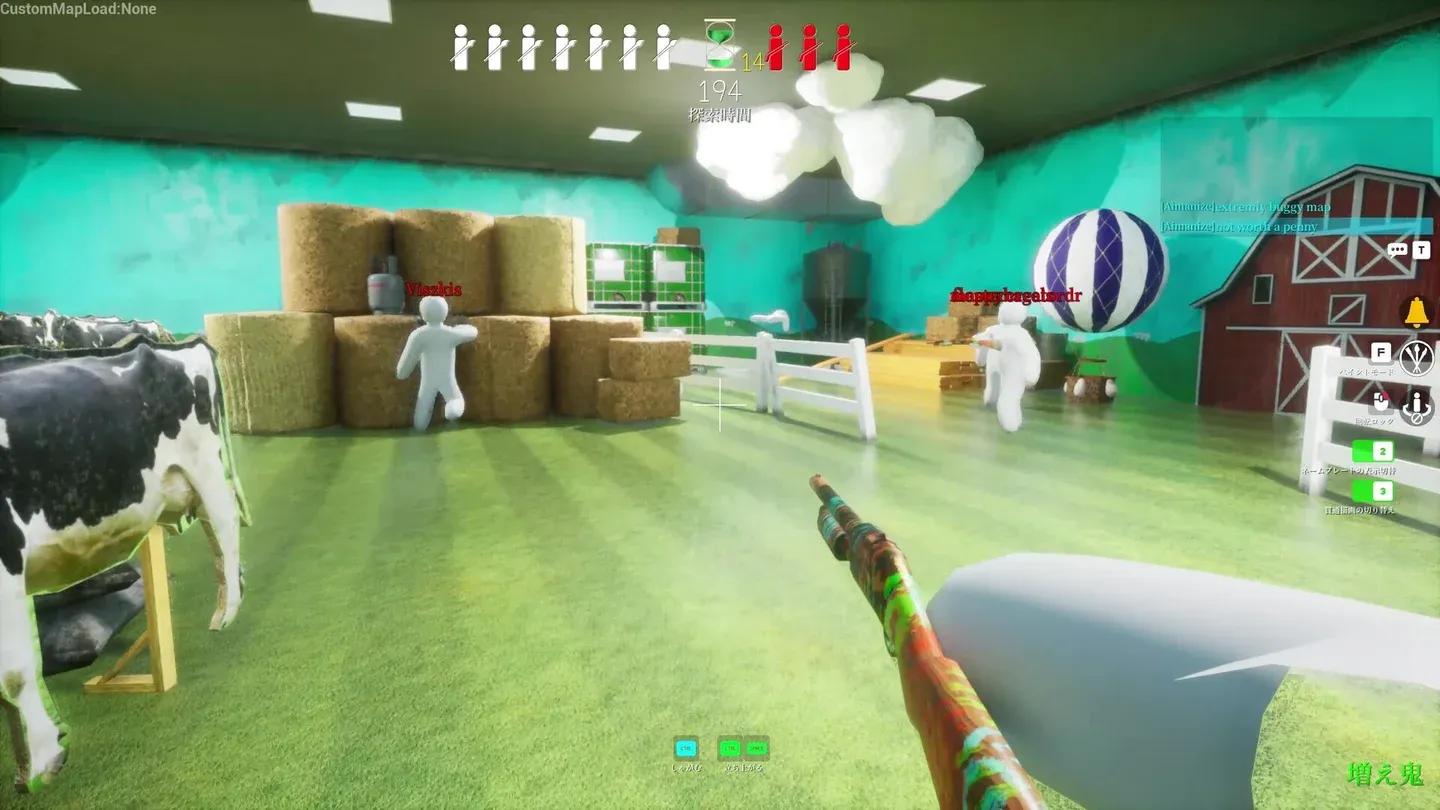
Flat against a single solid-colored wall is the worst default option. Every experienced Seeker checks those spots first because they're the obvious choice. The players who consistently survive stop imitating walls and start imitating objects: a painting, a vase, a decorative item on a shelf.
This works because a Seeker's brain already expects those objects to exist in the environment. They're not scanning for an odd color anymore, they're trying to pick a suspicious shape out of shapes that all look like they belong. That moment of hesitation is what wins rounds.
The best environmental targets for hiding are:
- Checkered or patterned floors (visual repetition causes fatigue for the scanning eye)
- Clusters of crates or stacked objects (multiple overlapping shapes break your outline naturally)
- Dark corners and door recesses (lower the HSV Value slider to match the ambient shadow)
- Complex wall murals or signage (busy patterns make clean silhouette reads nearly impossible)
Avoid spots that look suspiciously perfect for a player model. Experienced Seekers know those alcoves exist and check them every round. The best hides are often in plain sight along a mundane hallway or acting as an extension of a completely ordinary wall pillar.
Pattern hiding confuses seeker vision
How do Seekers find well-hidden players?
Playing Seeker effectively means knowing exactly what to look for rather than randomly swinging at every corner.
Broken symmetry is the number one tell. Maps are built with architectural consistency: rows of identical pillars, evenly spaced wall panels, uniform floor tiles. If one pillar looks slightly wider, has an unusual bump at the base, or lacks a natural shadow line, hit it.
Texture breaks are the second giveaway. Walk closely along walls and look for areas where the pattern shifts angle, appears slightly blurrier than surrounding assets, or has an inconsistency in the compression of the texture. Hiders trying to match a brick wall or wood-paneled floor have to align their body art with existing environmental lines perfectly, and small misalignments are visible on close inspection.
Clipping anomalies catch players who use aggressive poses. A foot hovering an inch above a carpeted floor, or an unusual geometric shape sticking out from the side of a filing cabinet, are both signs of a Hider whose pose didn't quite land.
Systematically swing your melee through popular corners, dense clusters of objects, and behind large furniture every time you enter a new section of the map. Develop a route rather than wandering.
Common mistakes that get beginners caught immediately
Matching only the color, not the shape. Finding a red wall, painting your entire character solid red, and standing upright against it is the most frequent new player error. The color can be perfect and you'll still get tagged because the human silhouette reads immediately.
Hiding in open, brightly lit areas. Lying flat in the middle of a wide courtyard with no shadows or surrounding clutter to break the visual transition makes your character look artificial regardless of paint quality.
Skipping the third-person check. White elbows and exposed joints from your first-person view are invisible to you and obvious to everyone else.
Adjusting constantly during the Hunt Phase. Twitching your camera or micro-adjusting your position to watch approaching Seekers triggers the movement detection that human vision is specifically built for.
For a full walkthrough of the game's core systems from scratch, the MECCHA CHAMELEON beginner's guide covers everything from your first lobby to surviving your first full round.
Settings worth adjusting before your next lobby
Mouse sensitivity: Lower your DPI and in-game sensitivity for the preparation phase. Eyedropper precision on a small, specific texture line requires a steady reticle. High sensitivity causes jitter that leads to sampling the wrong surface.
Graphics settings: Set texture quality high. Clearer textures make it easier to read the exact surface detail you're copying as a Hider, and easier to spot pixel distortions on hidden opponents as a Seeker. Ambient occlusion helps both roles.
Keybinds: Keep your paint menu (F), pose selection, and eyedropper shortcut within reach of your standard WASD layout. The preparation window is short and fumbling across the keyboard costs you the seconds you need to lock a proper pose.
Voice chat: Use push-to-talk in public lobbies. Reacting audibly when a Seeker walks past your hiding spot tells everyone in the voice channel exactly where you are.
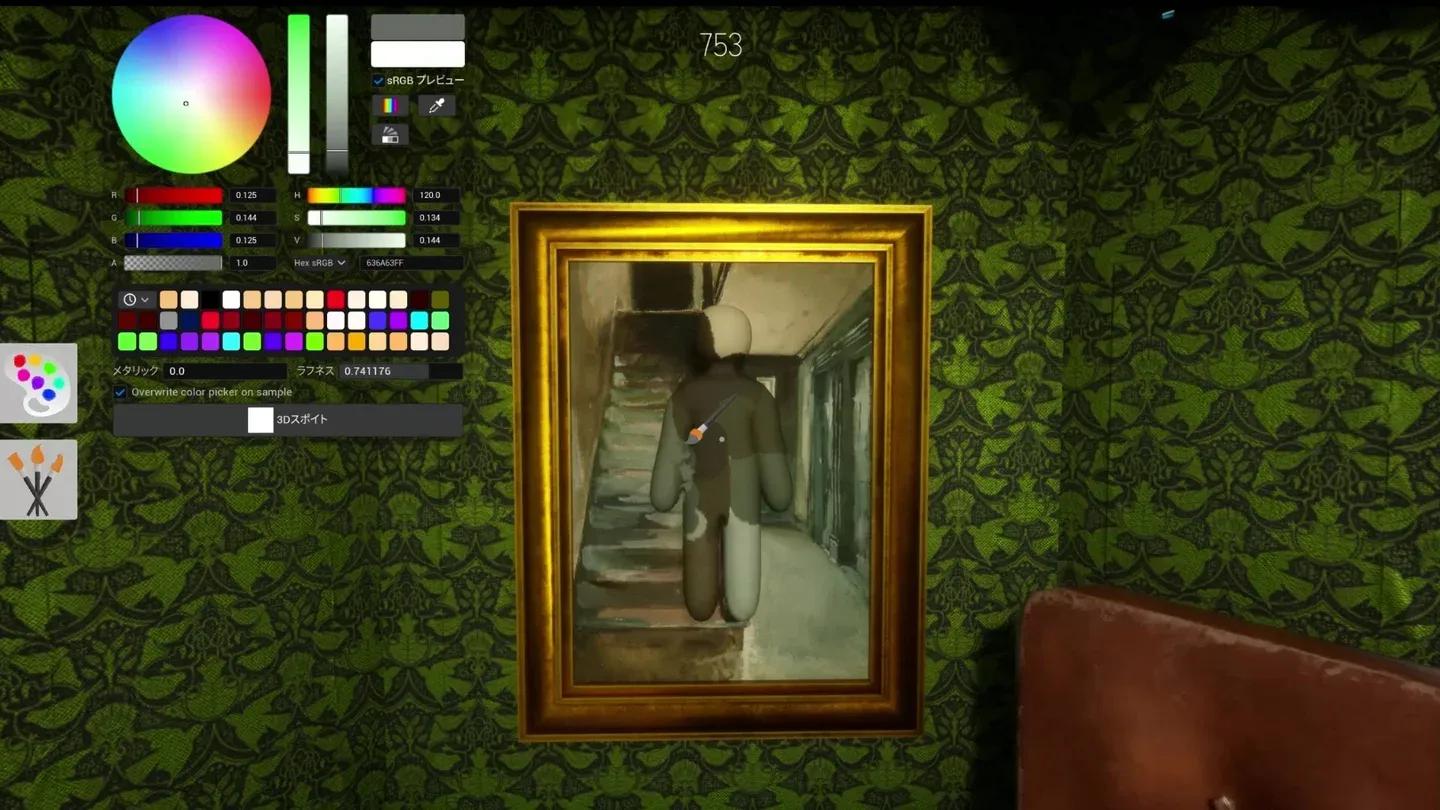
HSV sliders for precise color match
For everything from private room setup to crossplay details, the MECCHA CHAMELEON multiplayer guide has the full breakdown. The rest of the MECCHA CHAMELEON strategy guides cover role-specific depth once you have the fundamentals down.