

The Congealed is one of the nastiest bosses Mina the Hollower throws at you, and it earns that reputation. Found at the end of the Hall of Scholars inside the Astral Orrery, this grotesque mass of stitched-together souls sits directly on the critical path to the Astral Generator. You cannot skip it, sidestep it, or outlevel it into irrelevance. You have to learn it.
The compendium describes The Congealed as an abomination whose form shifts and reshapes in ghastly ways, and that description is doing a lot of practical work. This boss does not telegraph attacks the same way from phase to phase, which is what catches most players off guard the first time. Once you understand its full attack list and which moves have windup tells, the fight becomes much more manageable.
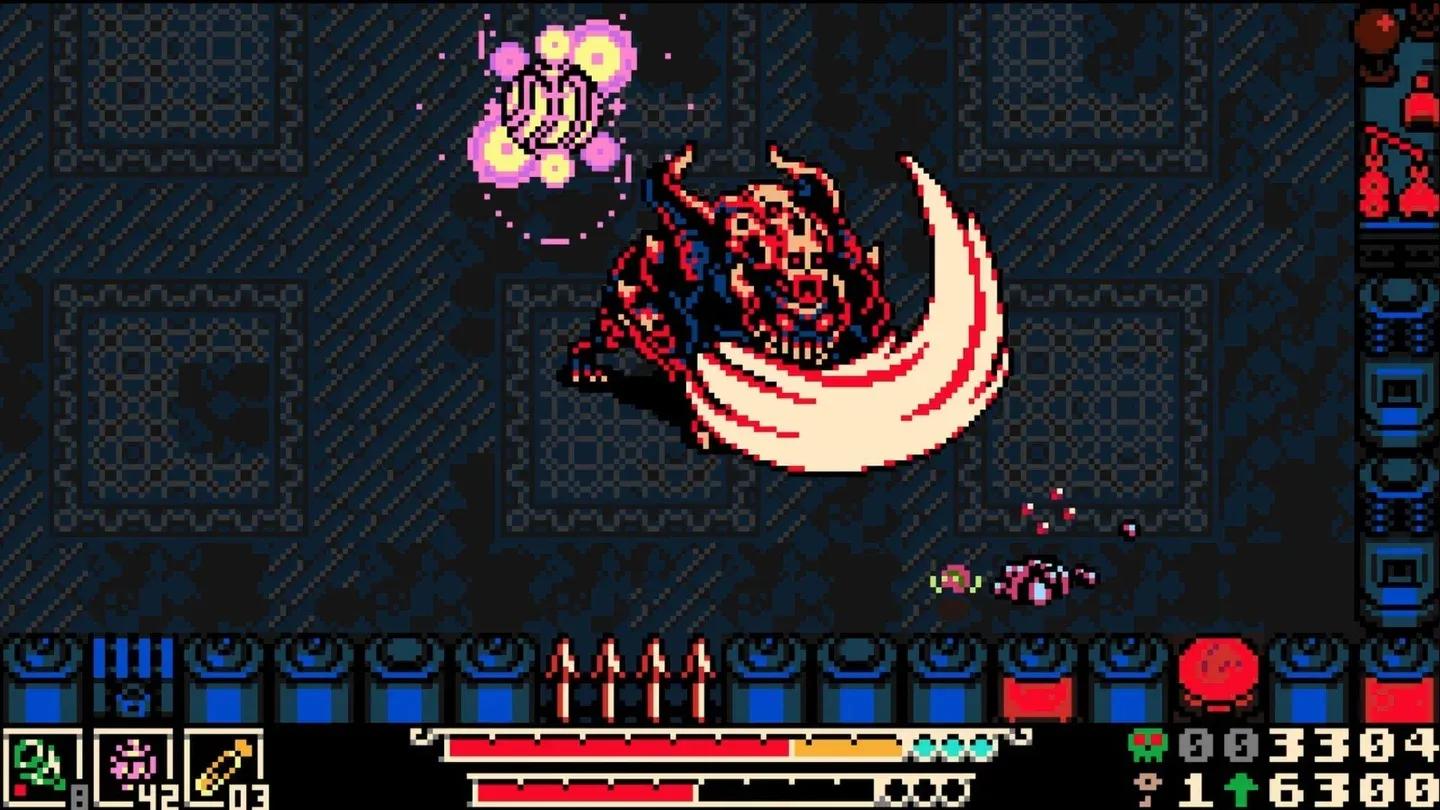
The Congealed in the Astral Orrery
What attacks does The Congealed use?
The Congealed has one of the longer attack rosters among the game's bosses. Knowing which moves have windup tells and which ones come out fast is the difference between a clean run and a frustrating death.
Moves with windup tells
These attacks give you a visible warning before they connect, so prioritize reading them:
- Charge: The Congealed winds up before launching forward. Move perpendicular to its path rather than backing straight up.
- Fire: A windup precedes this attack. Create distance as soon as you see the tell.
- Swoop: Has a windup before the boss dives. Positioning yourself off-center helps avoid the hitbox.
- Swoop Chomp: A follow-up to Swoop with its own windup. Don't assume the Swoop is over after the first pass.
Fast or projectile-based moves
These come out quicker or at range and require more constant awareness:
- Bolt Launch: A ranged bolt attack. Keep moving laterally to avoid getting caught standing still.
- Breath: A sustained attack. Get out of the cone as fast as possible.
- Dash: Quick repositioning move the boss uses to close distance or escape.
- Launch Minion: The Congealed spawns additional enemies. Deal with minions promptly or they will chip away your health during the main fight.
- Slam: A close-range ground strike. Back off when The Congealed rears up.
- Spider Form: A form shift that changes the boss's movement and attack behavior. Treat this as a phase change and reassess your positioning.
- Swipe (2-hit combo): Two consecutive swipes. Dodge the first and don't immediately return to melee range expecting it to be over.
- Swipe Proj: A projectile version of the swipe. Keep some distance if you see The Congealed winding into a swipe animation from range.
Attack pattern reference table
How should you prepare before entering the Astral Orrery?
The Congealed is a required fight on the critical path, so skipping preparation is not an option. Before heading into the Hall of Scholars, make sure your loadout is in order.
If you need a refresher on core systems before this point, the Mina the Hollower beginner's guide covers weapons, bones, trinkets, and survival fundamentals that apply directly to a fight this demanding.

Trinket prep before the fight
What trinkets work well here?
The source material does not specify exact trinket recommendations for this boss, so the safest approach is to equip what has been working in the Astral Orrery leading up to this fight. Survivability trinkets that reduce incoming damage or boost healing are worth prioritizing given how many different attack types The Congealed cycles through.
How does the Spider Form change the fight?
Spider Form is the most disruptive point in the encounter. When The Congealed shifts into this form, its movement patterns and attack behavior change. The boss becomes harder to read because the attack animations you memorized in the first part of the fight no longer map cleanly to what you see on screen.
The practical advice here is straightforward: stop attacking the moment you see the Spider Form transition begin. Use that windup window to reposition to the center of the arena, reassess where the minions are, and wait for the first attack of the new form before committing to any offensive action.
Tips for the Swoop and Swoop Chomp sequence
These two attacks trip up players more than almost anything else in the fight. The Swoop has a visible windup, so most players dodge it successfully. The problem is the Swoop Chomp that follows. Both have windup tells, but the gap between them is short enough that players who dodge the Swoop and immediately try to punish The Congealed walk directly into the Chomp.
After dodging a Swoop, hold your position or move further away rather than rushing back in. Wait for the Swoop Chomp to resolve, then punish.
How does The Congealed compare to other Mina bosses?
With 12 named bosses confirmed in the game, The Congealed sits toward the more complex end of the roster in terms of sheer attack variety. Bosses like Thorne and the Duchess of Queensbury have more focused attack sets with clearer phase structures, while The Congealed throws a wider range of behaviors at you across the same fight.
For context on how other bosses approach their fight design, the Thorne boss guide and the Duchess of Queensbury guide both break down phase-by-phase tactics that show how different these encounters can feel from one another.
Final approach: putting it all together
The Congealed rewards patience over aggression. Its attack variety is high, but the windup tells on Charge, Fire, Swoop, and Swoop Chomp give you consistent windows to act safely. The minion spawns are the wildcard that punishes players who tunnel on the boss and ignore the arena.
Stay mobile, read the tells before committing, clear minions when they appear, and treat Spider Form as a full reset of your positioning assumptions. The fight is long but not unfair once you stop reacting and start anticipating.
For more help across every area of Tenebrous Isle, the full Mina the Hollower guide collection has boss breakdowns, navigation walkthroughs, and collectible locations to keep you moving forward.