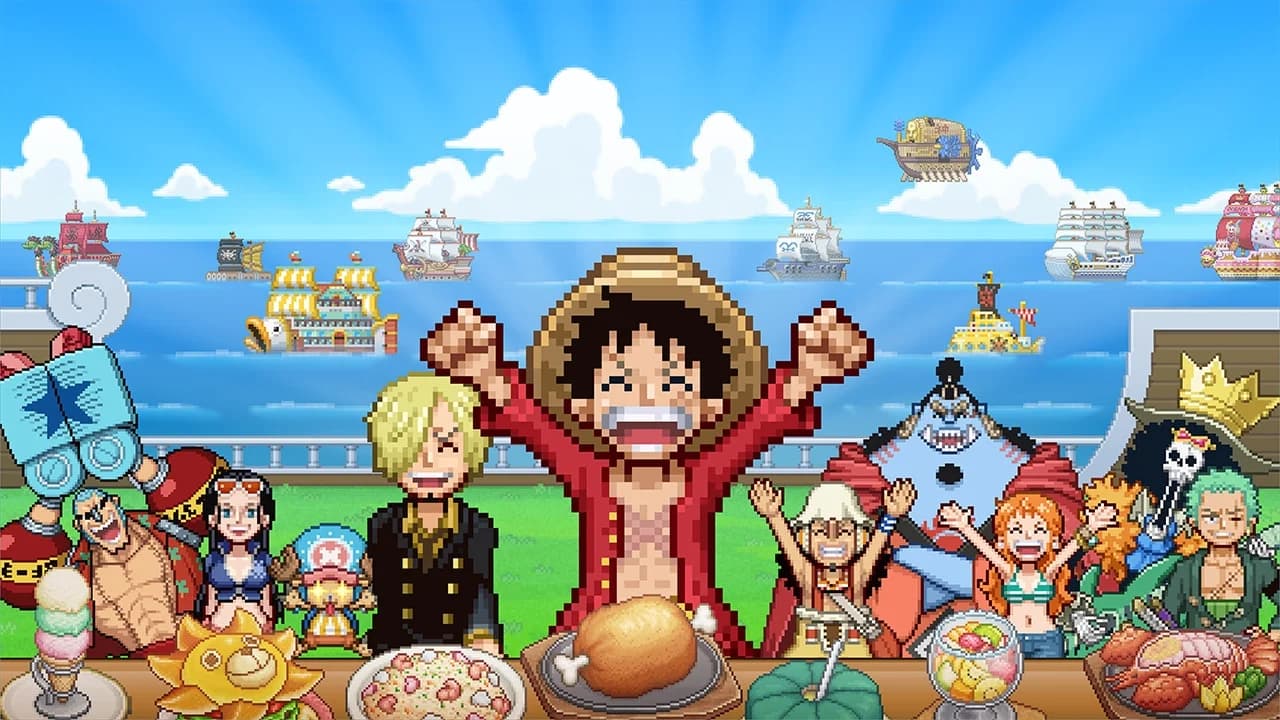

One Piece: Grand Gourmet is Kairosoft's restaurant sim built around the Straw Hat Pirates, and it lands somewhere between a cozy management game and a One Piece fan service machine. You play as a rookie staff member aboard Baratie Number Two, a floating restaurant launched by Luffy and Sanji to take down a fake Baratie that's been serving overpriced food and trashing the original's reputation. The goal is simple on paper: cook great food, keep customers happy, and grow your restaurant across the seas. The systems connecting all of that take a little longer to click.
Here's the short answer for anyone jumping in blind: learn the ingredient-to-menu loop before anything else. Everything else builds on it.
What is the core loop in One Piece: Grand Gourmet?
Every session follows the same cycle. You head out to explore sea areas and gather ingredients, bring them back for Sanji to cook into new dishes, combine those dishes into set menus, and then arrange your restaurant's furniture to keep customers comfortable and coming back.
The game never tells you which step to prioritize, but the order matters. No ingredients means no new dishes. No new dishes means your menu stagnates, your reputation stops growing, and you run out of things to offer the 400-plus characters who drop in as customers.
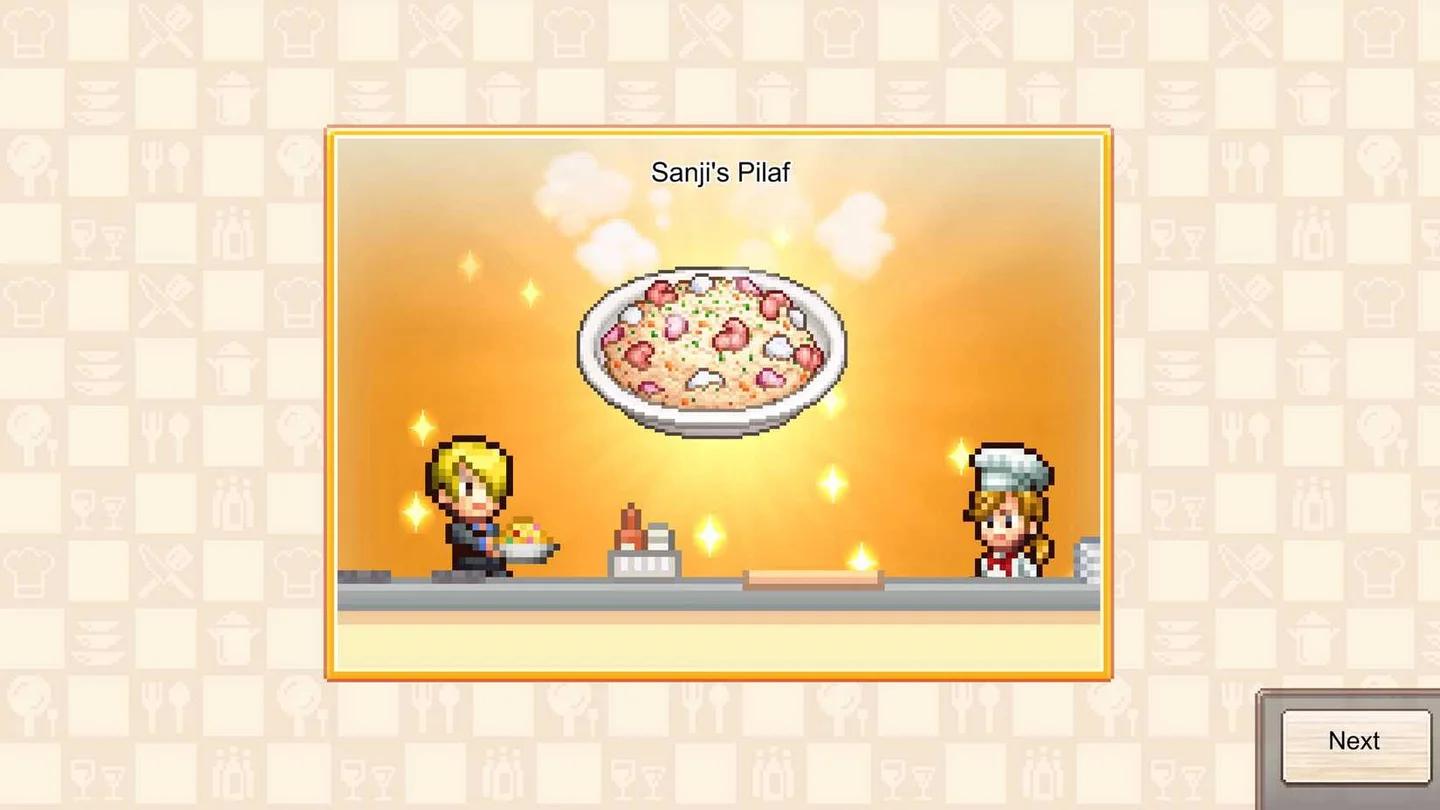
Building dishes with Sanji
The ingredient-to-dish-to-set-menu chain
Creating a dish starts in the Shop menu. Select New Dish, pick a crew member with an idea, choose a main or side dish, select your ingredients, and pick tableware. A crew member appraises the result. That dish then sits in your menu pool.
Here's why that matters: dishes are not the final product. You combine a main dish with side dishes to build a meal set, and meal sets are what customers actually order. The tastiness and price of that set depend on how you build it.
Two bonuses are worth knowing early:
- Endorsement combo bonus: Each dish is endorsed by one Straw Hat crew member. Build a meal set entirely from dishes endorsed by the same character and the set price gets a significant boost.
- Main and side synergy: Certain main dishes have natural pairings with specific sides and drinks. Hitting those combos adds a further price bonus on top.
How exploration feeds your kitchen
Ingredients come from exploration. Select Action, then Explore, and send Luffy out to areas like Windmill Village and Goat Island. New locations unlock as your exploration progress increases, which means new ingredients keep arriving throughout the game.
Luffy also picks up treasure chests and gifts during outings. Gifts can be given to customers to increase their movement speed and eating capacity. Zoro joins the treasure hunting later once you build his break room.
The Going Merry unlocks after you find Nami, and it lets you bring a crew member along on explorations. Each companion adds bonuses like increased item acquisition. Later, the Thousand Sunny makes long-distance exploration cheaper.

Exploring sea areas for ingredients
What does each Straw Hat crew member do?
This is the question most new players skip past, and it costs them. Each crew member has a specific role, and building their break rooms unlocks additional abilities.
| Crew Member | Main Role |
|---|---|
| Luffy | Treasure hunting on a small boat; items collected from his break room |
| Zoro | Enables Training to level up crew members; also treasure hunts |
| Nami | Buys and sells items; ingredients can be purchased directly from her break room |
| Usopp | Creates decorations at the Usopp Factory |
| Sanji | Enhances cooking quality alongside Robin |
| Robin | Uses ingredients to improve and enhance dishes |
| Franky | Builds facilities and handles restaurant expansion |
| Chopper | Heals sick or injured characters; interacts with animals |
| Brook | Runs mini-games and live concerts, which significantly increases tourist numbers |
| Jinbe | Brings in non-fan customers from other sea areas |
Building break rooms is not optional busywork. Zoro's room is the only way to access Training, which is how you level up crew members. Training requires Training Points earned through exploration and time spent working. Joint Training uses Hearts, which come from satisfied customers, so spend Hearts carefully since they also cover outing costs and character requests.
How do customers and reputation actually work?
Customers arrive from your current sea area and visit once per day to use tables and facilities. Their Affection for your restaurant grows as they eat and use facilities. High Affection eventually turns them into Fans.
Fans are the engine of growth. Once a customer becomes a Fan, they will visit from distant sea areas via a Fan Ship. Customers with high enough Affection can also be hired as staff.
Every character has hidden Requests, visible under Management > Everyone's Requests. Completing a request might require a specific dish, a particular facility, or a gift item. Completing requests unlocks new features throughout the game.
Tourists behave differently. They do not use tables. They buy souvenirs, use facilities, and leave. Their numbers grow as your restaurant's reputation increases. Sea creatures discovered during outings can also visit if you assign them to a facility, and placing other facilities nearby boosts both price and satisfaction.

Facility placement boosts table comfort
How do you win a Cooking Showdown?
Once you complete all objectives in a sea area, you face the Fake Baratie in a Cooking Showdown. The most important stat here is Cooking Taste. You select your best meal sets for the cook-off, and the game assigns a theme that your set needs to match.
The Fake Baratie retreats after each defeat and moves to a new sea area, so you clear objectives area by area to advance the story. After forcing the Fake Baratie to close permanently, you unlock the ability to hold Banquets regularly. Banquets increase customer eating capacity and encourage interactions among guests, both of which boost sales.
Special events also pop up during your run:
- Big Mom's Hunger Pangs: She can destroy up to 7 facilities if you do not cook the right dishes fast enough to calm her down.
- Foxy Racing: Beat Foxy and his crew to turn them into customers.
- Yagarabull Racing: Raise a Yagarabull with food from customers for a chance at special rewards.
What resources do you need to manage?
| Resource | How to Get It | Main Uses |
|---|---|---|
| Berries | Food sales, completing character requests | Primary currency for most purchases |
| Coins | Stamp book completion, special occasions | Rare; used for shop recruitment and specific unlocks |
| Hearts | Customers satisfied with food or facilities | Outing costs, character requests, Joint Training |
| Training Points | Exploration, working in the restaurant | Leveling up crew members via Training |
Coins are the scarcest resource. The most reliable way to earn them early is by creating new dishes. Completing character wishes also pays out coins occasionally.
How do you expand the restaurant?
Franky handles expansion. After a short story scene about modifying the ship, Franky joins the crew and you can select the expansion prompt from the edge of your restaurant. Expansion requires clearing trash from the surrounding area, so you need extra hands before you can build outward.
More space means more tables, more facilities, and more room for the 200-plus furniture pieces available. Furniture creates different moods around your tables, and decor inspired by locations like Whole Cake Island, Egghead, and Alabasta can attract specific characters and turn visitors into regulars.
Common mistakes new players make
- Ignoring endorsement combos: Building meal sets without checking which crew member endorsed each dish leaves significant Berry income on the table.
- Skipping break rooms: Zoro's room is the only Training access point. Without it, your crew stays at level 1 indefinitely.
- Overspending Hearts: Hearts look plentiful early, but outing costs and character requests consume them fast. Save Joint Training for when you have a genuine surplus.
- Locking in one floor plan: Furniture placement affects which customers return and what mood your tables project. Leave room to experiment rather than building a permanent layout on day one.
- Missing the Buffet Corner: It unlocks after completing one of Luffy's requests and automatically places existing dishes, which saves time during busy service periods.
Recommended settings to change first
Two settings are worth adjusting before your first shift:
- Lower SFX to 2: The default sound effects run noticeably louder than the BGM. Dropping to 2 balances the audio.
- Raise Cursor Speed to 12: The maximum cursor speed makes navigating menus significantly faster. There is no reason to leave it at the default of 8.
The Game Speed setting unlocks from day 51 onward, so you cannot access it immediately. Auto-Save is on by default, which is fine to leave as-is.
For more guides covering recipes, layouts, and money-making strategies, browse the full One Piece: Grand Gourmet strategy guides collection. If you want to explore more casual games in the same vein as Grand Gourmet, that genre page has plenty of options worth your time.
