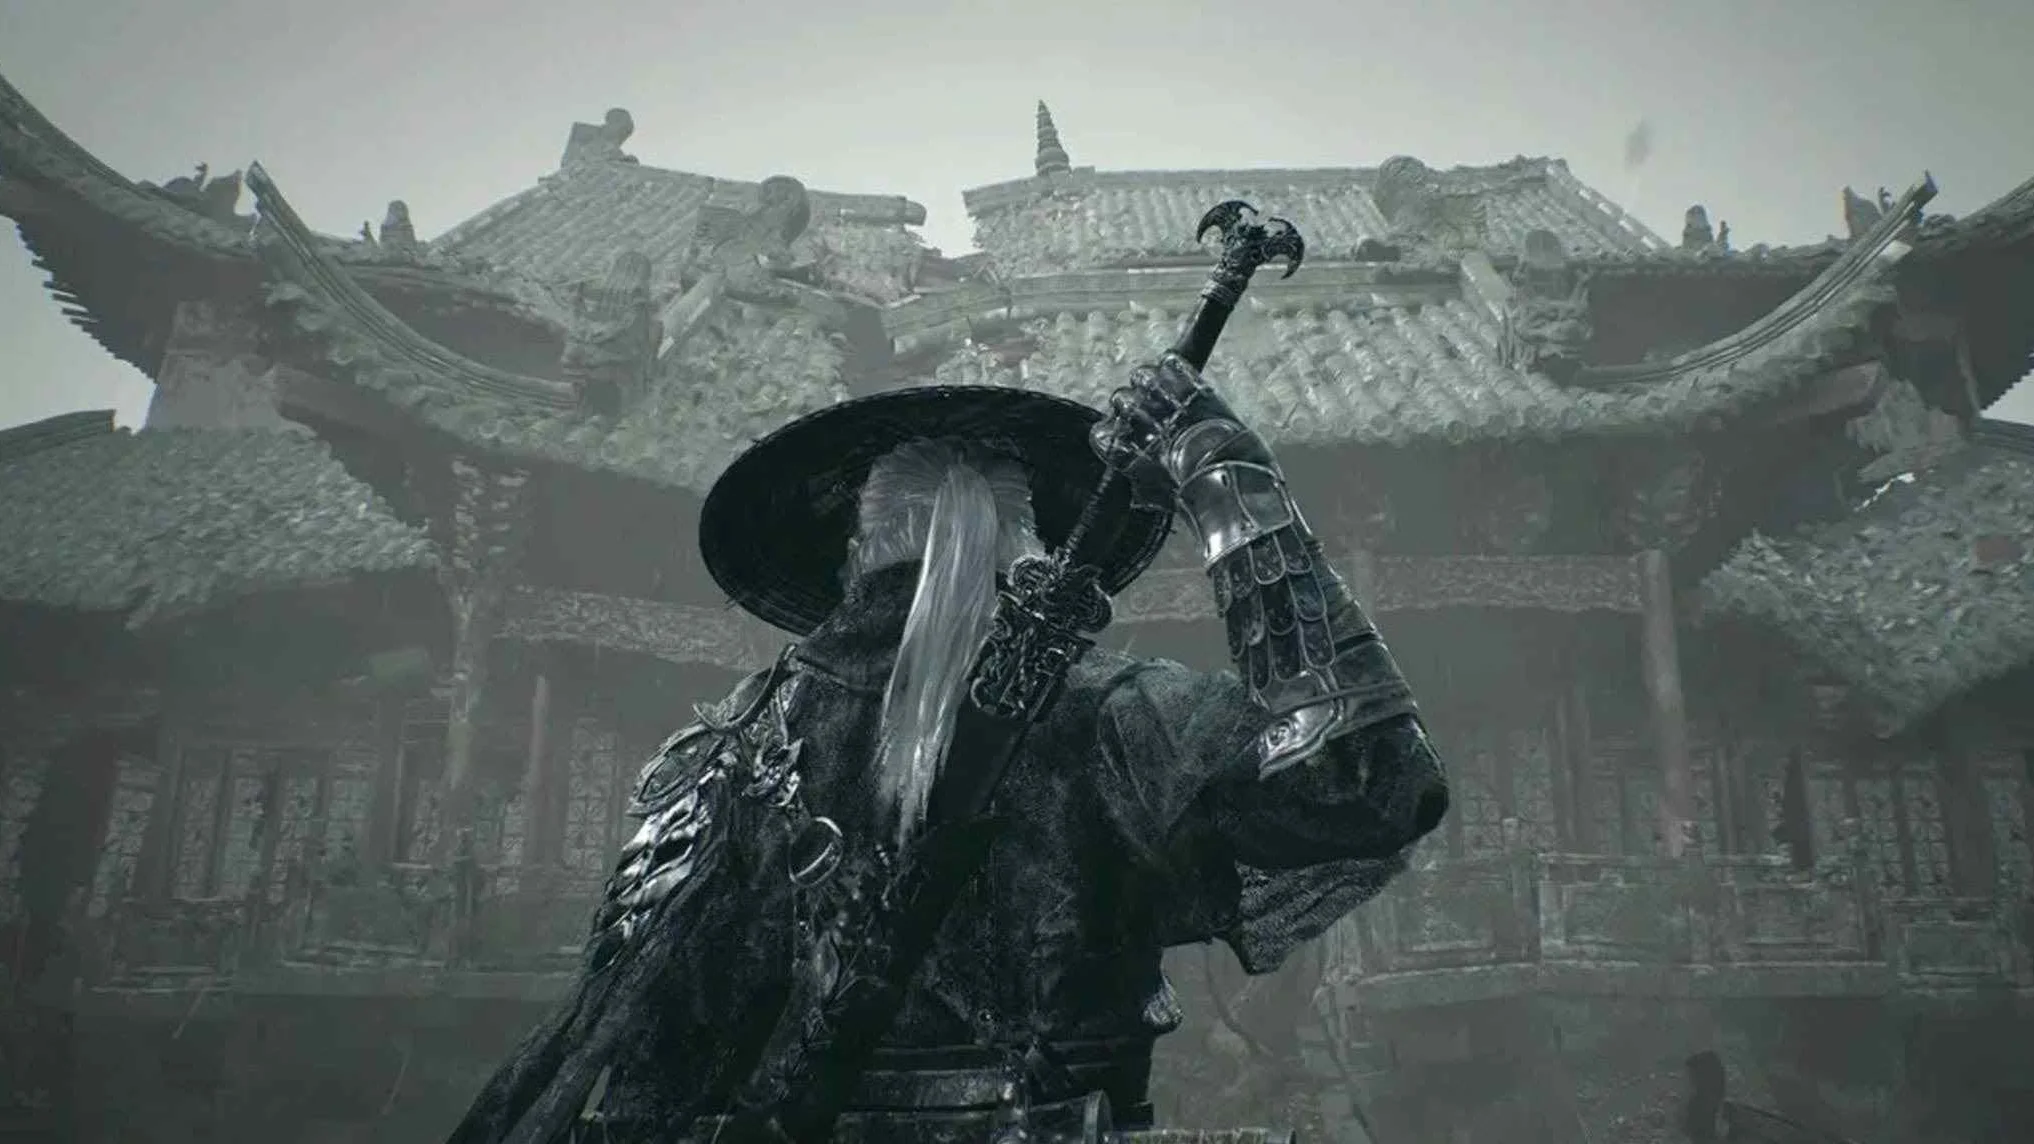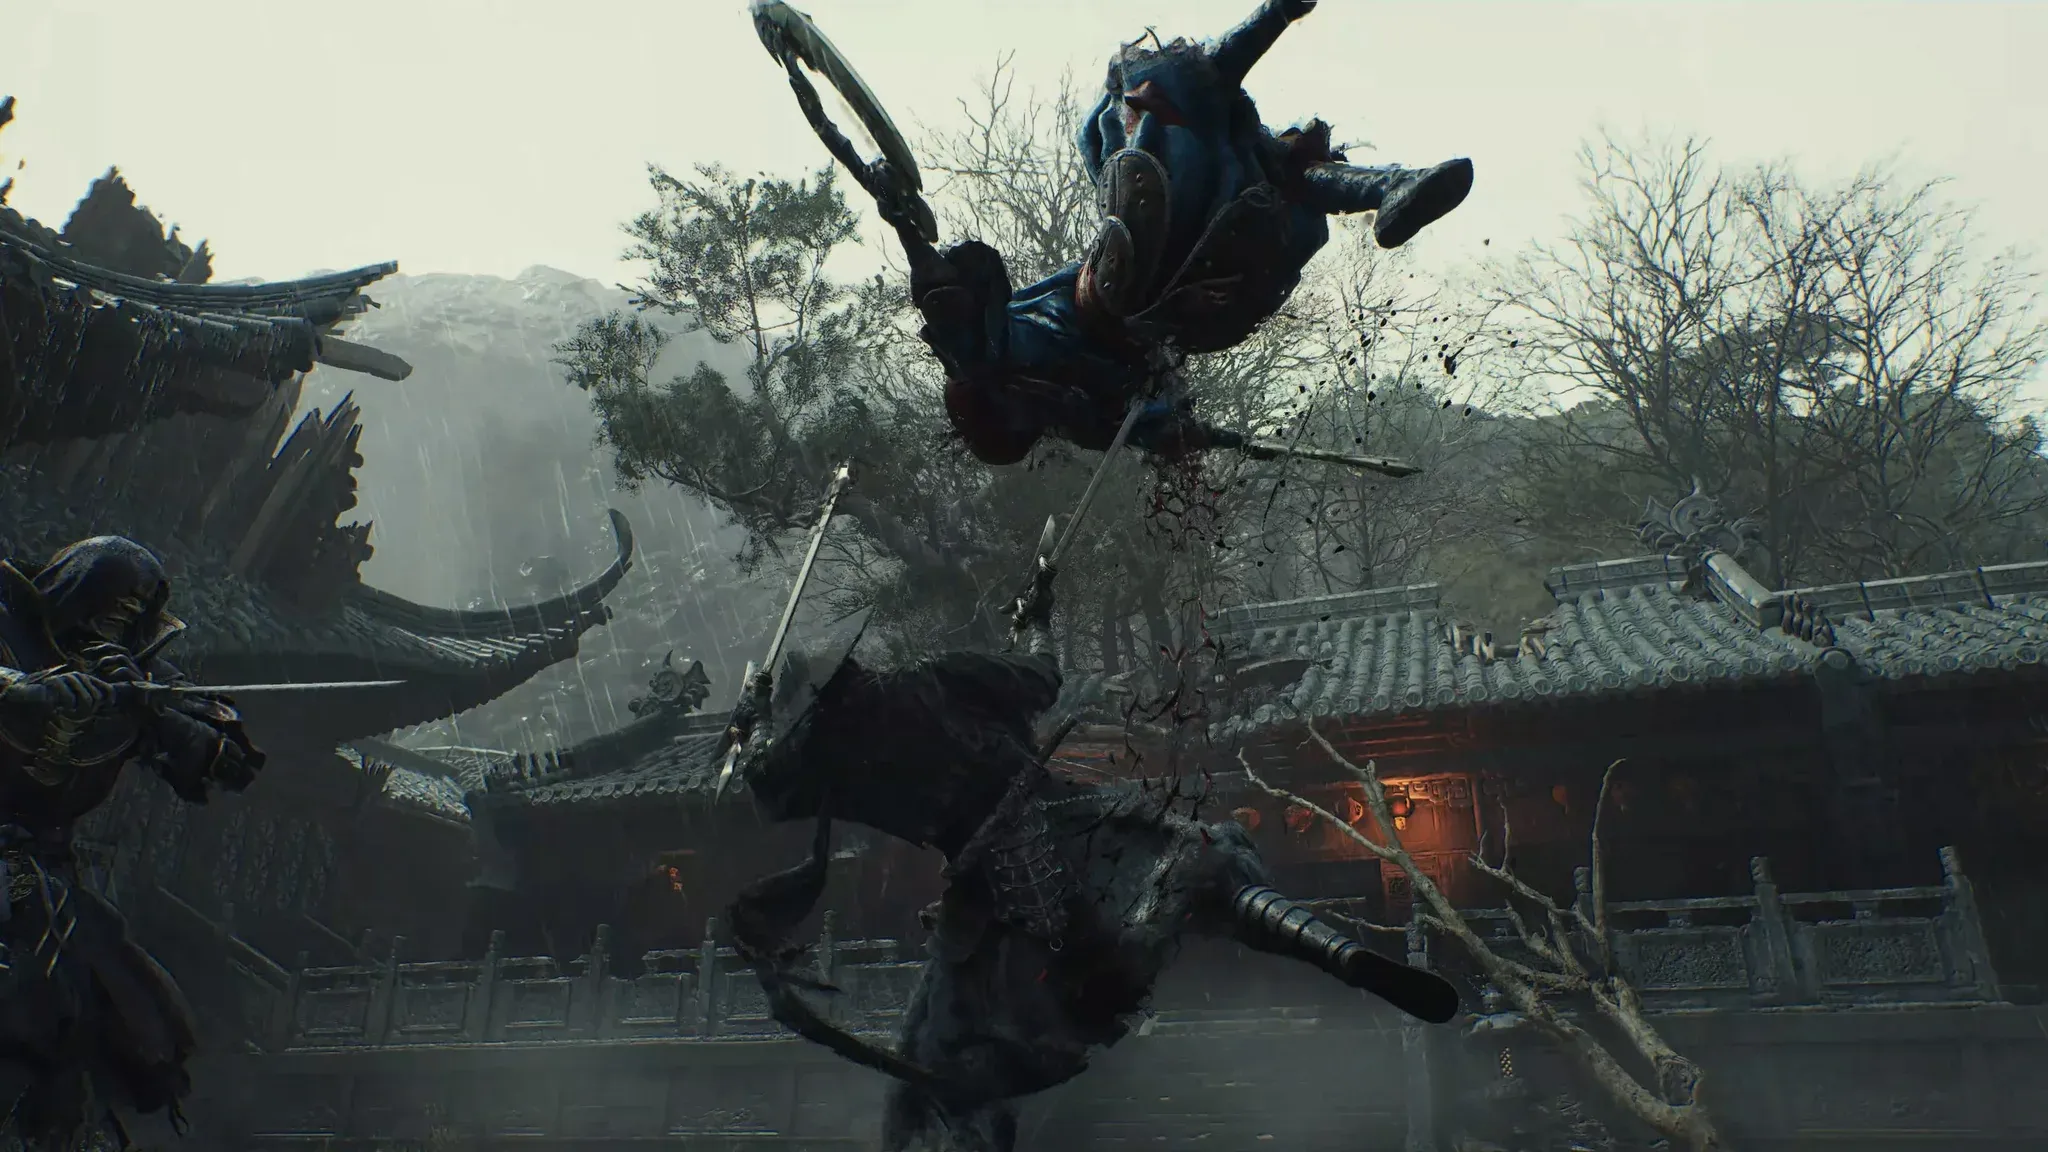
Phantom Blade Zero is built around one idea: every fight should feel like a martial arts film where you are the lead. Developed by S-GAME and described as Kungfu Punk, the combat system layers fast melee combos, a resource called Sha-Chi, two categories of dangerous enemy attacks, and a repositioning counter called Ghoststep into something that rewards reading over reacting. This guide breaks down every mechanic so you walk in knowing exactly what each flash of colour means and how to turn it into your best moment of the fight.
How does the core combat loop work?
Phantom Blade Zero's combat shifts constantly between offense and defense, and the engine driving both sides is Sha-Chi. Think of it as a dual-purpose resource: you spend it on powerful attacks, and you also burn it when you absorb hits. Running dry on Sha-Chi means your next blocked hit breaks through and deals full damage, so managing that gauge is the difference between controlling a fight and losing it.
Every enemy also carries its own Sha-Chi bar, visible when you lock on using R3. Landing normal attacks chips away at their gauge, and Sha-Chi Combos drain it faster. Once an enemy's Sha-Chi is depleted, they become fully open to direct attacks. That mechanic turns every fight into a two-track problem: deal enough pressure to break their guard while keeping your own gauge healthy enough to handle what they throw back.
What are the basic attacks and combos?
Normal attacks and full basic combos
The standard attack chain is straightforward: press the attack button up to four times in sequence to complete a Full Basic Combo. These cost no Sha-Chi, so they are your default tool for building pressure and chipping enemy gauges without draining your own resources.
Sha-Chi Combos
Sha-Chi Combos are stronger sequences that mix attack inputs to trigger more powerful strikes. The trade-off is that they consume Sha-Chi, so if your gauge is empty you will need a brief moment to recover before you can use them again. The upside is that they strip enemy Sha-Chi significantly faster than basic hits, making them the right tool when you want to crack a guarding enemy open quickly.
The mistake most players make early on is spamming Sha-Chi Combos without watching their own gauge. Burn it all on offense and you have nothing left to block the next Brutal Move.
Weapon switching and Sha-Chi recovery
You can equip two main weapons simultaneously and swap between them mid-fight by pressing the Left D-Pad. Here is why that matters beyond just variety: switching weapons fully recovers your Sha-Chi. That single mechanic makes weapon swapping a tactical decision, not just an aesthetic one. If your gauge is dangerously low mid-combo, a weapon switch buys you a full bar to work with.
For secondary weapons, you can equip up to two Phantom Edges and switch between them with the Right D-Pad. Activating a Phantom Edge uses R2, with some supporting a charged version on a hold input. Over 20 Phantom Edges are available, each expanding your combo potential in different directions. Some powerful enemies drop their own signature weapons and techniques on defeat, so experimentation throughout the game is worth it.
What are Brutal Moves and Killer Moves?
This is the most important mechanical distinction in Phantom Blade Zero. Every significant enemy attack belongs to one of two categories, and each demands a completely different response.
| Attack Type | Visual Signal | Can Block? | Can Parry? | Correct Response |
|---|---|---|---|---|
| Brutal Move | Blue flash | Yes (costs heavy Sha-Chi) | Yes (costs nothing) | Parry with L1 |
| Killer Move | Red flash | No | No | Dodge with R1 |
The colour flash fires just before the hit lands. Your only job in that moment is to read the colour and match the input. Using the wrong response is always worse than doing nothing: blocking a Killer Move drains Sha-Chi and still lets the full hit through, and attempting to parry a red-flash attack wastes the input entirely.
Parrying Brutal Moves
When you see a blue flash, you have two options. Holding your block input (L1) absorbs the hit but burns a large chunk of Sha-Chi, scaling with how powerful the attack is. A boss's Brutal Move costs noticeably more than a standard enemy's.
Timing it as a true parry instead (pressing L1 right as the hit connects rather than holding through the window) costs you no Sha-Chi at all, drains a significant amount from the attacker, and immediately triggers Ghoststep. In the early game, any defensive response to a blue flash is the goal. Tightening that response from a passive block into a true parry is the skill upgrade to work toward once reading the colour is automatic.
Dodging Killer Moves
Red flash means one thing: dodge. Blocking a Killer Move does not reduce damage at all. Pressing R1 backsteps, and using a directional input with R1 sidestepping. A well-timed dodge through a Killer Move triggers Ghoststep just like a well-timed parry does on Brutal Moves. When in doubt on timing, dodge slightly early rather than late. A clean miss is better than a late dodge that clips the hitbox.

Brutal Move blue flash parry
What is Ghoststep and why does it matter?
Ghoststep is the payoff for reading the colour system correctly. Land a well-timed parry on a Brutal Move or a well-timed dodge through a Killer Move, and Soul teleports instantly behind the enemy. That repositioning opens a brief window to land a backstab combo at boosted damage.
Two things make Ghoststep more than just a flashy counter. First, it refills part of your Sha-Chi gauge, which matters because the attacks you just defended against would have drained it if you had blocked passively instead. Second, since Power Surge (L2) costs one Sha-Chi Essence point and deals direct hits regardless of enemy defense, the moment right after a Ghoststep is often the best time to activate it. You just recovered resources, you are behind the enemy, and they are momentarily vulnerable.
The backstab window is brief. Have your next attack input ready before the teleport animation completes rather than pausing to decide.
How does the full defensive system fit together?
Block
Holding L1 enters a defensive concentration mode that blocks incoming attacks. Both holding the mode and absorbing hits consume Sha-Chi. It is a safety net, not a strategy. Leaning on it too heavily drains your gauge and leaves you unable to respond to Brutal Moves.
Dodge
Backstep with R1 or sidestep with a directional input plus R1. Dodging is your only answer to Killer Moves and also your mobility tool for repositioning against multiple enemies.
Parry
Tapping L1 right before a hit lands executes a parry. A clean parry waives your Sha-Chi cost entirely, strips a hefty amount from the attacker, and triggers Ghoststep. Each successful parry also generates Sha-Chi Essence, feeding your Power Surge.
Ghoststep and backstab
Triggered by a well-timed parry or dodge. Teleports Soul behind the enemy and opens the backstab window. Refills part of your Sha-Chi gauge.
Power Surge
L2 activates Power Surge, a combo that lands direct hits regardless of the enemy's current defense state. Each use costs one Sha-Chi Essence point. Build Essence through normal attacks, parries, and Ghoststeps.

Ghoststep backstab counter window
How do boss fights change the rules?
Boss fights in Phantom Blade Zero are not about HP sponges. Bosses use different martial arts styles, wield large weapons, and chain fast attack sequences that mix Brutal Moves and Killer Moves in quick succession. The colour-flash system still applies, but the stakes are higher: a boss's Brutal Move drains significantly more Sha-Chi on a passive block than a standard enemy's, and Killer Moves deal substantial damage if you dodge late.
The core approach stays the same: read the flash, match the input, land Ghoststep, use the backstab window. What changes is the pressure to do it consistently rather than occasionally. Bosses will also use aerial attacks and rapid combo strings between the telegraphed moves, so staying mobile matters. You can chain aerial attacks directly into ground combos, and using quick relocation in either direction keeps enemies from controlling your position.
Progression in boss fights comes from pattern recognition, not character levels. The more familiar you are with a boss's attack rhythm, the more consistently you can turn their most dangerous moves into your biggest damage windows.
What is the assassination mechanic?
Approaching an unaware enemy from behind or above lets you trigger an Assassination by pressing the attack input. This bypasses the combat system entirely for eligible targets and is the cleanest way to open a fight when stealth is available.

Assassination on unaware enemies
How does mobility connect to everything else?
Mobility in Phantom Blade Zero is not just about dodging. You can attack while moving, close large gaps quickly, leap over enemies to escape pressure, and chain aerial attacks directly into ground combos without losing momentum. Against groups of enemies or extended fights, quick relocation in either direction lets you control spacing, create openings in enemy attack cycles, and avoid being surrounded.
The design intent is clear: fights should move fast and stay cinematic. Standing still and trading hits is almost always the wrong call.
For more on editions, pricing, and what to expect before launch, check the Phantom Blade Zero pre-order guide. If you need regional unlock times and preload steps, the release time and preload guide has everything you need. For the full collection of tips and system breakdowns, the Phantom Blade Zero strategy guides hub is the place to start.