Search games, articles, guides...CtrlK
Sign InGet Started
Rank every Omamori in Silent Hill f with our complete tier list. Find the best protective charms and hidden locations to dominate combat.

Written by Mostafa Salem
Head of Gaming Research
See more GAMES.GG guides on Google
Add us as a preferred source and our guides show up first in your results.

Silent Hill f Sanity Meter and Focus System Explained
Learn how Silent Hill fs Focus mode and sanity meter work together to create devastating attacks while managing psychological horror.

Silent Hill f Collectibles Guide
Find every collectible location in Silent Hill f with detailed maps, difficulty variations, and trophy unlock strategies.
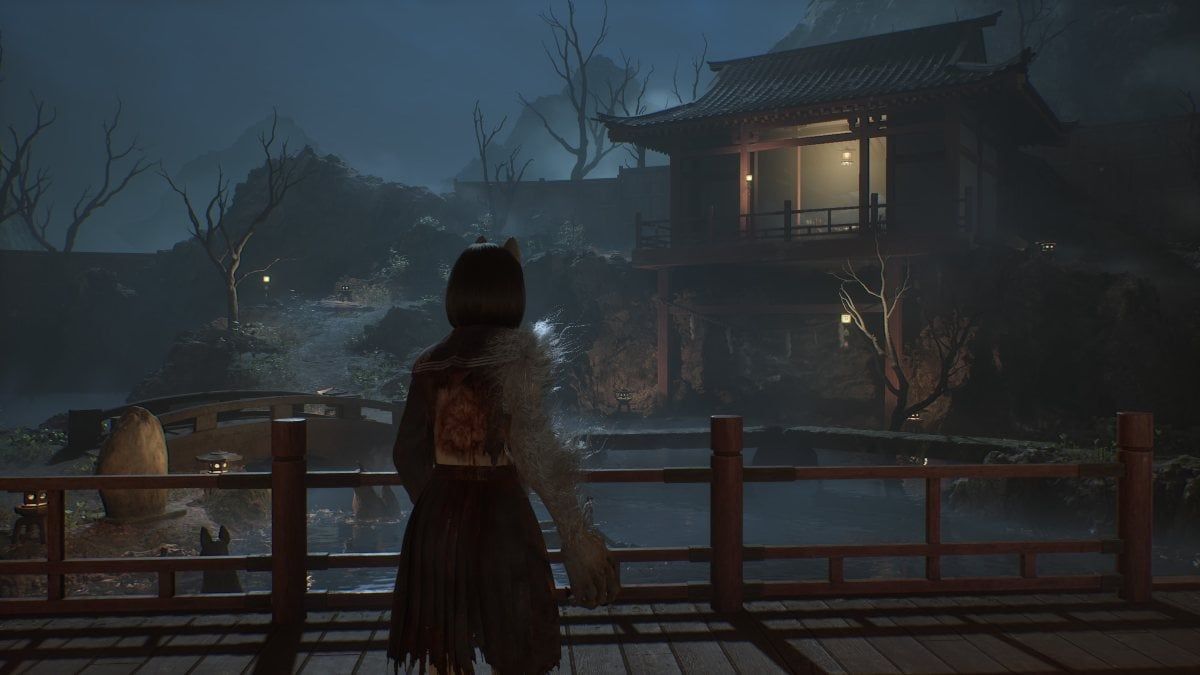
Silent Hill f Crimson Waters Puzzle Complete Solution Guide
Master the Crimson Waters bell sequence puzzle in Silent Hill f with our step-by-step solution guide for all difficulty levels.
Navigating the fog-shrouded streets of Ebisugaoka becomes significantly easier when you've equipped the right protective charms. Omamori function as your lifeline in Silent Hill f, offering crucial passive abilities that can mean the difference between survival and becoming another victim of the town's nightmarish entities. With over 30 different charms available, knowing which ones deserve your precious equipment slots is essential for conquering this psychological horror masterpiece.
Omamori serve as Silent Hill f's equipment system, providing passive bonuses that enhance your survivability and combat effectiveness. You start with a single slot but can expand to three total slots by spending Faith and rare Ema items at Hokora shrines.
These protective charms fall into two categories: those obtained through shrine draws using Faith, and hidden variants scattered throughout Ebisugaoka and the Dark Shrine. Each offers unique benefits ranging from basic stat boosts to specialized combat advantages.
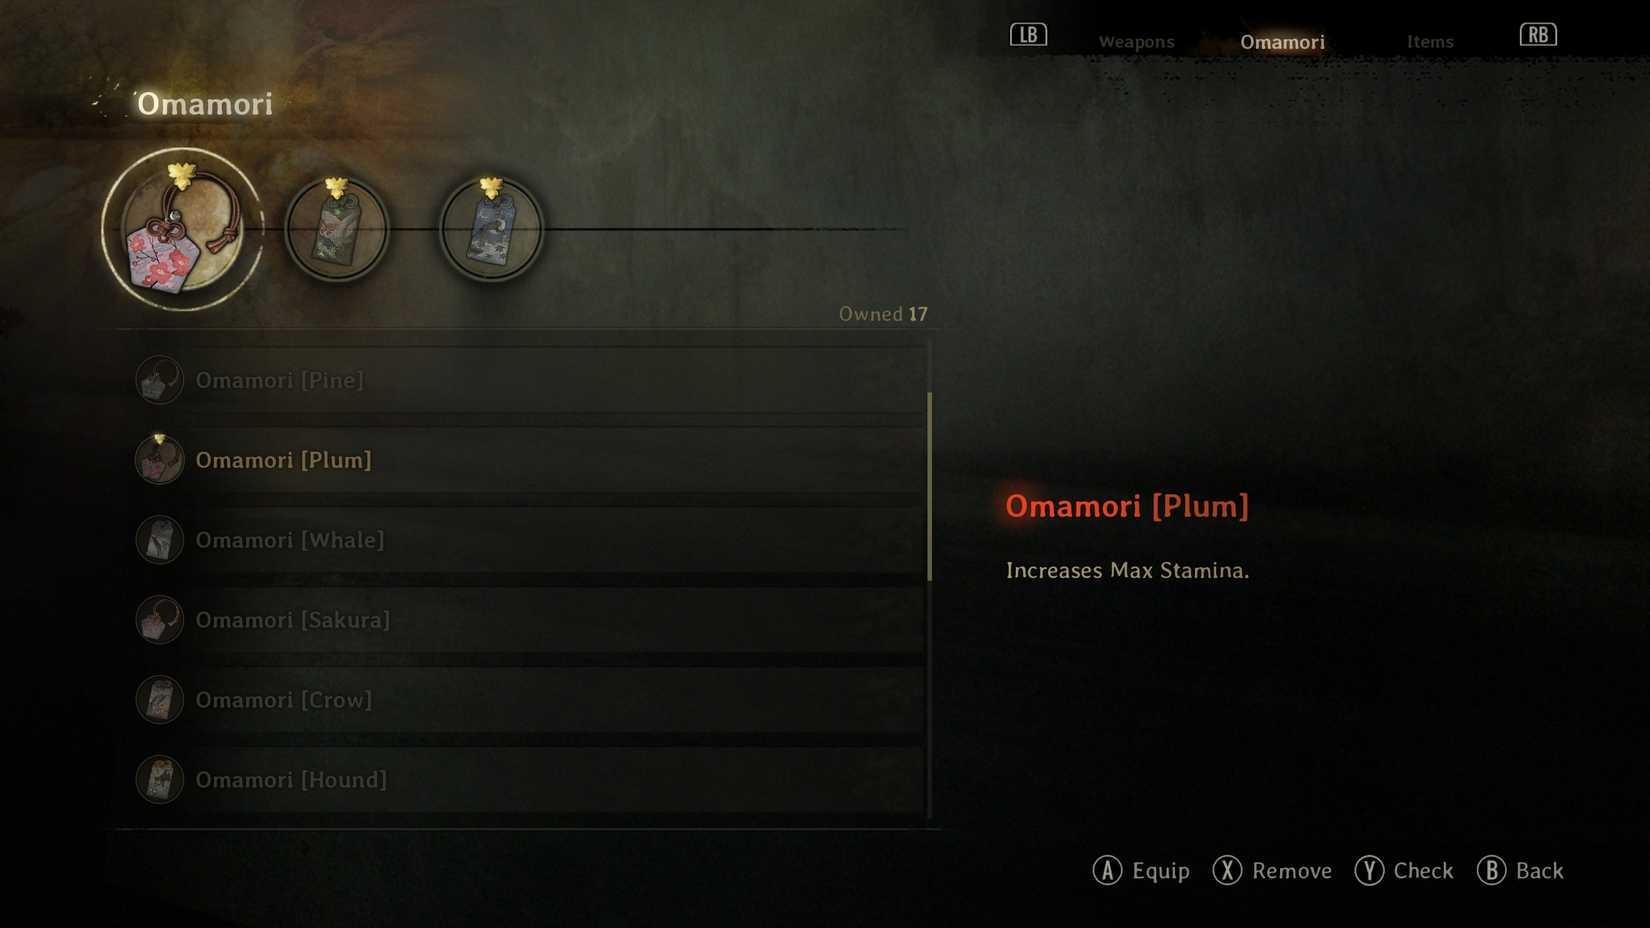
Silent Hill f Omamori Tier List & Locations: Master Your Charms
| Omamori | Effect | Why It's S-Tier |
|---|---|---|
| Boar | Greatly increases Stamina recovery speed and shortens Out of Breath duration | Universal utility for all combat scenarios |
| Hawk | Greatly decreases Focus charging time | Enables consistent high-damage Focus attacks |
| Crow | Slightly restores Health after defeating enemies | Reduces healing item dependency significantly |
| Spider | Greatly decreases weapon durability consumption from Light Attacks | Essential for exploration outside Dark Shrine |
These four Omamori provide benefits that remain valuable throughout your entire playthrough. Boar ensures you can dodge, attack, and sprint without constant stamina management, while Hawk transforms Focus attacks from situational tools into reliable damage dealers.
Silent Hill f Omamori Tier List & Locations: Master Your Charms
The A-tier contains Omamori that excel in specific scenarios or complement particular playstyles:
Sakura enhances healing item effectiveness and boosts other Omamori effects, making it incredibly valuable when paired with Crow or Mantis. Pine provides straightforward survivability through increased maximum health, while Owl becomes crucial for Focus-heavy builds by reducing sanity consumption.
Mantis offers healing through successful counters, rewarding skilled players who master the timing-based counter system. Plum increases maximum stamina, providing more opportunities for aggressive combat or emergency escapes.
B-tier Omamori serve specific purposes but have limited applications:
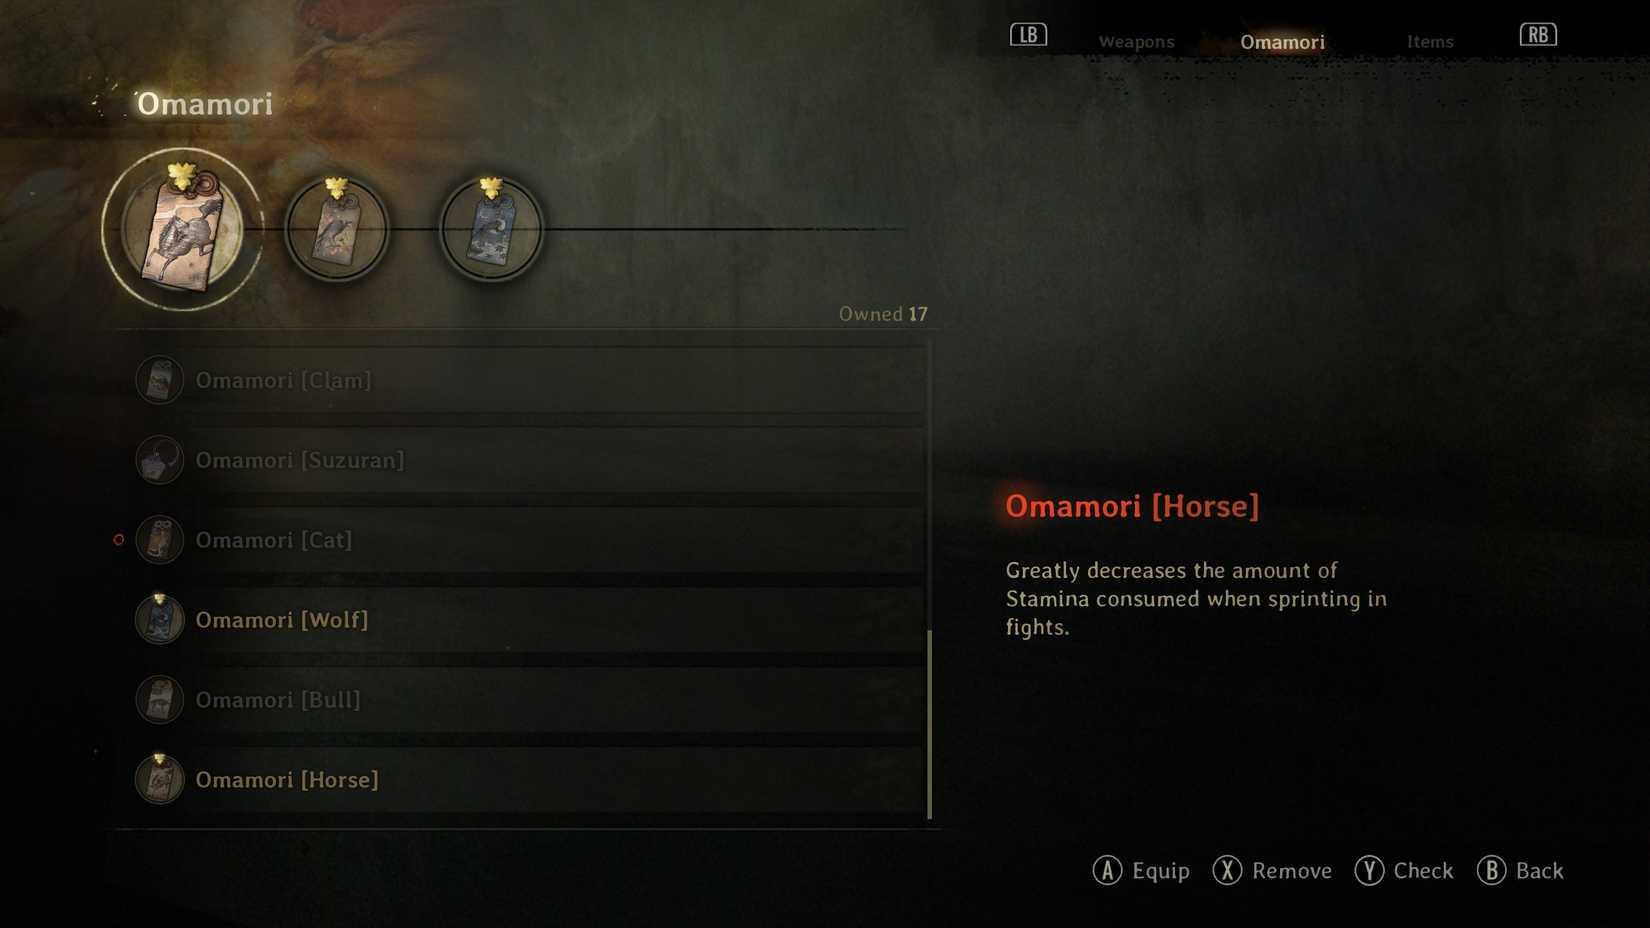
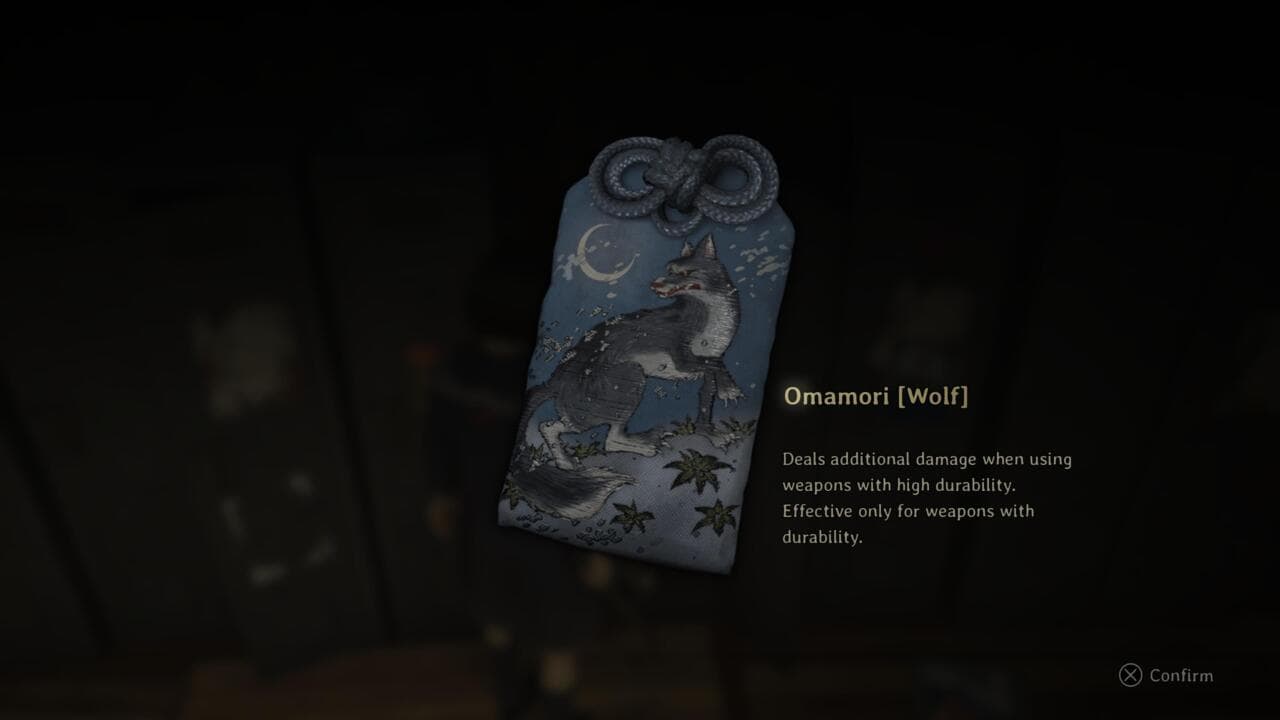
Wolf deals bonus damage with high-durability weapons but becomes useless in the Dark Shrine where weapons lack durability. Horse reduces stamina consumption while sprinting during combat, though combat rarely requires sustained sprinting.
Blessed Hand Mirror provides a one-time death save but breaks after use, making it more of an emergency option than a consistent benefit. Bamboo, Crab, and Willow offer minor improvements to sanity management and Focus usage.
Silent Hill f Omamori
Clam decreases enemy detection range, but you can easily avoid or outrun most enemies without this effect. Hound restores sanity after defeating enemies, which is unnecessary since sanity automatically recovers outside combat.
Bear increases stun power when weapon durability is low, but weapons break quickly at low durability, making this effect impractical.
Whale becomes available early in Ebisugaoka. Enter the first accessible house, grab the key from upstairs, unlock the back door, and climb down the ladder behind the building.
Cat requires completing the Shrine Vault puzzle. Look for an orange cat ema with a blue background on the southwestern board - the Omamori is attached to its reverse side.
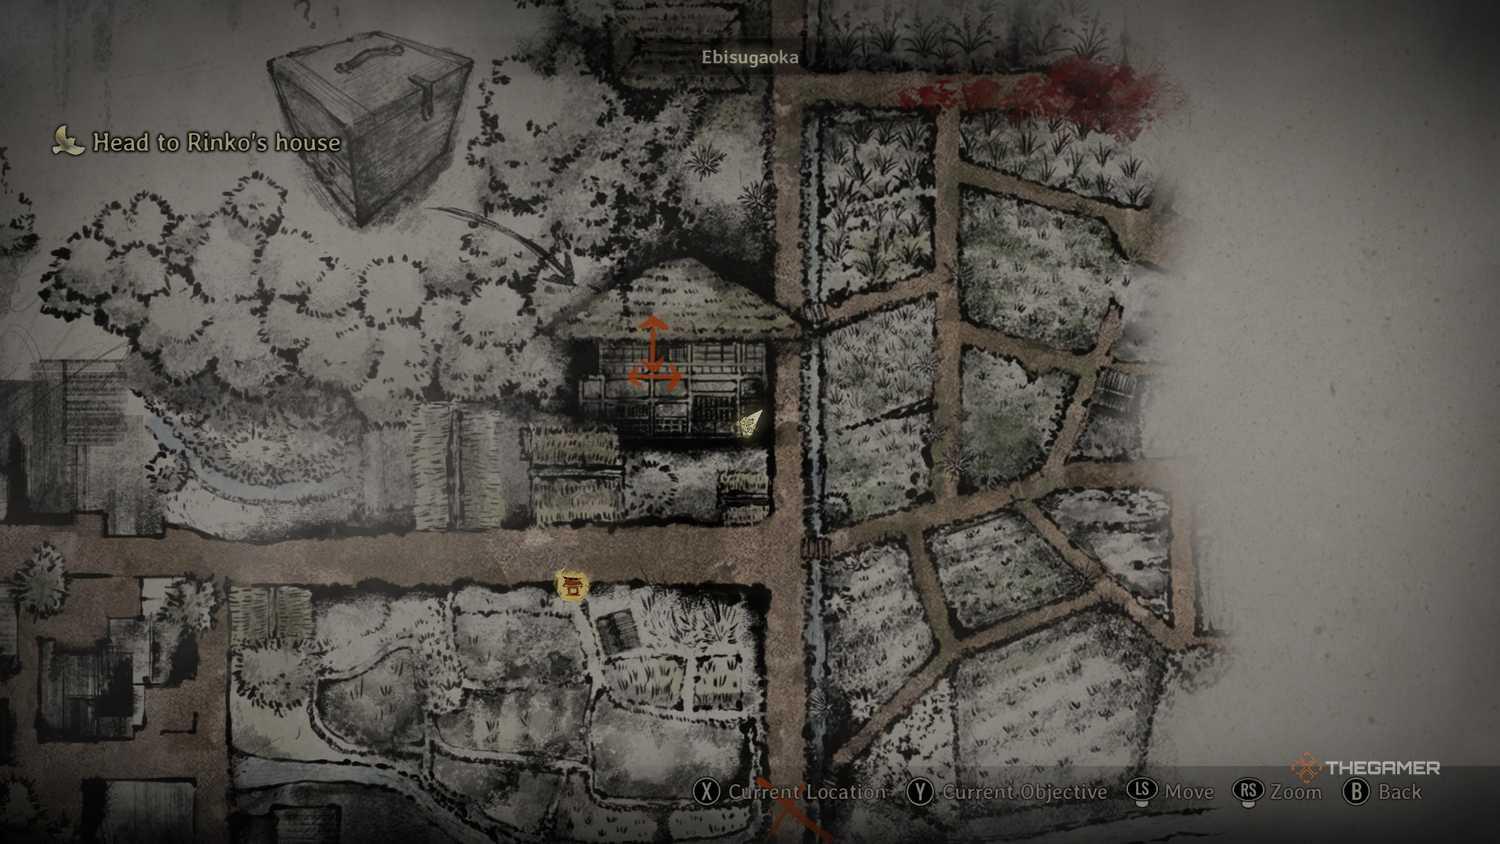
Pine is hidden in the doctor's house near Rinko's residence. Use the back ladder to reach the second floor, retrieve the living room key, unlock the upstairs drawer for a note, then access the previously locked room.
Omamori In Silent Hill f
Spider requires obtaining Sakuko's Mailbox Key from the northern farm shrine, then using it to access the southwestern house marked with a pigtailed girl icon.
Hawk appears in the Dark Shrine Corridors after reaching the second area section. Look for it in a room immediately after discovering you need the missing gate key.
Wolf is stored in locker "TT" at the middle school with combination code 377.
Several Omamori become available only during specific story sequences or in New Game Plus playthroughs. Crow unlocks after receiving the ritual arm, allowing access to previously blocked doors. Hound appears in the Treasure Hall maze - take the first right door after passing through the initial fox statue.
New Game Plus adds four exclusive Omamori: Shrew Mole behind the giant tree in the southeastern Shrine Path, Rabbit in the expanded town areas, Swallow through a new Worship Hall gap, and Goat in the mountain hut where you originally found the gate key.
This combination maximizes survivability through enhanced stamina recovery, passive healing, and a larger health buffer.
Perfect for players who rely heavily on Focus attacks and want to maintain weapon durability during extended combat sequences.
How To Get More Omamori In Silent Hill f
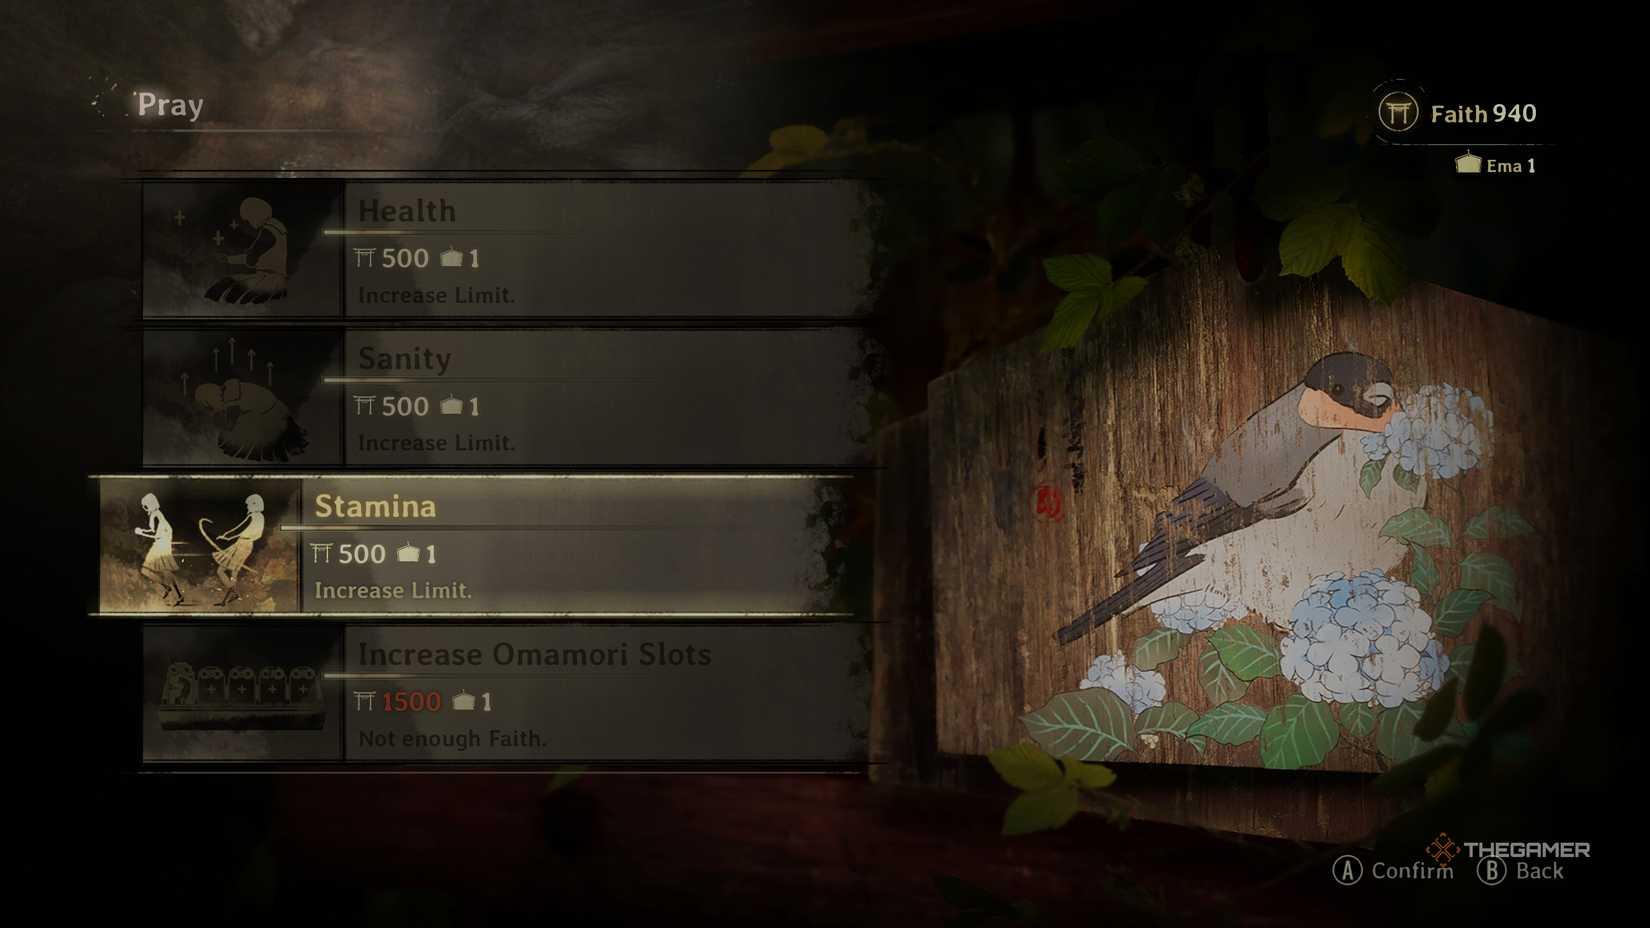
Drawing Omamori from Hokora shrines starts at 400 Faith and increases by 100 with each draw, capping at 1,000 Faith. With 23 shrine-exclusive Omamori available, you'll need substantial Faith investment.
Prioritize unlocking additional slots first - each slot costs 1,500-3,000 Faith plus one Ema. Having multiple equipment slots provides more value than individual Omamori draws.
Ema are rare collectibles required for slot upgrades and certain abilities. Balance your Ema usage between Omamori slots and health increases based on your playstyle and difficulty setting.
Certain Omamori combinations create powerful synergistic effects. Sakura amplifies the healing from Crow and Mantis, while Boar enables more aggressive use of Hawk-enhanced Focus attacks.
The Spider and Wolf combination works excellently early in weapons' durability cycles, allowing you to deal bonus damage while preserving weapon condition through reduced light attack consumption.
Understanding these interactions helps you build cohesive equipment setups rather than simply equipping the highest-tier individual Omamori.
Your Omamori selection should adapt to your current challenges - prioritize survival options during difficult boss encounters, then switch to exploration-focused builds when navigating Ebisugaoka's dangerous streets. The flexibility to change your loadout at any time makes experimentation both safe and rewarding. Omarmori is just one part of the combat system in this game. If you want to learn more about the sweet stuff, which are the weapons, head on over to our weapons guide to learn the best weapons to slay them all.