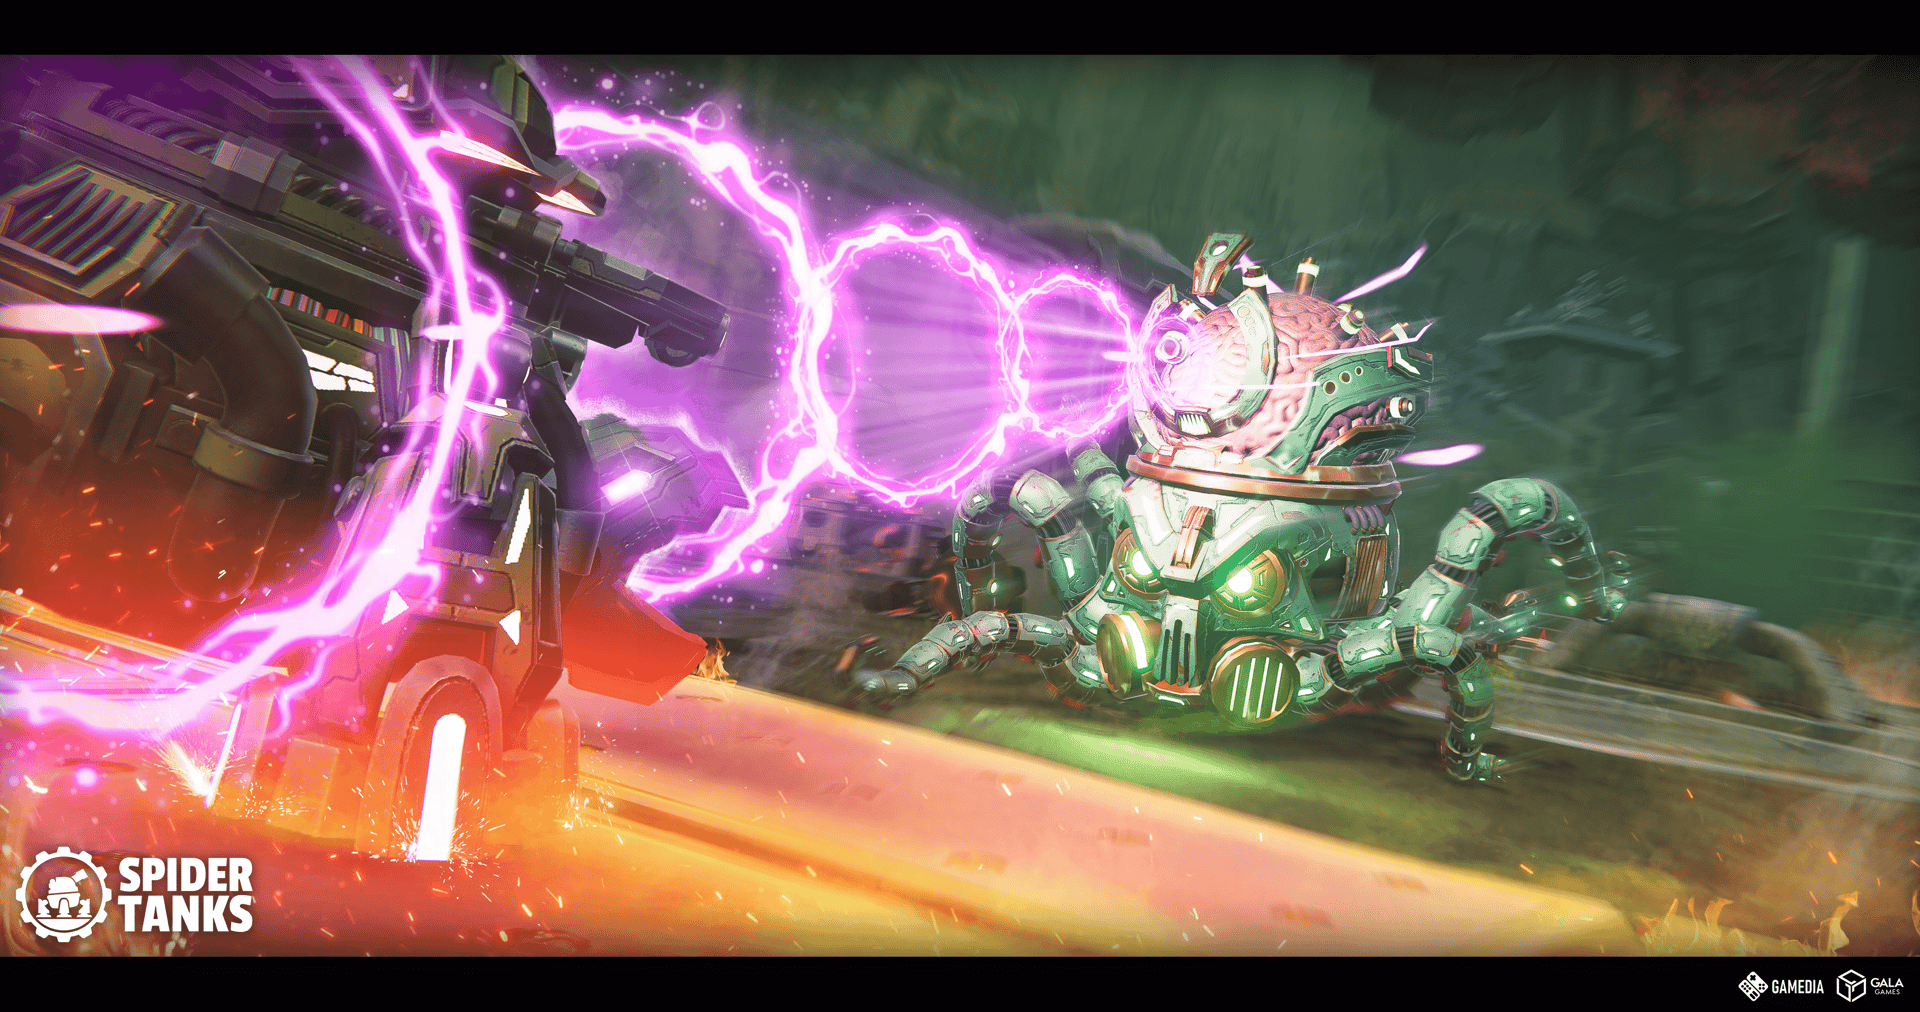

Spider Tanks is a fast-paced PVP brawler where you pick from different tank bodies, weapons, and abilities. The game offers multiple modes and lets you play with friends or go solo. With so many options to choose from, this guide breaks down the essentials to help you dominate the battlefield.
Game modes
When you launch Spider Tanks, you can prep your build in the Garage. From that same menu, you pick one of 5 game modes. Each match lasts up to two minutes. Battle Matchmaking drops you into a random map with two teammates for a 3v3 fight.
Battle Matchmaking
This mode cycles through several objective-based matches. You get randomly assigned to one. Below, we cover each match type and how to get an early edge.
Team Deathmatch
Kill more enemies than the other team. Health pads restore roughly 50% of your health, so use them to stay alive. At the start, check the enemy loadouts and adjust your strategy before they gain momentum.
Kill Confirmed
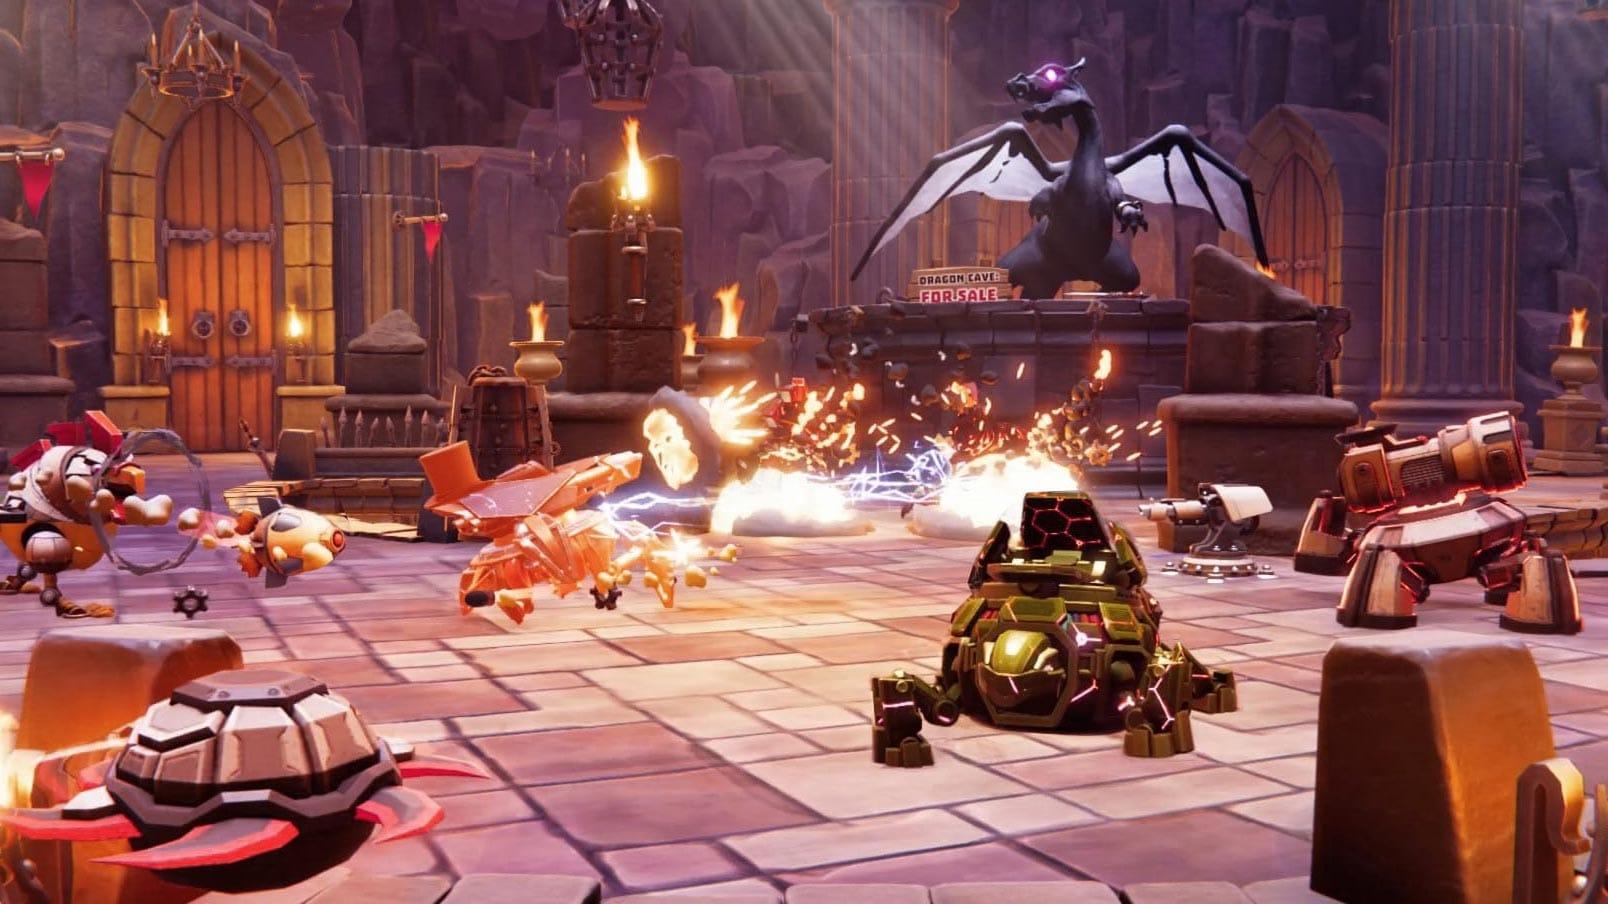
You need to kill enemies and collect the eggs they drop. The team with the most confirmed kills wins. If you're ahead, guard your team's eggs until the timer expires to stop the enemy from collecting them.
Chicken Chaser
Collect chickens from the map and deposit them into barrels. You have to stand still for about 1.5 seconds while depositing, which makes you an easy target. You can carry multiple chickens and deposit them one by one. Killing an enemy who's carrying chickens doesn't release them. Focus on enemies who are depositing to disrupt their score.
Poultry Pusher
Each team has a giant chicken that needs to reach a destination. Stand near your chicken to move it forward. Two teammates near it push it at maximum speed. The progress bar at the top shows a pause icon, a down arrow, or up arrows. Two up arrows mean max speed. A down arrow means enemies are near and your chicken is moving backward. Win by getting your chicken to the destination first or making the most progress before time runs out. Split your team: two push your chicken, one harasses theirs.
King of the Hill
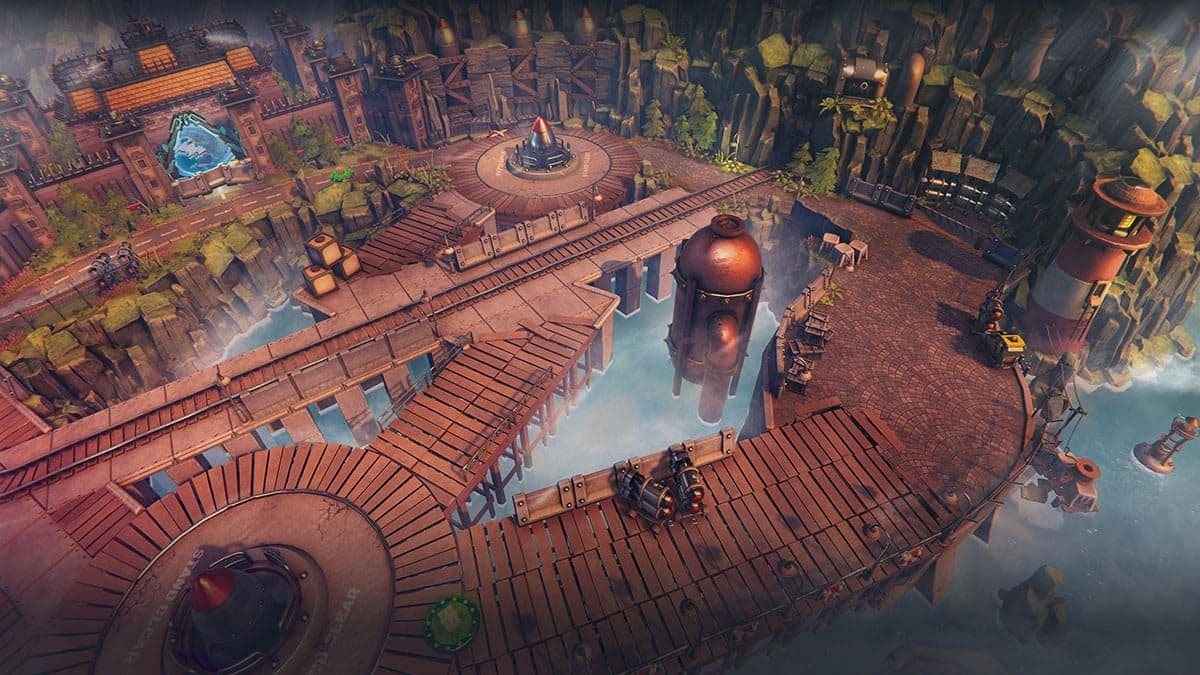
Control and defend a randomly placed control point. The point starts neutral. Secure it first, then the enemy has to neutralize and recapture it to score. Heavy tanks work well here because of the close-quarters fighting. Drop area-of-effect abilities on the point when enemies cluster there.
Capture the Flag
Grab the flag and hold it to score points. Your team scores as long as the flag carrier stays alive. The team with the most points when time expires wins. Protect your flag carrier. Keeping them alive is the key to victory.
Exhibition
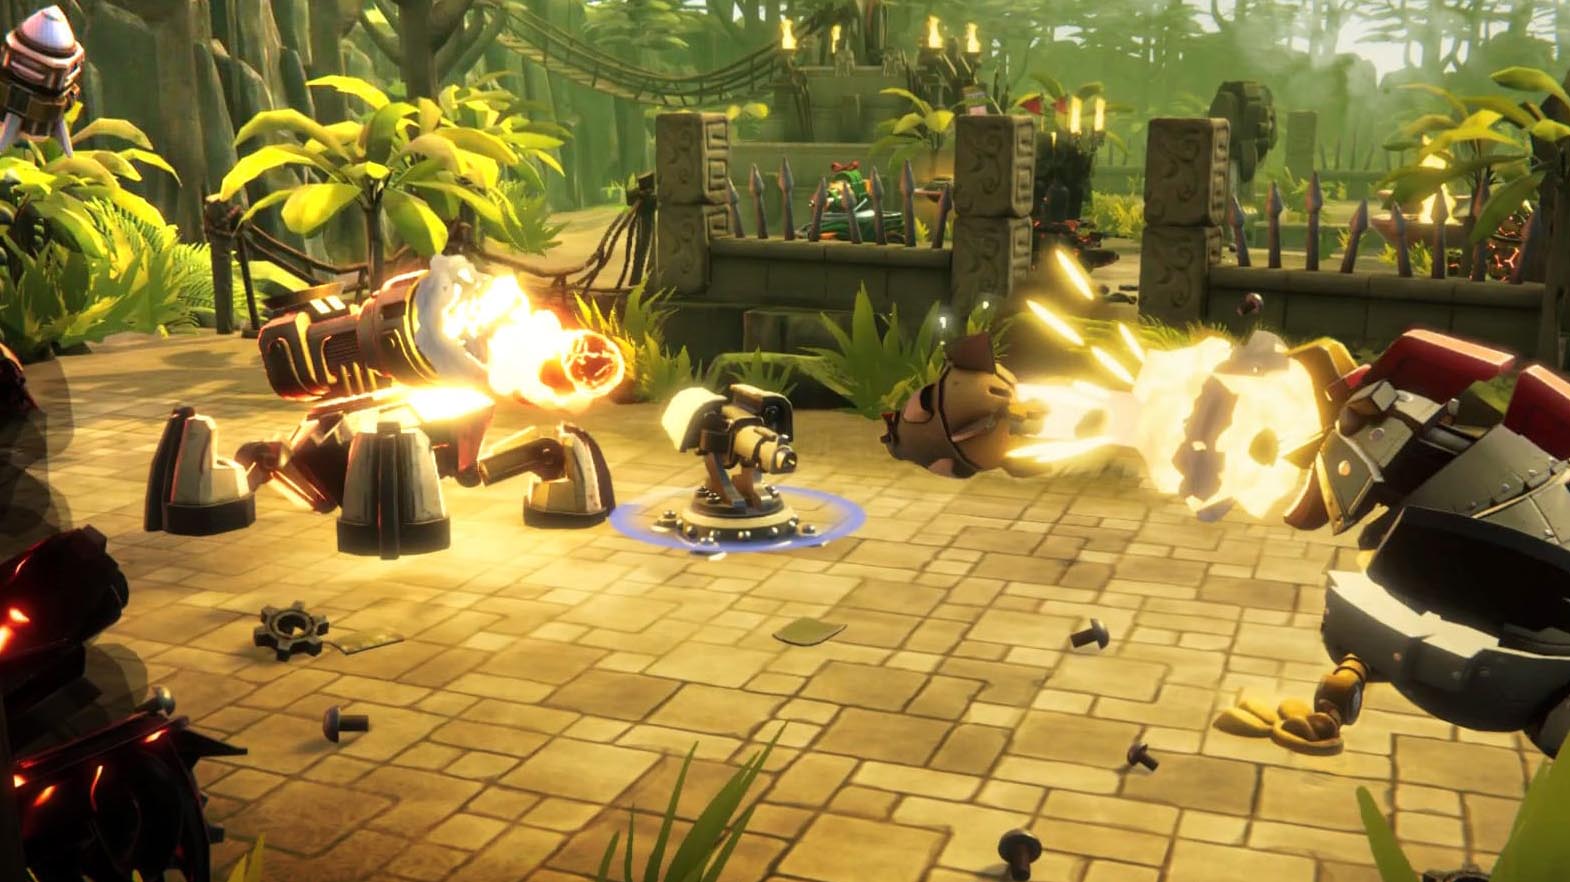
This mode doesn't affect your Battle rating or let you earn rewards. It's for fighting friends. Use it to test team tactics and loadout combinations.
Shooting Range
In the Shooting Range, you can equip all available tank bodies, weapons, colors, and abilities to practice. New players should use this mode to find their playstyle before spending money on bodies and weapons. It's useful for learning how bodies move and how weapon projectiles travel.
Survival
Test yourself against waves of NPC enemies and see how long you last. Equip your tank, weapon, and abilities, then shoot a bell to start. You fight enemies in 1v1 battles until you die. This mode lets you test weapons and body durability in real combat, not just against dummies in the Shooting Range.
Maps
Death Canyon
Two sides of a canyon connected by bridges. Health pads sit near or on the bridges, so teams fight for middle control. The center bridge has barricades that block missiles and projectiles but let elemental weapons like the Shocker pass through. Use the barricades when fighting projectile-heavy enemies while firing elemental weapons over them.
Arctic Base
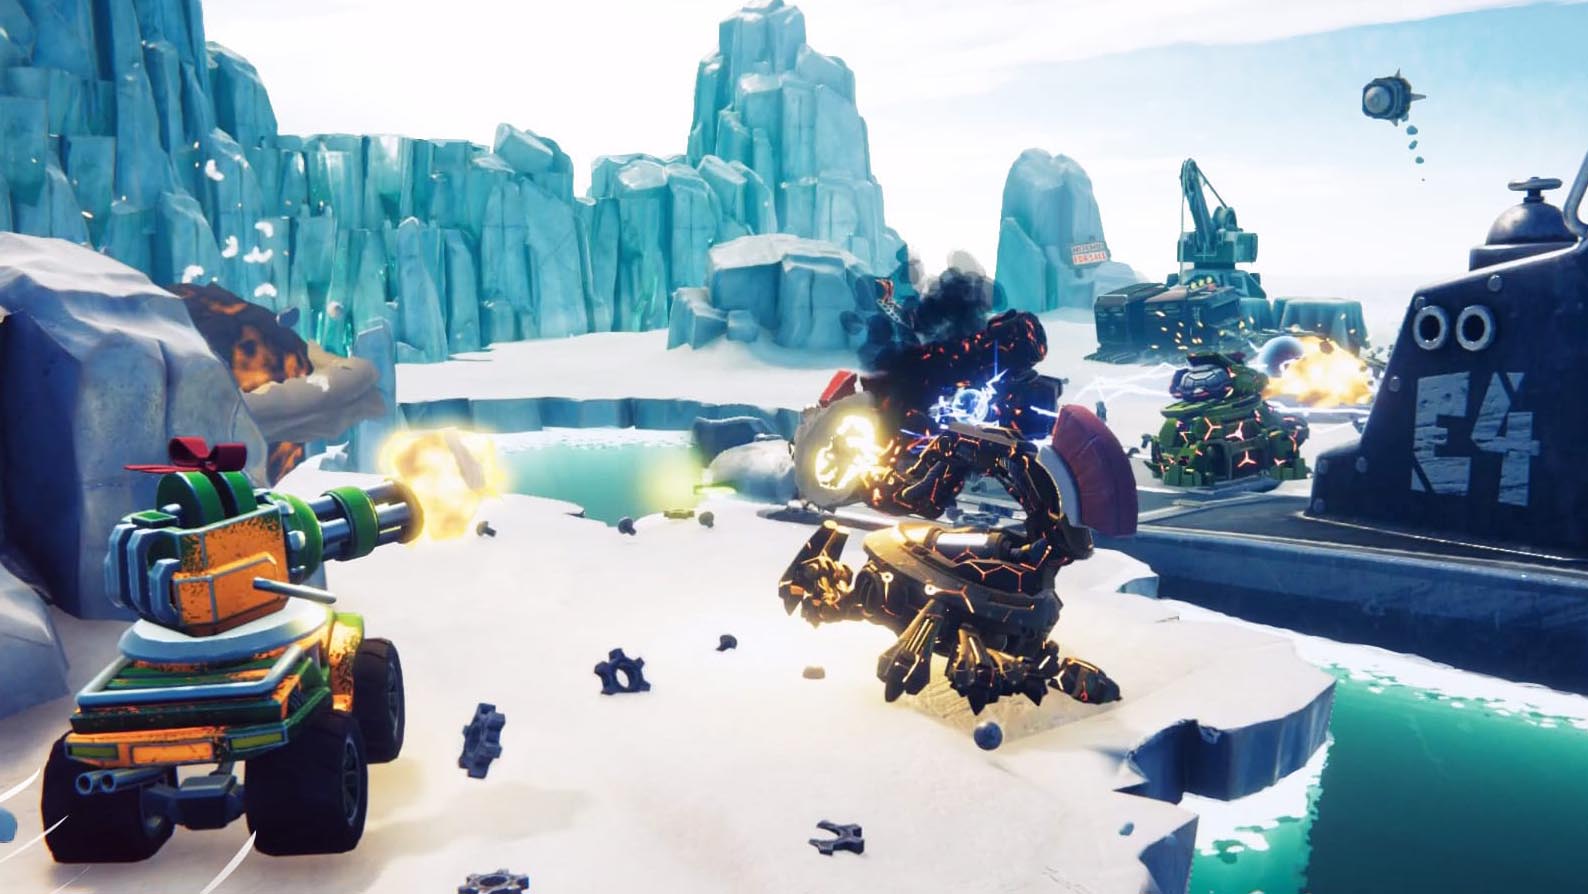
An icy map with a bridge connecting two land masses and another ice patch linking them on the north side. Both connections have health pads. The water between the land masses has no walls, so you can fire projectiles and elemental weapons across it. Both teams can stay at range.
Safe Haven
A map with walls in the middle, a railroad, and two bases on each side. Most boundaries are covered in barricades and walls, so you can use them as cover from projectiles. Artillery and Air Strike work well here.
Dragon Cave
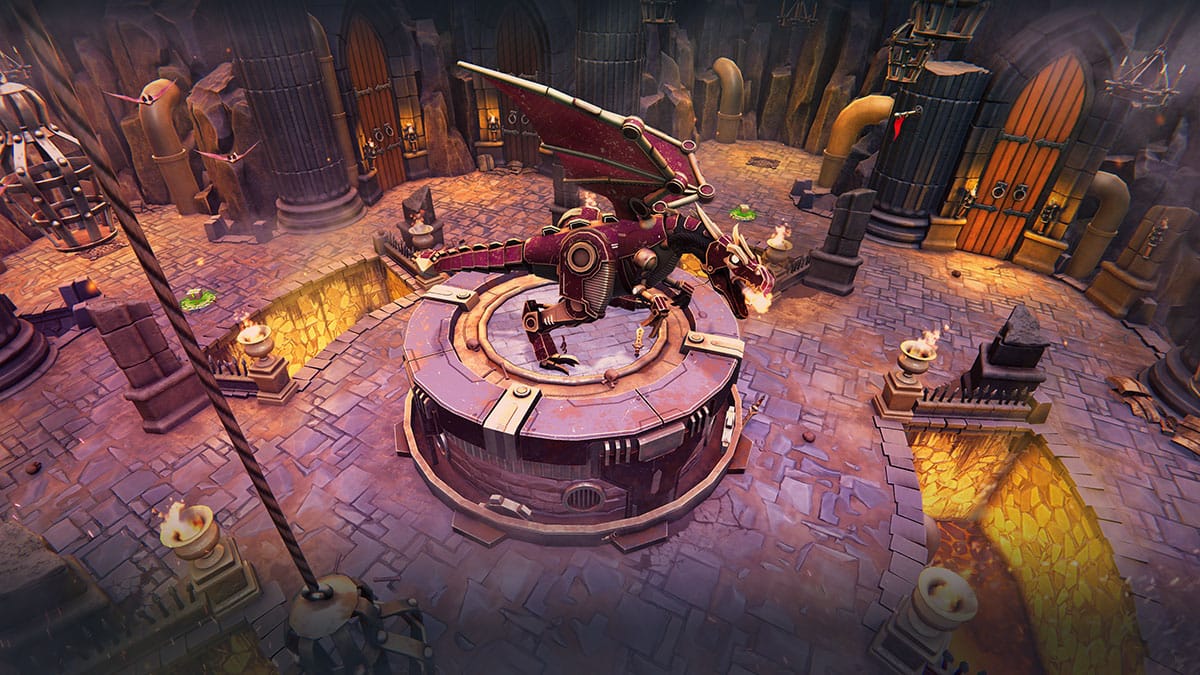
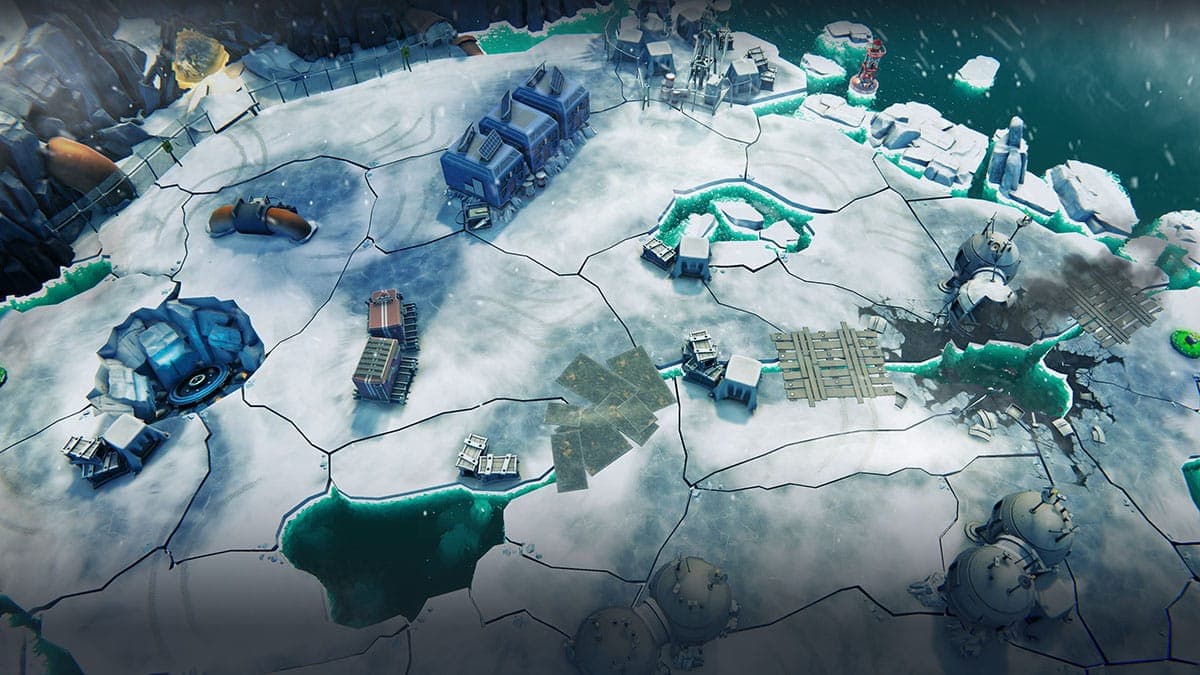
A dragon statue sits in the middle with a circle of stone land around it. Fast tanks can use the statue as cover and loop around the outer circle to flank enemies. This is one of the bigger maps, so you can surprise opponents.
Forsaken City
This map has 4 teleport pads that instantly move you to the matching pad on the other side. Both teams can use them to escape or chase. If you're low on health and being chased, teleport and drop an attacking ability like Air Strike where the enemy will land. Another tactic: camp a teleport pad with a Flamethrower and burn enemies as they appear.
Steaming Stronghold
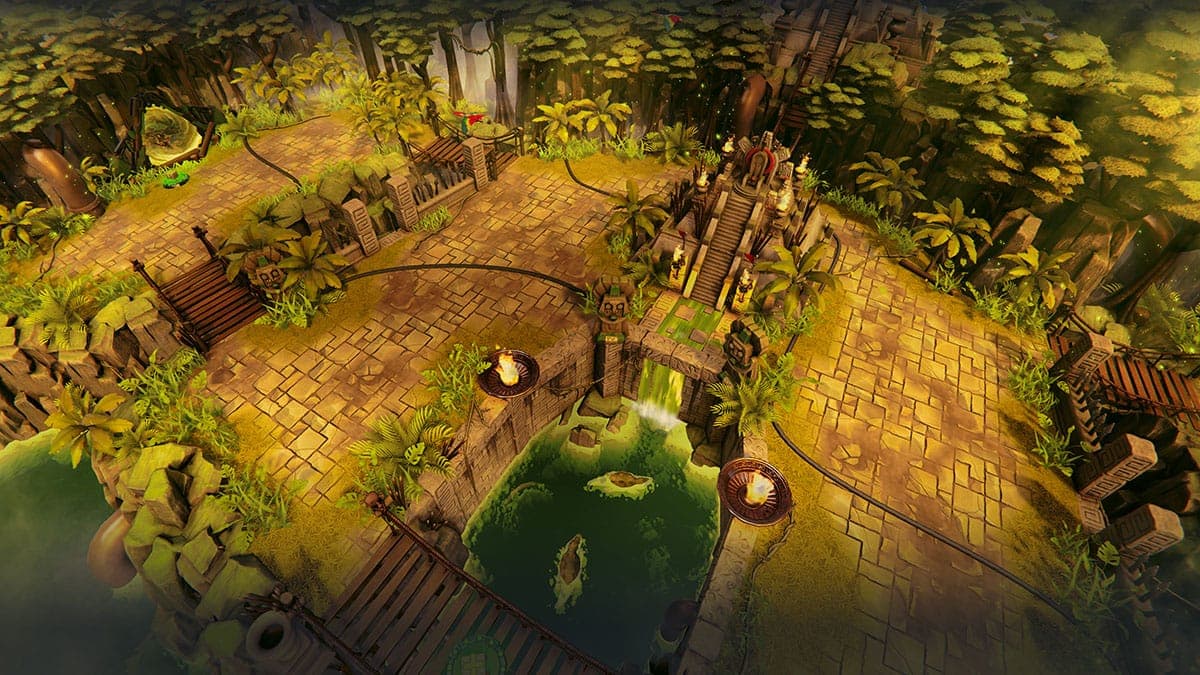
Parts of this map disappear, killing your tank if you're standing on them. The sides of the map turn into lava floors that damage tanks. Use the moving pipes to navigate and avoid the lava, especially in modes like Capture the Flag. In King of the Hill, if the control point lands on the lava floor, area-of-effect abilities can wipe teams quickly. Healing abilities can also save your team in that spot.
Free-to-play tank options
New players get 3 free tank body options. There are 22 bodies total, but most require purchase. The free options are:
Blink
Light body with lower health but higher speed. Generates energy the slowest of the 3 free options.
Scout
Medium-light body. Balanced speed, health, and energy generation. Middle ground of the 3 free options.
Snoop's Bumpin' Lowrider
The slowest and toughest of the 3 free options. Generates energy the fastest, so you can use abilities more often.
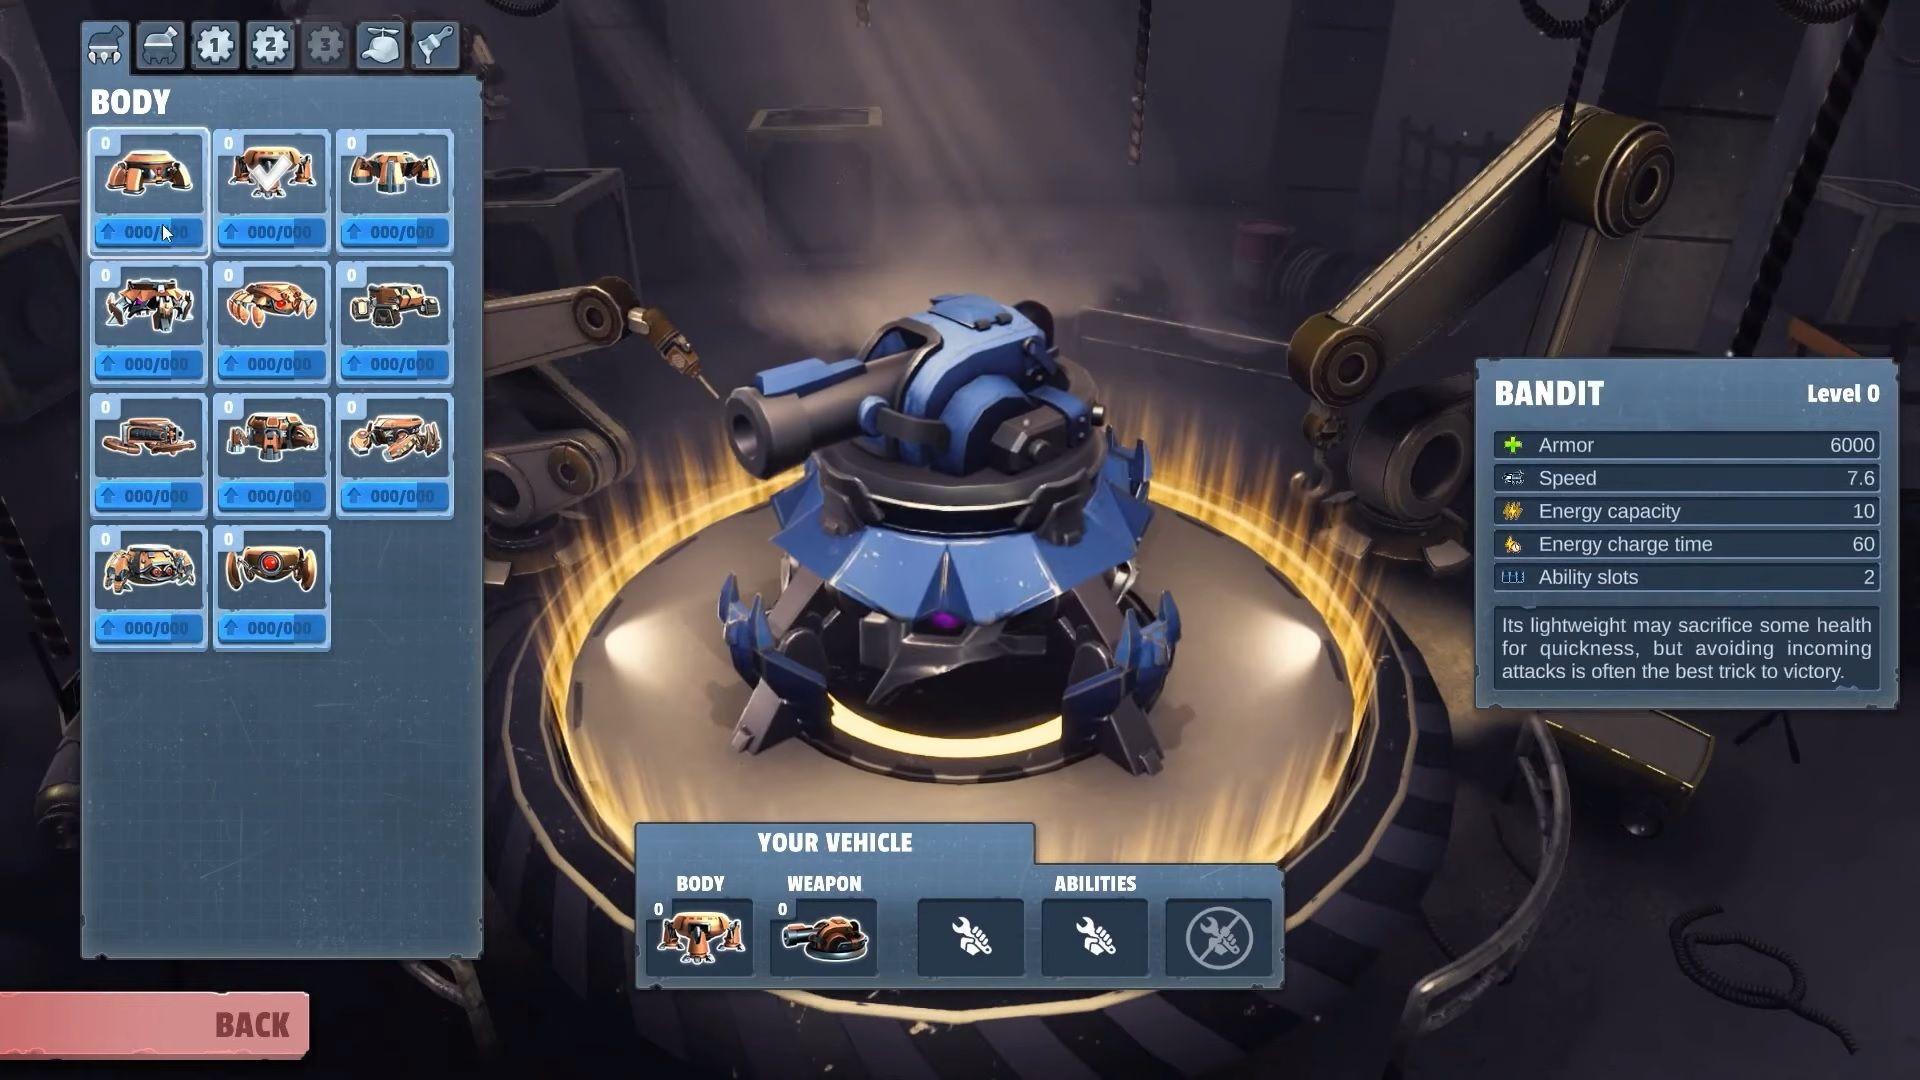
Free-to-play also gives you 3 weapon options that rotate frequently. You'll often see weapons like the Beat Blaster, Fire Artillery, and Bouncer Gun. Each weapon deals Physical or Elemental damage. Elemental weapons create effects like the Stinger poisoning enemies or the Snowballer slowing them with a snowy trail. Physical weapons deal damage on hit and usually fire in direct or vertical trajectories.
Spider Tanks abilities
You can choose from 20 abilities and equip 2 on your tank. Each ability costs energy, which your body generates passively. You only generate energy while alive. Abilities fall into 5 categories: Buffs & Debuffs, Turrets, Healing, Drone, and Area of Effect.
Buff & Debuff abilities include Decoy, Reactive Plating, Speed Booster, and Shield Projector. These range from Cloak Drone making you invisible for 2 seconds to Reactive Plating letting you absorb extra damage. Grapnel Launcher is a debuff that stops enemy tanks from moving or using abilities.
Turret abilities include 3 turrets: Artillery, Cannon, and Machine Gun. Each has different fire rates and damage. Machine Gun fires fastest, Artillery hits hardest. Use turrets to match your playstyle. If you run a long-range weapon, Artillery Turret complements it.
Healing abilities are Repair Drone and Repair Zone. Repair Drone follows your tank and heals it, then switches to an ally if you're at full health. Repair Zone drops a healing area for all allies inside. Drop Repair Zone on the control point in King of the Hill when your team is damaged.
Drone abilities come in 5 types. Cloak Drone makes you invisible briefly. Shield Drone gives an ally a temporary shield. Relay Drone helps you close distance with enemies if you're using a shotgun weapon.
Area of Effect abilities include Air Strike, Grenade, Stun Grenade, Repulsor Zone, Smoke Canister, Shield Projector, and Vortex Zone. These range from delayed explosions (both Grenades) to movement effects like Vortex Zone pulling enemies to the center and Repulsor Zone pushing them to the edges. These abilities work well when your team groups up. Air Strike deals heavy damage, and Smoke Canister blocks enemy vision.
Combining the tank with abilities
Match your tank build with your abilities. Example: heavy armor, Flamethrower weapon, Relay Drone, and Vortex Zone. Get close with Relay Drone, use Vortex Zone to drag enemies in, then burn them with the Flamethrower. You could also run Cloak Drone and Stun Grenade to surprise enemies, stun them, and finish them with the Flamethrower. Another build: mobile body with healing turrets, Repair Zone, and Shield Projector. Shield allies, heal them, then deal damage with your turret.
Find the combination that works for you.
Earning vs non-earning
Battle Matchmaking lets you earn honor and points that convert to Silk. Free-to-play builds don't let you earn unless you check the Pilot box. That assigns you a random build with your 2 equipped abilities. Only the winning team earns tokens that convert to Silk.
Tips & tricks to win at Spider Tanks
- Use the Shooting Range to learn all the different movements and weapons.
- Use Survival mode to test your skills after learning them in the Shooting Range.
- Combine your abilities to match your tank and playstyle.
- Learn the ins and outs of each map to use them to your advantage.
We hope you enjoyed our guide to Spider Tanks and are ready to take on your enemies. Make sure to check out Attis for more content and informative web3 gaming threads and videos, and stay tuned for his next guide on our platform.
Share this article and tag us on any of our socials to let us know.