
The hammer in The Adventures of Elliot: The Millennium Tales hits harder than almost anything else in the game, but its magicite pool is one of the most demanding to plan around. Several options are expensive, a few only make sense paired with specific companions, and picking the wrong direction early means you end up with a build that does nothing particularly well. Get it right, though, and the hammer turns boss encounters into non-events.
What magicite does the hammer have?
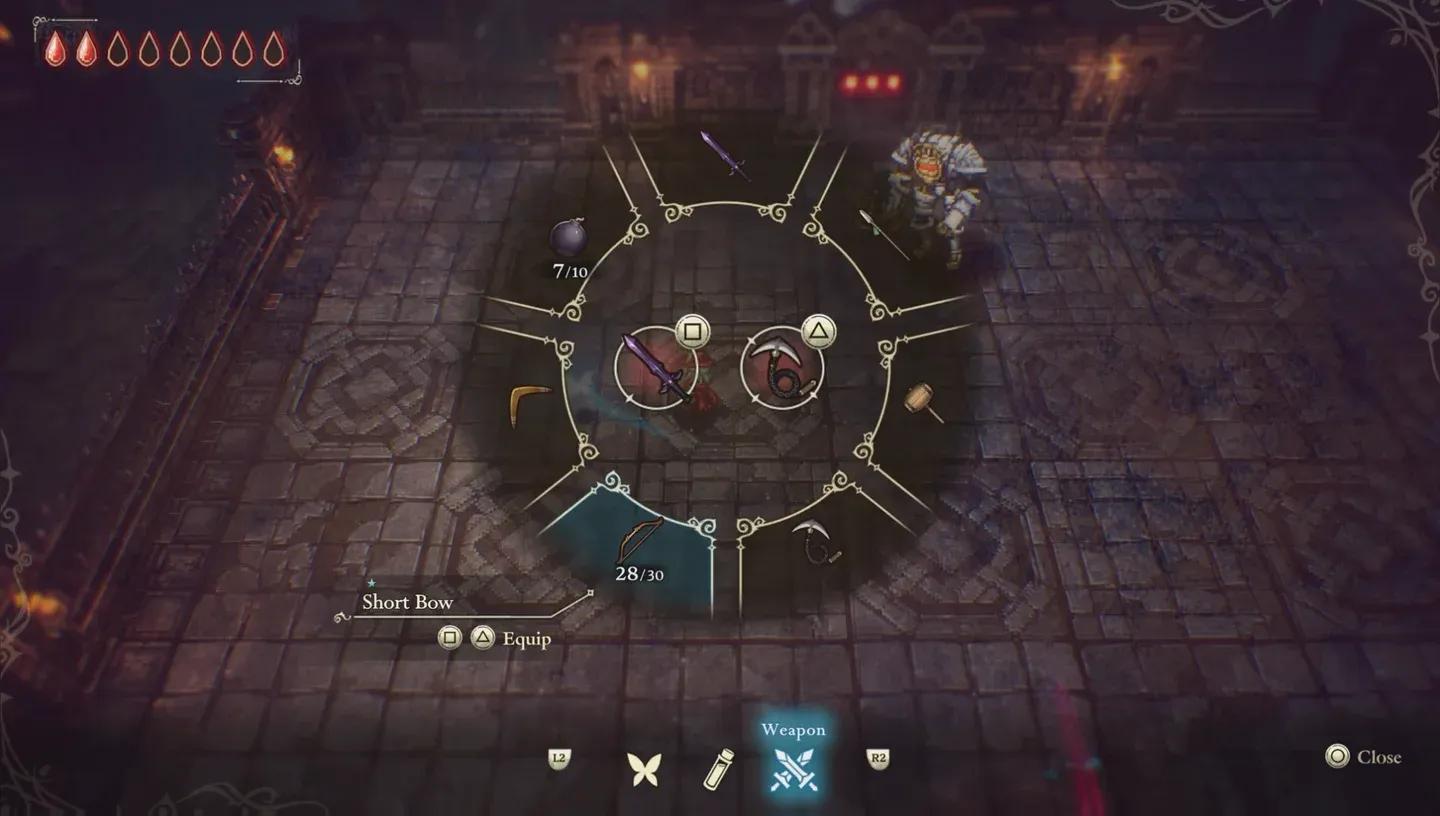
Before committing to a direction, it helps to see everything the hammer can do. There are 15 magicite options spread across charge attack amplifiers, regular attack tools, and defensive utilities.
Full hammer magicite pool
Which playstyle works best with the hammer?
There are three distinct directions the hammer supports, and none of them are wrong depending on what you need the weapon to do.
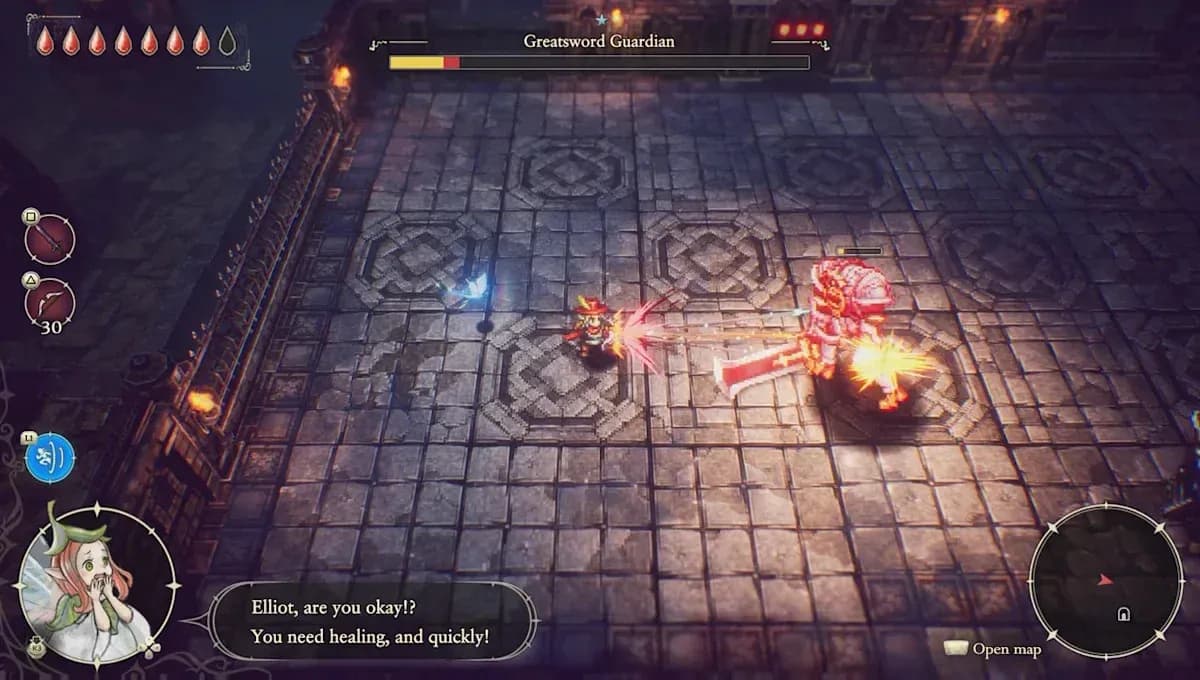
Charge attack focus is the highest-damage option. You pour slots into magicite that amplifies charged hits, and the payoff is massive single-target damage that tears through bosses. The tradeoff is that you are deliberately taking hits while charging, which demands some comfort with the game's dodge timing.
Regular attack focus leans on critical hits and knockback pressure. Knockout, Enhanced Stun, Critical Rate Up, and Critical Damage Up combine well here, and the result is a build that handles dense enemy groups better than any charge-focused setup. Against bosses, though, the ceiling is lower.
Mixed builds split the difference. You lose some peak damage but gain flexibility, which matters if you want one hammer loadout that handles both mob clearing and boss fights without swapping magicite mid-run.
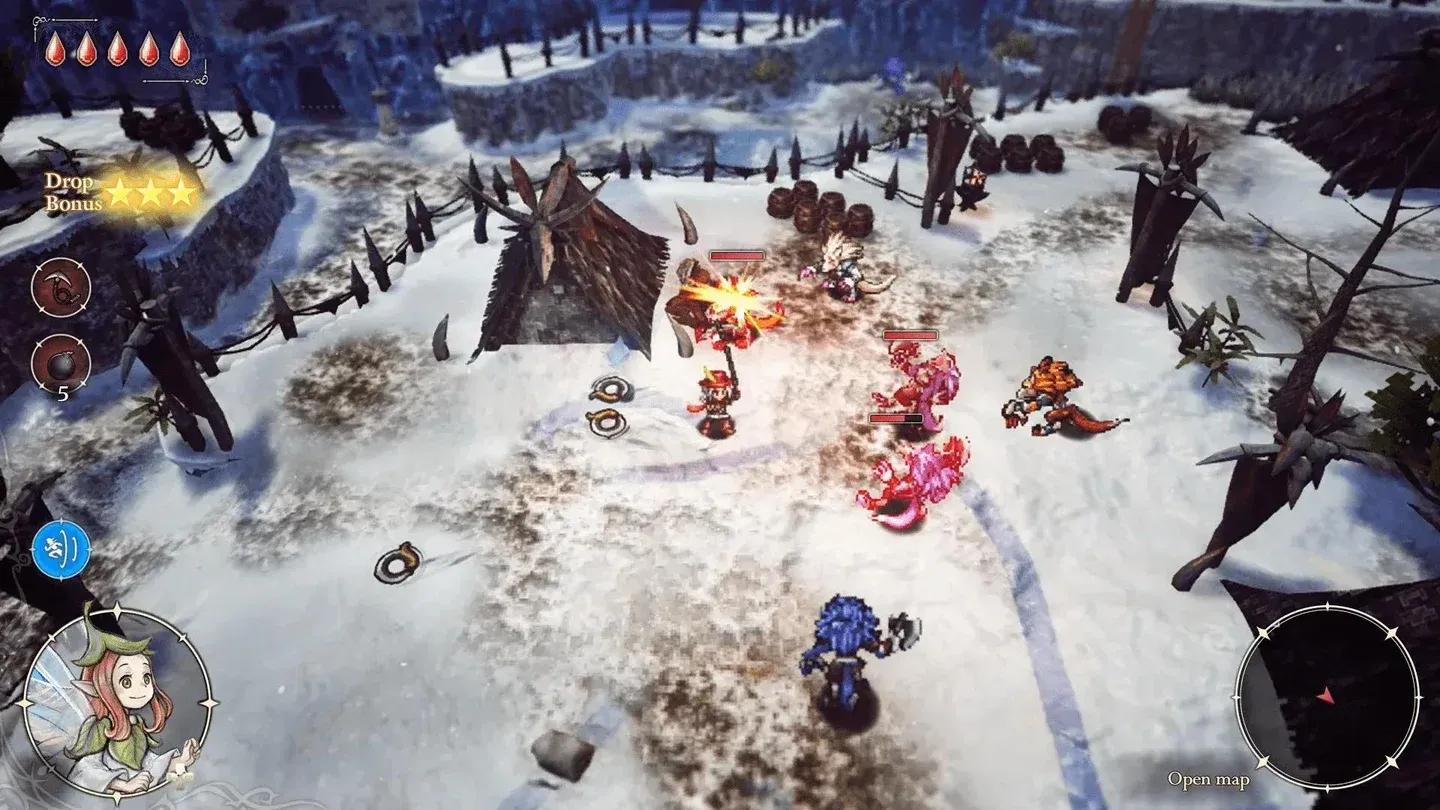
The standout pick across all three approaches is Lightning Mallet. It is expensive, but the extra lightning strikes it generates around charge attacks add meaningful damage in nearly every encounter. If you can afford it, take it.
Lightning Mallet in action
What is the best endgame hammer magicite build?
The charge attack build is the recommendation for endgame content. After testing this setup against the final boss and several of the harder optional challenges, it consistently outperformed the alternatives. The build uses all five-star magicite with a fully upgraded magicite box.
Endgame charge attack loadout
The logic behind each pick:
- Payback turns the inherent risk of charging into bonus damage. You will get hit sometimes, so make it count.
- Tremors and Wide Impact multiply the charge attack's reach and hit count, which compounds with everything else in the build.
- Lightning Mallet is the most expensive slot but delivers the highest raw damage addition.
- Blowback earns its place here because Enhanced Knock Back is not in the build, but the other knockback pressure from the hammer's base stats is enough to make wall contacts happen regularly in tighter arenas.
- Critical Rate Up adds a crit layer on top of the guaranteed crits from Body & Soul, which affects the shockwaves and lightning strikes that proc independently.
- Charge Time Down is non-negotiable the moment you slot Body & Soul. Without it, the extended charge window creates too many openings for enemies to interrupt you.
- Attack Up is a flat damage boost that scales with every other multiplier in the build.
If you need more magicite to build this out, check the guide on how to farm Magicite Fragments fast to speed up the grind.
How does the hammer compare to other weapons?
The hammer sits at the high end of the damage spectrum but demands the most planning of any weapon in the game. The bow and boomerang both have more forgiving magicite pools where individual picks work fine in isolation. Hammer magicite is built around dependencies: Body & Soul needs Charge Time Down, Blowback needs Enhanced Knock Back or a specific arena type, and the whole charge attack direction only pays off once you have enough slots to stack the amplifiers.
For players who want ranged options with similarly deep build potential, the best bow magicite build guide and the best boomerang magicite build guide cover those weapons in the same depth.
Charge attack boss damage
For a full breakdown of every weapon available across all four ages, including attack stats and unlock methods, the all weapon locations guide has everything you need. The rest of the strategy guides for The Adventures of Elliot: The Millennium Tales cover accessories, manuscripts, and more to round out your build.