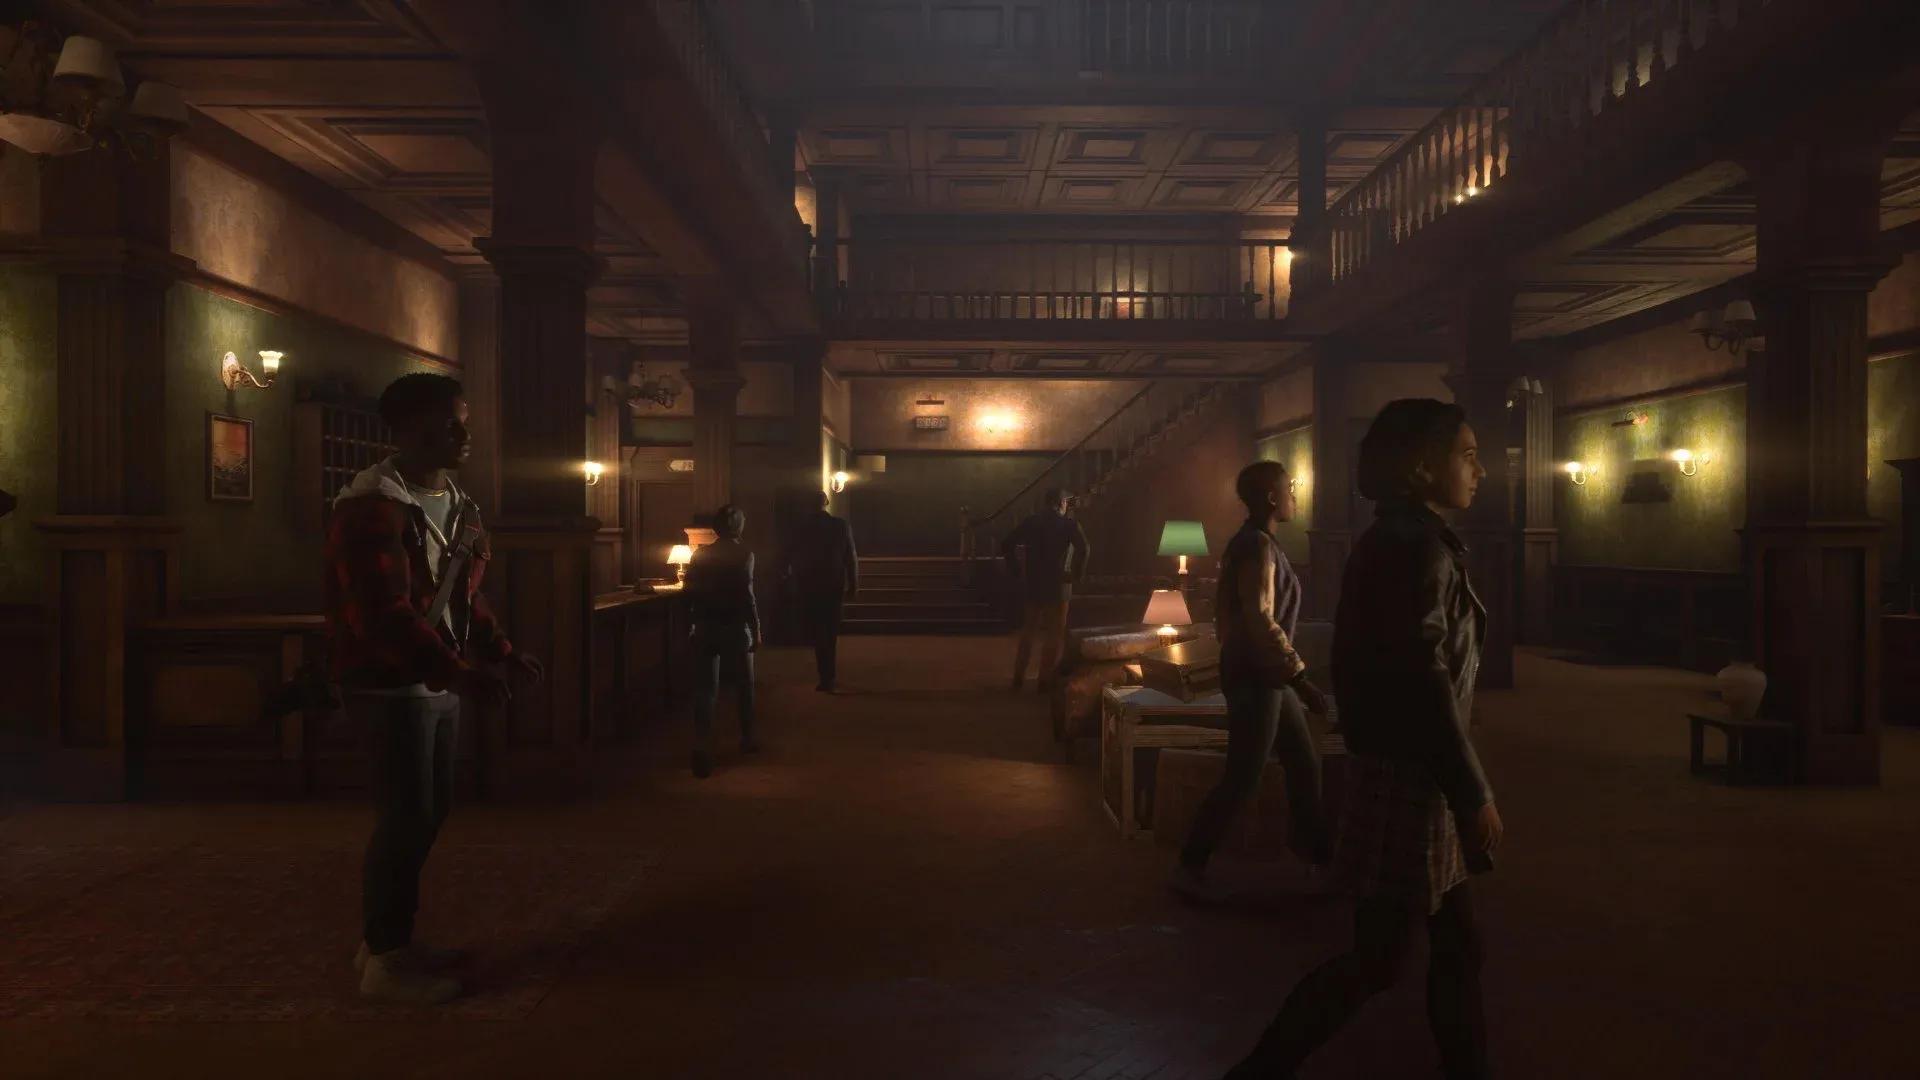

Welcome to the Game III throws eight distinct threats at you across a single motel complex, and each one operates on completely different rules. Some you can ignore entirely if you play smart. Others will end your run in seconds if you blink at the wrong moment. After working through every killer's patterns and testing the counters that actually hold up under pressure, this guide breaks down exactly what each threat does and how to shut it down.
How do killers work in Welcome to the Game III?
Killers don't all spawn at once from minute one. On normal mode, threats start hunting from 9:30pm, which gives you a prep window in that first hour to set up surveillance, stock supplies, and lock the right doors. The single most important habit to build early is turning off your computer whenever you plan to go outside or already know a killer is incoming. Leaving it running costs you DOS coins if Lucas shows up, and it keeps you visible in ways that compound other threats.
Before 9:30pm hits, focus on three things: mining on VirtMesh for funds, buying surveillance gear on DarkDrop, and completing requests on A.C.R.S to build Rep and earn money. ShadowFetch converts URLs into MP4s for those requests, and pinging users on the channel before the half-hour reset saves their requests so you can return to them. This loop funds everything else.
All killers ranked by threat level
| Killer | Threat Level | Trigger Condition | Primary Counter |
|---|---|---|---|
| Bomb Maker | Low | Visiting his website | Never click the Bombmaker site |
| Breather | Low | Picking up DarkDrop packages | Full stamina, run to parking lot |
| Cletus | Low-Medium | Running out of meth supply | Always carry one baggie |
| Kidnapper | Low | White van in parking lot | Never leave while van is present |
| Noir | Low-Medium | Lights off / power cuts | Look away for 5-10 seconds |
| Tucker | Medium | Going out back to fix router | Stand still on first rustle |
| Tanner | High | Approaches main building | Panic button + motion sensors |
| Lucas | High | Back door entry | Lock all back doors, hide in lockers |
Bomb Maker
The Bomb Maker is entirely optional as a threat. He only activates if you visit his website, and he doesn't spawn in every save. The mechanic mirrors the Dollmaker from Welcome to the Game 2: click the wrong link and a countdown timer appears on screen. Check CryptChat immediately because the Bomb Maker sends you the disarm code directly. You then have 90 seconds to find and defuse the bomb before it's game over.
The simplest counter is never clicking the Bombmaker website in the first place. If you do trigger it, go straight to CryptChat before doing anything else.
Breather
The Breather has appeared in every previous entry in the series and in Dead Signal, always stalking around delivery points. In WTTG3, he activates specifically when you pick up packages from the dead drop location under the lit bridge on the far left side of the map, outside the motel.
His spawn is scripted to that pickup moment every time. The moment you grab a DarkDrop package, he appears and chases you. Make sure your stamina bar is completely full before touching anything at the drop-off point. When he gives chase, run directly back to the motel. Reaching the parking lot causes him to give up the chase.
Cletus
Cletus has the most original mechanic of any killer in the game. He won't kill you as long as you're carrying his supply. He requires meth, and the moment your stock runs out, he becomes lethal. Pick up product in motel rooms and around the parking lot at the start of every run.
When you need to restock, find dealers on A.C.R.S, click their username to check their Rep level, and ping them to get their Dealer ID. Insert that ID into DAREdash to purchase from their stock. Note that the Dealer ID does not carry over between saves, so you'll need to find it fresh each time. Buying crystal works the same as any DarkDrop purchase.
The critical inventory rule: carry exactly one baggie at a time. Cletus will take your entire supply if he catches you, so carrying more than one just means a bigger loss when he inevitably shows up. One baggie keeps him satisfied and limits your replacement cost.
DAREdash dealer purchase screen
Kidnapper
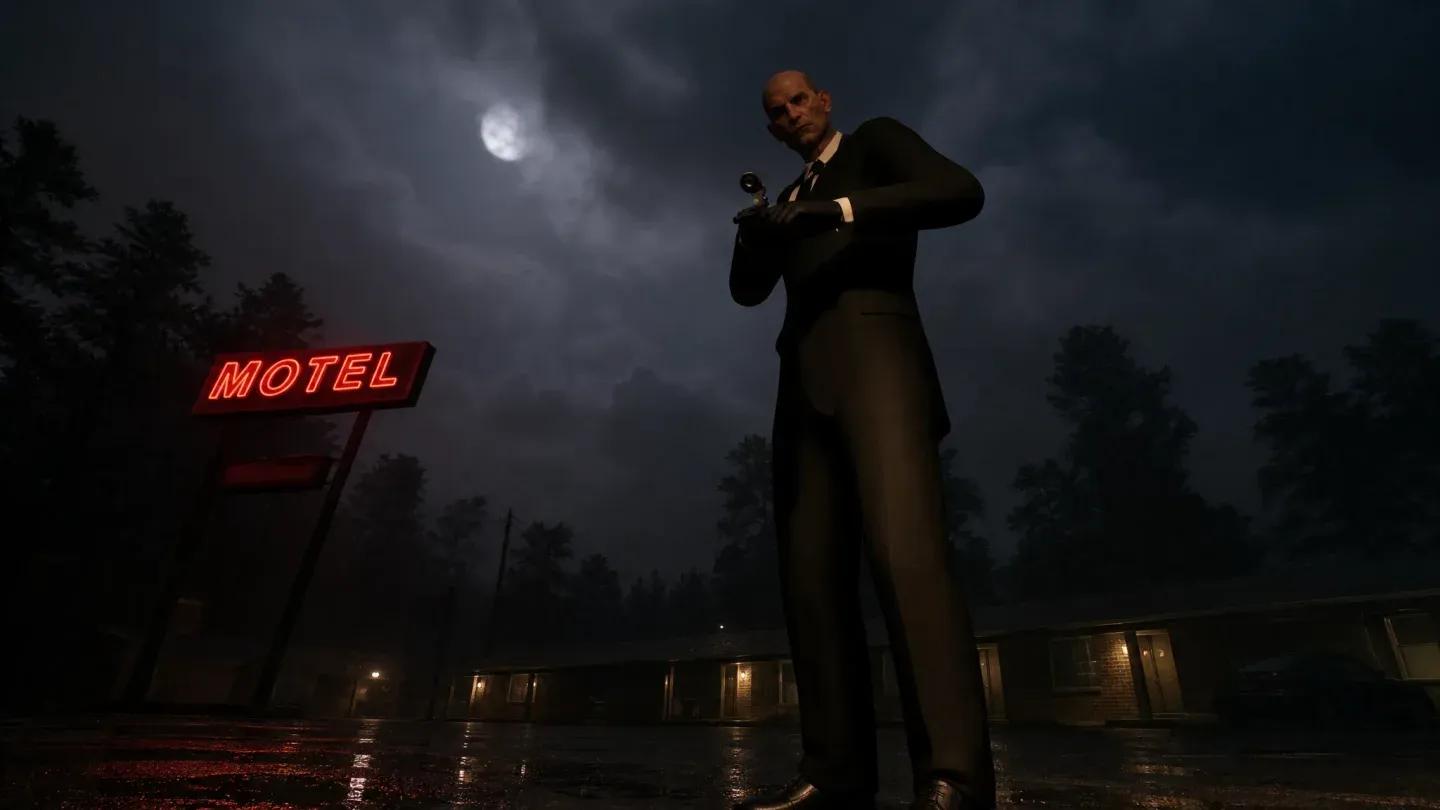
The Kidnapper sits in the motel parking lot in a white van and abducts Simon the instant you step outside through either the front or back door while the van is visible. The mechanic is the simplest in the game: if the van is there, don't go outside.
The complication comes when you're waiting for the van to leave during a power or internet outage. The longer you wait inside, the higher the chance that Noir spawns, since fixing power requires switching off lights. Weigh that tradeoff when deciding how long to hold your position.
Noir
The Noir duo are recurring killers from Dead Signal and previous Reflect Studios titles. They become more likely to appear when the lights are off, which makes power cuts particularly dangerous.
Their counters depend on positioning. If the man is standing on the left outside, shine a light and look away for five seconds. If the woman is on the left, extend that to 10 seconds. Check that they're gone before moving. If one of them appears directly in front of you at the computer terminal, look away for a few seconds and wait for the whisper sound, which signals they're leaving.
Tanner
Tanner transfers from Scrutinized and is one of the two high-threat killers in WTTG3. He attacks from multiple angles, including inside motel rooms and by leaping across the counter in the main building.
There's a panic button to the right of the computer terminal that temporarily disables the automatic doors. Time it correctly and Tanner will crash into the glass instead of reaching you. The critical rule here is restraint: overusing the panic button causes network issues that force you outside to fix them, which exposes you to other threats.
The better long-term setup uses motion sensors placed on the thin pillars at the edge of the motel parking lot near the road. Click the sensor icon on the taskbar to view where motion was captured, then use the panic button only when movement appears on the FRONT_OUTER_LOT feed. Cameras can also spot Tanner, though they take longer to pull up.
Always lock motel doors behind you when entering rooms and use the peephole to check for Tanner before exiting. Spotting him through the peephole confirms he's on cooldown, giving you a window to address other threats.
Lucas
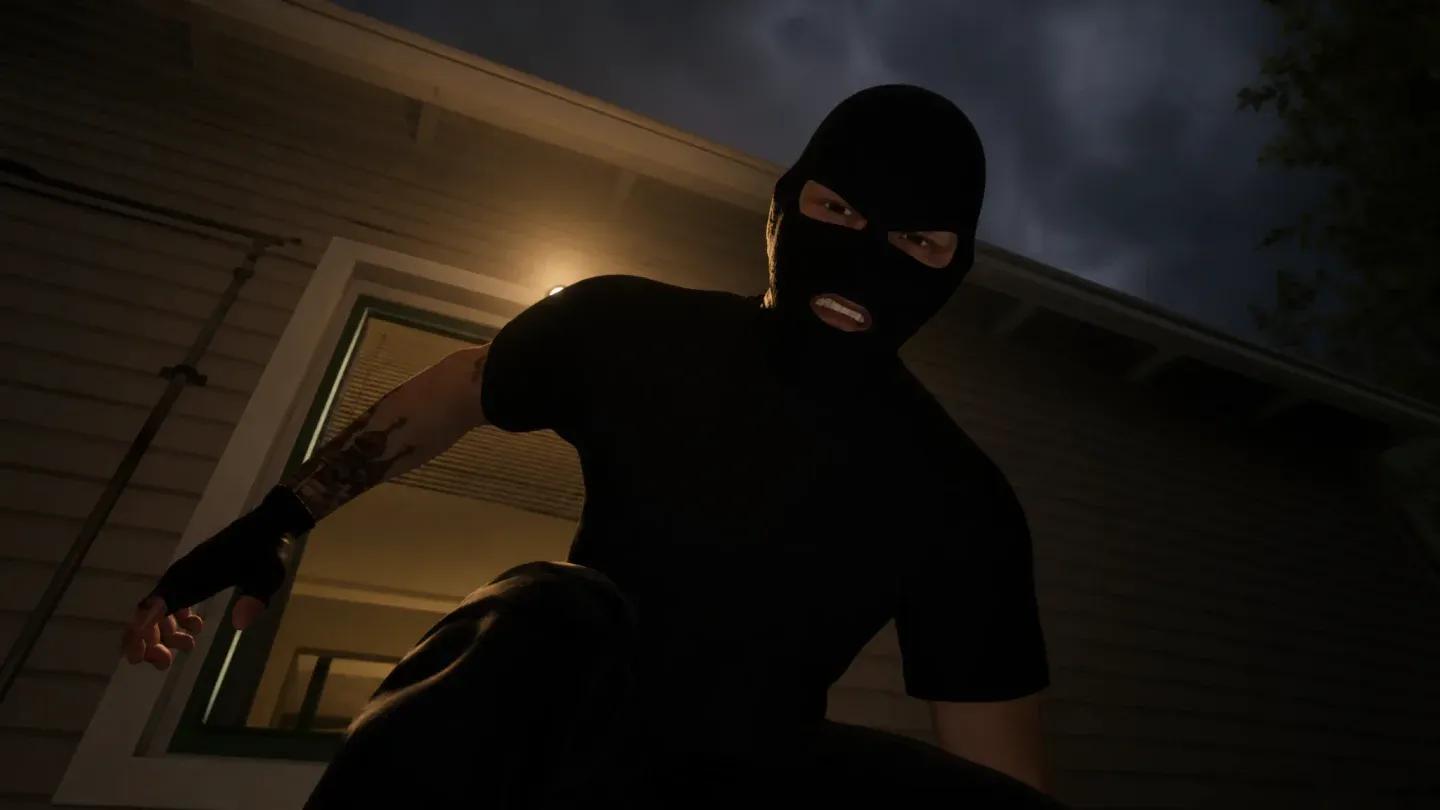
Lucas has appeared in every Welcome to the Game title since WTTG2 and remains the most consistent threat in the series. He enters through the back doors of the main building, including the Electrical Room door if it's been unlocked. Keep all back doors locked from the moment a run begins. Only unlock them when you need to fix the internet or restore power, then re-lock immediately.
Lucas gives a subtle audio cue when he unlocks the back door. That sound is your signal to move to one of two hiding spots: the lockers to the far right of the computer terminal or the laundry basket on the far left. Once hidden, a minigame starts where you hold and release spacebar to keep a ring between two moving dotted rings. The gauge doesn't deplete until Lucas leaves. When the minigame ends, you're safe.
Turn off the computer the moment you hear him approaching. Lucas will steal DOS coins if it's left on.
For early detection, buy at least two motion sensors and position them on the backside of the main building in the ALLEY, far enough from the outer doors to give you time to switch off lights and reach a hiding spot before he gets inside.
Tucker
Tucker targets you specifically when you're out back fixing the internet router, often catching you mid-animation during the unplug sequence. He announces himself with the sound of rustling leaves. When you hear it, stop moving completely and wait. A second rustle means he's walked away and it's safe to continue.
The music scenario is different. If you hear music playing from a speaker outside, run to the parking lot and look for an Ace of Spades playing card on one of the motel doors. Enter that room and lock the door. Wait for a triumphant tune to play, which signals Tucker has left.
Ace of Spades marks Tucker's room
What's the best early setup for surviving all killers?
The prep hour before 9:30pm determines how manageable the rest of the night becomes. Lock all back doors immediately. Turn off two or three lights for the Lucas hiding mechanic. Place motion sensors in the ALLEY behind the main building and on the parking lot pillars near the road for Tanner coverage. Stock at least one meth baggie for Cletus. Check the parking lot for the Kidnapper's van before every outdoor trip.
The threats that catch most players off guard aren't the high-rated ones. Cletus running out of supply mid-run and the Kidnapper's van appearing during a power cut are the two situations that end runs at unexpected moments. Build the supply check and the van check into your routine before every door interaction.
For more strategies across every system in the game, the Welcome to the Game III strategy guides collection covers everything from dark web navigation to rep building. If you enjoy the tension this game delivers, the broader puzzle games library has plenty of titles that scratch a similar itch.
