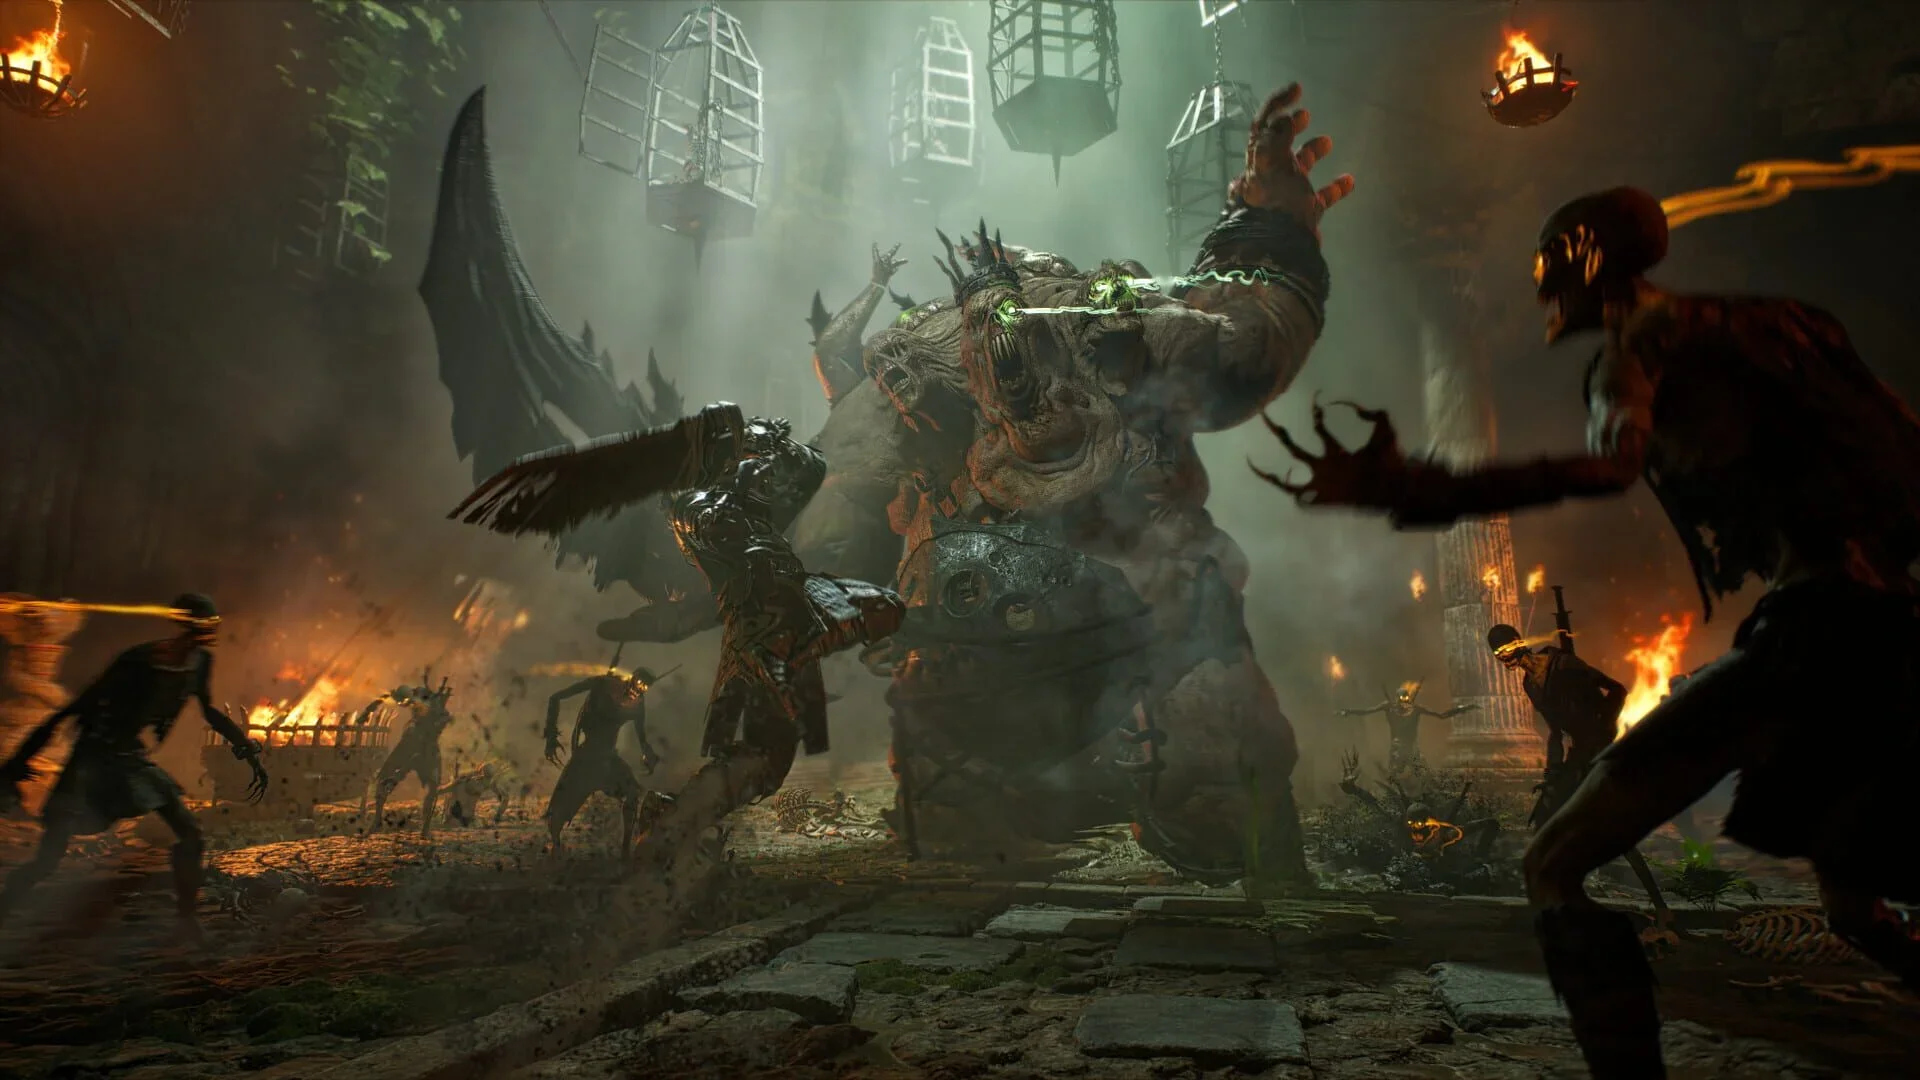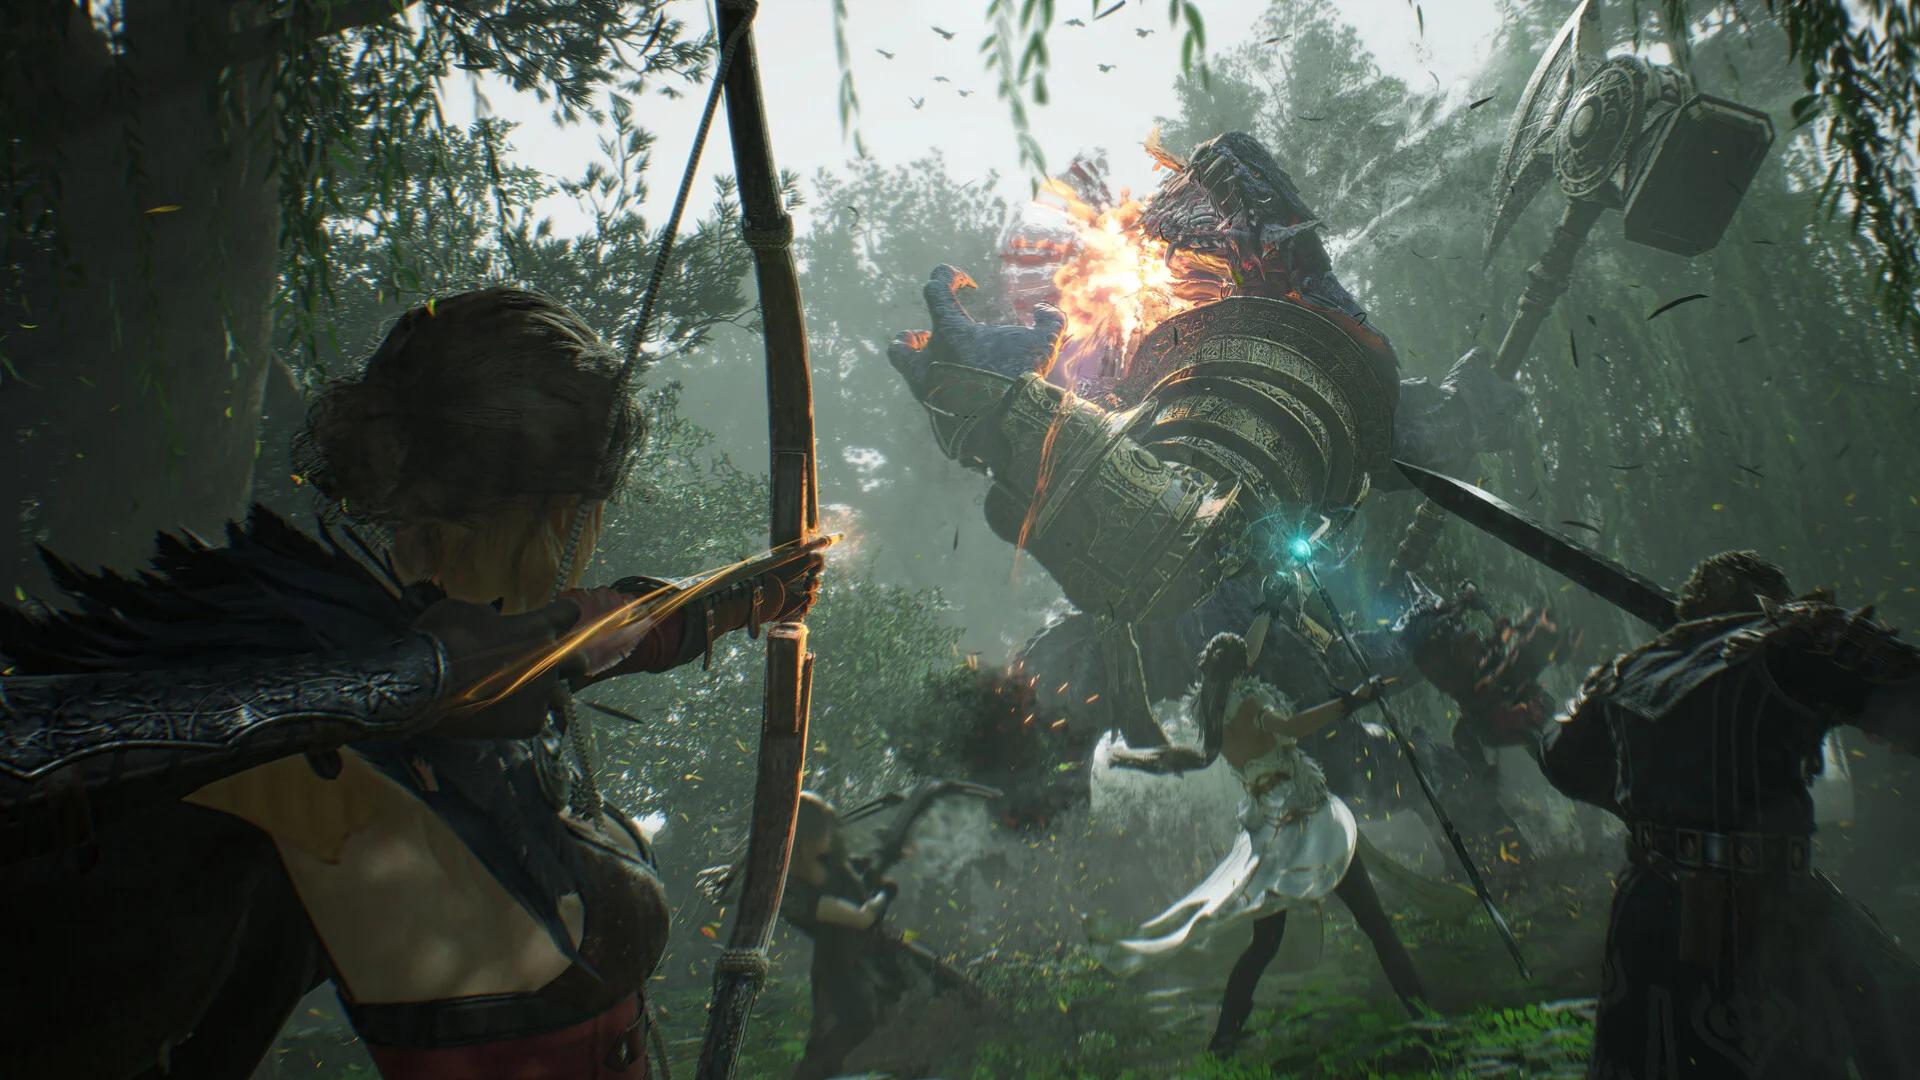

Follow the prologue, Watchtower of Hope, Missing Husband, and Cliff of Madness to advance the opening story in ArcheAge Chronicles.
This walkthrough covers the opening Diamond Shores route, the requirements that can block your progress, and the first Gylden Ruins objective. It separates required story steps from optional dungeons and explains which upgrades help when a fight stops you. Expect opening-area spoilers, including the prisoners you need to find and the interactions that complete their quests.
How to identify and track main quests
Open your quest journal and read the current objective before following another map marker. Diamond Shores mixes story tasks with local requests, exploration objectives, collectibles, and dungeon entrances. A nearby marker does not necessarily lead to your next required destination.
Use the objective’s wording to decide what to do when you arrive. Reaching a location, defeating its enemies, speaking to someone, and collecting an item are separate actions. Complete the action your journal requests before moving on.
Your class also changes the weapons you bring into the opening fights. Warrior, Ranger, Berserker, and Mage have different weapon pairs; compare the ArcheAge Chronicles classes and weapons before character creation if you are still choosing your combat style.
Opening quest walkthrough
Complete the prologue and defeat Herald Knight
Work through the tutorial’s movement, targeting, normal attacks, heavy attacks, and defensive lessons. The opening includes two boss encounters, including Herald Knight, before you reach the open world.
Carry these combat rules into the rest of the opening:
- Heavy attacks can break an enemy’s guard.
- Red warning attacks cannot be blocked normally.
- Dodging consumes Stamina, so spending everything on offense can leave you exposed.
- Long attack animations reduce your opportunity to respond to the next attack.
Use short attack sequences when you do not know a boss’s pattern. For an Elemental Staff Mage, begin charged spells during clear openings instead of trying to finish every cast as the enemy approaches. Melee weapons benefit from the same restraint: attack during recovery, then prepare to defend.
Complete the hunter’s tasks at Watchtower of Hope
Watchtower of Hope is your first major hub after the tutorial. Follow the hunter’s opening quests, which introduce hunting and potion making. One early task involves Harai and collecting Roseberries; gather the requested items and complete the associated crafting interaction before continuing.
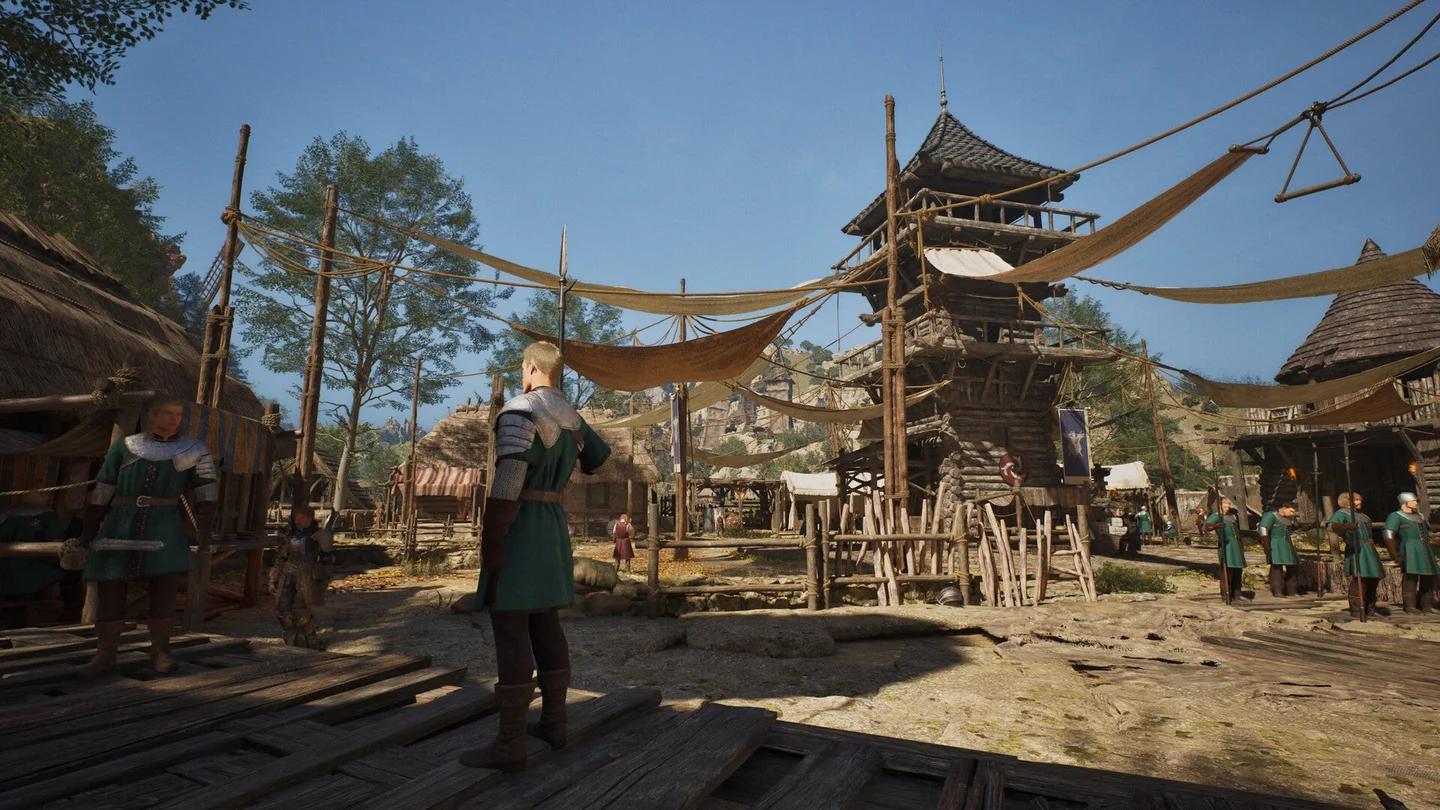
The Watchtower of Hope hub
Check new equipment in your Bag. A second weapon sitting in your inventory is not automatically assigned to an active weapon slot. Prepare your usable equipment and healing supplies before heading farther into Diamond Shores.
Equip the glider for the Sunken Ruins route
The opening exploration introduces a glider and an investigation around the Sunken Ruins. Receiving the item is only part of the preparation:
- Open your Bag and equip the glider.
- Assign it to an accessible quick slot.
- Use it from a suitable jumping point to cross toward the ruins.
Use intermediate landing points when crossing the separated platforms. If the glider does not deploy, check its equipped slot and assigned control before attempting the crossing again.
Follow the investigation’s requested interactions, then report your findings. The ruins have multiple elevations and optional pickups, so reaching another platform does not necessarily advance the active quest.
Find Renald in Missing Husband
Follow Missing Husband through the Lost Docks and the beach cave to find Renald, who has been taken by pirates. Finish the required conversation with him before returning to the Cliff of Madness entrance.
Rescue Edward and breach Cliff of Madness
Continue through Missing Officer and Rescue Plan at Cliff of Madness. Reach Edward’s cell, retrieve the underwater prison key, and free him. Each character must personally pick up this quest item for it to count.
The fortress sequence then requires you to use a cannon to breach the wall, defeat two bosses, and open the treasure chest. Follow the quest interactions between encounters instead of treating the area as a single enemy-clearing objective.

Cliff of Madness fortress
Main quest objectives by region
Early Access includes Diamond Shores, Gylden Ruins, and Astron Plains. The opening route above covers Diamond Shores; its optional challenges do not all need to be cleared before you continue the story.
Optional stops in Diamond Shores
Seaglass Tower and Throne of Hinnon are optional. Use the distinction below when deciding whether a difficult encounter is blocking your main quest or offering a separate challenge.
| Destination | What to check | Progression detail |
|---|---|---|
| Seaglass Tower | The white sphere | The tower only finishes when you touch it. A Coilstone is also found here. |
| Throne of Hinnon | The dungeon key | Entry requires its own key. Players have reported finding it in the Seaglass Tower boss room in Early Access. |
| Altar of Seals | The Bound Tyrant encounter | This fight is separate from the pirate fortress story route. |
Seaglass Tower makes sense as the first stop if you want to attempt both optional dungeons. Its completion interaction is easy to overlook after combat: the white sphere, not simply defeating the enemies, ends the tower.
Seaglass Tower's white sphere
Start the cries objective in Gylden Ruins
When you enter Gylden Ruins, the first quest asks you to collect three cries and bring them to the girl. Treat that delivery as part of the objective; gathering the three cries alone does not complete the task.
Required fights and progression checks
If you're struggling with a story boss, check your progression systems before repeatedly attempting it. Character levels, weapon traits, and permanent HP upgrades come from different activities. Gaining a level does not automatically provide everything your weapon build needs.
Spend level-up stat points
Most EXP comes from quests, discoveries, and points of interest. Defeating monsters provides some EXP, but ordinary enemy farming is not the main progression path.
Each level awards stat points. One point buys one stat regardless of its current value, and the character screen previews the resulting changes before you confirm.
| Stat | Effects | Check it when… |
|---|---|---|
| Strength | Raises physical attack | Your physical attacks need more damage. |
| Agility | Raises critical hit chance and physical attack | You want to improve physical offense and critical chance. |
| Constitution | Raises HP and resistance to critical hits | Enemy hits are cutting through your health. |
| Intelligence | Raises magic attack | Your magic damage needs improvement. |
| Talent | Supports magic attack and helps you use better equipment without penalties | Equipment requirements are limiting your choices. |
| Endurance | Raises Stamina and defense | You need a larger Stamina pool or more defense. |
Check your weapon traits
Weapon traits are separate from character level. Each weapon type has its own tree in Traits, with stat increases, new skills, and changes to existing skills. Spend points in the tree for the weapon you actually use during the difficult encounter.
Trait points come from Raeven’s Coilstones, which sit near powerful bosses. Some of those bosses are in the open world, while others are hidden or tied to quests. Exploration can therefore add combat options that another character level will not provide.
For Ranger, Hatchet and Longbow offer different attack ranges. The ArcheAge Chronicles ranged build for beginners is a focused next step if you want Longbow damage with a Hatchet backup.
Improve survivability before returning
Bring collected Nui Tears to a Nui Statue to increase your maximum HP. The first increases require relatively few tears, with later increases asking for more.
Check equipment condition at a Blacksmith, too. Repairing worn gear and comparing replacements already in your Bag are sensible checks before spending upgrade materials. Weapon Tempering uses Weapon Tempering Stones; armor requires separate Armor Tempering Stones.
Finding unclear objectives
When you reach the right place but nothing changes, identify the unfinished interaction before searching farther away:
- Enemies are defeated, but the objective remains: check nearby NPCs or prisoners for a required conversation.
- The destination has several floors or platforms: compare your position with the objective’s requested object or person, not just the general landmark.
- Your party advanced without you: inspect your own journal for an unfinished step. Shared progress inside a dungeon does not remove individual entry requirements.
Dungeons support solo play or a party of up to four. Joining a group can help with combat, but it does not replace the conversations and personal item pickups required by the opening route.
What to do when the next quest is unavailable
Read the exact error before changing your build or searching for another entrance. Quest requirements not met points you back toward unfinished quest requirements; a stronger weapon will not resolve that message.
If the unavailable quest is Fairwind Federation, it is not playable yet. Repeatedly clearing nearby enemies will not unlock it.
The demo’s final departure through a Dimensional Rift ended with You've reached the end of the preview. That preview endpoint is not the end of Early Access story progression. Continue with your next journal objective instead of treating the old demo departure as the campaign’s finish.