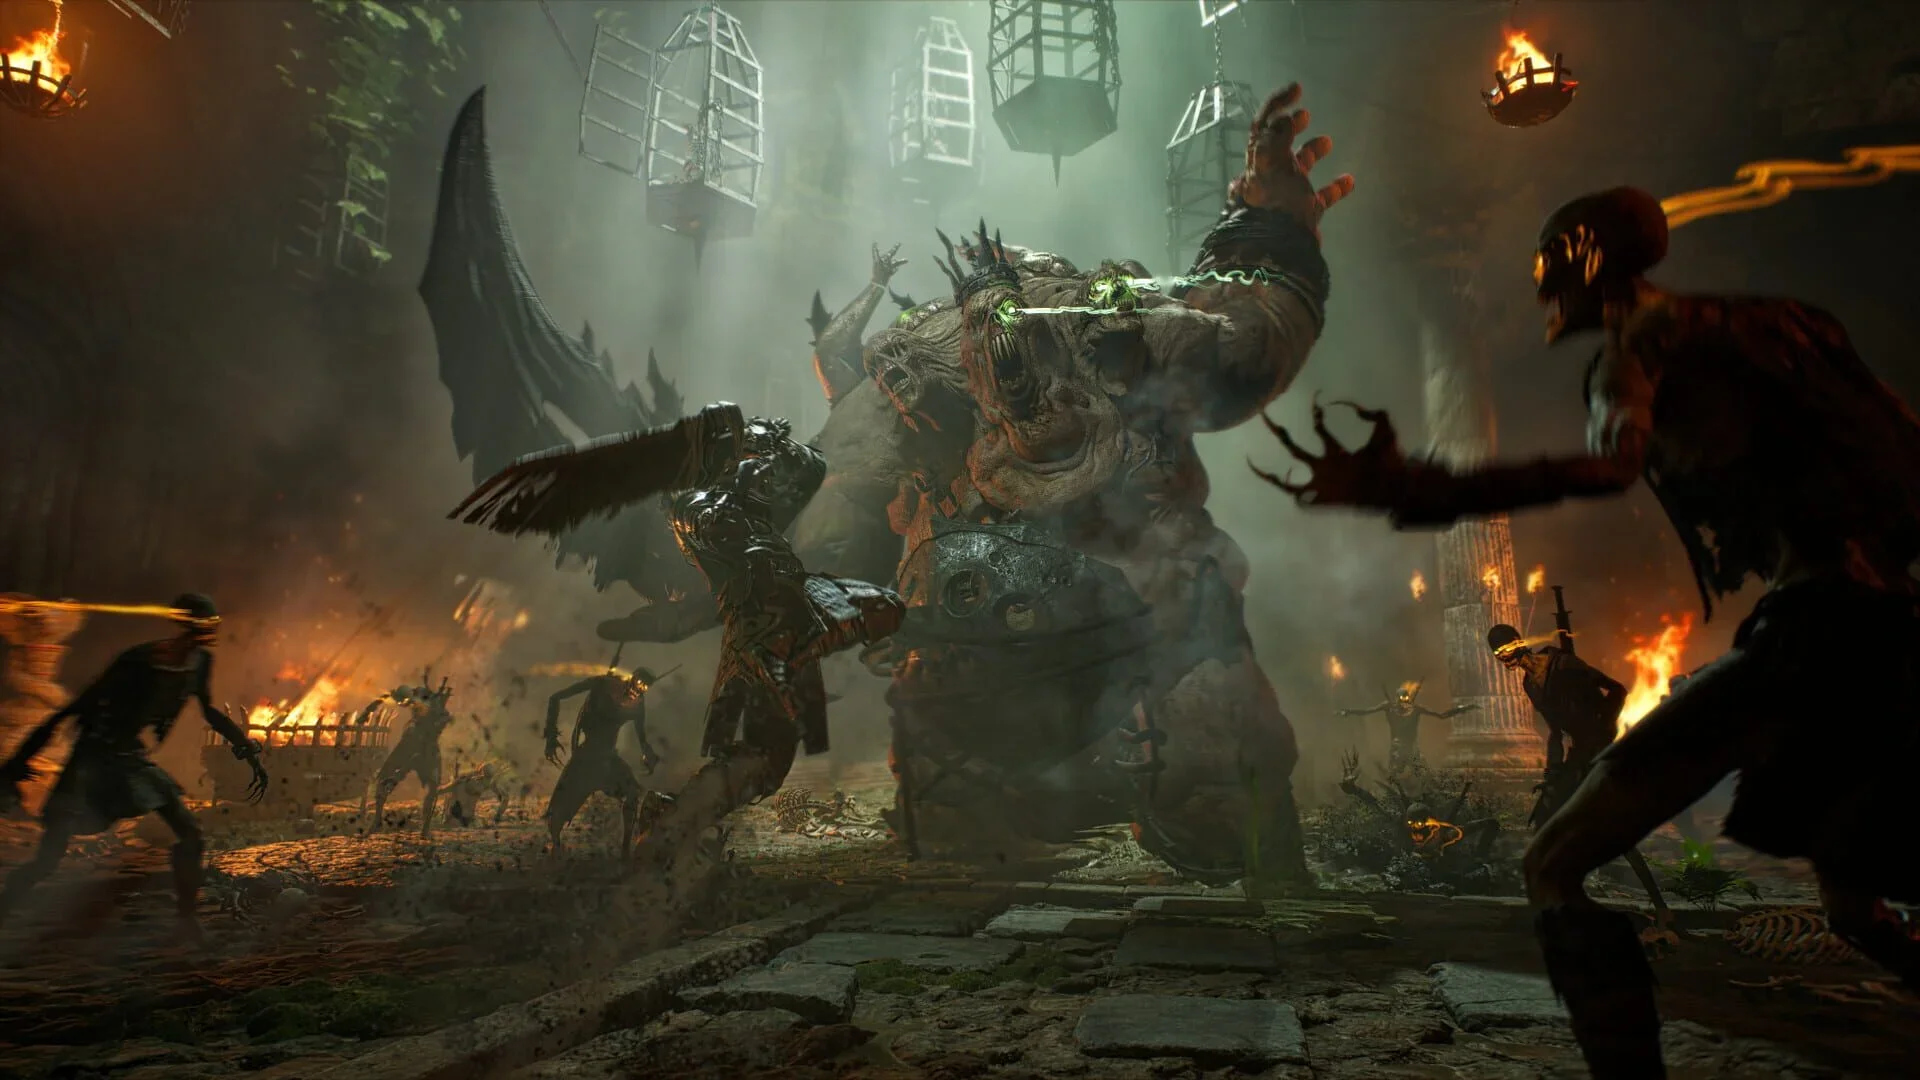

To overcome the hardest early boss roadblocks in ArcheAge Chronicles, players must master specific timing and target priorities against Poldat, Malchuk, and Vanguard of Destruction. You will need to counter Poldat's spin, avoid Malchuk's backstab, and coordinate stagger damage to clear these early encounters successfully.
ArcheAge Chronicles asks for different responses across those encounters. Poldat brings ranged reinforcements into his fight, Malchuk punishes careless follow-ups, and Vanguard puts your group against a raid timer. The route below covers early field encounters before moving into Crimson Rift. It is a progression shortlist, not a hardest-to-easiest ranking. Use each attack's trigger to decide when to defend, switch targets, or commit damage.
Early boss roadblocks covered
Start by identifying the encounter you are preparing for. A field boss and a timed raid need different plans, even when their levels look close to your character's.
| Boss | Level | Location | Encounter type |
|---|---|---|---|
| Poldat | 9 | Diamond Shores, Cliffs of Madness | Field boss |
| Malchuk | 10 | Diamond Shores | Field boss |
| Vanguard of Destruction | 27 | Crimson Rift, Diamond Shores | Raid boss |
Poldat rewards a controlled response to a spinning attack and a mid-fight target switch. Malchuk makes you reconsider when it is safe to keep attacking. Vanguard adds group coordination to those defensive decisions.
Do not use this route for similarly named Hereafter encounters. Hereafter versions are separate, tougher bosses at the Hereafter Threshold.
Preparation checklist
Prepare for the mechanic that is stopping your clear. More attempts will not fix a plan built around blocking an unblockable attack or ignoring ranged enemies.
Before engaging:
- Identify your defensive response. Know which attack you intend to parry and which one requires movement.
- Choose your reinforcement target. Decide who will handle summoned ranged enemies if you are fighting with others.
- Check your weapon choice. Compare the ArcheAge Chronicles classes and their weapons before pursuing a weapon reward that your current setup does not use.
- Set one learning goal. On a failed encounter, focus the next attempt on the attack or transition that caused the failure.
Use early bosses to fill equipment gaps
Choose a preparation target for its reward, not simply because it is nearby. These early Diamond Shores bosses have guaranteed equipment drops.
| Preparation target | Level | Guaranteed equipment | Reason to consider it |
|---|---|---|---|
| Pallatius the Severer | 5 | Pirate's Longsword (Uncommon), Pillager's Hatchet, Pillager's Axe, and Pillager's Elemental Staff | Check the weapon matching your class |
| Aventus | 7 | Pillager's Light Armor | Compare it with your equipped armor |
Mad Anchor Krogal is another useful preparation target. His guaranteed drops include Hatora Ring, Corrupted Heart, and 3 Faint Weapon Tempering Stones.
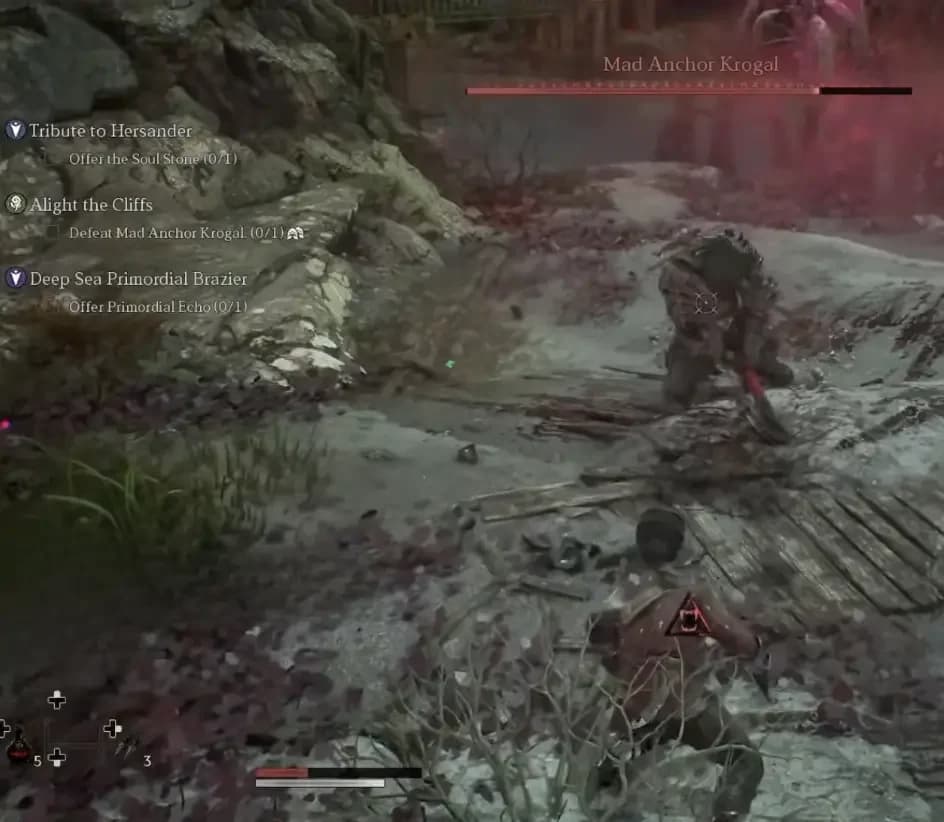
Mad Anchor Krogal encounter
Poldat and Mad Anchor Krogal each have a 60-minute respawn. If either is absent, continue other progression before returning instead of waiting at an empty spawn.
Attack patterns for each encounter
Poldat: counter the opening spin and handle the archers
Poldat is tied to At the Precipice. His guaranteed drops include Mad Pirate Hat (Uncommon), Corrupted Heart, and 3 Faint Armor Tempering Stones.
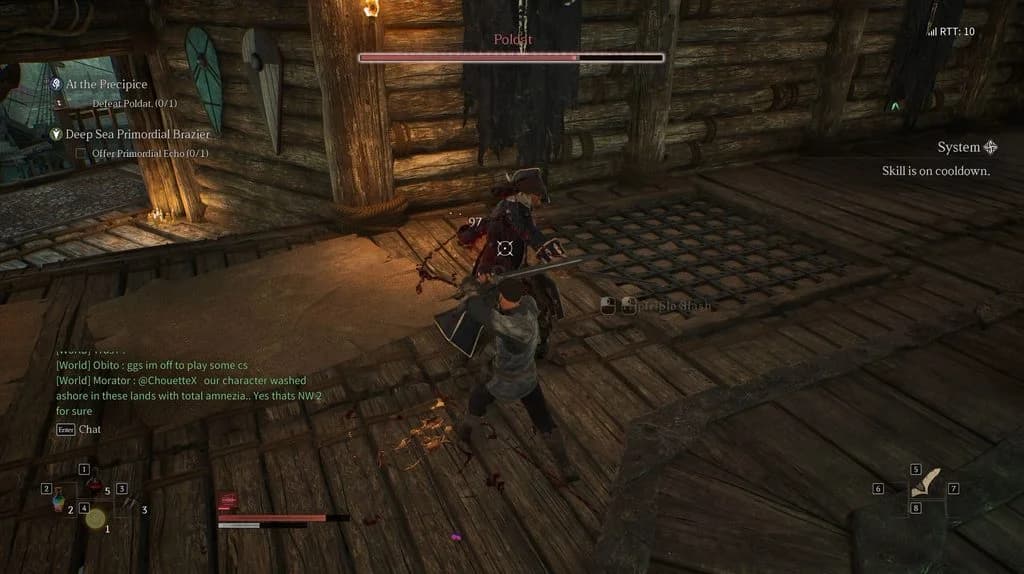
Poldat in Diamond Shores
| Attack | What happens | Your response |
|---|---|---|
| Berserk Whirlwind | Poldat performs three spinning revolutions | Deflect-parry the initial swing to trigger a four-second groggy stagger |
| Incendiary Flash Bomb | An alchemical flask creates an expanding blind zone | Dodge backward when the red-glint tell appears |
| Call of the Outcasts | Two Bandit Archers appear at 50% health | Eliminate them or interrupt their opening pressure with an area stun |
Build your damage opportunity around the first swing of Berserk Whirlwind. If you miss that counter, stay defensive through the remaining rotations. Stepping back in after one pass risks catching the rest of the sequence.
As Poldat approaches the reinforcement threshold, avoid starting a follow-up that prevents you from changing targets. Clear the archers before settling back into boss damage. In a group, assign that switch before the fight so everyone does not keep attacking Poldat by default.
Malchuk: treat disappearance as a defensive phase
Malchuk appears in the Defeat the Bandits quest chain. His fight combines a broad spinning attack, a disappearance, and reinforcements triggered by stagger.
Handle his attacks separately:
- Whirlwind Scimitar: The spin covers a six-meter radius. Parry its opening to knock him off balance. If you are staying outside the attack, allow enough space for the full radius.
- Smoke Bomb Disengage: At 50% health, Malchuk disappears before attempting an unblockable backstab. Stop your attack sequence and prepare to evade the reappearance.
- Marauder's Call: Entering a groggy state brings two bandit crossbowmen into the encounter. Check for them before committing your follow-up damage.
A successful parry is not permission to ignore the rest of the fight. Malchuk can turn your stagger opportunity into pressure from another direction. When crossbowmen appear, interrupt your normal boss-focused rhythm and deal with the additional threat.
The disappearance needs its own response. Holding a block and waiting for contact does not answer an unblockable backstab. Keep your attention on Malchuk's return instead of continuing attacks into the space he left.
Vanguard of Destruction: coordinate damage around stagger
Crimson Rift is built for 8–12 players and has a nine-minute limit. Open the raid window with U to access raid content. Vanguard stands in Diamond Shores near the Altar of Blessings Nui Statue.
The other major sequence is Dual Cleave Sweep, which contains two wide horizontal slashes. Account for both swings before starting a long attack sequence. Coordinated deflection parries build toward a six-second groggy window.
Use a simple group plan:
- Choose a caller. Have one player distinguish the cleave sequence from the eruption so defensive calls stay clear.
- Prepare damage before the stagger. Keep your strongest attacks ready as the group approaches a groggy window.
- Commit together once Vanguard is staggered. Spend that opening attacking instead of using it to reorganize the group.
The timer makes repeated hesitation expensive. If your group survives comfortably but runs out of time, review how quickly players capitalize on stagger before changing the entire party setup.
Positioning and defensive priorities
Leave room for the defense you need
Poldat's backward dodge needs open space behind you. Check your surroundings before engaging so your planned retreat does not end against terrain.
Malchuk requires more camera attention during his disappearance. Keep the view useful for finding his return, and avoid letting an unfinished attack sequence dictate where you face.
Ranged weapons offer another way to approach the field encounters, but distance does not remove the need to watch attack tells. The ArcheAge Chronicles ranged build for beginners uses Longbow damage with a Hatchet backup if you want that weapon pairing.
Separate counter opportunities from forced movement
Make the defensive decision before the attack reaches you. Poldat's opening spin and Malchuk's opening whirlwind reward a counter attempt. Their other threats ask you to move or change targets.
Avoid turning every unfamiliar animation into a parry test. Practice one recognizable counter at a time, then add damage after you can identify its opening consistently.
For Vanguard, preserve a clear route away from the boss. Staying close for damage should not leave you without a direction to take when the group calls an eruption.
Cooperative tactics for difficult mechanics
Assign actions around encounter triggers instead of giving everyone a vague instruction to deal damage. A short plan is easier to follow while defending.
| Encounter | Suggested assignment | What the rest of the group does |
|---|---|---|
| Poldat | Assign a player to call the archer arrival and lead the target switch | Stop boss damage long enough to remove ranged pressure |
| Malchuk | Assign a player to watch for crossbowmen after a stagger | Check the new targets before committing follow-up attacks |
| Vanguard | Assign one defensive caller and agree on the stagger damage signal | Follow the same defensive call and attack together during the opening |
Avoid overlapping every control action on the same reinforcement. Call the first stun or interruption so another player can respond if an enemy remains active.
Keep calls concrete: the attack name, the target, or the required movement. Long explanations belong between attempts, not over the next defensive tell.
Why attempts fail and what to change
Diagnose the repeated failure before changing equipment or weapons. The useful question is not simply whether you died, but what decision left you unable to answer the next attack.
| What keeps going wrong | Change on the next attempt |
|---|---|
| You counter too late against Poldat | Watch for the start of the sequence instead of reacting after the spin reaches you |
| Poldat's reinforcements overwhelm the fight | Enter the transition ready to switch targets, with an interruption available |
| Malchuk catches you while you are still attacking | End your sequence earlier and prioritize tracking his reappearance |
| Crossbowmen interrupt your stagger damage | Resolve the reinforcement pressure before resuming a long boss combo |
| Vanguard survives until the deadline | Coordinate damage openings and reduce delays after stagger |
| Raid defensive calls conflict | Use one caller and agree on short attack names before restarting |
If you're struggling with several mechanics, separate them across attempts. First answer the attack that kills you most often. Then work on the reinforcement switch or damage opening. Add longer attack sequences only after you can still defend against what follows.