
Battlefield 6 Season 4: Pacific Front reshapes how you approach every firefight. Tsuru Reef brings open beaches, island crossings, resort buildings, and boat combat into one map, and no single weapon covers all of it. Three new guns join the arsenal (the EF88, BROD 3, and VSSM), and Update 1.4.1.0 introduces water combat mechanics that change how you track and engage targets. This guide breaks down which weapons to prioritize at launch, the best class loadouts built on the current gunplay model, and how to approach the new guns before live data settles the meta.
What changed in the Season 4 gunplay model?
Update 1.4.1.0 does not touch the core damage or recoil numbers for existing primary weapons. The balance foundation still comes from Update 1.3.3.0, which increased bullet drag by 40 percent across the arsenal, reduced muzzle velocity for most primaries, lowered recoil variation, and raised average dispersion growth by 14 percent. Limb and lower torso damage dropped for most weapon classes, while automatic weapons received slightly stronger headshot multipliers.
What that means in practice: chest and head accuracy matters more than ever, controlled bursts beat full-auto at range, and attachments that preserve consistency outperform ones that chase raw mobility. Those rules carry directly into Season 4.
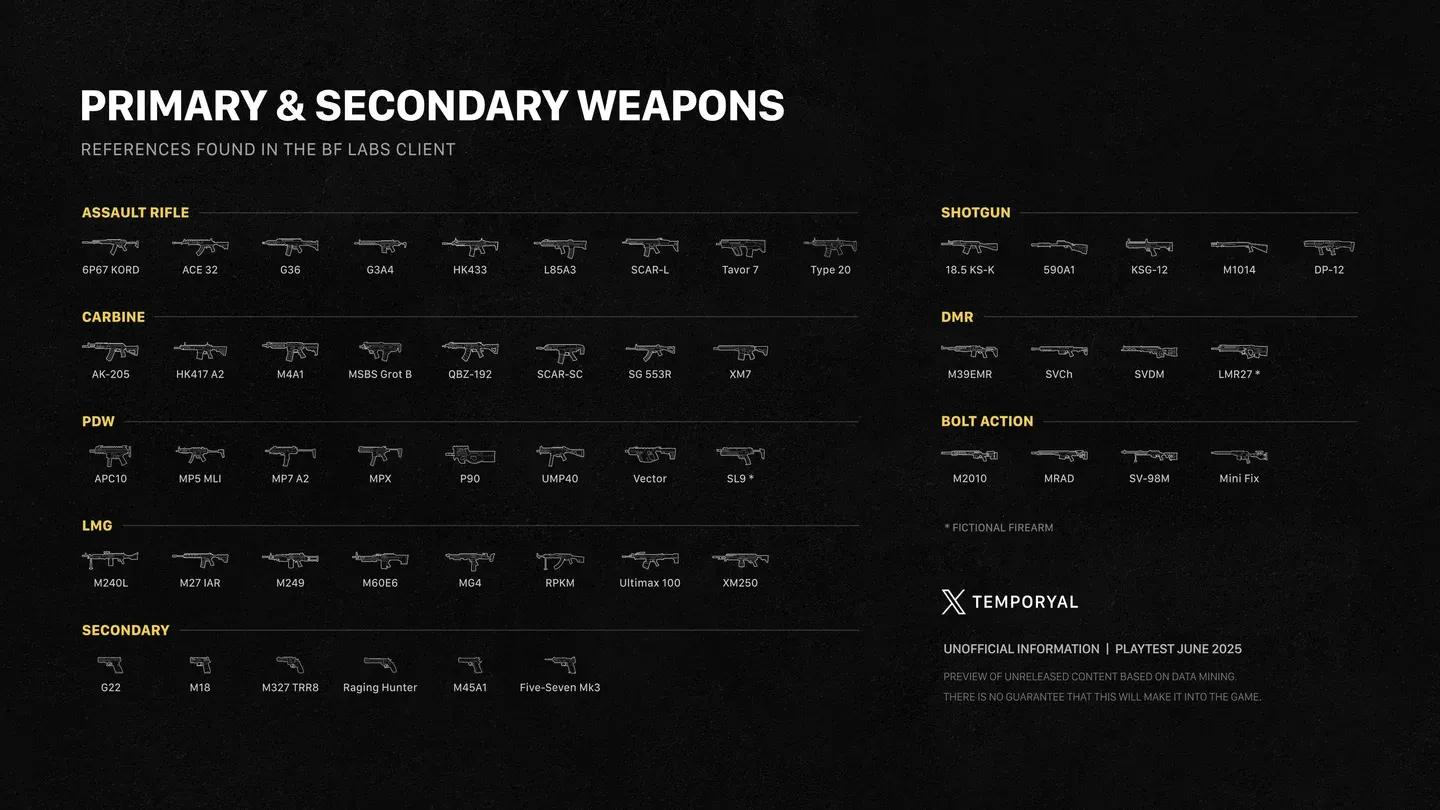
Season 4 weapon stat overview
The new wrinkle is water. Projectiles lose damage while travelling underwater and can stop dealing damage entirely after enough underwater travel. Deep swimming also removes players from the minimap, and you cannot spot enemies while fully submerged. Holding full auto on a swimmer who has already dived wastes ammunition. Track the route, wait for them to surface, and engage when normal damage resumes.
A few smaller changes also affect loadout decisions. Slide activation now requires slightly more movement speed, so close-range builds still need mobility but slide entry is less automatic. The new 1P86 LPVO optic switches between 1.50x and 4.50x on supported weapons, making it worth testing on mixed-range builds before committing points to a fixed optic. Shotgun Extended Barrels raise velocity but reduce mobility and ADS speed, a trade that rarely pays off unless you are regularly losing fights just outside your current effective range.


Which weapons should you prioritize at Season 4 launch?
The honest answer before any live match data exists: start with a proven Season 3 weapon and test one new gun against it. The M16A4 is the safest starting point. EA reported it recorded more than twice as many Season 3 deployments as any other weapon through the first weeks of the season. That popularity reflects a real quality: its controlled rifle profile fits the current damage multipliers, the corrected angled-grip behavior from 1.3.3.0 gives you another recoil option, and it stays useful from close-medium range all the way to the open island approaches on Tsuru Reef.
For players who want to jump straight into the new arsenal, the EF88 has the clearest map fit. It is a bullpup assault rifle designed for medium-to-long range, which matches Tsuru Reef's open beaches and inter-island lanes better than either of the other new guns. The BROD 3 is an aggressive carbine with a collapsible stock built for close-range pressure, making it a direct competitor to the M4A1 and SGX in buildings and during landings. The VSSM is the most unusual of the three: a DMR with an integrated suppressor, subsonic ammunition, and a full-auto mode. Its tactical ceiling is high, but bullet velocity, magazine endurance, and full-auto spread all need live testing before you build around it.
| Launch priority | Weapon | Primary role | Season 4 status |
|---|---|---|---|
| 1 | M16A4 | Controlled medium-range rifle | Safest established baseline |
| 2 | EF88 | Medium to long-range assault rifle | Top new weapon to test on Tsuru Reef |
| 3 | BROD 3 | Mobile close-range carbine | Potential M4A1 and SGX alternative |
| 4 | VSSM | Suppressed DMR with full-auto | High tactical value, needs live testing |
| 5 | KTS100 MK8 | Support lane control | Established sustained-fire choice |
| 6 | SGX | Close-range Engineer and flanker | Reliable for buildings and short pushes |
| 7 | PSR | Recon overwatch | Strong inside the 90 to 120 meter sweet spot |
| 8 | M4A1 | Mobile all-class carbine | Flexible fallback when nothing else fits |
Best class loadouts for BF6 Season 4
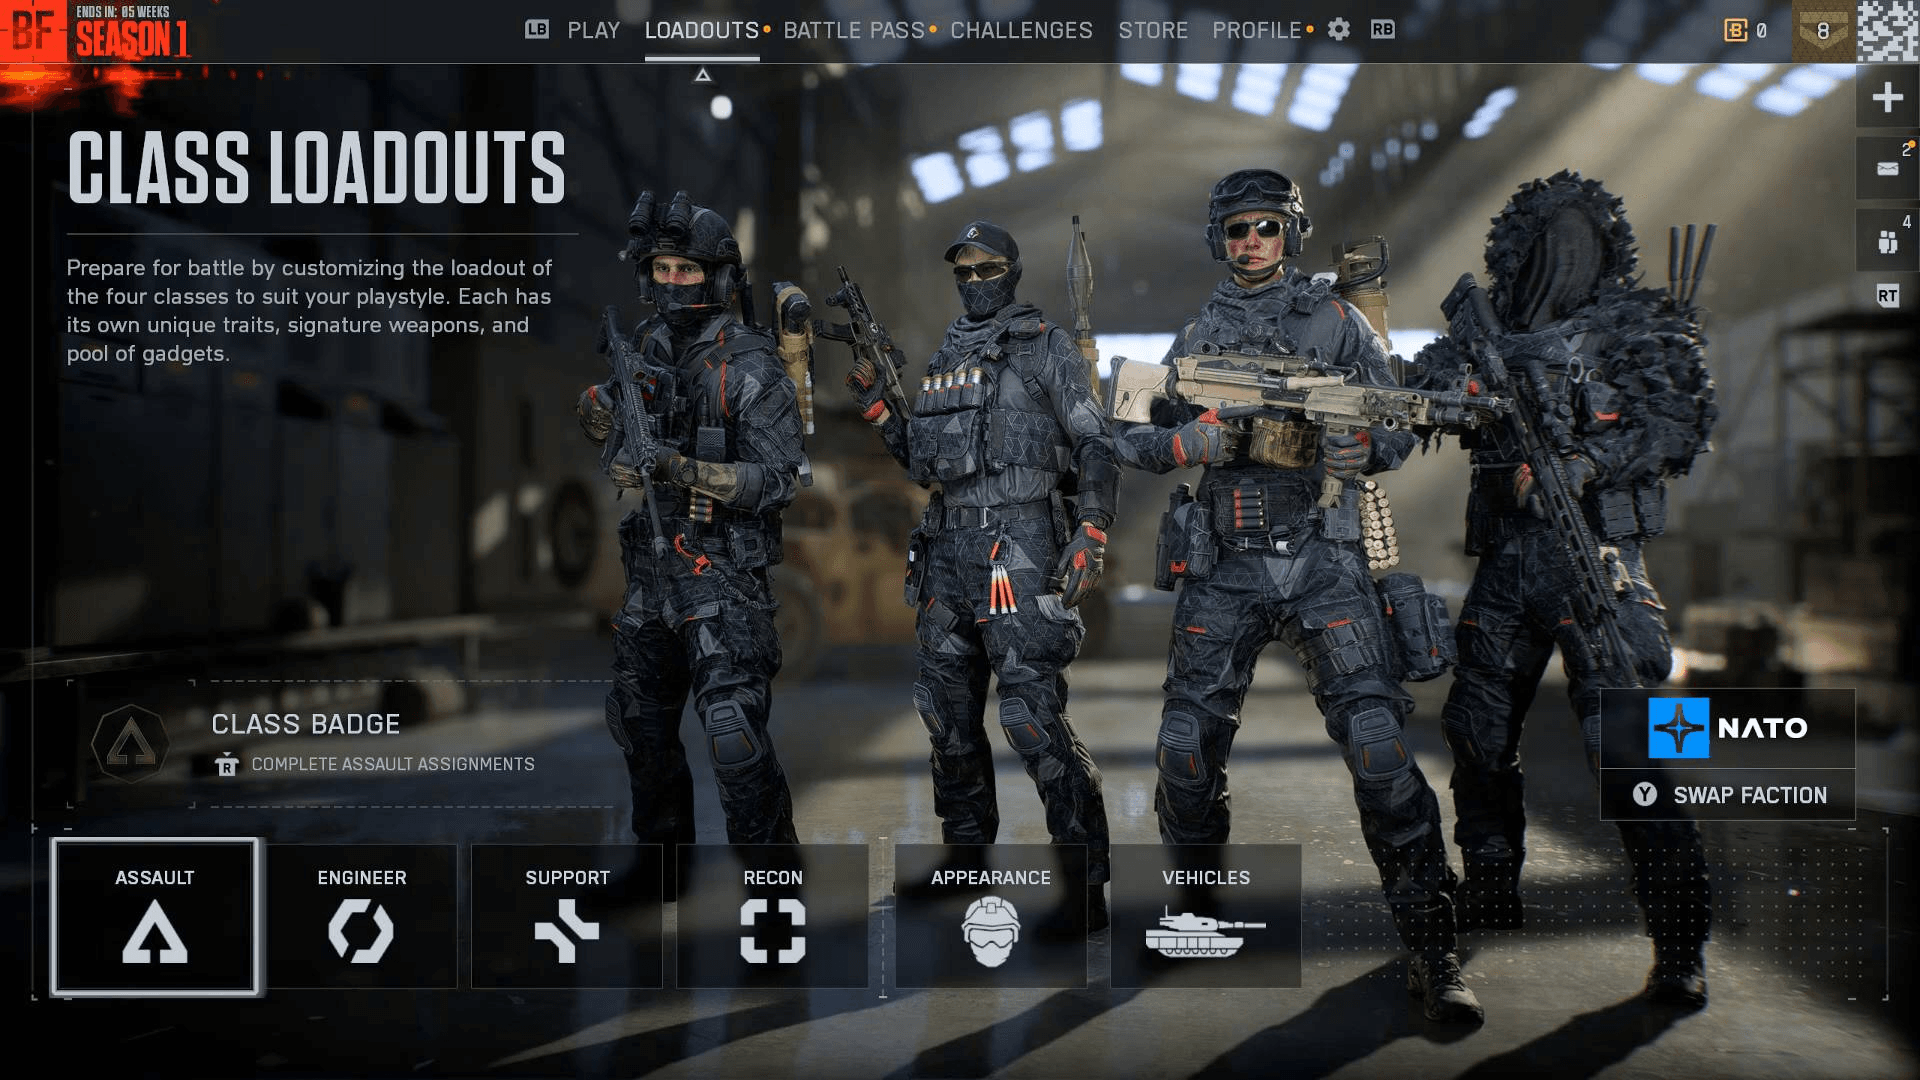
Battlefield 6 Season 4 Guide: Best Weapons and Loadouts
These builds are starting configurations for the first matches on Tsuru Reef. They are grounded in the 1.3.3.0 gunplay rules and use weapons and attachments confirmed before Season 4 launched. Once live data comes in on the new guns, some slots will shift, but these give you a clean baseline to measure against.
| Class | Weapon | Attachments | Combat role |
|---|---|---|---|
| Assault | M16A4 | RO-M 1.75x, Lightened Suppressor, 20-inch HBAR, Classic Vertical, 30RND Magazine, FMJ, Aftermarket Buffer | Controlled bursts through medium-range infantry lanes |
| Engineer | SGX | Iron Sights, Standard Suppressor, 8-inch Extended barrel, 50 MW Blue laser, 36RND Magazine, FMJ | Fast close-range pressure near vehicles and objectives |
| Support | KTS100 MK8 | Baker 3.00x, Lightened Suppressor, 508MM MK8, Classic Vertical, 45RND Fast Mag, FMJ | Sustained fire across beaches, docks, and approach lanes |
| Recon | PSR | NFX 8.00x, Anti-Glare Coating, Standard Suppressor, 27-inch MK22, Slim Angled, Range Finder, 7RND Magazine, Match Grade | Long-range picks built around the sweet-spot distance |
Assault: M16A4 setup
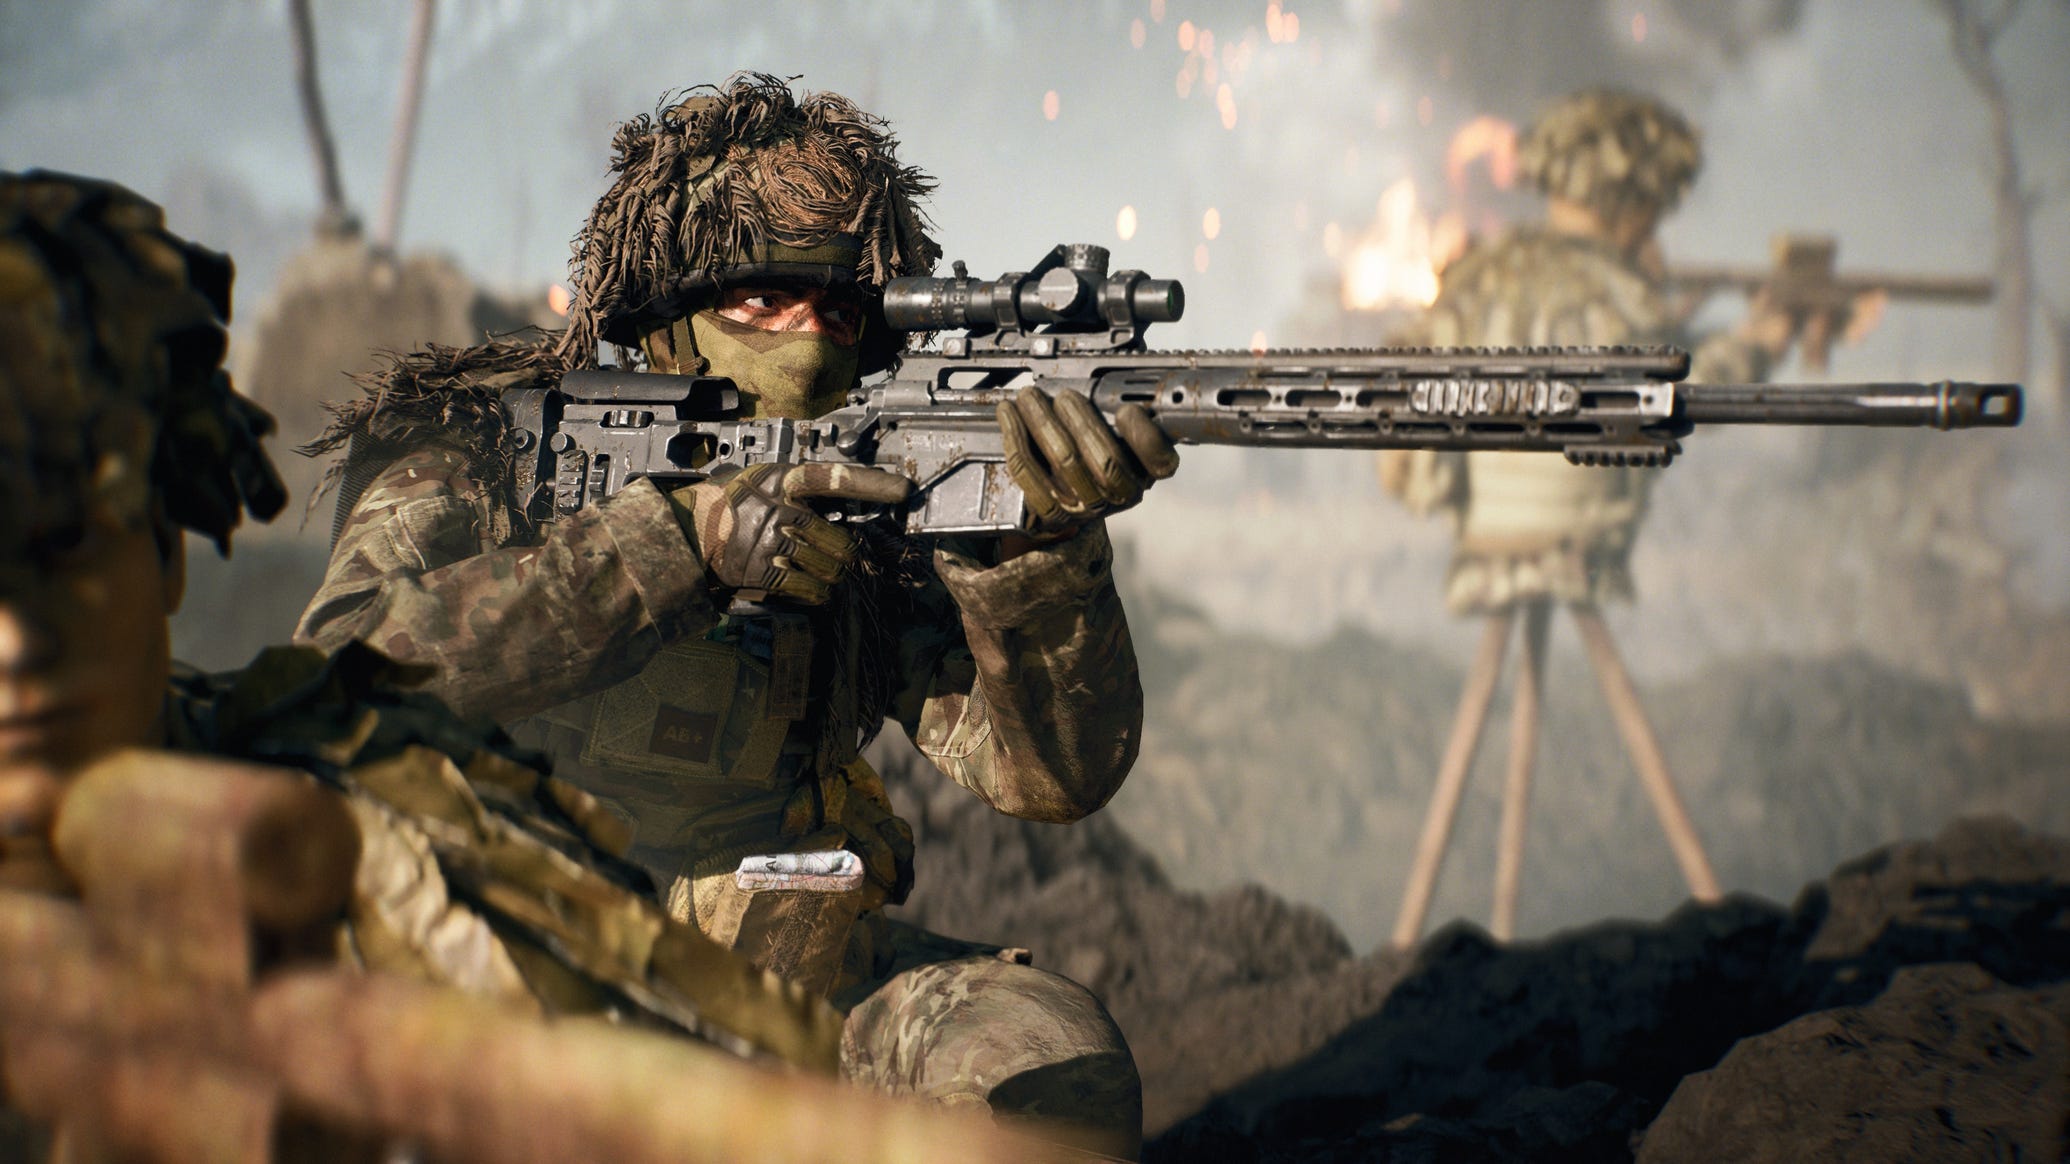
The 1.75x optic keeps the M16A4 moving with the objective rather than anchoring it to a ridge. The Lightened Suppressor supports flanking, and the HBAR, vertical grip, and Aftermarket Buffer work together to keep bursts centered under the 1.3.3.0 dispersion model. FMJ is the right ammunition choice here. Specialized headshot rounds like Hollow Point or Synthetic Tip come with a real penetration cost on a map full of walls, foliage, railings, and clustered targets. Test those alternatives only after your first-burst placement is consistently landing chest and head shots.
Engineer: SGX setup
The SGX stays light and quiet. The 36-round magazine reduces the chance of running dry after damaging a vehicle crew, and the blue laser supports fast close-range transitions. On vehicle-heavy Tsuru Reef matches, pair this with the Anti-Armor Training Path, RPG-7V2, Anti-Vehicle Mine, and Anti-Vehicle Grenade. Infantry-only routes can drop one anti-vehicle tool, but Engineer should not abandon its squad responsibility on Conquest or Breakthrough just because a particular lane looks infantry-heavy.
Support: KTS100 MK8 setup
The 3.00x optic gives enough magnification for open approaches without turning the LMG into a stationary sniper. The 45RND Fast Mag shortens downtime, and the vertical grip supports repeatable bursts under the current dispersion rules. Use Fire Support when holding a defensive lane. Switch to Combat Medic when the squad is pushing buildings and needs smoke, fast revives, and a lighter weapon like the M4A1.
Recon: PSR setup
This build is designed for planned positions, not fast room entries. The Range Finder helps you stay inside the 90 to 120 meter sweet spot where the PSR performs best. The suppressor and anti-glare coating reduce avoidable exposure. Note that Match Grade ammunition is affected by the increased drag from 1.3.3.0, so long shots require more lead than they did earlier in Season 3. If the objective route forces you inside 100 meters, swap to a lower-magnification optic.
How should you build the three new Season 4 weapons?
Complete attachment costs and live TTK values for the EF88, BROD 3, and VSSM are not available before the weapons unlock. The approach that works: test the statistic that defines each weapon's role first, then spend remaining points on the limitation that live play reveals.
| New weapon | Design intent | First build direction | Live test priority |
|---|---|---|---|
| BROD 3 | Aggressive carbine, collapsible stock, close-range focus | 1.00x optic, recoil control, larger magazine, then hip-fire or ADS mobility | Close-range TTK, first-shot recoil, reload time, damage falloff |
| EF88 | Bullpup assault rifle for medium to long range | Recoil grip, velocity support, medium magazine, 1.50x to 3.00x optic | Burst accuracy after first shot, projectile speed, handling cost |
| VSSM | DMR with integrated suppressor, subsonic ammo, full-auto mode | Recoil control, magazine capacity, flexible low-to-medium optic | Bullet velocity, shots to kill, full-auto spread, magazine endurance |
For the BROD 3, run it on the same short route as the M4A1 and SGX. Count how many targets one magazine handles and whether recoil forces a pause beyond close range. If the stock weapon is already stable, spend points on magazine size and handling. If the first shots climb sharply, prioritize recoil control over a laser sight.
The EF88 is the new gun with the clearest theoretical match for Tsuru Reef. Start with a clean medium optic and recoil control, then test projectile lead between islands. The 1P86 LPVO is worth trying if the EF88 supports it and the point cost does not remove a grip or magazine you need. A 4.50x view only pays off when the weapon can maintain accurate bursts at that distance.
The VSSM needs the most careful evaluation. Its integrated suppressor frees up the muzzle slot, but subsonic ammunition changes how you lead moving targets. Treat full-auto mode as an emergency close-range option until you have confirmed live spread and recoil numbers. If the default magazine cannot reliably finish two armored REDSEC targets, capacity becomes the first upgrade.
What are the best weapons for Tsuru Reef and naval combat?
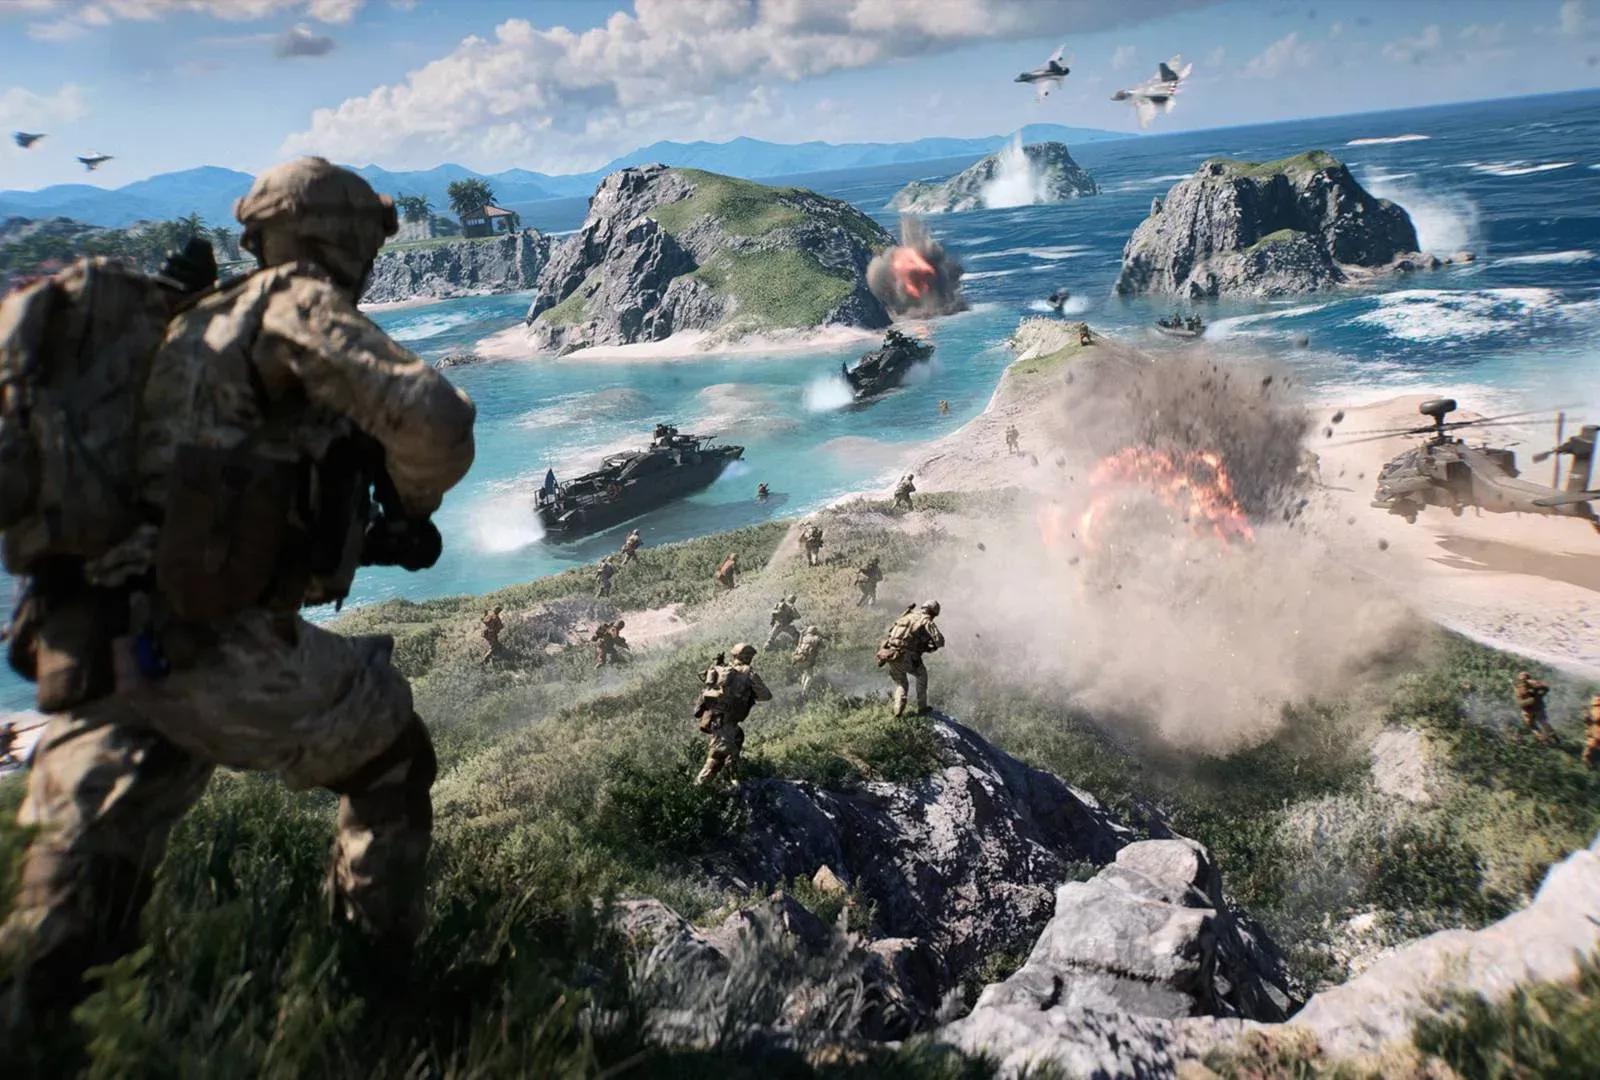
Tsuru Reef does not reward a single loadout. Open water crossings, island approaches, cliffs, resort buildings, and boat combat all pull in different directions. The M16A4, EF88, and KTS100 MK8 are the first choices for squads crossing exposed ground or protecting a landing zone. The BROD 3, SGX, and M4A1 are better for boat passengers planning to disembark, enter a building, and fight around a capture point.
| Tsuru Reef situation | Preferred weapons | Loadout adjustment |
|---|---|---|
| Open island approach | EF88, M16A4, KTS100 MK8 | Recoil control and 1.75x to 3.00x optics |
| Resort and bungalow interiors | BROD 3, SGX, M4A1, M1014 | Fast ADS, hip-fire support, larger magazines |
| Cliff and ridge overwatch | PSR, VSSM, M16A4 | Range Finder for PSR, controlled optics for rifles |
| Boat passenger defense | KTS100 MK8, M16A4, EF88 | Stable magazines and optics usable under motion |
| Landing and objective breach | BROD 3, SGX, M4A1 | Suppressor, quick handling, smoke support |
The water damage mechanic changes target selection more than it might first appear. Do not spray into deep water at a diving swimmer. Track their route, anticipate where they surface, and engage when they come up. Players who burn a full magazine through deep water are handing the advantage to whoever is waiting on the other side.
For shotguns, the Extended Barrel is available on the M87A1, M1014, 18.5KS-K, and DB-12. The extra velocity might help across a courtyard or dock, but the mobility and ADS penalties work against the reason you picked a shotgun. Start Season 4 with a standard close-range build and only add the Extended Barrel if you are consistently losing fights just outside your current effective distance.
For a deeper look at how the new Season 4 patch changes the game, check out the full Season 4 patch notes breakdown covering Tsuru Reef, naval warfare, and every fix in Update 1.4.1.0.
How to evaluate the meta after launch
The provisional meta structure is clear enough to act on. M16A4 is the established rifle baseline. KTS100 MK8 handles sustained fire. SGX covers close-range pressure. PSR manages planned long-range positions. Among the new weapons, EF88 has the strongest map fit, while BROD 3 and VSSM have the highest potential for specialized loadouts.
Once you have live matches, compare new weapons against fixed baselines. Test BROD 3 against M4A1 and SGX at close range, EF88 against M16A4 across medium lanes, and VSSM against established DMRs from the same positions. Keep class, input method, server region, optic magnification, and engagement distance consistent across tests. A new weapon earns a slot above an established option only when it produces a repeatable gain in kills per magazine, accuracy, handling, or range.
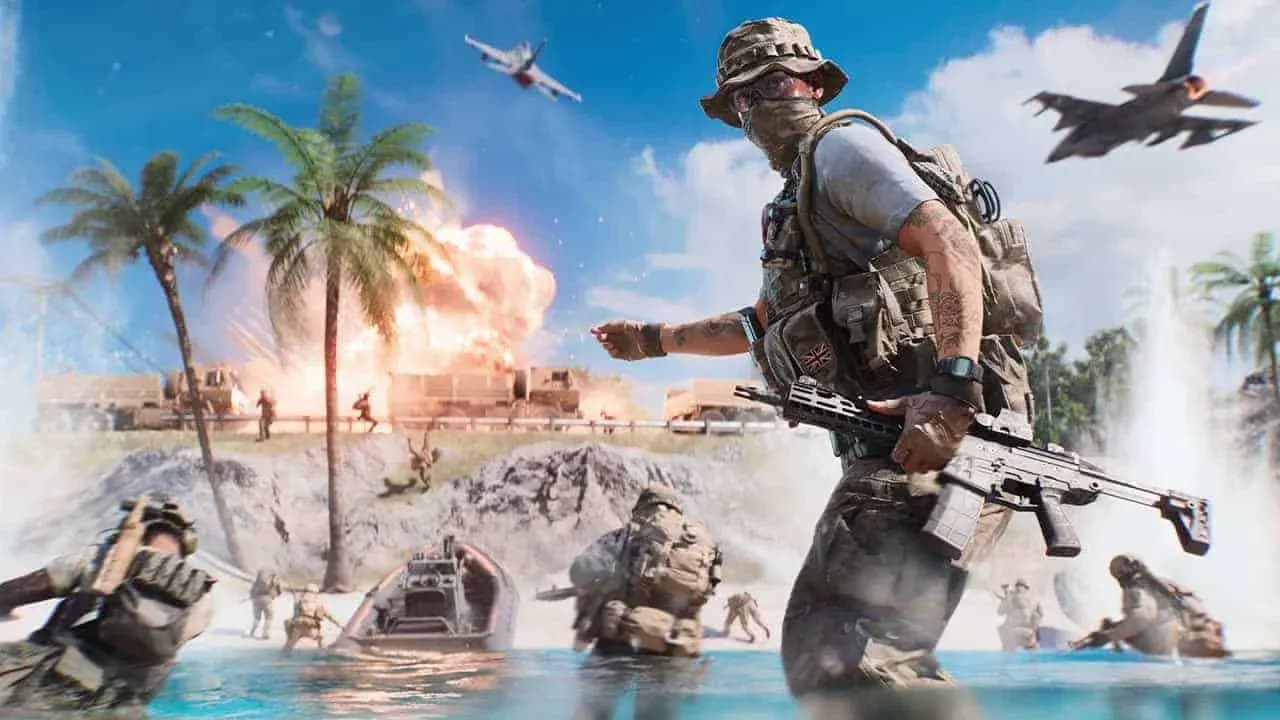
Tsuru Reef map overview
Track damage breakpoints, shots to kill at head and chest, rate of fire, reload duration, ADS time, sprint-to-fire time, magazine capacity, projectile velocity, recoil pattern, and attachment point cost. Tsuru Reef performance deserves a separate note because long lanes and water can inflate or deflate a gun's apparent value compared with compact infantry maps.
For the full picture of what Season 4 adds beyond weapons, including the naval warfare details and the two new maps, the Season 4 naval warfare release date guide has everything confirmed so far. If you are still working through attachment unlocks for any of these weapons, the best attachments fast unlock guide covers proven unlock paths and weapon XP optimization for every weapon category.
Season 4 does not erase the current arsenal. The most valuable early result will not be a single number-one gun. It will be a set of loadouts matched to the route: EF88 or M16A4 for open island lanes, BROD 3 or SGX for buildings and landings, KTS100 for sustained squad support, and PSR or VSSM for deliberate ranged play. Build that way from day one and you will have a clean path to refine each slot with real data as the season develops. Find more strategies across every aspect of the game in the full Battlefield 6 guides collection.