
The Stranded mission in Call of Duty: Modern Warfare 4 is the game's only Open Combat Mission, and it hides 26 yellow supply crates across a sprawling map full of outposts, sewers, locked shipping containers, and at least one building rigged to kill you the moment you walk through the door. Opening all 26 earns you the Time to Crate achievement, and the loot inside ranges from armor plates and Base Camp supplies to fully kitted weapons like the Hyeon Burst AR with a thermal scope and silencer. This guide covers every crate location, every shipping container code, and the two mobile crates that most players miss entirely.
What are the yellow supply crates in Stranded?
Yellow supply crates are special loot containers scattered throughout the Stranded mission. They contain upgraded weapons, gear, armor plates, and supplies that feed back into your Base Camp resources. Of the 26 total, 24 sit at fixed map coordinates. The remaining two are mobile: one rides a train that loops the southern section of the map, the other sits on an enemy convoy truck that circles the mountain around Base Camp. The truck shows up as a red marker on your tacmap.
Clearing outposts is the fastest way to reveal static crate locations organically. Intel collected at each outpost flags nearby crates on your tacmap, so sweeping the map methodically beats wandering blindly.

All shipping container codes in Stranded
Six of the 26 crates sit inside locked green shipping containers. Each container has a note on the door showing previous codes, and the pattern always leads to the next one. Skip the puzzle math entirely with the table below.
| Container Name | Code | Reward |
|---|---|---|
| Cliff Near Base Camp (646, 158) | 0600 | Armor Plates, Supplies +5 |
| Big Sign Container (634, 136) | 1234 | Armor Plates, Supplies +10 |
| Small Island Container (618, 132) | 6789 | Supplies +10 |
| South of Jamming Station (667, 125) | 8609 | 3x Drill Charge |
| South East Village (652, 187) | 0078 | X-Void SMG with Subsonic Rounds |
| NW Island Bunker (616, 168) | 0008 | Tracking Device, Thermite |
The NW Island Bunker code is the most interesting one to work out naturally: the note tells you the code equals the total number of outposts along the river. Count them on your tacmap after clearing each one and you land on 8, hence 0008.
All 26 yellow supply crate locations
Mobile crates: train and convoy truck
These two are the easiest to miss because they never sit still. The Train crate rides a loop along the southern rail line and contains a Mosin-Nagant Marksman Rifle. Wait near the tracks and board the train when it passes. The Convoy Truck crate circles the Base Camp mountain and holds a Scout Drone. It appears as a red icon on your tacmap, so track it down and hop onto the truck bed.
Outpost crates (clear the area first)
Seven crates unlock by clearing the outpost they sit in. Enemies need to be eliminated before you can access them.
- 672, 141 — Armor Plates and a Type 73 LMG with ACOG Scope
- 668, 183 — Kastov 762 AR with Silencer
- 664, 167 — Supplies +10
- 636, 189 — Kastov 762 AR (in the garage)
- 631, 169 — Warlord Shotgun with Explosive Rounds (Infantry 1 outpost, near the river bridge)
- 622, 121 — Supplies +10
- 609, 125 — Supplies +10 (near the statue base, after clearing the SAM site)
Crates requiring climbing or environmental access
Several crates demand a bit more effort than simply walking up and pressing interact.
- 644, 158 — Radio Tower: Cross the old bridge from Base Camp after speaking with Kal and reach the large blue-and-white radio tower. Climb the ladder to the first platform, navigate the broken ramp, then use the red-and-white ledges and copper pipes to reach the very top. The crate here contains the Rezi 12 Enforcer Shotgun.
- 648, 199 — Tower climb: Climb the tower at these coordinates using copper pipes. Reward: Tracking Device and 2x Thermite.
- 651, 134 — Locked house: The front door is sealed. Climb onto the roof and drop through to find the Kastov 762 AR with an underbarrel shotgun attachment.
- 616, 141 — Broken stairs: Scale the broken staircase next to the elevator shaft. Reward: Supplies +10.
- 640, 131 — Blocked storage: Use an explosive to destroy the crates blocking the storage container door. Reward: Armor Plates and Supplies +5.
The sewer crate (639, 165)
This is the most involved crate in the entire mission. Start southwest of Base Camp at the question-mark location, where you'll find a white-and-blue garage. Grab the Water Treatment Note inside, then take the ladder on the opposite side of the building down into the sewer network.
The sewer uses two separate arrow-pattern puzzles inscribed on walls and cardboard signs. The key thing most players get wrong: you are not following the literal direction of the arrows. You are following the pattern of the arrows relative to your current facing.
First tunnel sequence: Forward, right, forward, forward, left, left.
Second tunnel sequence: Forward, right, forward, left, forward, left, left, down.
Stay prone to fit through the narrow tunnels. At the end of the second sequence you drop down to find the crate along with the Sewer Smuggler Remains Note.
The booby-trapped building (605, 115)
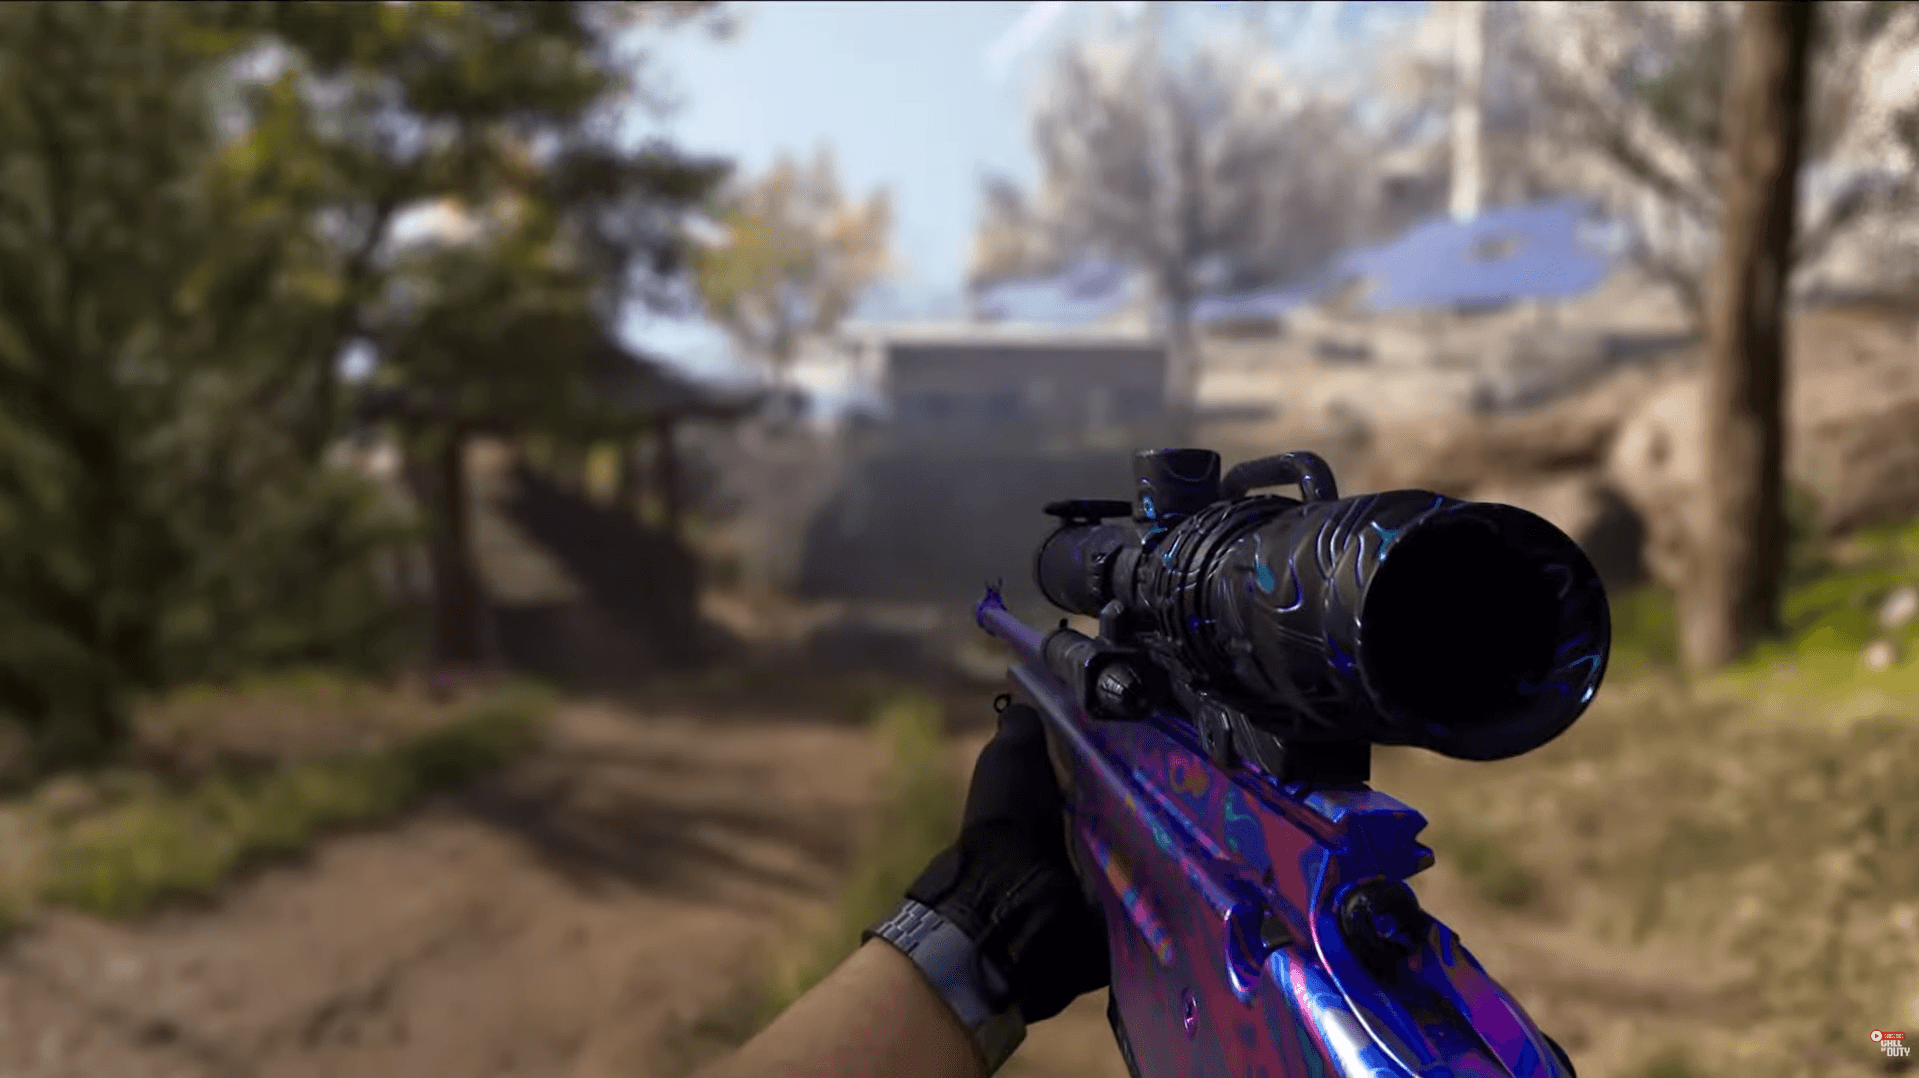
This crate sits in a store at the top of a hill in the far northwest corner of the map and contains the best weapon reward in Stranded: the Hyeon Burst AR with a thermal scope and silencer. The entire building is wired with tripwire explosives.
Before entering, throw a grenade through the doorway to detonate the tripwires near the entrance. Once inside, jump over the shop counter and hug the right-side wall to reach the crate. The explosives deeper inside cannot be detonated remotely, so the wall-hugging route is the only safe path.
Remaining static crates
- 671, 121 — Supplies +10
- 657, 205 — WZ .55 Striga Rampage SMG
- 657, 118 — Sang 9mm Pistol
- 646, 170 — Backpack Upgrade
How do you unlock the Time to Crate achievement?
Open all 26 yellow supply crates in a single run of the Stranded mission. There is no partial credit between sessions, so plan to tackle the full list in one sitting. The two mobile crates (train and convoy truck) are the most time-sensitive since you need to intercept them mid-route, so keep an eye on the tacmap for the red convoy truck marker and position yourself near the southern rail line early.
Collectible notes are scattered near many of these crate locations and count toward a separate achievement for finding 50 total notes across the campaign. Picking them up while hunting crates is efficient since the routes overlap significantly.
For everything else MW4 has to offer beyond the campaign, the MW4 strategy guides collection covers multiplayer maps, killstreaks, camos, and more in one place.