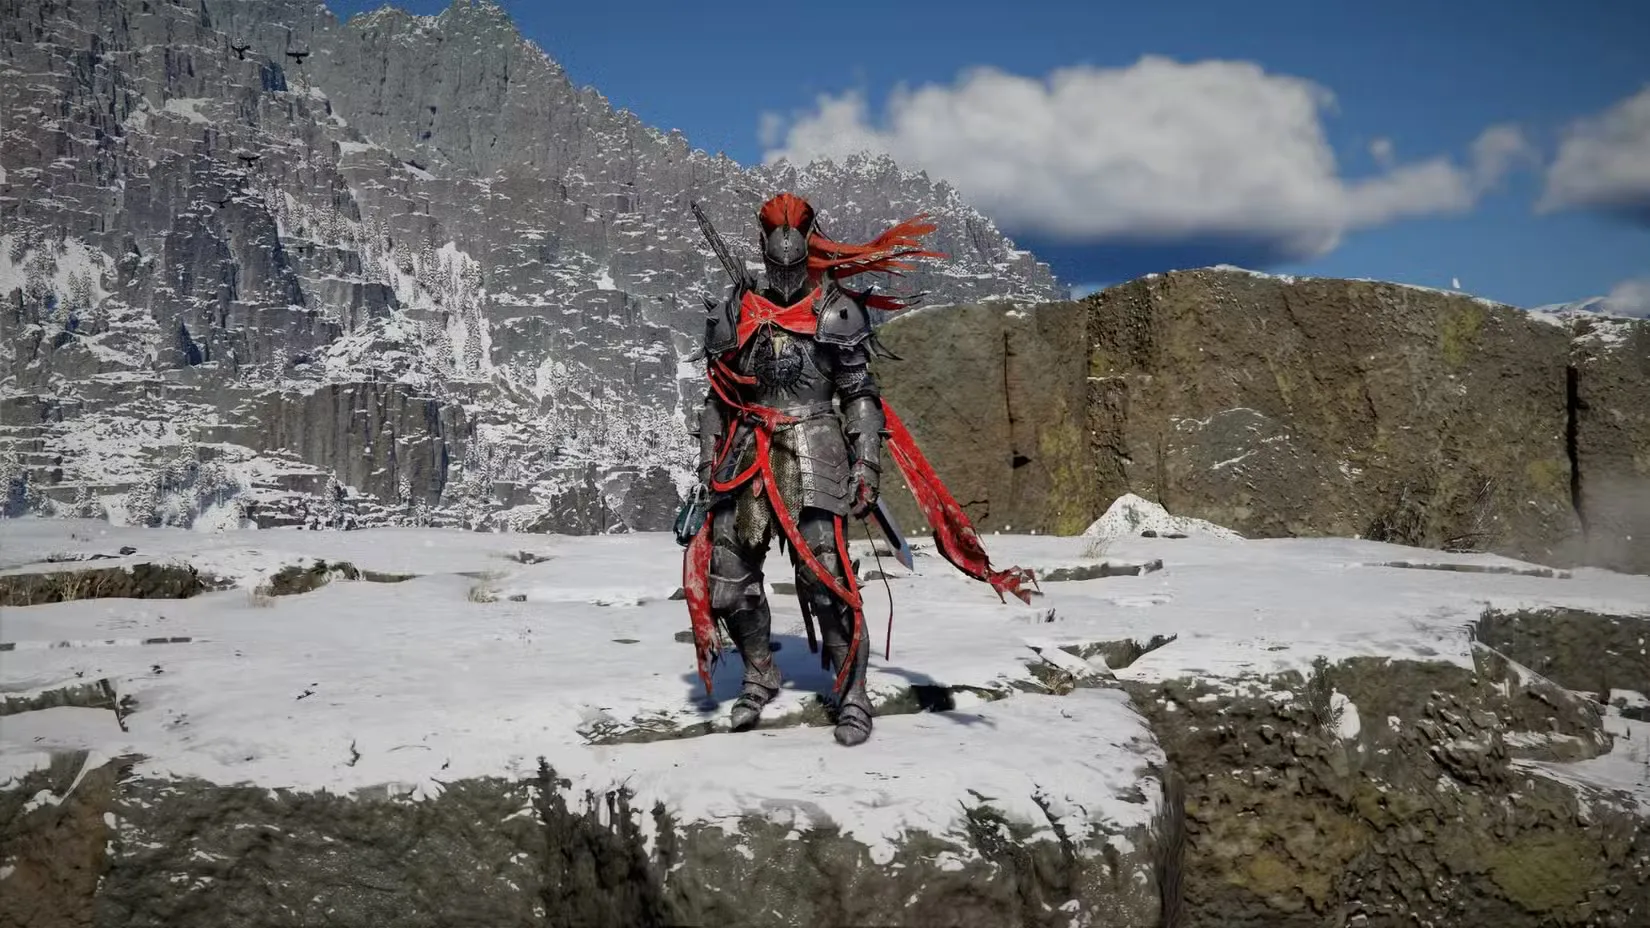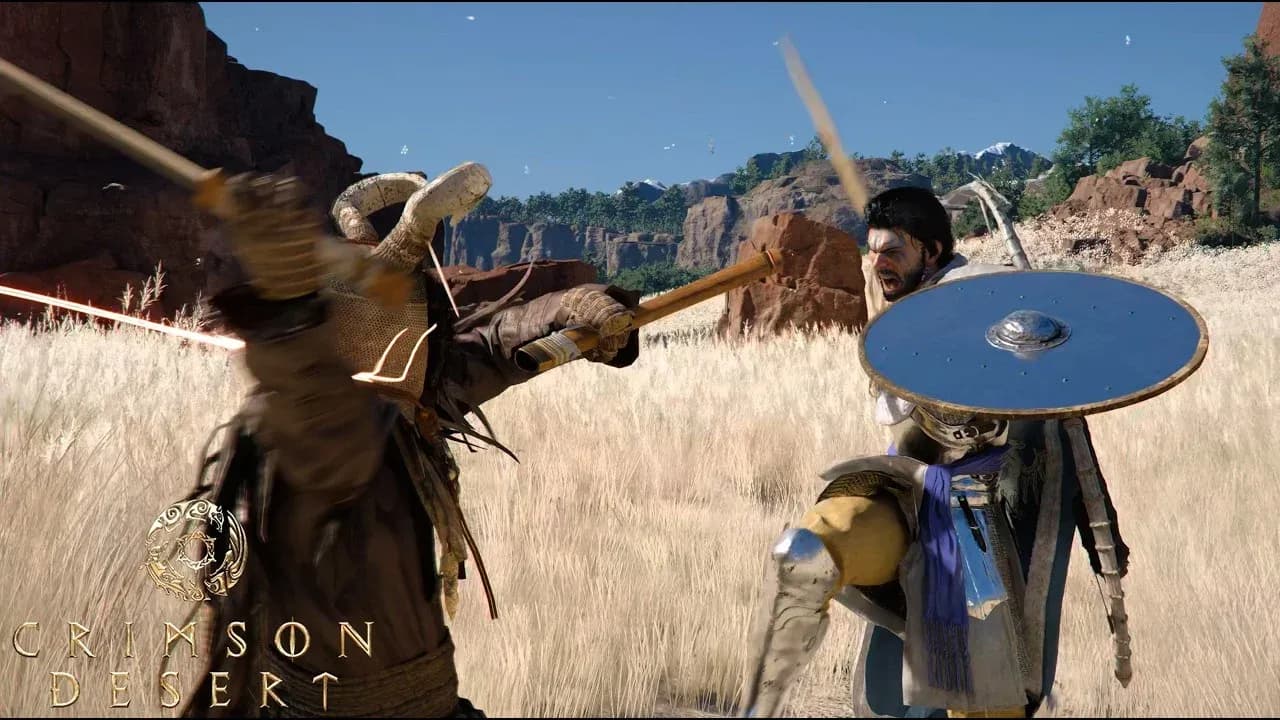

The Reed Devil is the first boss in Crimson Desert that genuinely tests everything you've learned so far. He arrives mid-Chapter 3, and by the time you reach him at Reedwind Valley, you've already fought through an army of his minions. That's the real trap: players show up to this fight exhausted and under-stocked, then blame the boss. Prepare correctly and the Reed Devil is very manageable. Show up empty-handed and he'll make you feel it.
How to prepare before the fight
The single biggest mistake players make is rushing straight to the Reed Devil after clearing the mountain path. There's a tent with cooking supplies just before the boss arena. Stop there every time.
Here's what to sort out before you examine the small doll on the stone table to trigger the encounter:
- Cook as much food as possible. Two lower-quality food items often restore more total health than one high-quality dish. Prioritize quantity.
- Refine your gear at the blacksmith in Hernand. It's cheap and gives meaningful damage and defense bonuses. The Sword of the Lord from the Hornsplitter fight is strong enough for this encounter.
- Use the grindstone near the tent to get a temporary weapon damage boost.
- Respec into health, stamina, and spirit if you spent your Abyss Artifacts on flashy skills. Stamina matters enormously here since you can block most of the Reed Devil's fast flurries without taking damage.
- Grab Keen Senses Level 2 from the spirit tree. The first level gives you a parry; the second unlocks an enhanced evade that's far better than the default roll.
- Bring spirit-restoring food alongside regular healing items. You'll need Spirit for Turning Slash during the totem phase.
- Unlock the Abyss Cresset on the hill just northwest of the Mountain of Frozen Souls marker. This gives you a fast travel point so you can retreat, restock, and return without replaying the whole approach.

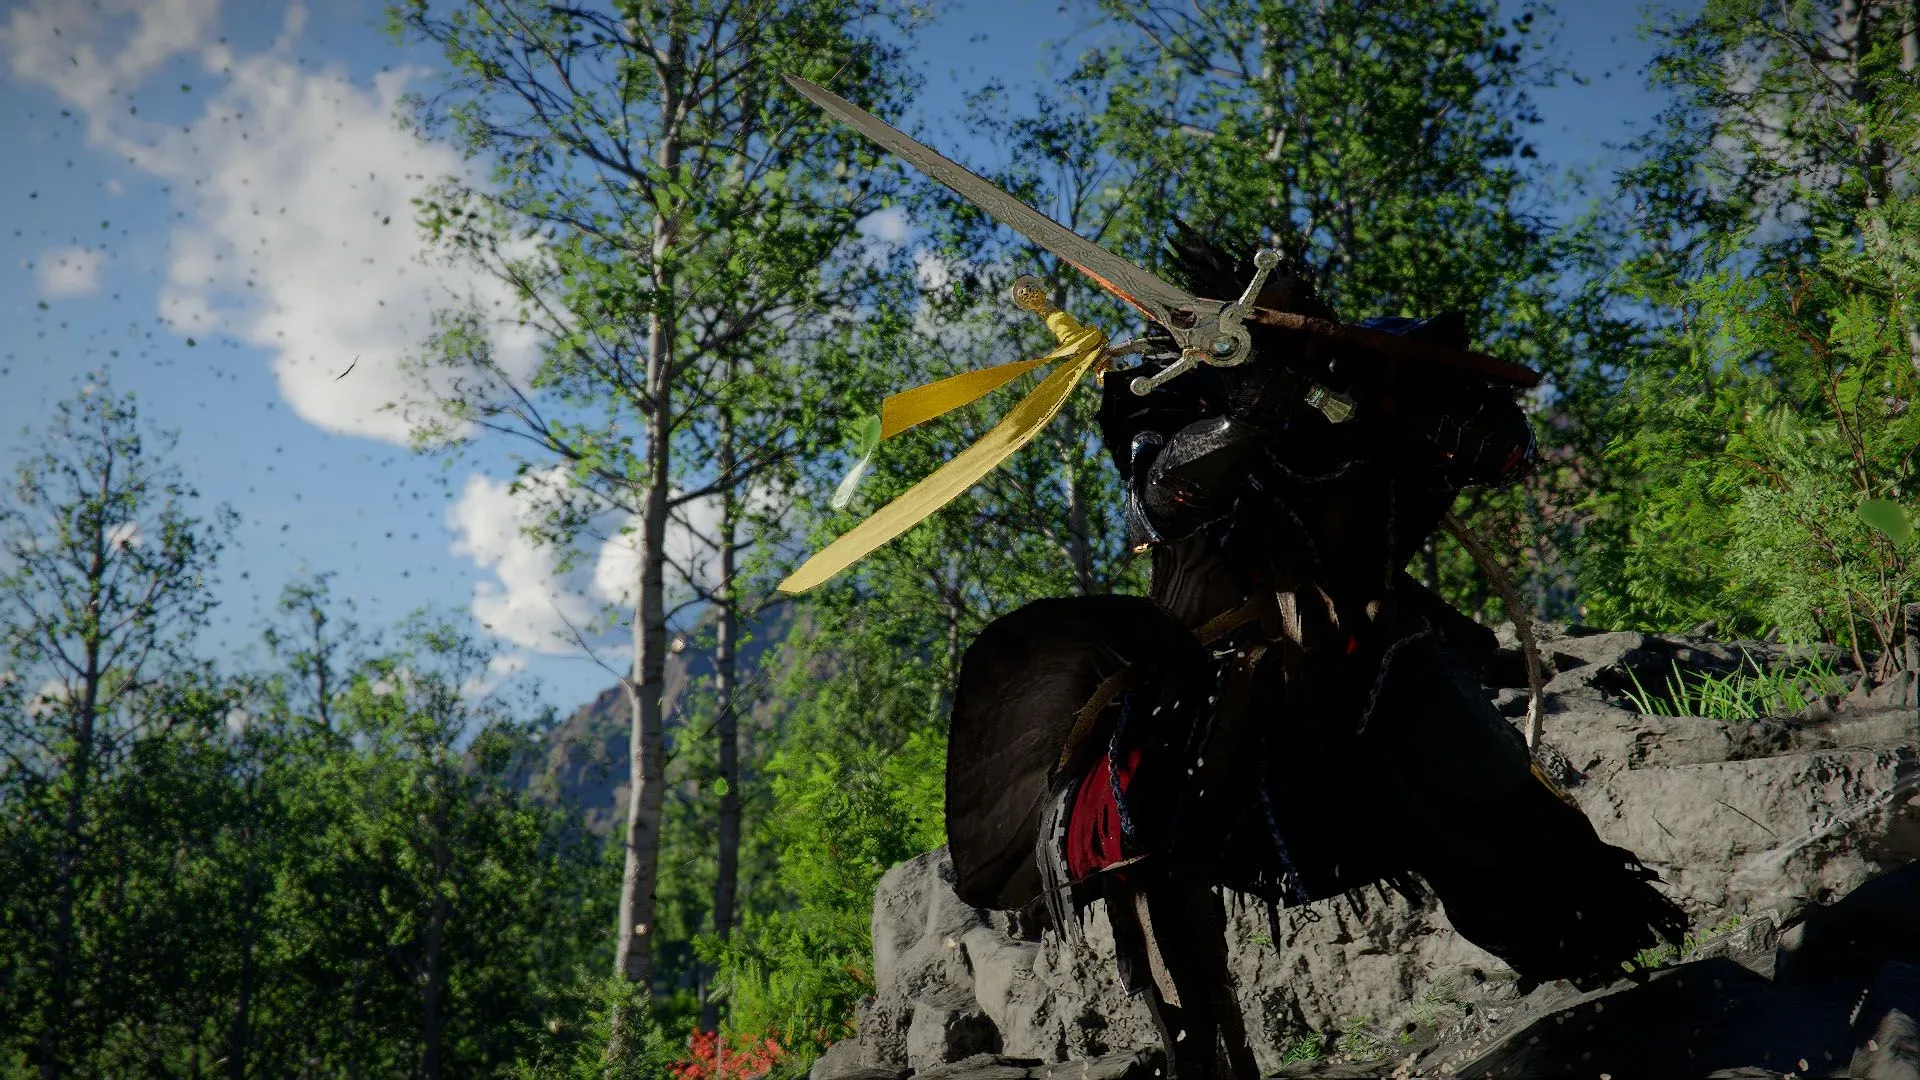
Getting through the mountain path
Before the actual boss arena, you'll work through a mountain path packed with the Reed Devil's minions. His health bar may appear during this section, but this is not the real fight yet. Don't waste resources trying to damage him here.
The key mechanic on this path is the totems planted in the ground. Leave them standing and enemies in the surrounding area respawn endlessly. Use Turning Slash (press Light Attack and Heavy Attack simultaneously, RB+RT on controller or R1+R2 on PlayStation) to destroy each totem fast, then clean up the remaining enemies.
If you'd rather skip the whole section, climb the cliffs to your right instead of following the main path. This lets you bypass most of the minions entirely and drop straight into the open field where the boss fight takes place.

Crimson Desert Boss Guide: How to Defeat the Reed Devil
How to beat the Reed Devil: phase one
Once you examine the doll and the fight begins, the first thing to do is lock on. Hold the block/target button and press down on the d-pad to establish a lock. This lets you track him without constantly holding block, which drains stamina faster.
Phase one has three core attacks to manage:
Knife throw
Happens at range with little warning. Strafe left or right rather than blocking. Blocking works but costs stamina, and he often rushes in immediately after the throw.
Teleport slash combo
His most common attack. He vanishes and reappears beside you to deliver two groups of slashes. These are parryable, but hold the parry button rather than tapping it so you'll block if your timing is off. If you start eating hits, roll away immediately. The Evasive Roll from the Hornsplitter fight lets you break out of the stunlock for a small Spirit cost.
After a successful parry, stick to light attacks only. He can vanish mid-combo, and committing to slower moves leaves you exposed.
Swift Stab (long-range stab)
Looks like a slash but it's a thrusting lunge. This is a learnable skill: watch him perform it enough times until the observation bar fills and you get the tooltip. The counter is simple: back up or roll away so he whiffs the full range of the move, then punish.
Building the stun gauge
Every parry, throw, and hit you land builds the stun gauge below his health bar. When it fills and he flashes blue, you have a free damage window. Get two full light attack three-hit combos in before triggering the finisher (RB+RT / R1+R2). The Force Palm skill at Level 3 deals heavy stun damage and is particularly effective for filling the gauge faster.
Totem phase: the section most players fail
After the Reed Devil's first health bar empties, a short cutscene plays. When it ends, you have one immediate job: destroy all the totems as fast as possible.
The totems show as bright orange dots on the minimap. Track remaining totems via the pips at the top of the screen. The problem is that phantom Reed Devils attack from every direction while you're doing this.
The optimal approach:
- Sprint between totems, ignoring phantoms as much as possible.
- Use Turning Slash on each totem. It one-shots them and the wind-up animation makes you hard to flinch. Hold RB+RT / R1+R2 briefly to charge it.
- Turning Slash costs 10 Spirit per use. If you've been rolling constantly to escape phantom hits, your Spirit may be low. This is exactly why bringing spirit-restoring food matters.
- If a phantom hits you, roll immediately to break the stunlock and keep moving.
Once all totems are down, the phantoms vanish. Hit the Reed Devil once more for a short cutscene, then the real second phase begins.
How to beat the Reed Devil: phase two
Phase two keeps everything from phase one and adds three new attacks:
| New Attack | Warning Sign | Counter |
|---|---|---|
| Red energy waves (single or burst) | Screen darkens | Dodge sideways between waves |
| Phantom spawn behind you | No warning | Constant strafing avoids most hits |
| Long draw unblockable | Stands straight, glows yellow | Wait for red flash on katana, then roll |
The energy wave bursts are the most disorienting. He hops around firing from multiple angles and the screen dims before each volley. The first wave hits with almost no warning, but the follow-up shots are telegraphed enough to dodge cleanly.
The phantom spawns are mostly a non-issue if you're strafing constantly. They don't deal heavy damage, so if one connects, roll away and heal.
The unblockable long draw is the deadliest new move. The yellow glow is your cue to get ready, but don't roll until you see the red flash on his katana paired with the audio cue. Rolling too early means you'll be out of the dodge when the hit actually lands.
Everything else plays out identically to phase one: parry the teleport slashes, back away from Swift Stab, roll away from the sky-dive, and build the stun gauge for free damage windows.
What do you get for defeating the Reed Devil?
Once he goes down, you receive the Sunset Reed Cloth Gloves as a reward. Chapter 3 isn't finished yet though. Head back to the newly established Greymane Camp to continue recovering your missing comrades.
For more boss strategies and Crimson Desert content, browse the full guides library at GAMES.GG.