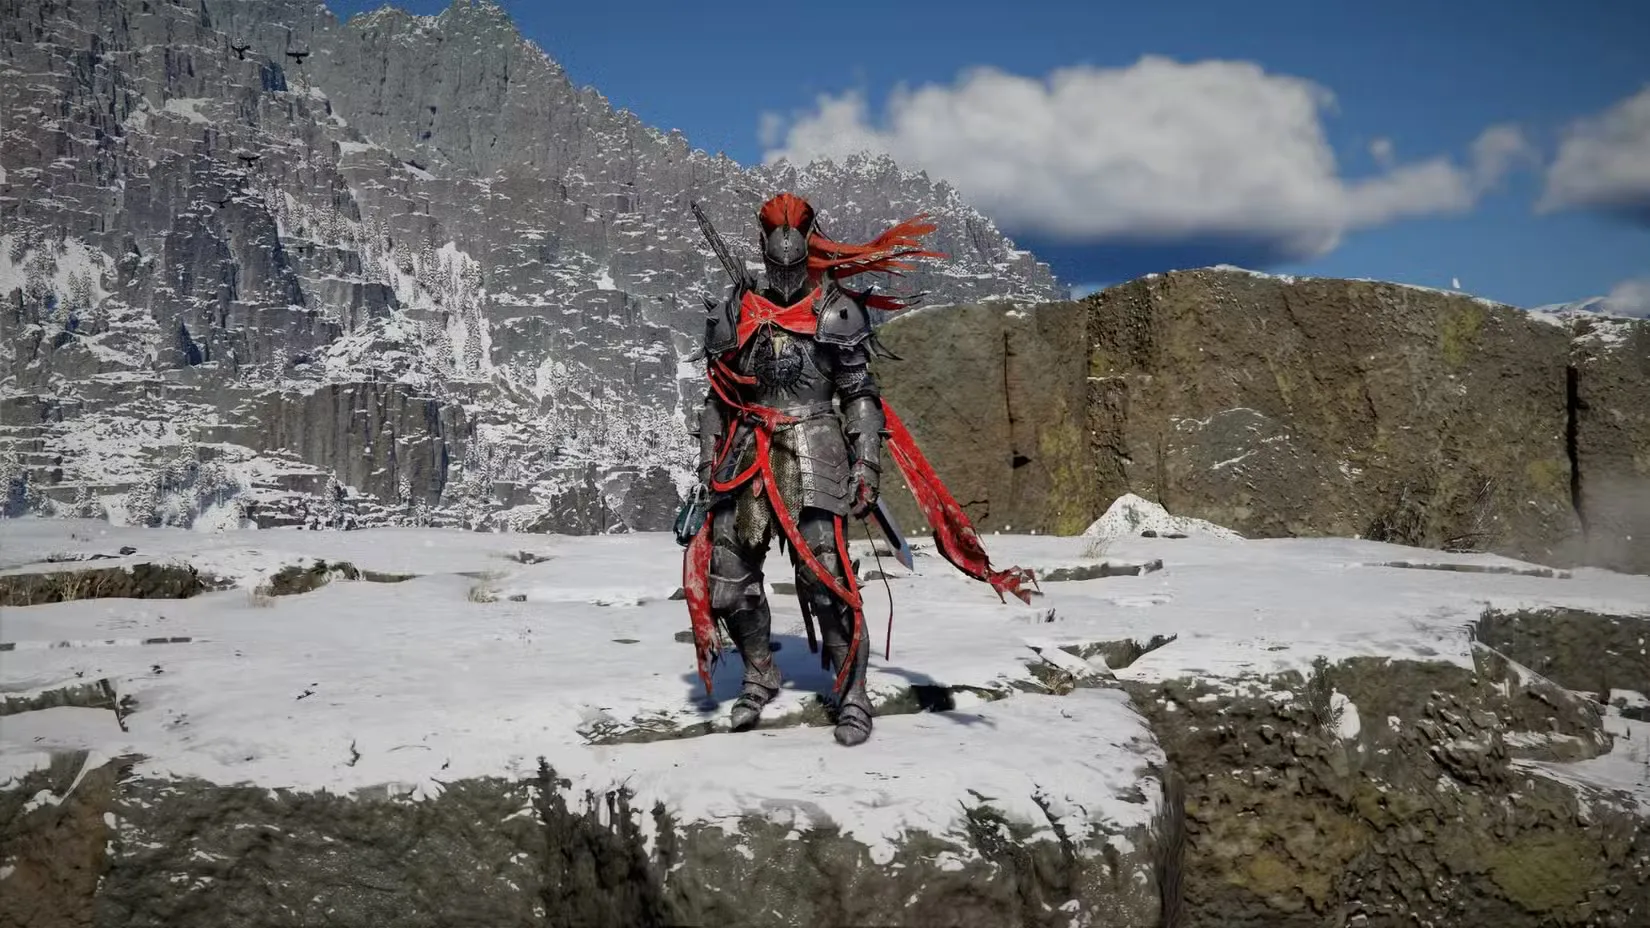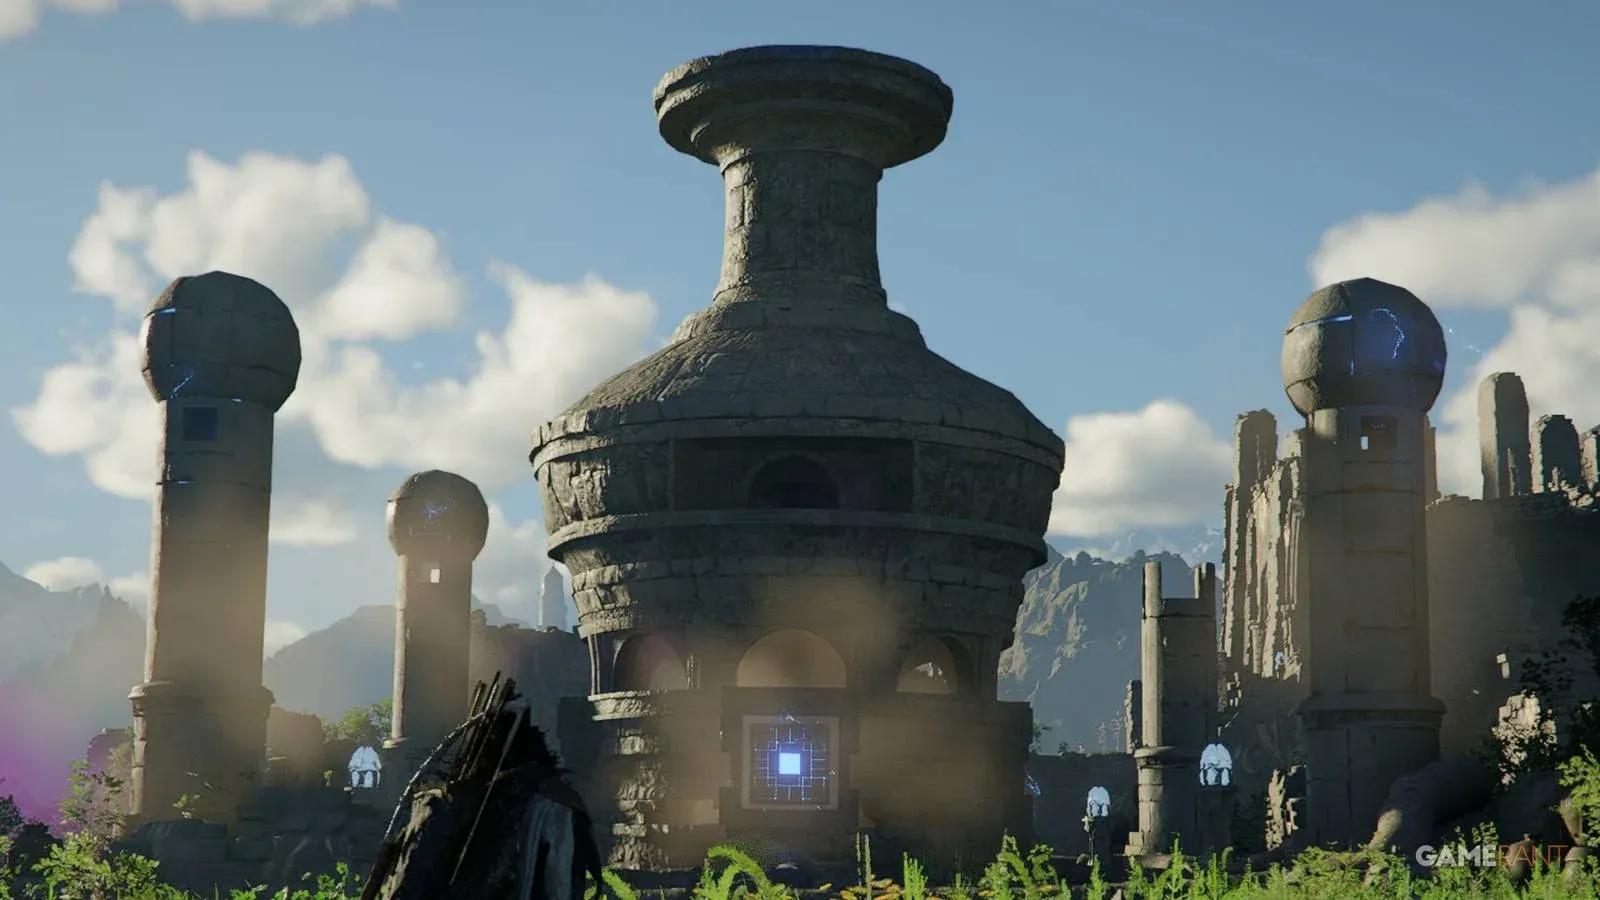

The Sanctum of Mortification is one of those puzzles in Crimson Desert that looks straightforward on the map but immediately starts lying to you. The orange search area the game marks during the Fragments of Darkness main quest points you in the wrong direction, and the objects you actually need are sitting outside that zone entirely. Once you know where to look, the whole sequence takes under 10 minutes.
Where is the Sanctum of Mortification?
The Sanctum of Mortification becomes accessible during Story Chapter 9 as part of the Main Quest: Fragments of Darkness. The specific objective is to restore power at the Sanctum. You cannot visit and complete this location before the quest triggers, so if you are trying to clear it as an Exploration Challenge early, you will need to reach Chapter 9 first.

How to restore power at the Sanctum of Mortification
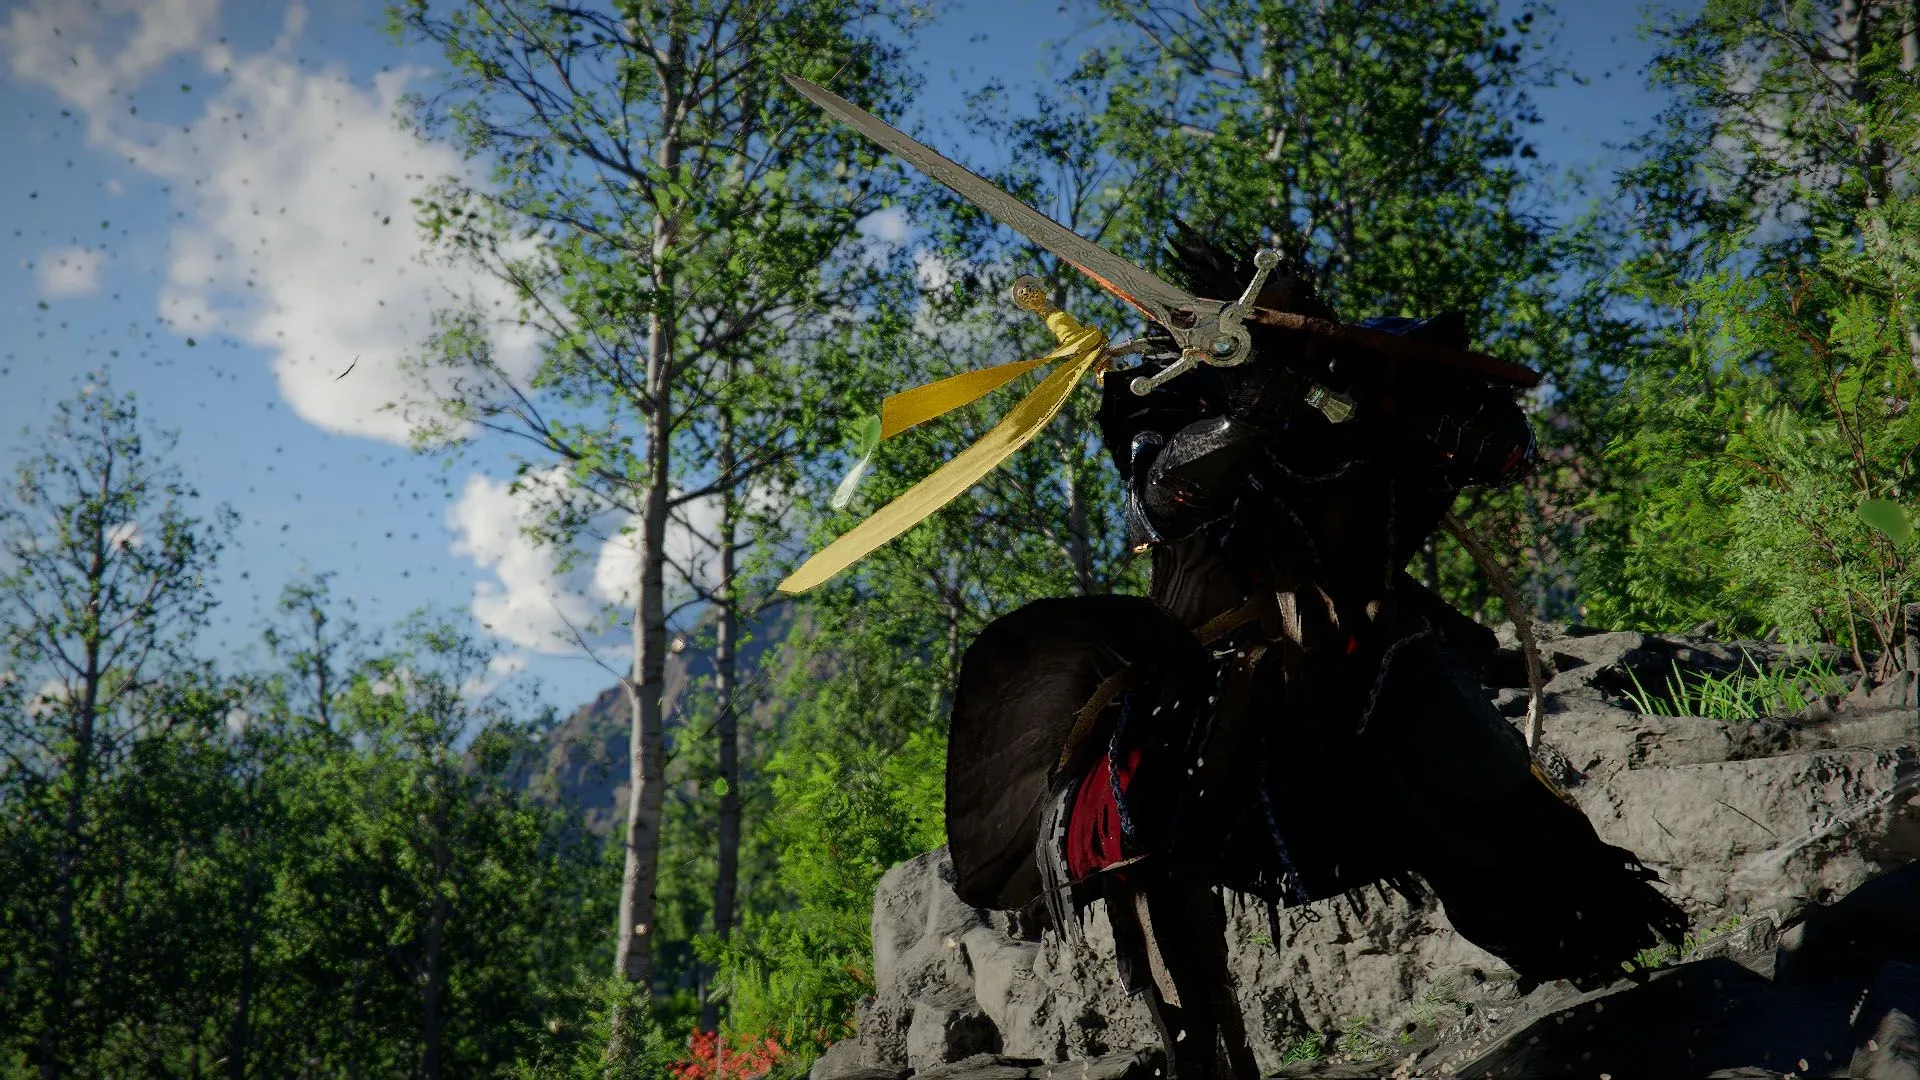
The restoration sequence has 7 steps. Each one feeds into the next, so skipping ahead or attempting them out of order will leave you stuck.
Installing the Fusion Reactor Core
Step 1: Retrieve the broken pylon dome
Head to the north side of the Sanctum and enter the ground floor of the main building. The dome of the broken pylon is sitting inside. Use Axiom Force (hold L3 on PlayStation, hold TAB on PC) to grab it, then carry it upstairs and out of the building.
Step 2: Place the dome on the pylon
Set the dome on top of the broken pylon outside. When placed correctly, green leaves will appear swirling around it. That visual confirmation is your signal that placement worked.
Step 3: Connect it with Force Palm
Climb to the top of the dome, then perform a jumping Force Palm (jump, then R3 on PlayStation or Mouse Wheel on PC). The dome needs to connect to the pylon so that it becomes electrified. If you try this from the ground level, the angle is wrong and the connection will not register.
Step 4: Burn the vines with Concentrating Light
Just outside the ruins where you grabbed the pylon dome, look for vines covering a section of wall. Use Concentrating Light to burn them away.
| Platform | Input |
|---|---|
| PlayStation | L1+R1, then hold L1 |
| Xbox | LB+RB, then hold LB |
| PC | CTRL + Left Click, then hold CTRL |
Step 5: Grab the hidden cube
Burning the vines reveals a cube behind a grate. It is easy to miss because it blends into the wall. Use Axiom Force again to pull it through the grate, then seal it inside the Kuku Pot by pressing Triangle (PlayStation), Y (Xbox), or R (PC).
Step 6: Extract the Fusion Reactor Core
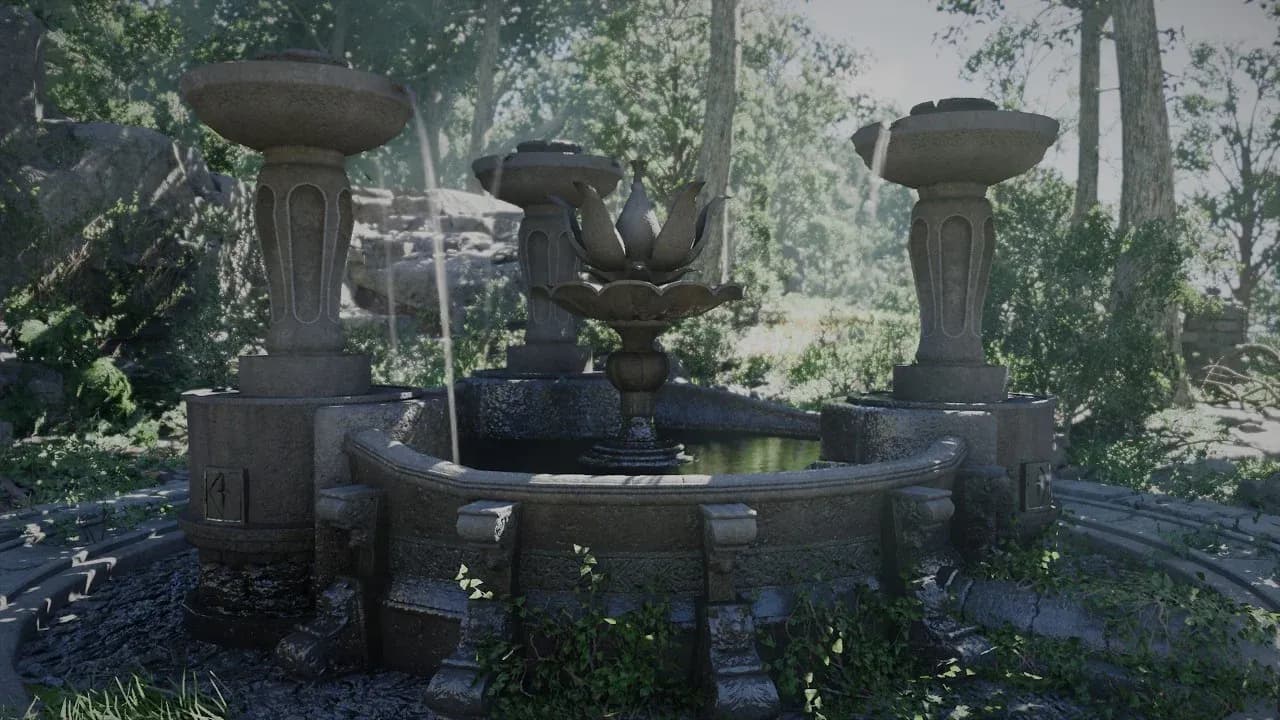
Return to the repaired pylon. Open your inventory, select the Kuku Pot, and choose Examine. From inside the Kuku Pot, discard the piece labeled "Fusion Reactor Core: VIII". Discarding it from inside the pot drops it into the world as a physical object you can now interact with directly.
Step 7: Install the Reactor Core
Grab the Fusion Reactor Core: VIII with Axiom Force and carry it to the large central tower where the 4 pylons are positioned. Slot it into the side of the reactor, then use Force Palm to punch it into place. A cutscene triggers automatically once the core is installed, and the quest objective completes.
What happens after you complete the Sanctum?
Finishing the Sanctum of Mortification counts toward the Exploration Challenge tied to this location and advances the Chapter 9 story. The cutscene that plays after installing the Reactor Core is not skippable on first viewing, so let it run. After the quest wraps, the Sanctum remains accessible if you want to revisit the area.
If you want more help with Crimson Desert's puzzles and exploration challenges, browse more guides on GAMES.GG for full coverage across every chapter.