
The Screaming Vault is one of Crimson Desert's Ancient Ruins puzzles, tucked underground in the Demeniss region. On the surface it looks like a straightforward spin-the-disc puzzle, but the game gives you almost no hint that the answers are painted on scarecrows scattered across the surrounding farmland. If you wandered in, stared at three rotating stone discs, and had absolutely no idea what to do next, you are not alone. Here's the full solution, including the direct answers so you can skip the scarecrow hunt entirely if you want.
Where is the Screaming Vault?
Head to the Demeniss region in the west of the map. The vault sits directly west of Demeniss Castle, between Rustleleaf Farm and the Abandoned Ruins. The easiest way to find it: locate the dead-end road just below the D in Demeniss on your map, then look east of that road for a larger ruined structure with a hole leading down.
Drop through that hole and you are inside the Screaming Vault.
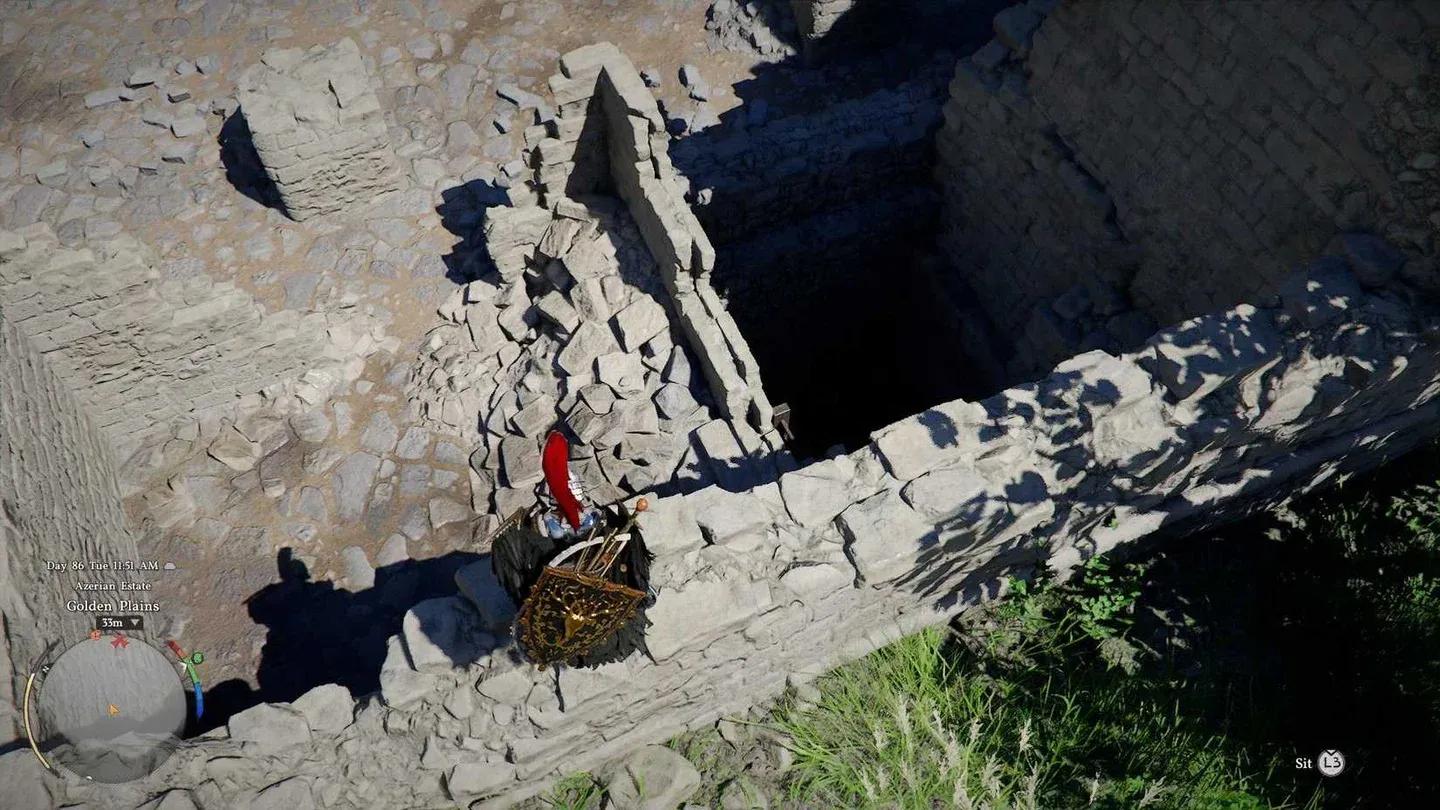
Vault entrance in Demeniss
| Screaming Vault at a Glance | Details |
|---|---|
| Region | Demeniss |
| Nearest Landmark | West of Demeniss Castle / Rustleleaf Farm |
| Puzzle Type | Rotating disc murals (3 discs) |
| Rewards | Abyss Cresset, Memories of Turbulence, teleport location |
| Required Skills/Items | None |

How do you get through the traps?
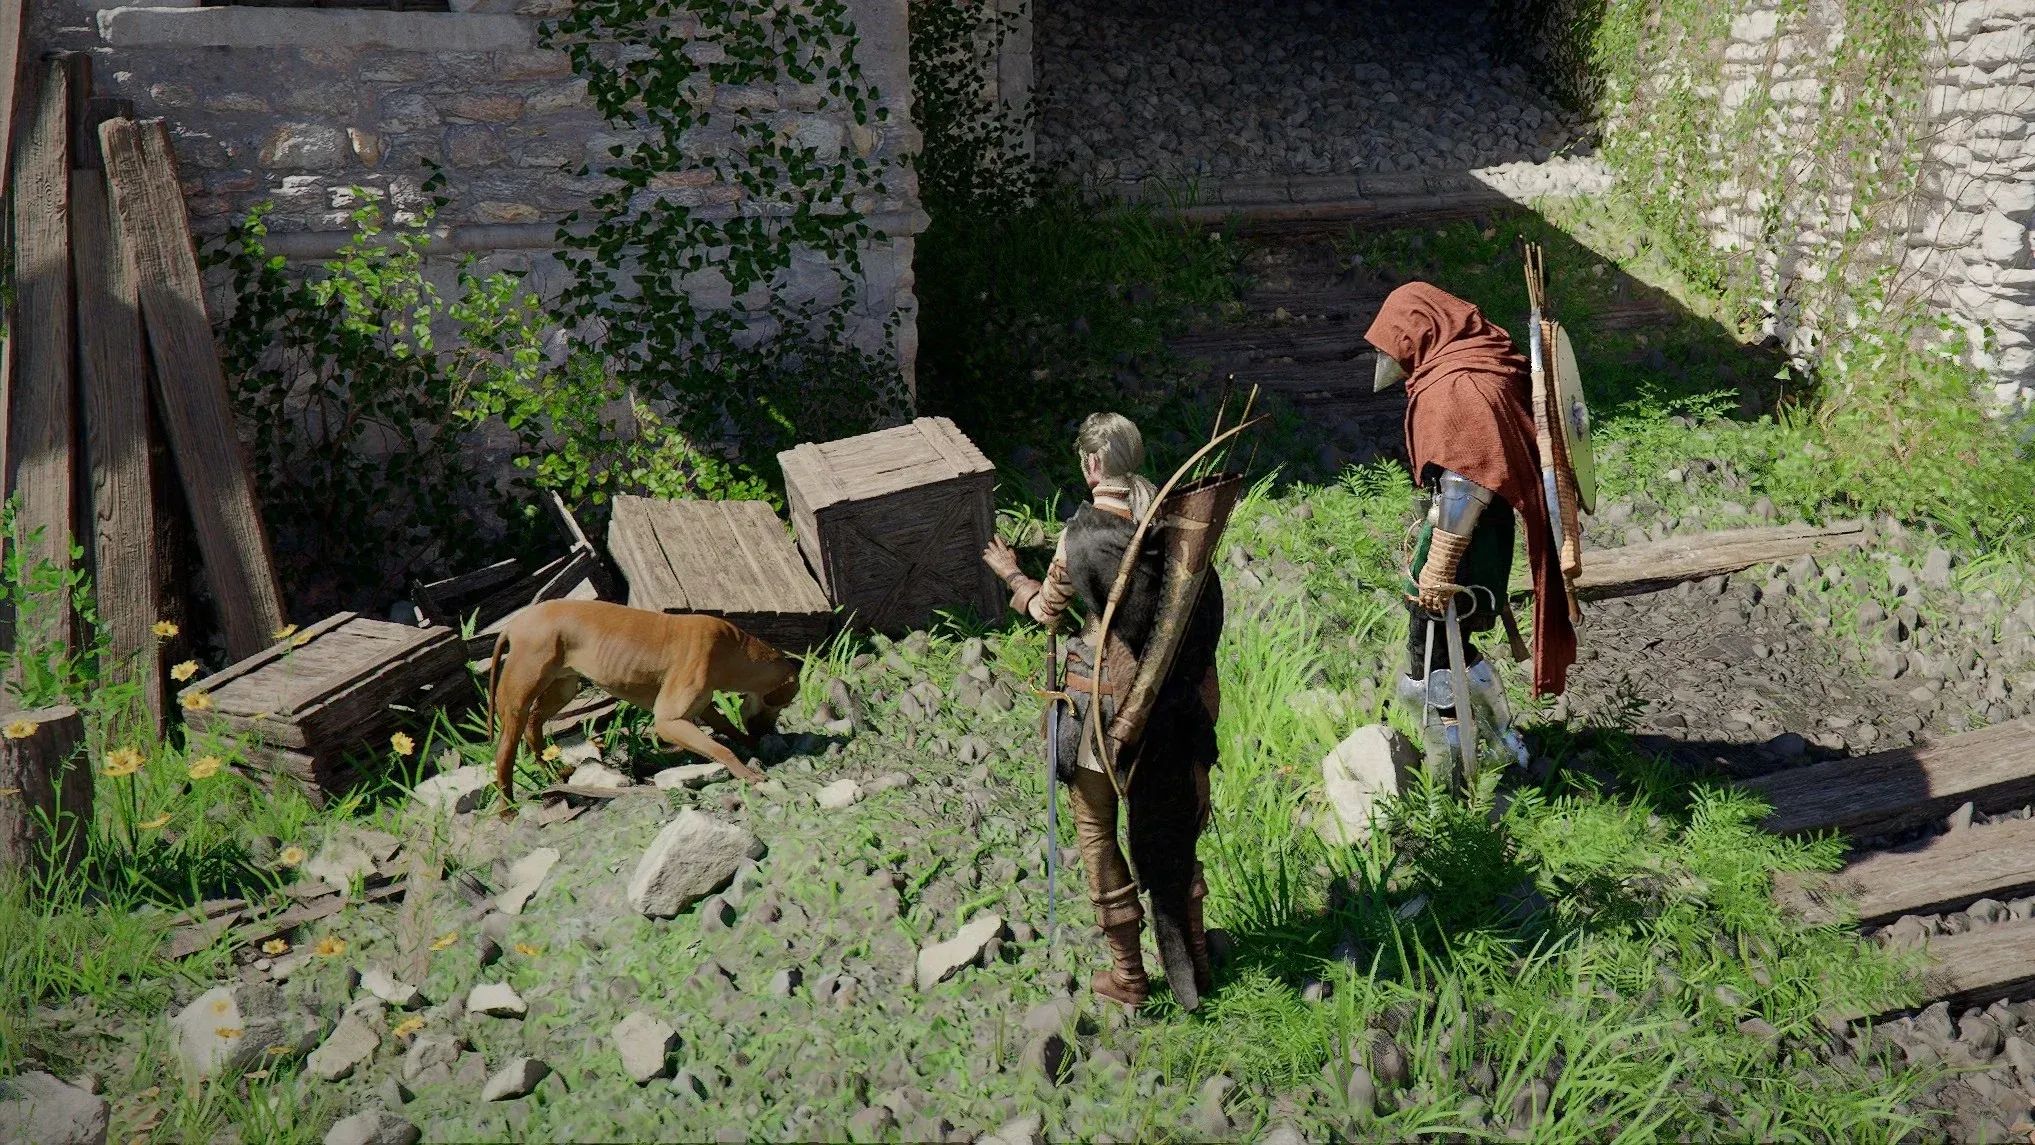
The vault is not just a puzzle room. After descending the first set of stairs, you enter a hall lined with pressure plates on the floor and arrow launchers on the walls. The instinct is to crouch and dodge the arrows, but that is exactly what the trap wants you to do. The pressure plates release spikes that deal far more damage than the arrows themselves. The correct approach is to sprint across the hall between arrow volleys, waiting for a volley to fire before you dash.
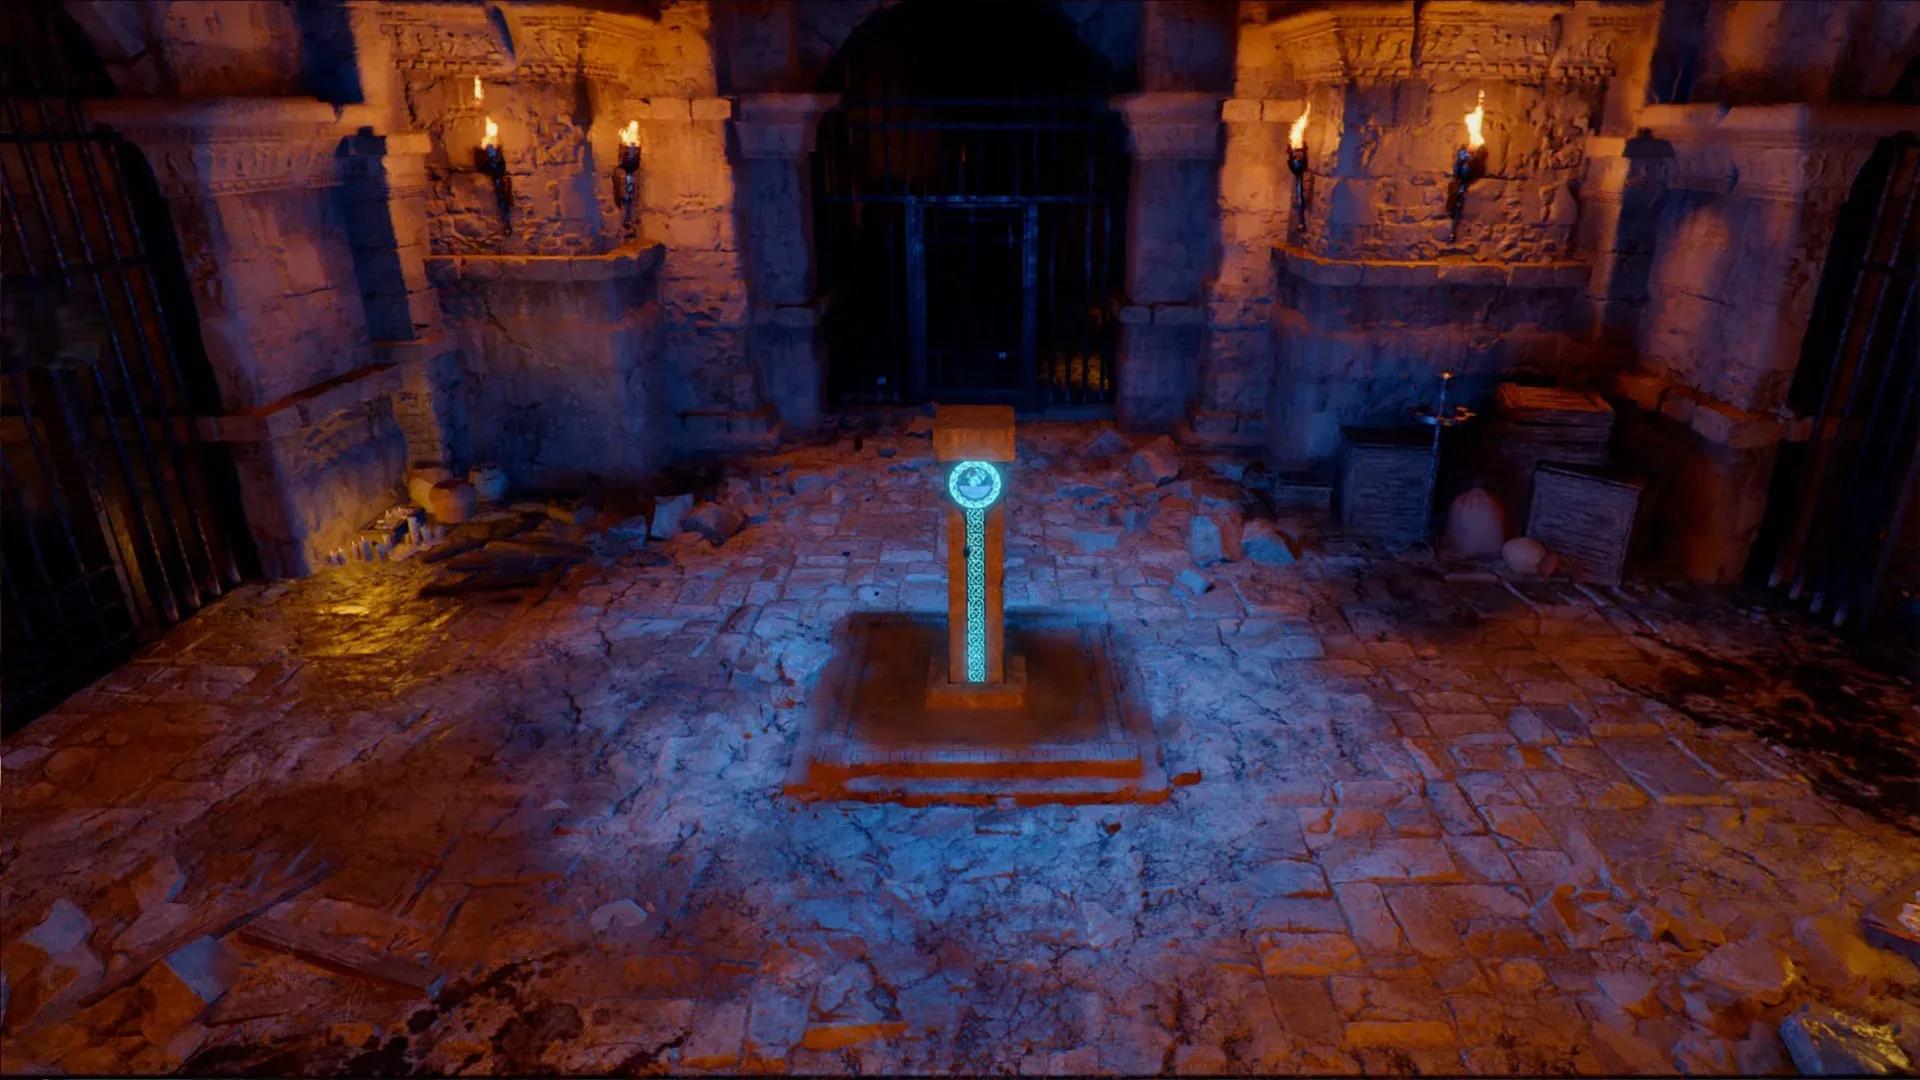
Once past the trap corridor, crouch under the broken iron gate to reach the main chamber. This room has an Abyss Artifact podium in the center and three branching paths: left, middle, and right. Each path leads to a room with a large circular disc mounted on the back wall. These are the three murals you need to align.
What are the scarecrow clue locations?
The puzzle's intended solution involves finding three scarecrows hidden in the fields around the Abandoned Ruins, each bearing a carved symbol on its chest that matches one of the discs. The vault contains a map on the wall to help you track them down. All three are within the Demeniss area:
- Clue 1: Directly north of the Screaming Vault, on a scarecrow in one of the nearby fields.
- Clue 2: Northwest of the first scarecrow, directly west of Furlington Farm, beside a hut.
- Clue 3: A few meters north of the second scarecrow, directly southeast of Stonewell Farm.
The symbol on each scarecrow's chest (and the ground beneath it, which mirrors the chest marking) tells you the correct orientation for the matching disc inside the vault.
What are the exact disc solutions?
If you want to skip the scarecrow hunt entirely, here are the correct positions for all three discs:
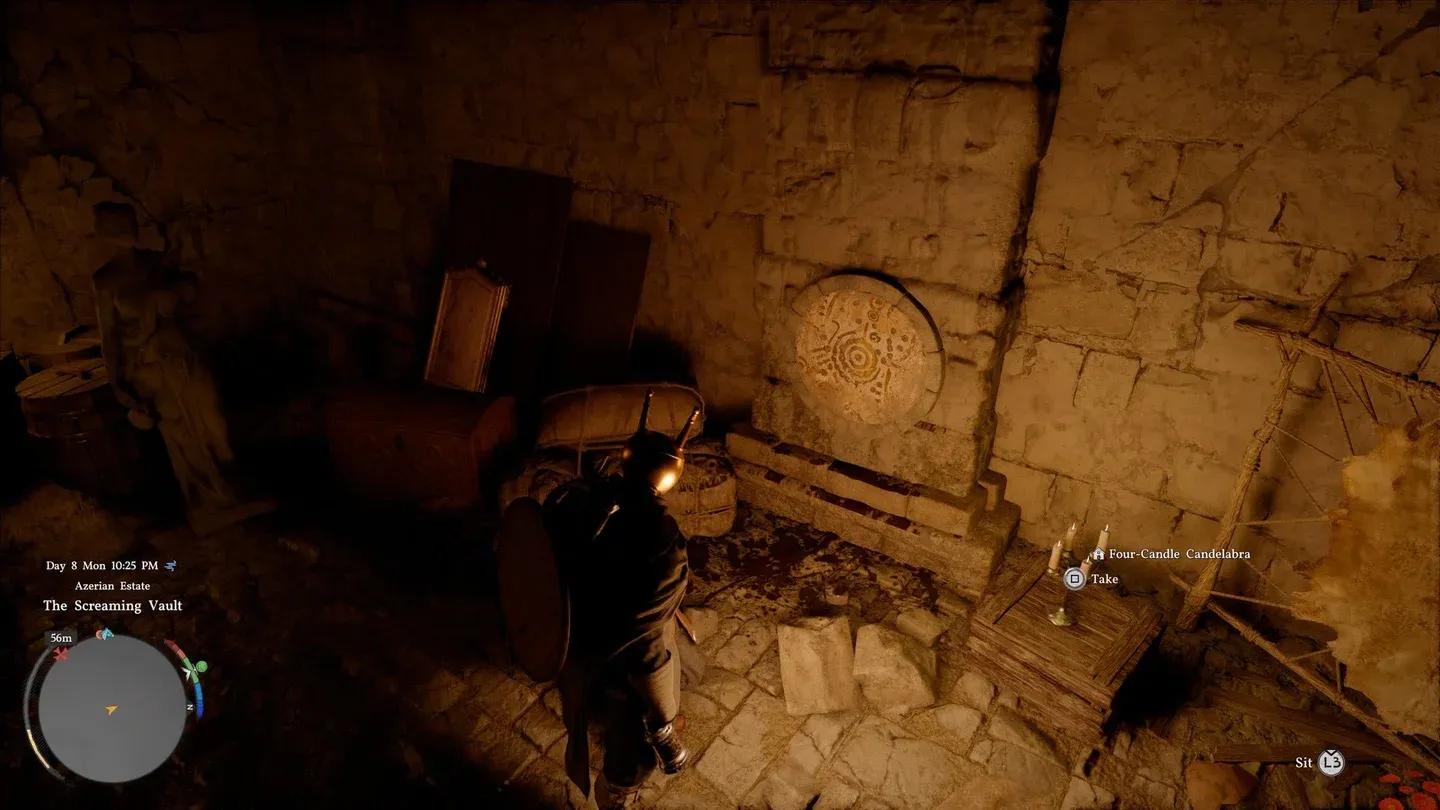
Scarecrow clues near Rustleleaf Farm
Right room disc
Rotate the disc until the celestial constellation symbol (it looks like a figure firing a bow) is upright. The double lines on the constellation should be pointing straight up.
Middle room disc
Spin the disc until the swirling circular pattern sits at the top and the triangles point downward. The circles should be on top, with the triangle points facing up toward them.
Left room disc
This one trips people up because the pattern is abstract: a mix of dots, lines, and a large interior circle. The correct position is to rotate until the straight line extending from the interior circle points straight up, toward twelve o'clock.
Once all three discs are correctly aligned, the central Abyss Artifact podium activates and a short cutscene plays. The puzzle is complete.
What do you get for completing the Screaming Vault?
Completing the puzzle rewards you with an Abyss Cresset, the collectible Memories of Turbulence item (which unlocks hidden map locations), and a new teleport location added to your fast-travel network.
Beyond the main rewards, each of the three disc rooms contains treasure chests, jewelry, copper, paintings, and crafting materials you can loot freely. There are no unique weapons among the loot, but it is a solid haul worth selling to a vendor if you need to pad your coin purse.
For more Crimson Desert puzzle walkthroughs and open-world guides, browse more guides at GAMES.GG.