
To finish a base jump challenge in Grand Theft Auto 6, launch between the cones, pass through pink checkpoints, and land inside the target under par time.
This walkthrough focuses on three Vice City rooftop courses: Maven Residences, Crimson Palms, and Rico Huxley Hotels. Their launch positions and time limits differ, but they share the same parachute controls. The main decisions during each descent are when to slow down for a checkpoint and when to release your parachute for the landing.
Where to find three base jump challenges
Look for a purple parachute icon on the map and two cones at the launch point. Discovered locations also appear under Exploration > Stunt Spots, where each course has its own name.
| Base jump | District | Par time |
|---|---|---|
| Maven Residences | Shoreline | 41 seconds |
| Crimson Palms | Bay Harbor | 46 seconds |
| Rico Huxley Hotels | Tequesta Retreat | 37 seconds |


Maven Residences
The Maven Residences launch sits at a corner of the rooftop helipad. Head to that corner after reaching the roof, rather than jumping from another side of the building.
Crimson Palms
Crimson Palms starts at the edge of the resort's rooftop helipad. This is the Bay Harbor course; La Villette is a separate resort jump in Washington Beach.
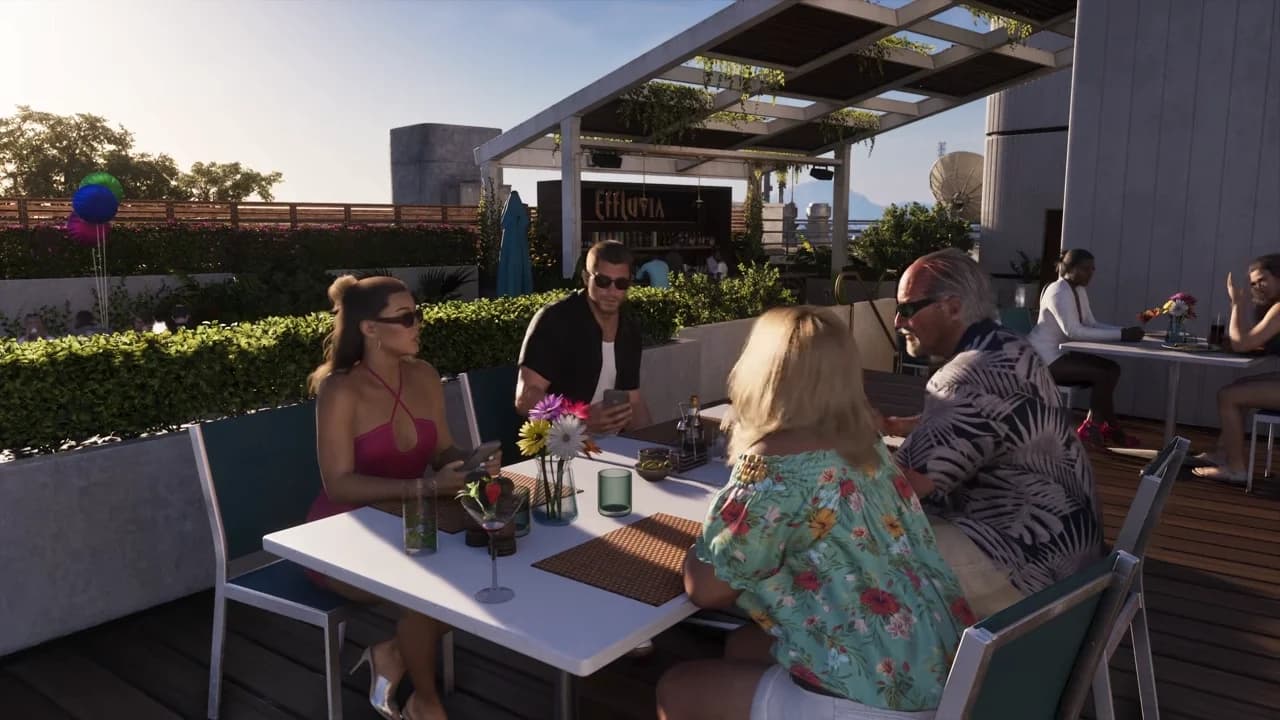
Crimson Palms resort rooftop
Rico Huxley Hotels
At Rico Huxley Hotels, find the launch cones along the edge of the rooftop helipad. Use the full course name in Stunt Spots to distinguish it from the separate Tequesta Tides Hotel & Spa jumps.
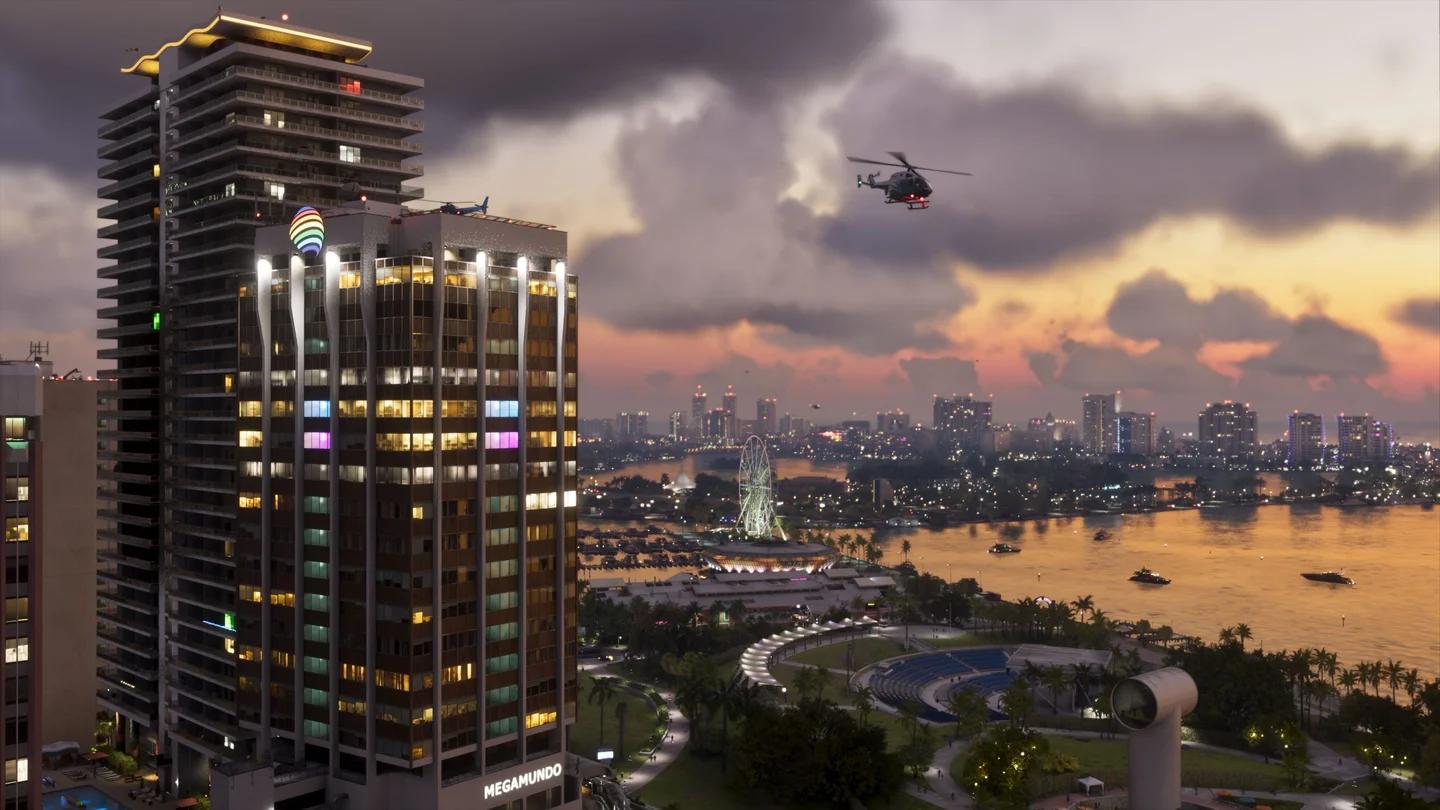
Rico Huxley Hotels rooftop
Get a parachute and reach the roof
You can collect a free parachute beside a base jump launch point when one is provided, or arrive with your own. Ammu-Nation sells parachutes through its Equipment section, so buying one before travelling is another option.
For skyscraper jumps, enter the building at street level and use its elevator to reach the roof. Helipads are common starting areas, but the cones identify the precise launch position once you get upstairs.
A helicopter is another way onto a difficult roof when you cannot find a lift or staircase. Aircraft in the Grand Theft Auto 6 vehicles list provide an alternative approach, but arriving on the roof does not complete the parachuting course.
Base jump controls on PS5 and Xbox
These are the default console inputs. Pay attention to the difference between tapping and holding the jump button.
| Action | PS5 | Xbox | When to use it |
|---|---|---|---|
| Jump from the launch point | Tap Cross (X) | Tap A | At the marked edge |
| Deploy the parachute | Tap Cross (X) again | Tap A again | After leaving the edge |
| Control your flight | Analog sticks | Analog sticks | During the descent |
| Slow your momentum | Hold Cross (X) | Hold A | While correcting your approach to a ring |
| Release the parachute | Press Triangle | Press Y | Just above the landing target |
| Retry the course | Hold Square | Hold X | After a mistake or unsuccessful result |
The PlayStation Cross (X) button and Xbox X button have different jobs here. On Xbox, A handles jumping, deployment, and slowing down, while holding X restarts the attempt.
How to finish the timed course
Launch through the marked gap
Position yourself between the two launch cones before jumping. Leaving from the correct building but the wrong edge can produce an ordinary parachute descent instead of starting the challenge.
Deploy your parachute quickly after takeoff, then follow the pink checkpoint rings. The opening task is to establish the course's direction, not to spend extra time in free fall.
Steer through the pink checkpoints
Aim through each ring and begin lining up your next approach as you clear it. If you're struggling with overshooting, use the slowdown input briefly to reduce your forward momentum, then release it once your flight path is corrected.
Slowing down is a temporary adjustment, not something to hold throughout the course. You still need enough pace to reach the finish within the time limit.
A missed checkpoint adds a 10-second penalty to your course time. That is a substantial cost against these short par times, so taking a moment to line up a ring can be better than rushing past it.
Release the parachute above the landing ring
The final target is the large pink ring on the ground. You can land anywhere inside it, so you do not need to force your approach toward its exact centre.
Fly over the target and release the parachute when you are just above the ground. The challenge requires that final drop; carrying the parachute into the ground fails the landing. Cutting it too high can also ruin the attempt because you must survive the fall.
Beat par or restart
Your final result must beat the course's par time to finish the timed challenge. A safe landing alone does not make a slow run successful, and checkpoint penalties count against your result.
Use the retry input to return to the beginning after a missed target, failed landing, or over-par finish. On your next attempt, change the part that caused the failure: your approach to a ring, the length of a slowdown, or the height of the final parachute release.
Do you need every base jump for completion?
There are 25 base jumps across Leonida, so these three rooftops are only part of the set. Other launch sites include Mount Kalaga's summit, which is separate from Kalaga Outcrop. The Grand Theft Auto 6 Mount Kalaga summit guide covers reaching that mountain launch area.
Base jumps contribute to a shared total of 397 stunts alongside Stunt Jumps, Under the Bridges, and Knife Flights. You need any 250 stunts for the Cunning Stunts trophy or achievement and any 300 for the stunt requirement on the main 100% checklist. All 25 base jumps are not required for either threshold.
The stunt entry and the extra challenge displayed on its map icon are separate goals. Completing a base jump once earns its stunt completion; its additional map-icon challenge is optional for that count.
To see your completed base jumps, open Progress > Activities > Stunts and select Base Jumps. The regional breakdown helps you choose which area to tackle next.